
Dragon Quest 6 Walkthrough - Chapter 5
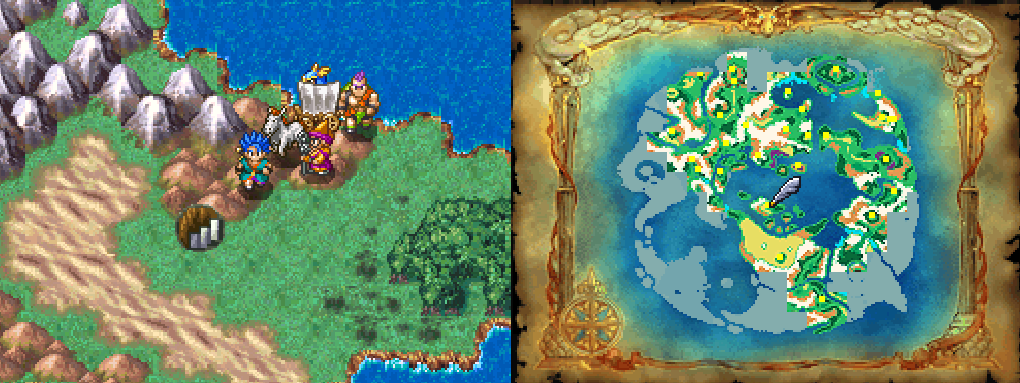
When you're ready to proceed with the story after obtaining your moving island in the Dream World you'll want to sail over to the island on the map above. In the southern portion of the Dream World's inner sea you'll find a set of stairs which you will want to take up to the Real World. They're found on the largest island in the chain of islands.
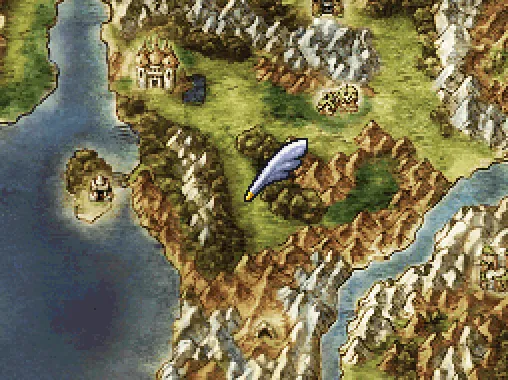
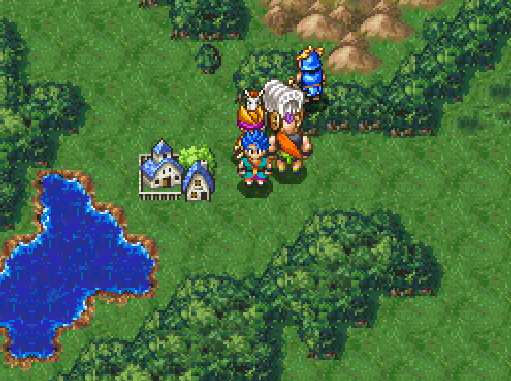
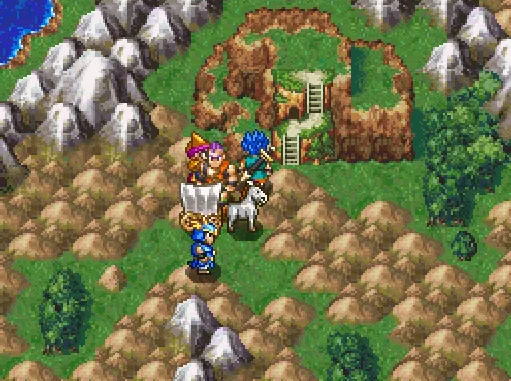
From where you enter the Real World you'll want to travel south through the gate to a wide open area (pictured below). In this area you'll find a small village by the name of Howsworth and a castle by the name of Howcastle; further south will be a cave and to the west will be a small shrine on an island.
In the village of Howsworth there are a few items for you to grab but nothing to advance the story forward. When you're ready to continue with the story you'll want to go to Howcastle and prepare yourself for arguably the most annoying part of this whole game.
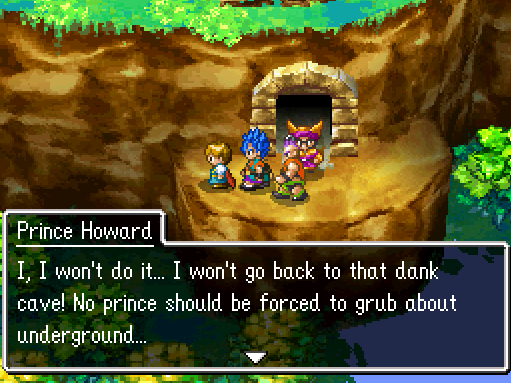
Speak with the King in Howcastle and he'll ask you to take his cowardly son through the cave to the south which is basically the King coronation ceremony. This is all well and good but his son keeps running away and you'll have to find him each time he does. Starting with the first time, in the upper left corner of the castle's basement you'll find a staircase that leads to Prince Howard's room. You can find the stairs to the basement on the castle's first floor.
Inside of this room speak with the child that tells you that he hid in a barrel the previous day (pictured below). Return to the first floor of the castle and bust open the barrels on the right hand side of the room (pictured below) to find Prince Howard. Speak with the King after and then when you go back downstairs, Howard will run off yet again.
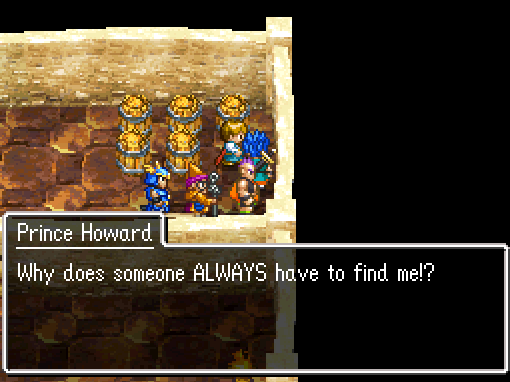
This time you'll find the little bastard by going to the basement and through the doorway at the southern end of it. Prince Howard will be standing here on a ledge (pictured below). Leave the castle and go down to the cave in the south to get Prince Coward to run off again. Go to the small town east of the castle and you'll find him next to the hay bails in the northwestern most house (pictured below).
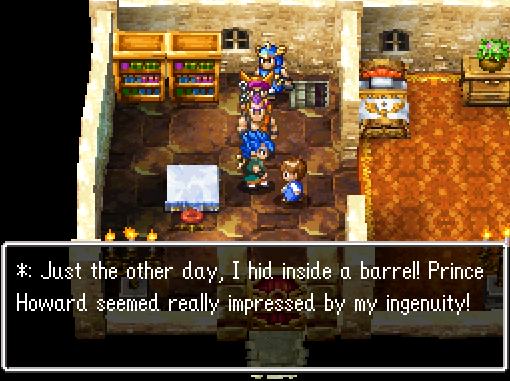
The kid you need to speak to in Prince Howard's room (left) and the first location you'll find Prince Howard (right).
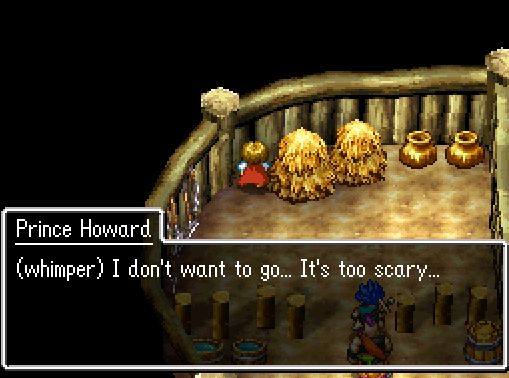
Prince Howard's second hiding location on the ledge (left) and his third hiding location by the hay bales (right).
Now we can finally start with the dungeon. The way this place works is you're going to face 3 tests (bosses) in total and after the first two bosses Prince Coward will run off and you'll have to find him. He doesn't leave the dungeon this time so you'll only have to back track a little bit to find him each time, thankfully. Below are strategies for each of the bosses and where to find Prince Coward after each.
First Test (Boss): This boss likes to Dazzle your party constantly so just keep attacking him with anyone you can and keep everyone alive. It's a very straight forward and easy boss.
First Howard Location: Return to the treasure chest you got the Chain Whip in and Howard will be right next to it.
Second Test (Boss): Instead of Dazzle this boss will like to use (Kasnooze) sleep on your party. Use Kabuff on your party if you're lower level and keep attacking/healing to defeat him.
Second Howard Location: South of where you faught the boss in the second test.
Third Test (Boss): Compared to the previous bosses this one can be quite challenging. He likes to use Kasap on your party constantly so you'll want to counter it with Kabuff every time you can. His most devastating attack is his lightning which hits your entire party and will really hurt if you're underleveled.
With the Third Test boss out of the way go through the final door in the room where the ceremony takes place. Once you watch the ceremony talk to the Prince to have him join your party again then return to Howl's Moving Castle and speak with the King. He'll ask you to spend the night and celebrate, agree and the following morning return to him and speak with him for your reward, the Magic Key.
For those of you who aren't familiar with the Dragon Quest series this item will allow us to open many doors around the world which are locked and previously inaccessible. Most of these locations are optional although some of the Dragon Quest games (including this one) require the key for story progression. Instead of covering each of the locations in this guide I cover them all in my Magic Key Locked Door Locations Guide.
The first Magic Key door on that list is in Howcastle and it'll lead you to one of the optional party members, Goowain. I'd recommend you at least do this now and recruit Goowain to your group as he's a very useful character to keep in your Wagon since he comes with Heals. Zoom over to Alltrades Abbey and assign Goowain a vocation while you're at it before continuing with the story.
Once you're ready to continue with the story head to the shrine southwest of Howcastle and use the Well inside of it to be transported to the Dream World. Travel a bit southeast and you'll stumble into the town of Clearvale (Dream World), there is nothing here we need to do in order to advance the story forward but there are some items you can collect.
Leave Clearvale and travel west to another stairwell that leads back to the Real World (pictured below; left). Once you arrive back in the Real World travel to the east until you reach Clearvale (Real World) pictured below on the right.
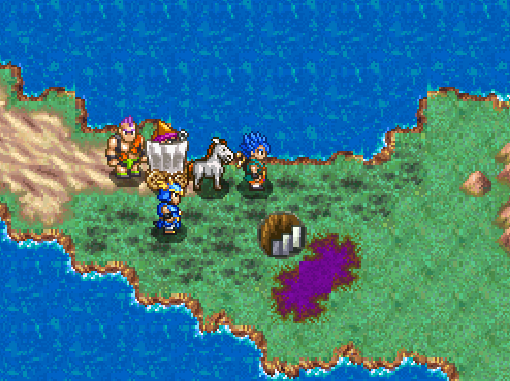
Stairwell to the Real World west of the Dream World Clearvale (left) and Real World Clearvale (right). Confusing, I know.
All you have to do in the Clearvale (Real World) is go into the church and witness the scene to advance the story forward. I'd recommend you pillage the village for all of the goodies while we're here too, much like Clearvale (Dream World). When you're ready to continue with the game you'll want to travel northeast of Clearvale to the next dungeon.
Destiny's Drop is the name of the next dungeon and we're after the Shard of Courage item at the top of the mountain. In the town of Clearvale if you talk with the couple you seen in the church you'll learn about this dungeon and the Shard of Courage within it. However, a conversation with them is not needed to advance the story.
Destiny's Drop dungeon.

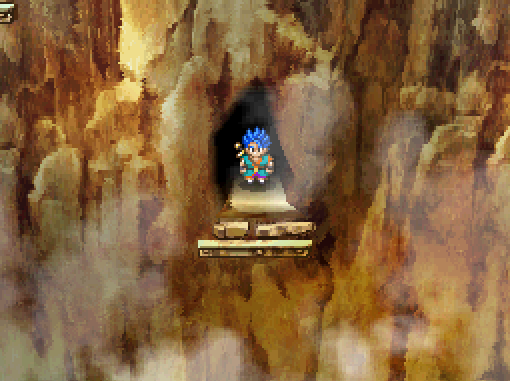
Where to drop down to reach Golden Pickaxe (left) and the cave entrance to the Golden Pickaxe (right).
The very first thing you need to do in Destiny's Drop is to climb up the left most rock wall and grab the Golden Pickaxe. In order to reach the cave with the Golden Pickaxe you'll need to climb up to where you see me in the screenshot above on the left and drop down to the cave entrance (screenshot on the right).
You will see the cave opening as you pass while climbing up and you'll have to line up with it before dropping. This spot is as high as you can climb on the left and the rock wall basically just wraps around the cave entrance in a large rectangle, it's very difficult to miss once you know what to look for.
With the Golden Pickaxe in hand you will be able to smash through the boulders in this dungeon that block your route to the peak as well as to some treasure chests. There are still some treasures for you to grab on the left hand side of the dungeon but when you're ready to complete it you will want to return to the bottom of the dungeon and go up the right-most rock wall.
You're looking for a cave entrance that is connected to the rock wall that you're climbing (pictured below). Just inside of this cave entrance you'll find a set of boulders blocking your way that you can use the Golden Pickaxe on to break. Continue through the dungeon along the linear route (ignore the first cave you come across while climbing that sticks out) until the rock wall you are climbing reaches a dead end.
It will be shortly after the aforementioned cave that sticks out. You'll need to drop down in this area to another cave entrance (pictured below). Once you are at the top of the dungeon use the Golden Pickaxe on the big black rock to obtain the Shard of Courage. Return to Clearvale (Real World) with this in hand.

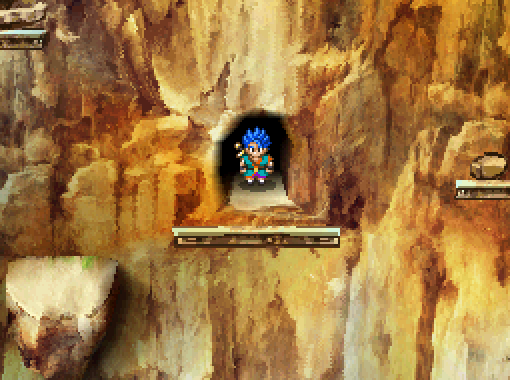
Cave entrance leading to Shard of Courage at peak of Destiny's Drop (left) and the other cave entrance that you drop down to (right).
Back in Clearvale you'll want to head over to the Tress couple's house in the northeast corner of Clearvale (Real World). Speak with Mr Tress in the building and give him the Shard of Courage for a scene then agree to stay at his house for the night. He'll take you upstairs to his departed child's bedroom and you take some sort of drug.
You wake up in the middle of the night and meet their dead son in a psuedo-psychadelic area on a flying matress. Oh and their son's name is Matt Tress, get it? Drugs are the best explanation. Comedy aside, we now have a flying bed which we can use to zip around the Dream World. It can fly over water, sand, grass and poison lakes but not mountains, hills or forests. Better yet we won't get into any random encounters while flying through the sky.

At this point in time you can now obtain the optional character Healie. While you're still in Clearvale you can search Matt's room as well for a Mini Medal. Now that you have the Flying Bed now would be a good time to go turn in all of your Mini Medals at Medford's Manor, for more information check out my Mini Medal Side Quest Guide.
Chapter 6 - Optional Content (Dream World), Castle Swanstone, Spiegelspire, Floodgate Key Obtained