
Dragon Quest 6 Walkthrough - Chapter 3
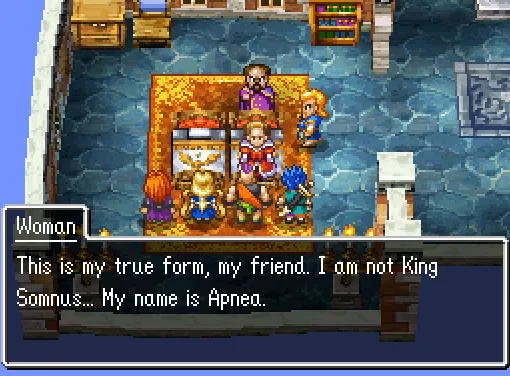
After you've upgraded your Zoom spell from Madame Luca you'll want to Zoom to the Dream World then Zoom over to Somnia. Return to the King and give him the mirror to trigger some scenes. After which you'll want to follow Captain Blade upstairs for some more scenes. Once all of the scenes are finished Apnea will join your party and you're free to leave Somnia.
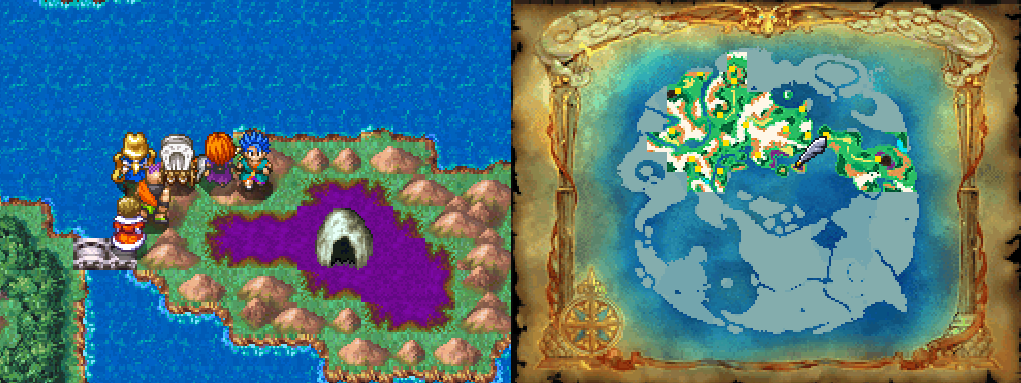
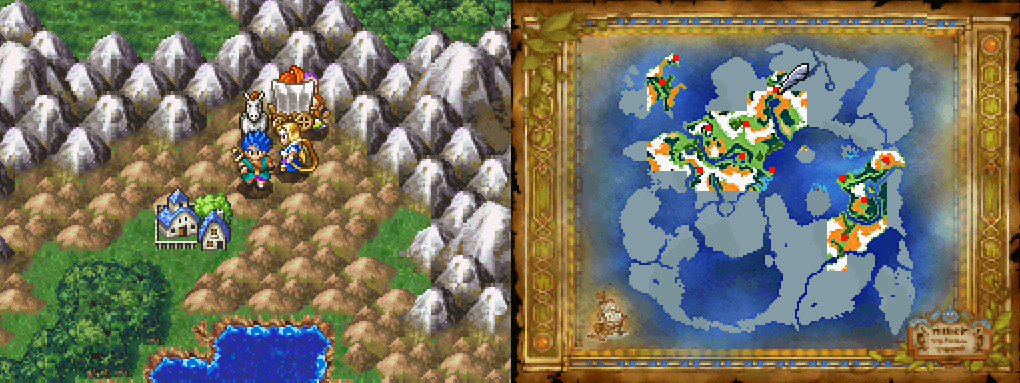
Our next destination is to the southeast of Somnia, through the southeastern gate which is now clear. There is a small cave on an island that is surrounded by a poisonous water which is our next destination. I'd recommend you spend some time leveling up Ashlynn at this point in time too since she is massively underleveled. There is a priest at the gate which can Resurrect so I typically grind a couple levels for her in this area before proceeding.
Tip: If you have 7000G to spend Zoom over to Weaver's Peak (Dream World) and purchase the Enchanted Armor from the Weapon Shop. This is one of the best pieces of armor that you can get for Milly or Ashlynn for quite awhile.
This dungeon is the biggest one that you've done so far and I strongly recommend you do it in two rotations. First collect all of the treasures and figure out the lights puzzle then Evac out and rest at an Inn. Return and defeat Murdaw once you're fully healed and leveled up from all the grinding.
For the first part of this dungeon you'll be in a cave and it's pretty straight forward; follow the only route you can until you make it to Murdaw's Keep. Inside of Murdaw's Keep to solve the puzzle you'll have to go downstairs first and step on the switches to open up the doors upstairs. Then step on the switches next to each of the grates on the main floor to open the grates up and shine light downstairs.
You can access the middle switch in the main room by first opening all four of the grates then navigating through the entire "dark room" to the stairwell in the south (pictured below). Opening the final grate will allow you to navigate the final dark spot in the middle of the room and go down the stairs that lead to Murdaw himself.
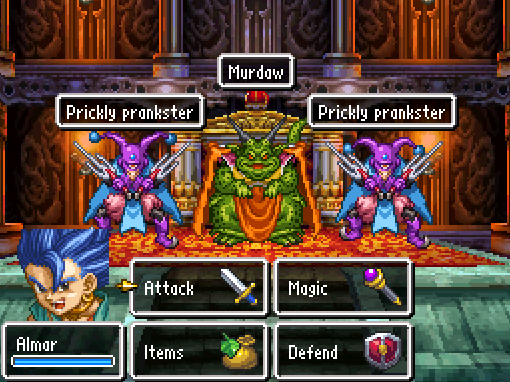
Murdaw is the first enemy in this game that can change your tactics, this is something you'll want to keep an eye out for. Prior to selecting "Fight" at the start of a battle you can choose "Tactics" and change what you'd like each party member to do. Pay attention to your party and make sure their Tactics are what you set them to be.
For Murdaw your general strategy will be to Sap him using your Hero and Ashlynn, he sometimes cast Buff so in the future Sap again when he Buffs to cancel it out. I'd also recommend using Milly's Buff on Ashlynn and Milly since they're squishy. Aside from that just focus on bringing Murdaw down with your Hero and Carver.
Evac out of the dungeon using Milly (if she has MP left) and Zoom over to Somnia. Speak with the Chancellor in the throne room to advance the story and spend the night at this castle. When you awake use Zoom to switch worlds then Zoom over to the Somnia Castle in the Real World.
Approach the guard out front of the castle and agree to be thrown into jail. There will be some scenes after which you'll finally get to speak with the King and Queen. Once you speak with the King privately outside you'll receive the Royal Missive which we need to advance the story.
Exit Somnia Castle and go directly north through the now clear gate and continue north until you find the town of Ghent.
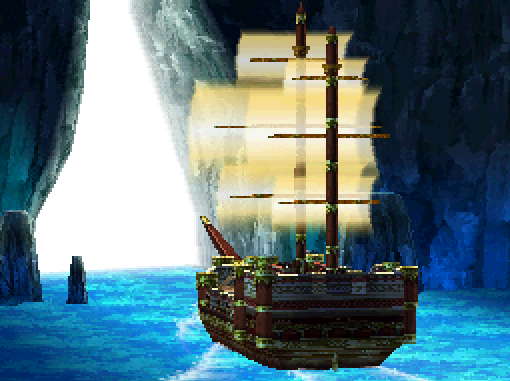
In the town of Ghent you'll need to speak with the Elder in the northwestern most building to advance the story forward. There will be a scene after which you'll want to follow Nevan into the northern most building in town which is where the boat is. Nevan will join your party at this point and replace Ashlynn.
Tip: Zoom to anywhere else in the game and Ashlynn will rejoin your party, you'll be able to switch to her by using the Wagon once you do this.
After the boat ride you'll regain control of the Hero on a small island in the middle of the World Map, enter the nearby cave and start exploring! Despite the size of this dungeon navigating it is pretty easy and straight forward. There is no boss for this first part of the dungeon, just focus on grabbing the treasures and keeping your party alive. Use the Staff of Ghent that comes with Nevan as a Tool during battle to cast an MP free Midheal on anyone in your party.
Enemy Warning: Mudslingers are common throughout this dungeon and they can use Whack on your party, instantly killing someone. For this reason it's typically recommended you level up Nevan to 13 so he learns Zing as well as try to run from every Mudslinger battle (or kill them before they kill you). Arrghgoyle enemies can be encountered in this dungeon again as well and they're slightly less annoying than the last time since we're higher level.
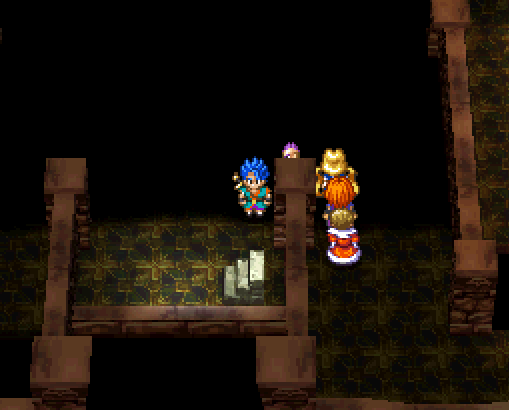
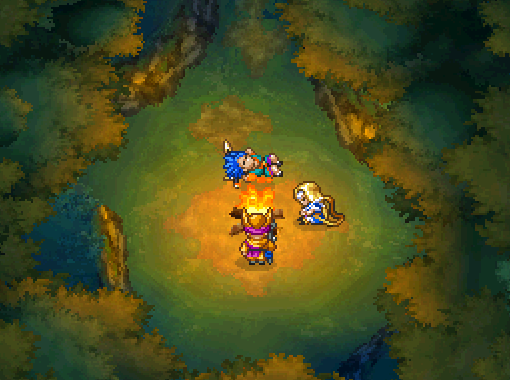
When you make it through the cave Nevan will suggest you rest at the same location where our story first began (pictured below). Events will play out the same exact way this time as they did when we began the game, except this time Nevan is here with us.
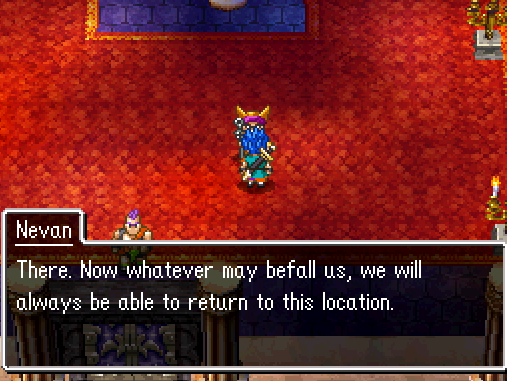
Inside of Murdaw's Keep speak with Nevan before proceeding forward, he'll create a Zoom point in the entry room of Murdaw's Keep which will allow you to return here. Even once we've completed the dungeon you'll still be able to Zoom back to this location. The only way for you to leave this dungeon now is through death. If your entire party wipes you'll wake up at the church in Ghent and you'll have to Zoom back to Murdaw's Keep.
Every optional route that was previously blocked off to us on our first visit to this dungeon is now open. You're free to explore wherever you'd like and grab all of the treasures throughout, if you decide to explore the optional areas you'll face two Mini Bosses (Sculptrice & Grim Keeper).
You will find the best item in this dungeon in the rooms adjacent to where Carver finds the statue of himself. The stairwell in the room to the right leads to the Fire Claw item which is in a treasure chest surrounded by a floor that damages you protected by a Sculptrice.
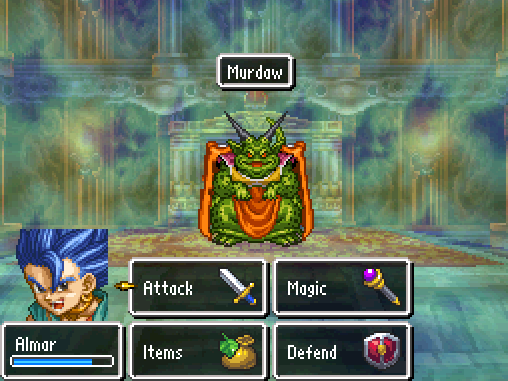
When you're ready to fight Murdaw you can find him in the same room as the start of the game. The last fight with Murdaw was a total pushover compared to this one so make sure you are well prepared. I'd recommend at the very least level 15 - 17 for your Hero but typically level 20+ is recommended for the upcoming fight.
For both phases of the Murdaw fight you'll want to use Buff on Milly and Nevan or Kabuff on your entire group. I also strongly recommend you use the Staff of Ghent basically every single turn since it is an MP free Midheal. A tip for you, if you assign the "Focus on Healing" Tactic to someone with the Staff of Ghent in their inventory they'll use the staff to Heal!
Another tip that will help is to 'Use' the Fire Claw as an item during this battle on Murdaw. It hits for 50 - 80 damage with each attack if you do this. The Fire Claw is obtained from defeating the Sculptrice on the floor above Murdaw and looting the chest behind it surrounded by the damaging floor.
Murdaw (Part 1): I'd recommend using AoE attacks on Murdaw, any spells that hit all enemies or a Boomerang works as they'll damage both Murdaw as well as the adds he summons. For this phase your strategy should be defeating Murdaw while preserving as much Mana as possible for the next fight. Use Kabuff on your party whenever Murdaw uses Kasap to counter it.
Murdaw (Part 2): Same strategy as the first time except you need to be much more careful with keeping your party alive. Murdaw can use a Chilly Breath attack as well as a Lightning attack in the same turn which will mess your party up. Letting anyone fall below half HP is a very bad idea for this fight.
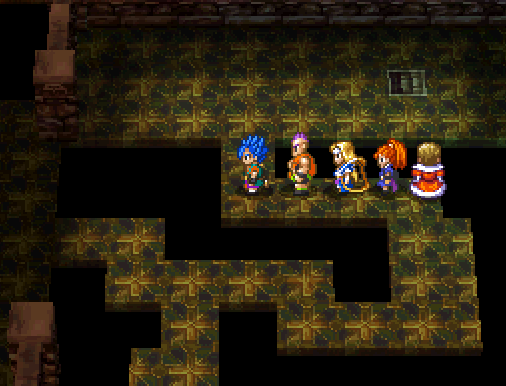
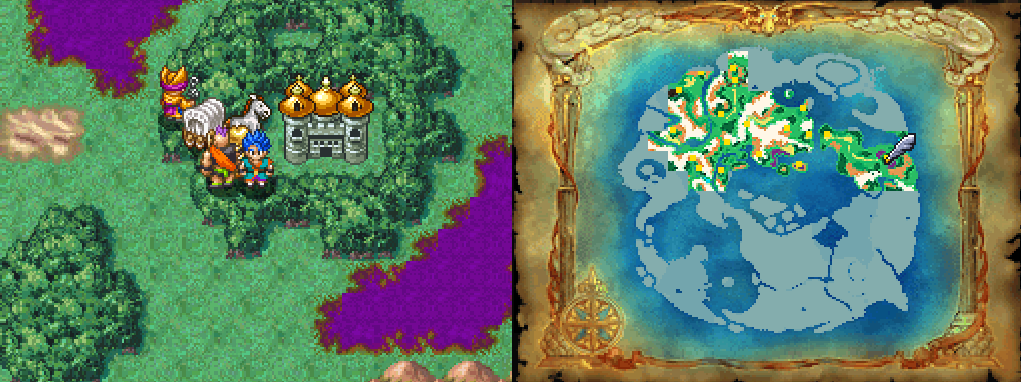
With Murdaw defeated you'll wake up back at Somnia Castle where you'll need to speak with the Queen before you're able to leave. She tells you to go on a quest to find your real body--but before that use Zoom to switch worlds and you'll be at the destroyed Alltrades Abbey. Switch Worlds again while you're at Alltrades Abbey and you'll find yourself at a fully functional version of Alltrades Abbey (pictured below).
In this town you'll be able to switch the vocations of your party members. The way this system works is you need to specialize two different vocations in order to unlock one of the higher tiered ones. For example, specialize Warrior and Martial Artist and you'll unlocked Gladiator. Specialize Priest and Mage to unlock the Sage.
You should plan the route you want to take now so that you can unlock one of the higher tiered vocations later in the game. I'd also recommend grinding for a little while right now too but that's up to you. Below are the vocations that I would recommend to you for each of your characters.
Hero Vocations: Priest and Mage is what I personally choose but Warrior and Martial Artist are good choices too. This will allow you to specialize into a Sage later which teaches abilities such as Multiheal and Kazing. It's a very useful approach to take and my favorite because it gives your Hero the versatility of a caster and the strength of a Warrior. Once you specialize Sage you unlock the Hero Vocation and that is your end game vocation.
Carver Vocations: Warrior and Martial Artist is typically chosen for Carver since it allows him to do Gladiator later.
Milly Vocations: Priest and Mage is typically the best for Milly as it allows her to become a Sage later in the game.
Ashlynn Vocations: Priest and Mage is typically the best for Ashlynn as well as it allows her to become a Sage later in the game.
Nevan Vocations: Priest and Mage is typically the best for Nevan as well as it allows him to become a Sage later in the game.
Amos Vocations: Warrior and Martial Artist is typically chosen for Amos since it allows him to do Gladiator later.
Additionally, at this point in time you're able to do some side quests and recruit an optional character. If you'd like to do these side quests follow the links below, otherwise continue with the game's story in the next chapter of my walkthrough.
Kidnapping in Wellshire Side Quest
Amos Optional Character Side Quest
Vocation Permanent Rewards
These are the passive & permanent rewards that you will get when mastering a Vocation. You'll keep these boosts even when switching to a different Vocation. Once you reach level 5 in every Vocation you'll receive a Gospel Ring from the priest in Alltrades Abbey as well which will allow you to avoid encounters. You do not need to reach level 5 in every Vocation on 1 character, it can be done on multiple characters.
Gladiator: +20 Strength
Armamentalist: +20 MP
Paladin: +20 HP
Sage: +20 MP
Ranger: +20 Agility
Luminary: +15 Style (or 20)
Hero: +40 MP
Dragon: +20 Strength
Liquid Metal Slime: +100 HP