Dragon Quest 6 Walkthrough - Chapter 2
In the town of Port Haven there are a few things you need to do in order to advance the story forward. You should also take this time to pillage the town and collect all of the goodies throughout.
1. Watch the scene with Johan and Ella on the dock
2. Speak with Ella in the southeastern most house (once upstairs and once downstairs) - this will trigger a scene with Ivy poisoning food
3. Watch the scene with Mr. Barkington
4. Talk to Milly in the big building on the western most portion of town with a boat inside of it
Once you're done in town and you've spoken to Milly all you need to do to advance the story forward is exit to the World Map. Milly will take you south to a lone building which is Madame Luca's home. She is a fortune teller and will tell you how to fix your... 'ghost' problem. What you need to do is collect Dream Dew from the Lucid Grotto which is found to the south of Madame Luca's home.
Prior to leaving Madame Luca's home it's recommended that you inspect the well and beat the Well Wisher that pops out for a Trailblazing Bandana. With that out of the way head south and cross the bridge until you find yourself at the Lucid Grotto.
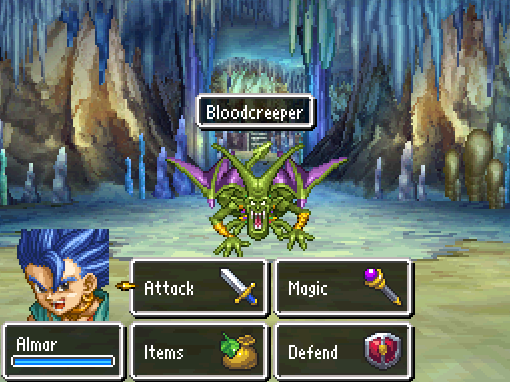
Use your Hero's Sap spell on this boss and let Milly handle the healing during the fight. Occasionally this boss will use Buff on himself which you'll want to counter by using Sap again, try to always keep his defense below what it started at. That's really all the strategy you need for defeating this guy. When the fight is over inspect the cauldron to acquire your Dream Dew then return to Madame Luca's home.
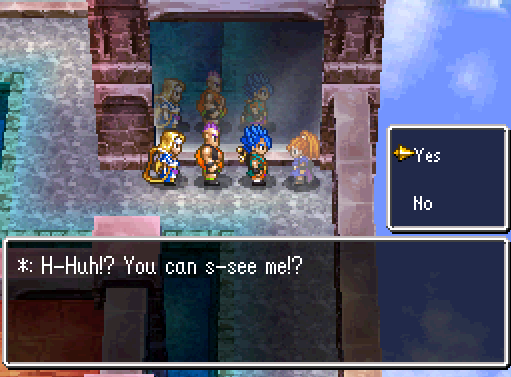
Milly joins your party permanently after you speak with Madame Luca and your Hero as well as Carver will once again become visible for the world to see. In Port Haven all you need to do is speak with Johan in his house and then purchase 3 tickets to ride the boat to the other continent.
Note: At this point in time you're able to complete the Kidnapping in Wellshire side quest. Zoom over to Alltrades Abbey and take the well in the basement to return to the Dream World aka the same world that we started the game in.
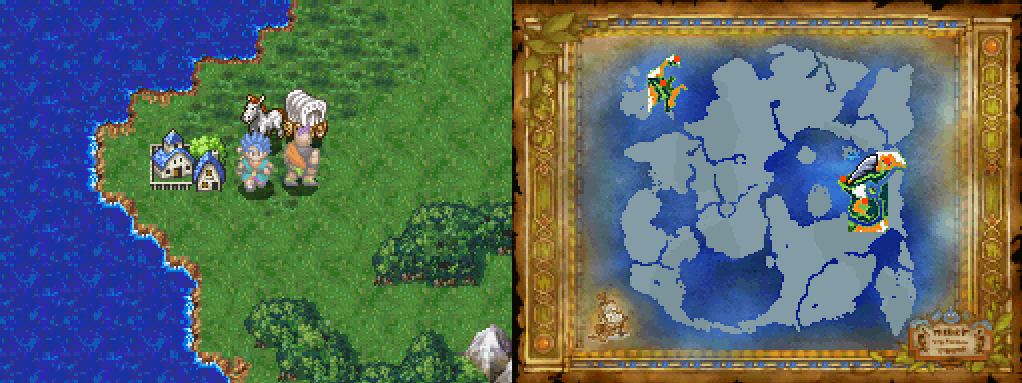
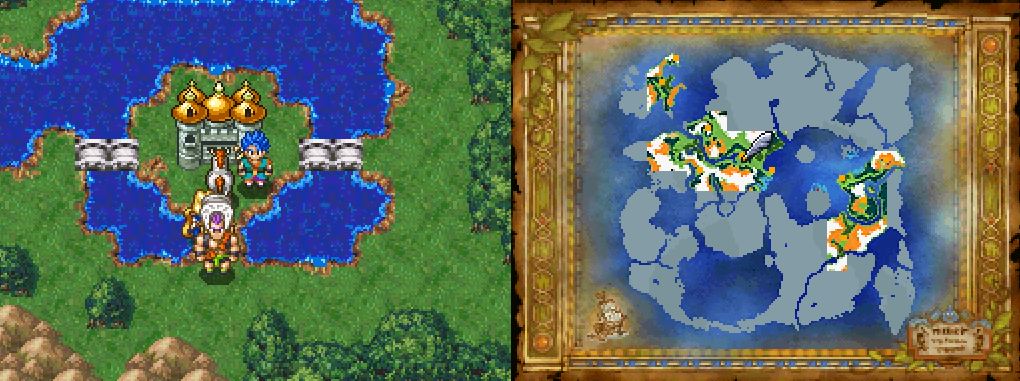
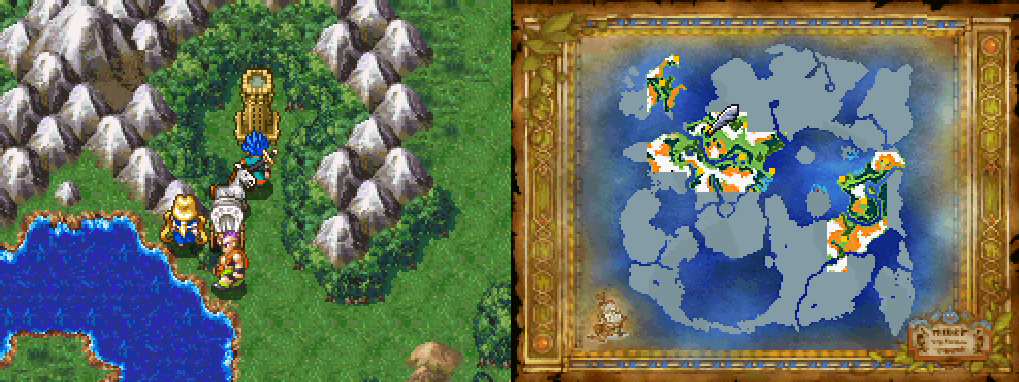
When you arrive on the other continent travel west and a tad bit north until you come across a castle (pictured below).
To advance the story forward inside of Somnia you'll need to first purchase a Noble Garb from the armor shop in town and equip it onto your Hero. Answer the guard with 'Yes' when he confuses you for the Prince and enter the castle. Inside of the castle you'll want to speak with the man inside of a prison cell and then go upstairs to the guard blocking the stairs to the throne room on the 2nd floor. So long as you've spoken to the man in the prison cell this guard will let you pass.
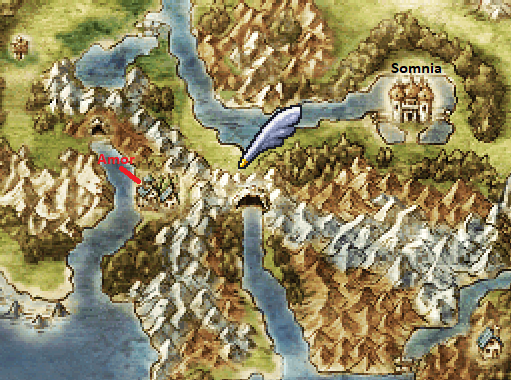
Inside of the throne room you'll want to steal everythin you can then speak with the maid by the King and Queen. There will be a scene after which you are kicked out of the castle. Our next destination is the town of Amor which is southwest of the castle. You'll have to follow an indirect route to get there, as shown in the map below. Basically, continue west until you hit the signpost then go south to Amor.
Tip: Either in Somnia (town) or Amor purchase an Edged Boomerang for your Hero. This weapon allows you to attack all enemies on the screen and is very powerful for this level range.
In Amor there are a lot of random triggers to advance the story forward; you will have to speak with all of the following people...
1. Speak with the Innkeeper
2. Talk to the Soldier between the Armor and Weapon shops
3. In the northeastern most building speak with the man wearing glasses
4. Speak with the man in the southwestern most building
5. Go inside of the church and speak with the man on the 2nd floor
6. Speak with the woman next to the bed in the church on the 1st floor to spend the night
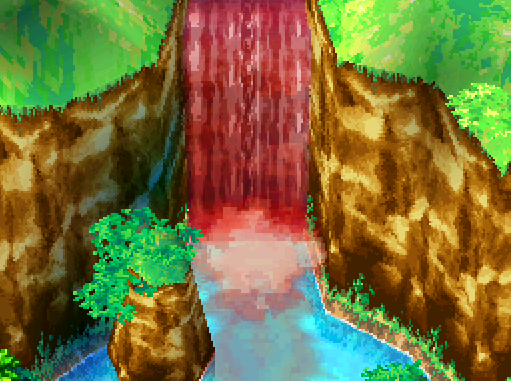
When you wake up you will be back in the Dream World again, which is the world your Hero is originally from and the world you started the game in. The game does a better job of explaining this later on. Upon exiting the church you'll witness a scene where the waterfall in town turns to blood (pictured below).
Tip: Explore the town again as there will be new treasures for you to collect in the Dream World version of this town. Bunny Ears in the northwestern most building are the best item to find.
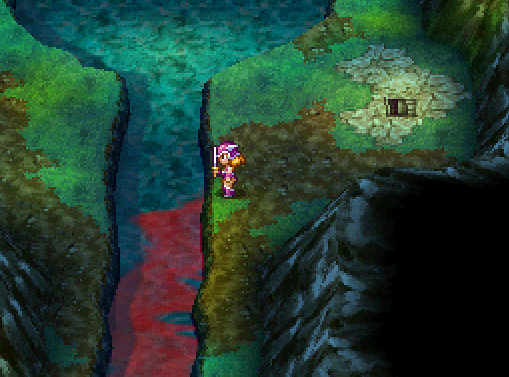
Once you're ready to proceed the with story head out to the World Map and north of Amor to the cave we passed on the way here. Just inside the cave you'll find a woman standing next to the river who is currently bleeding (and you may notice she shares the name of the old lady we talked to before going to sleep). To the right of her is where you will find the next dungeon's entrance.
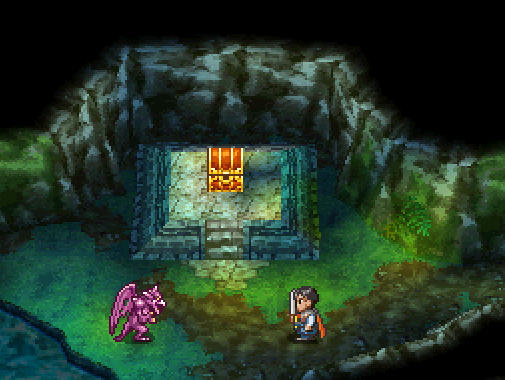
Amor Cave isn't a very big dungeon and the main puzzle of the dungeon is the moving logs in the second room. When you step on one of these logs they move directly down the screen and will lead you to treasure or to the stairwell to the next level. On the bottom level you'll find a man fighting a monster in front of a treasure chest (pictured above).
Interrupting his fight will result in a boss battle with Grrrrgoyle, your strategy for this boss will be pretty much the same as the previous one. Use Sap on him a few times with the Hero and then punch his face in. With the battle over, escort the man we saved back to the entrance for an Agility Ring then return to the town of Amor and spend the night at the church again.
When you awake the next morning speak with the old lady again and there will be a scene during which you'll receive the Mirror Key which you'll need to access Moonmirror Tower to the north of Amos. This is the dungeon that you'll find Ra's Mirror in.
Moonmirror Tower Map Location.

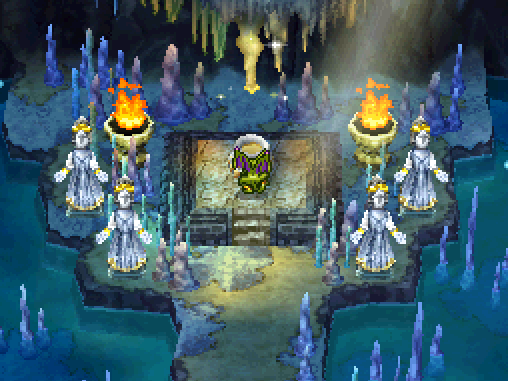
For the first room of this dungeon you'll want to examine the mirror in the northwestern most portion of the room (pictured above) since there is no reflection of the stairs. This will trigger a mini boss fight with 3 Corpsickle enemies. Use Milly's Squelch to cure any Envenoms that land on your party, other than that this fight is pretty straight forward.
There are two towers that you have to traverse in this dungeon but at the beginning you can only access the one on the right. On the fifth floor you'll bump into Ashlynn (pictured above) who suffers from the same invisibility ailment you did. Agree to let her join your party and give her some Dream Dew so that she becomes visible.
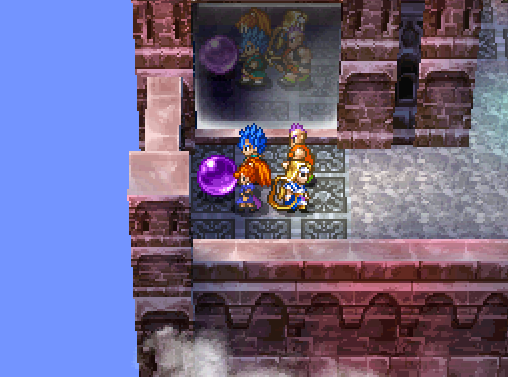
On the floors above Ashlynn you'll find a Lever and two Purple Orbs (pictured below). Use the Lever and you'll open up the other tower which previously was locked and inaccessible to you. As for the Purple Orbs you'll want to push them as far as you can to the right so that they shatter. With that out of the way head down the tower and up the adjacent one that you just opened the door to. You don't have to take the long way down; go south while on the top of the tower to find a spot that you can drop down to save yourself some time.

Inside of the adjacent tower you'll need to climb to the top again and destroy both of the Purple Orbs that are there. About half way up the tower there will be an easy puzzle where you can only see the stairwell reflected in the mirror. Inspect the mirror where you see the stairs when this happens to uncover them and proceed.
With both of the Purple Orbs destroyed in each tower the floating building in the sky comes crashing down between the two towers. Jump down from this tower and go inside of the building to find Ra's Mirror. Ashlynn also decides to join your party at this point which fills out our group (finally).
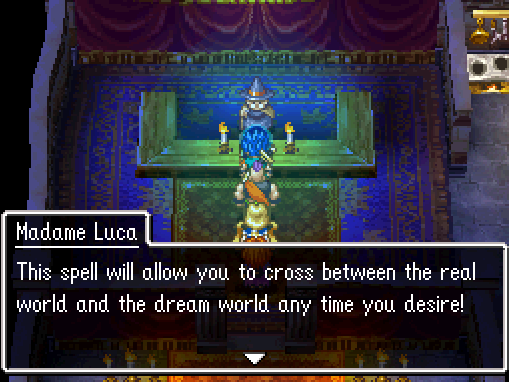
Before heading back to Somnia let's make a pit stop at Madame Luca's house and have her upgrade our Zoom spell to allow us travel between worlds. Additionally, she explains the situation going on in the game with the Real World and the Dream World. When you first began this game you were in the Dream World and you only appeared "invisible" in the Real World until Madame Luca gave you the Dream Dew.