Golden Sun: The Lost Age - Walkthrough Chapter 11
The previous chapter ended with us teleporting to a new location within the Mars Lighthouse. Continue along the linear path and you will eventually come across a room with some platforms you can jump to - some of the platforms will be normal but others will be covered in ice. Follow the obvious route through the area to reach the chest which has a Sol Blade inside, this is the best weapon in the game.
How to Reach Sol Blade: Down 3x, Up, Right (slide across ice), Down, Down, Down (slide across ice), Down, Right, Up x4
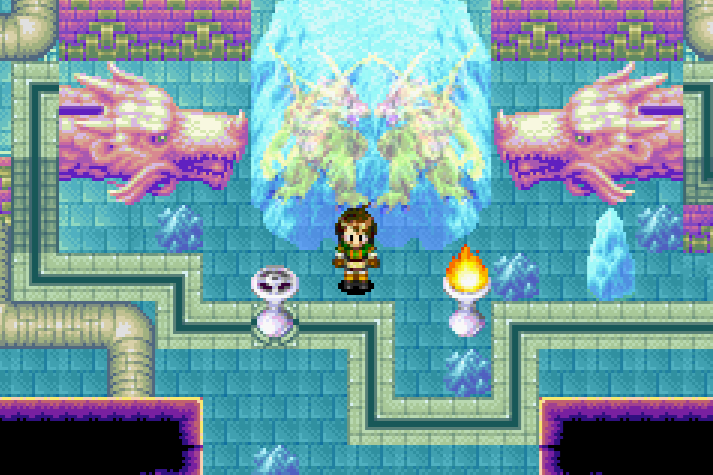
Equip the Sol Blade immediately and continue through the dungeon until you reach the room pictured below. As you can probably guess from looking at the puzzle you'll need to use Blaze and then Burst to free the two dragons frozen in ice. Also, as you can probably guess this will trigger a boss fight.
When the fight is over it is revealed that the two dragons are Karst and Agatio. They will give Felix the Mars Star and this will grant you access to the final part of this dungeon. Place the Mars Star into the dragon's mouth like it requests and it will light up the lighthouse.
Note: You have to select the Mythril Bag item from your inventory when interacting with the dragon's mouth to use the Mars Star.
Now that the lighthouse has been illuminated you'll want to use Retreat to return to the entrance. Since we've finished the first half of the dungeon - now seems like a fantastic time to take that break I was talking about and finish collecting all of the Djinn + complete the remaining side quest dungeons. There is a Djinni we can get before we leave this lighthouse named Fugue. Check out my Djinni Locations (Part 5) for more information about how to get him.
The Final Side Quests, Djinn & Optional Dungeons
Exit the Mars Lighthouse and use your Teleportation spell - check the World Map for all the places you can go. My first stop is always Yallam right now to forge the materials I have collected thus far. Once you're done in Yallam it's kind of up to you where you'd like to go next.
We have 3 different dungeons available to us right now, Treasure Island, Yampi Desert Cave and the final part of the Animal Trade Side Quest Dungeon. Below you can find links to each of these dungeons along with a little bit of info about what you can find there.
Treasure Island (Jupiter Djinni & Azul Summon)
Yampi Desert Cave (Venus Djinni & Daedalus Summon)
Islet Cave aka Animal Trade Side Quest (Mercury Djinni & Catastrophe Summon)
Each of these locations will give you more Djinni along with a Summon and additional loot. You can find a list of all the currently available Djinni below - you should already have every Djinni up to this point if not you should check out my Djinni Locations (Part 5) Guide for more information. Check the other locations if you missed some from earlier in the game.
Currently Available Djinn You Might Have Missed: Fugue, Gale, Crystal, Serac + Sap
After you obtain every Djinni in the game you'll get access to the final side quest dungeon of the entire game, Anemos Inner Sanctum. This dungeon has the hardest boss in the game, Dullahan. He will probably roll the floor with you if you're below level 45; even if you're level 45 you will need to use a unique strategy to beat him. This boss is no joke. Your reward for opening the dungeon is the Charon summon, your reward for beating the boss is the Iris summon.
Anemos Inner Sanctum (Iris Summon)
That about covers all of the optional content for us to do in this game. Once you've done all you're interested in doing it's time to continue with the final dungeon. You can use Teleport and travel back to Prox at any time. From Prox you can travel north back to the Mars Lighthouse.
Finishing The Mars Lighthouse
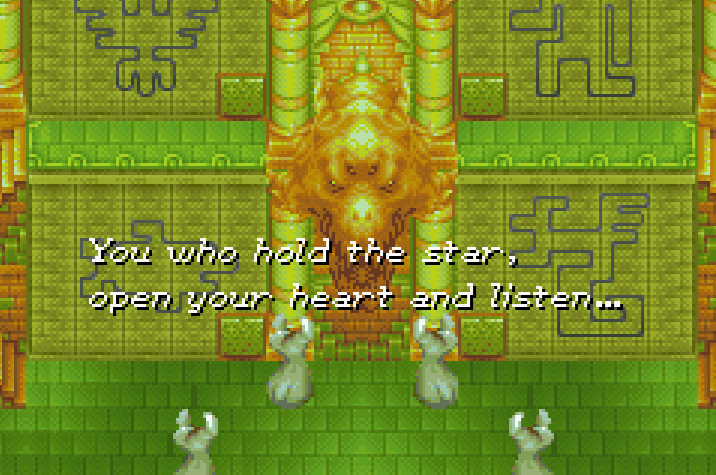
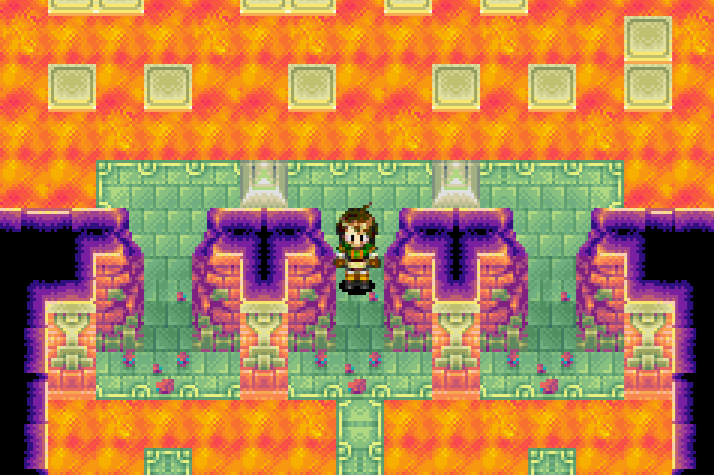
Go up the central stairs in the first room of the Mars Lighthouse, this will take you to a room with lots of platforms and lava below. Travel around these platforms to the next set of stairs and continue up to the next room. You will be stopped in this room when you go up the stairs by a voice (pictured below).
For this next part of the dungeon we need to complete four tasks, you can get more information on each task by reading the wall in each area.
When you want to begin one of these tasks you should approach the middle of the wall, this will make a doorway appear. You can do them in any order that you'd like - choose the section below that corresponds to the door you chose.
Wind: Bird... On the wings of truth, the ruled the winds
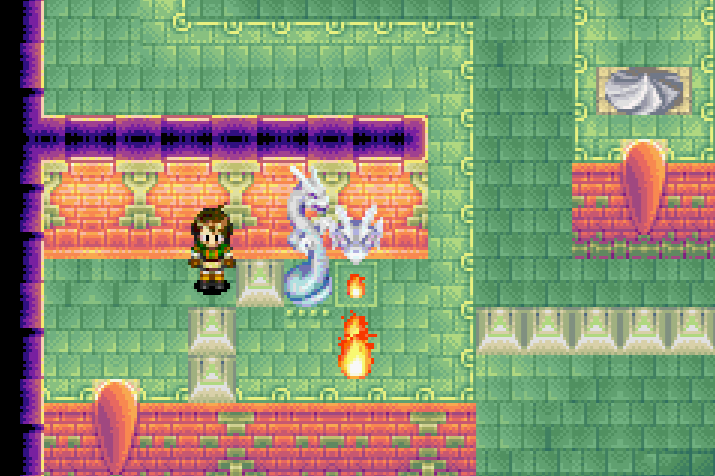
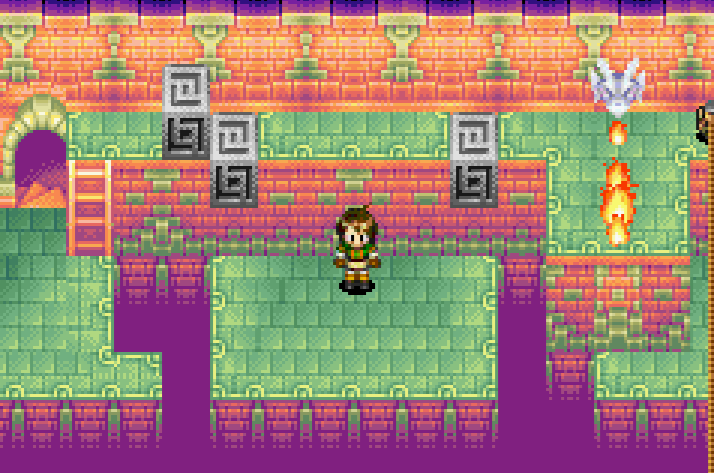
Use Cyclone on the left teleporter in both of the first two rooms; this will put you into the room shown in my screenshot above. Use Move on the pillar to push it in front of the statue here. You'll have to slide down and go through the first two rooms again, in the second room use the right teleporter this time and you'll be able to advance.
After teleporting to the platform on the right climb down the ladder above you and use Reveal on the circle of blocks to uncover another Cyclone teleportation pad. Use Cyclone on it and you'll be taken to a new room, use Cyclone on the next pad and you'll find yourself in another room.
In this room you'll want to use your Move Psynergy on the block to push it into the hole when the fire isn't above you. Once you move the block into the hole let the fire push you down below, this will let you circle around and climb back up. From here you can use Hover to avoid the flame and reach the platform in the middle. Guess what? Cyclone the pad to be taken to a new room, top left has a chest with a Psy Crystal inside.
This room has a dragon head that spits fireballs. Wait for it to fire and then run south, use Reveal to make a platform appear in the middle and jump to it. Then jump to the right until you reach the platform, this leads to an exit in the south. On top of the lighthouse you'll want to use Blaze on the beacon, this will shoot the flames into the bird picture and activate this torch back in the main room. Let the dragon head's fireball hit you in the previous room, this will save you time backtracking.
Water: Fish... With cold courage, they ruled the water
First Ice Floor Directions: Left, Down, Right, Up, Left, Up
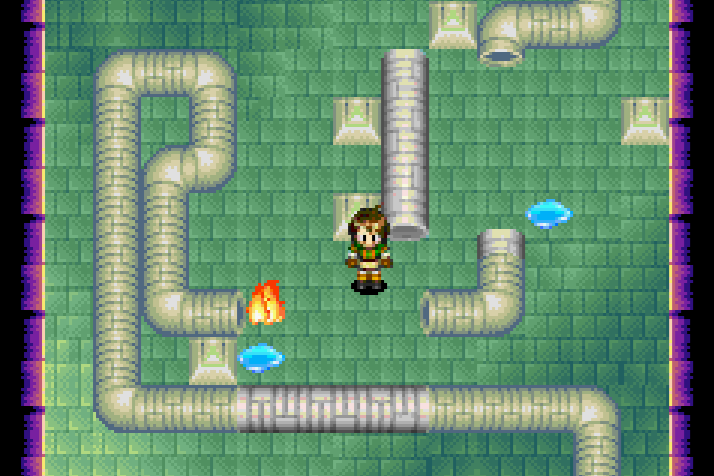
The first puzzle room of this tower is an ice puzzle. You'll have to follow the directions I give above to make your way across the icy floor. This will let you exit to the north and enter the second puzzle room. This is the main puzzle of this area, you have to do a few steps in here before we're forced to cross the ice again.
1. Freeze the northeast water puddle
2. Push the vertical pipe to the right
3. Push the horizontal pipe in the middle up
4. Freeze the puddle in the center of the two pipes
5. Push the horizontal pipe above the Frost pillar down
6. Push the lower horizontal pipe up
Successfully completing the above steps will trigger a scene of a torch lighting. Exit the room and slide down the ice. What you need to do now is go over the ice once more to reach the torch, use Blaze on the torch and it will clear a bunch of the ice obstacles. After doing that you'll need to go over the ice one last time to reach the outside portion of the tower with the torch we need.
Use my Second Ice Floor Directions to reach the Torch/Dragon Head and the Third Ice Floor Directions to reach the final portion of this area, the outside torch.
Second Ice Floor Directions (Dragon Head): Left, Down, Right, Up, Right Up
Third Ice Floor Directions (Finale Torch): Left, Down, Right, Down, Left
Fire: Dragons... Burning With Might, they ruled the fires
Before going inside circle around to the right hand side of the tower and grab the Alastor's Hood item from the chest. Enter the tower and use your Burst Psynergy on the two cracked walls, go through the left wall first. Our goal here is to step on the switch on the left hand side to light the torch. Return to the middle and jump around the right hand side; use Blaze on the torch to make the dragon head spit a fireball. This will crack the wall in the middle.
Use your Burst Psynergy on the wall in the middle to break it down, this will let us advance to the next area. In the next room push the first pipe into its proper position and then use Move on the pillar in the east. Move the pillar one spot to the left from the bottom and then approach it again from the top to move it a final time to the left.
Go through the new route we just made, push one more pipe to stop the next flamethrower and continue to the outside portion of the dungeon. Just like with the other ones, use Blaze on the torch up here to shoot fire onto the wall mural. This will complete this tower.
Earth: Mankind... With the powers of wisdom, they ruled the earth
Enter the final tower and use Move on the statue to the right. In the next room the statue on the far left will have a door behind it. Go through these two doorways and you'll eventually come to the room shown in my screenshot above. This room has a puzzle which we'll solve using the Carry Psynergy.
Push the two blocks below the divets in the ledge above. Use your Carry Psynergy on them and move them one spot up to place them into the divets, like you see above. Once you've done that climb up the ladder and push the final block all the way over to the right - right in front of the dragon head that is spitting fire.
Climb across the rope here and in the next area you'll find two more dragon heads that spit fire. This time you'll have to use your Sand Psynergy to go underground and dodge them. All in all, it's pretty easy. Follow the linear route outside and use your Blaze Psynergy on the torch to hit the mural with fire.
Dawn of the Golden Sun
We're now reaching the point of no return in this game, once you light all four torches in the room with the dragon head there will be a scene and a new teleportation circle will appear. Shortly after you use this teleportation circle and go upstairs you'll reach the point of no return. Save your game now since this is also the last spot that you're able to save.
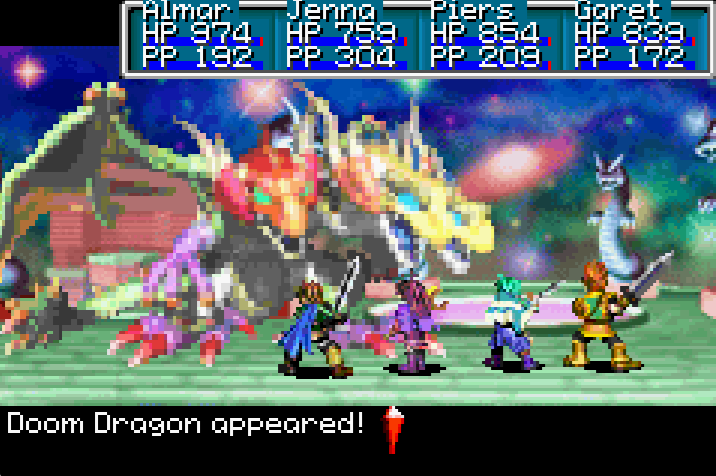
Use Teleportation on the circle when you're ready and proceed to the top of the lighthouse. There will be a scene here after which the final boss battle will begin! Our boss this time is the Doom Dragon (pictured below).
This battle works more like your typical boss fight - you can't cheese it with a summon rush strategy like you had to do with the Anemos Sanctum boss. For this boss you'll want to buff up your characters at the start of the fight, debuff the boss and the unload on him with all of your strongest attacks.
How you beat him is entirely up to you, there are many different ways to play this game. Once the fight is over you'll be treated to the final cutscene and the Epilogue.
Return to Golden Sun: The Lost Age - Walkthrough Chapter 10

