Golden Sun: The Lost Age - Walkthrough Chapter 5
The previous chapter of my walkthrough ended with us finishing the Tundaria Tower dungeon which is where we obtained the Center Prong for the Trident. Once we finished that dungeon we also visited Yallam to have the Blacksmith there craft some upgrades for us from all of the items that we've been finding.
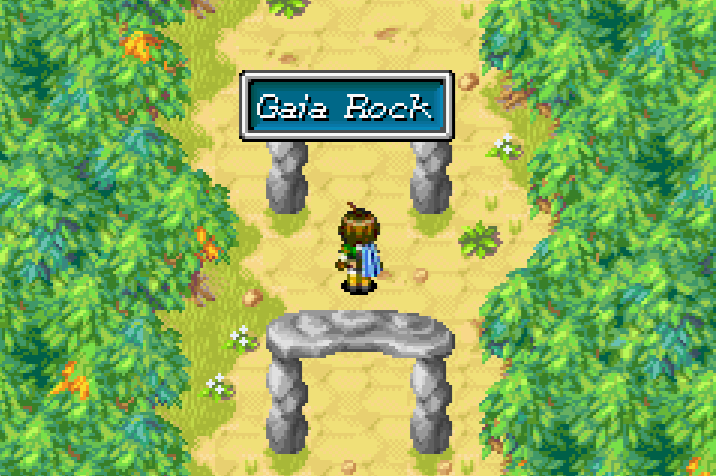
Now that we've got all of that out of the way it's time for us to visit a side dungeon, Gaia Rock. This dungeon will reward us with a new Psynergy called Sand, we'll also get a Djinni from finishing this dungeon too called Coal. Once you've obtained the Sand Psynergy there will be another Djinni that we can get in Apoji Islands, we'll talk about that once we get there. My point being, this Psynergy is quite important for us on our quest.
Our destination is an island in the northeastern part of the world map, here you'll find Izumo. If you're struggling with locating it check out the Golden Sun World Map that I have, it'll show you the exact location of Izumo as well as the next dungeon (which is just below Izumo) Gaia Rock.
For right now all you can do in Izumo is explore a bit and talk with the towns people. You'll learn the story of the town and of the dungeon, we're about to play a crucial role in this story. When you're done with Izumo exit town and enter into Gaia Rock which is directly south of the town on the World Map.
The Dungeon of Gaia Rock
Before going inside of Gaia Rock there is some stuff you'll want to do outside. The first thing you'll want to do is go up the left wall and push the pillar off the ledge. Climb down and use your Move Psynergy to push it into the center hole which creates a route across here. Follow the linear route to the next screen then climb up the wall on the right as high as you can go. Once you're at the top you can climb down the vine in the center to reach a chest with a Nut inside.
Climb back up to the top and use the slide on the left-hand side to fall down. Use the wall to climb up and continue left until you reach a statue that is blowing wind into a vine. The developers are telling you hint hint use Whirlwind on one of these vines and you can make it swing. With that in mind, climb down to reach the vine below and use Whirlwind on it. Felix will catch it and you can swing across to the other side. Use your Move Psynergy on the pillar here then return across the vine.
You'll want to climb down the vine near us next and go left until you can climb back up. Finish pushing the pillar over to make a new path that leads up and over to a new screen. On this next screen go down then follow the linear path up to reach the next area. Just remember to use Whirlwind when you find a vine hanging and you'll have no trouble.
In this next area you will have some statues at the bottom and a huge rock face to climb. As you climb up this wall statues will pop out and knock you down forcing you to start over. Thankfully you can only get hit by each statue once, it's all trial and error. When you reach the top of the mountain follow the north path, jump across the pillar and follow the path to a chest with an Apple inside of it.
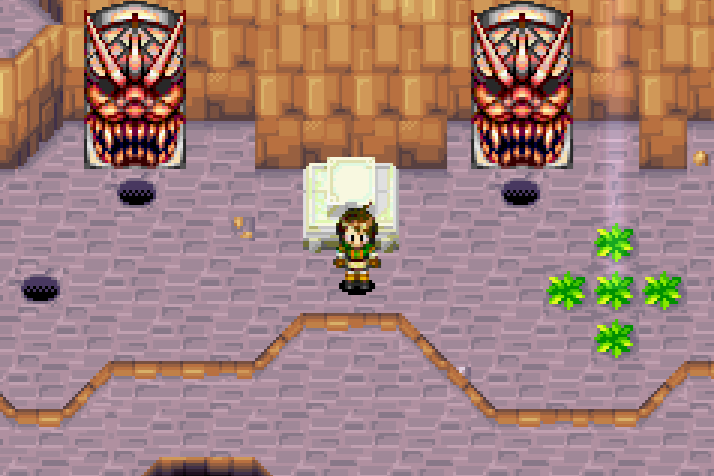
To advance forward through this area you'll want to backtrack a bit from the Apple chest and climb down the wall to the pillar. Use Move on the pillar to push it down all the way south that you can. Now you can jump across it to reach another area. At the very top of this area you'll find a circle of pillars with a curious looking platform in the center of it (pictured below).
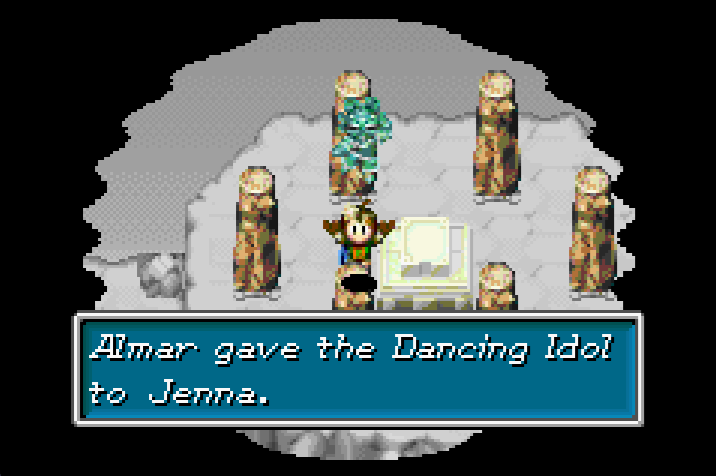
Use Reveal next to the platform to make a Dancing Idol appear, grab it since we'll need it later
Use Reveal next to this platform and you'll uncover a dancing... thing. Inspect the platform and you'll retrieve the Dancing Idol item which we'll need for a Djinni later once we're done Gaia Rock. For now we're done in the outside portion of the dungeon, use Retreat on Felix and run straight to enter the inside portion of Gaia Rock.
When you first enter Gaia Rock you'll notice another curious looking platform near the entrance. If you use the Dancing Idol we just got on this platform you'll open the two doors nearby which gives us three different routes to go. Let's start with the route on the right, if you follow the path it will lead you to a large patch of grass which you'll want to use the Cyclone Psynergy on. Doing this will spawn a bunch of flying platforms in the air, we can't do anything with this for the time being so return to the first room of the dungeon with the Dancing Idol Platform.
This time you'll want to go to through the left doorway, follow the linear route and you'll reach the same room as the grass from before but this time we'll be higher up. Jump across all of the flying platforms and exit this area to the north. You will eventually come to the room shown in the screenshot below.
Use the Dancing Idol on the platform here to move one of the statues aside. This will result in light shining through from above and you'll see a short scene involving the Serpent boss and light shining on him. Our goal for this dungeon is to shine multiple lights onto this boss to weaken it, this was our first one. Use the Cyclone Psynergy on the patch of bushes in this room and you'll shine light #2 onto him.
Head out of this room via the exit in the northwest and you'll eventually come across a patch of grass which is a perfect square. Use Cyclone on this to fight a Mad Plant miniboss, it'll drop a Potion. Continue south and you'll reach a large room with a massive wall you can climb. Before you do that though go down the stairs and through the doorway down here. This will put you into the same room from before with the Mad Plant miniboss, use your Dancing Idol on the platform to shine another light onto the boss - one more to go.
Return to the room with the large wall you can climb, faces will knock you off here too just like before in the dungeon. Go across the wall and then swing across the vine to reach a new area. This area has a platform in the middle with a spider web holding it up. Use your Cyclone Psynergy on the spider web to drop the platform and then slide down to it below. Use your Dancing Idol on the platform to shine the final light onto the Serpent.
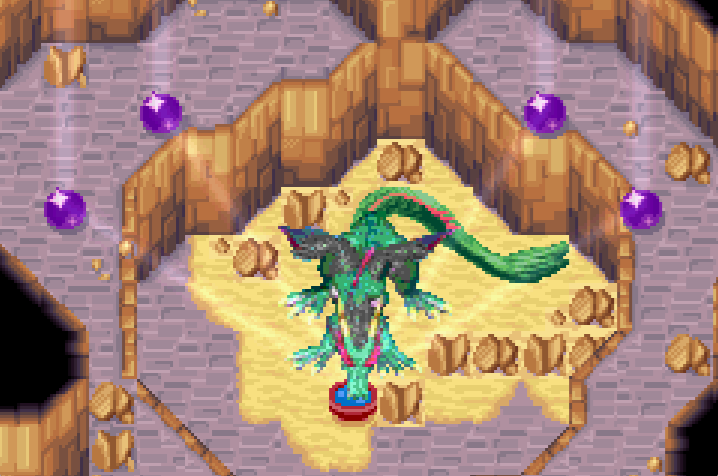
Once all four lights are shining on the Serpent, it's time to confront it!
Once you've shined all the lights on the Serpent it's time to confront him and beat him in battle. To reach the Serpent you'll want to travel back to the first part of the dungeon where we used the very first Dancing Idol. Remember how we went right and left but we never went up? That's what we're going to do this time!
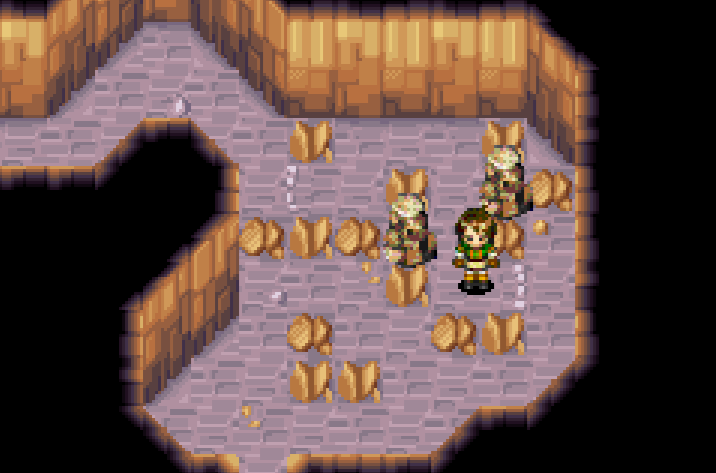
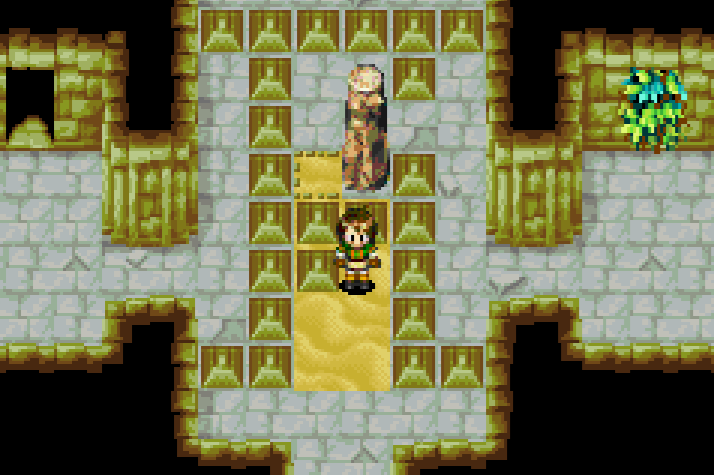
From the entrance of this dungeon you'll want to go north, keep following the path until you eventually come to an area with two rocks you can move around (pictured below). The first rock you need to move into the cubby that's above Felix in the screenshot (the cubby further away from where it started). This will let us move the second rock around the obstructions and into the first cubby, the one near Felix in the screenshot. It's a pretty easy puzzle to solve once you get the logic of how it works.
Continue deeper into the dungeon and the next room you come across will have a small plant growing in the middle and a haze of sorts that covers the area. In order to properly solve the puzzle in this area you will need to equip a Venus Djinni to Jenna or a Mars Djinni to Felix. Doing this will teach that character the Growth Psynergy. If for some reason this isn't working for you, put all Djinni on Standby except for two, one Venus and one Mars on either Felix or Jenna. That's all you need to learn this Psynergy.
So, now that we got that out of the way, for this next puzzle what you need to do is use the Growth Psynergy on the plant that's growing and then go in the direction it points. You'll have to do this 12 times in total so it's recommended you bind Growth to either L or R to make this a bit easier. As you progress through these various areas you'll also find some goodies like a Mimic in the third room that drops a Game Ticket when defeated.
When you reach the 7th room you'll find another chest, this one has a Rusty Mace inside of it. You can turn this into a Demon Mace at the Blacksmith in Yallam. Keep going from room to room until you eventually reach the large room with the Serpent. There will be a short scene when you arrive after which you'll want to run down and confront the Serpent yourself.
Since we cleared the whole dungeon and shined all of the lights on this Serpent he will be in his weakest form. Even though this is the weakest form the boss can still be a challenge depending on how prepared you are. He deals a lot of damage, sometimes to the whole party and he gets two attacks per round.
After the fight watch the short scene and then inspect the tablet for your reward. This teaches Felix the Sand Psynergy which will let you melt away into sand and get to new places. We can get a few new things with this Psynergy, the first of which is the Cloud Brand weapon which is behind the Serpent. Use Sand and go under him and inspect the location near the water (pictured below).
Once you've collected the weapon you're all done in this dungeon, you can't use Retreat in this room but when you exit this room you can use it. As you're leaving this dungeon there will be another short scene with the same guy from earlier, when it's done return to Izumo. In Izumo we need to watch the story scenes and give the Dancing Idol to Uzume for the Coal Djinni.
After the scene is over the last thing we'll want to do in Izumo is visit the Izumo Ruins. In the northwestern part of town you'll find a circle of pillars - one pillar will be out of place but you can Move it using Psynergy. Moving it will form a perfect circle, use your Reveal Psynergy and you'll see a ladder down which leads into Izumo Ruins.
Now that we have the Sand Psynergy you'll want to use that to go under the wood pillars here and use Frost on the puddles. This will create four pillars to jump across and will give us access to a new area in the northwest. In the next room you'll want to go right, climb down the ladder and use the Pound Psynergy on the wood pillar you find. You can use Sand Psynergy to bypass the other rock here too to reach the next area. All we need to do in this room is to use the Move Psynergy on the pillar and put it into the center. This will let us jump across to the ladder and then climb down into the hole we see.
This time you'll want to return to the fork in the road where we went to the right; this time we'll go left. Jump across the pillar we moved and climb down both ladders to reach a new area. Don't use Pound on the pillars yet, circle around first and grab the chest for a Phantasmal Mail armor. Return to the pillars and pound one down so we can get to the bottom area.
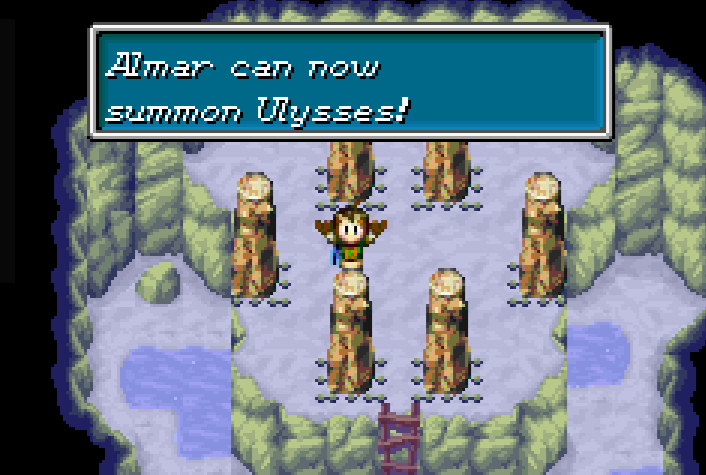
Follow the linear path around to a small reservoir of water and use your Parch Psynergy on it. This will drain all of the water and give you safe passage to the next area where you'll find a tablet that teaches you the Ulysses Summon (pictured below).
We are now officially done with the town of Izumo. Use Retreat to exit this dungeon and then leave town. Before we continue with the story there are two Djinni that we should get first. The first Djinni is found in Apoji Islands, head over to my Djinni Locations (Part 3) for more information on how to get him.
As for the next Djinni, you can get him by completing the Animal Item Trade Side Quest. You may have started this quest earlier when I told you to but you'd of been unable to finish it at that time. Now that we have the Sand Psynergy we're actually able to finish this. Completing both of these tasks will get you two Djinni which will make your characters more powerful for the challenges to come.
Once you're done with everything it's time to visit the next dungeon, Ankohl Ruins. You can find the Ankohl Ruins a tad bit north of the SE Angara Islet.
The Left Prong - Ankohl Ruins
To complete the next dungeon you will first need the Sand Psynergy which we obtained from Gaia Rock. If you're having any trouble locating this spot on the World Map check out the Golden Sun World Map that I have, this will help you find this dungeon and any other place you're looking for.
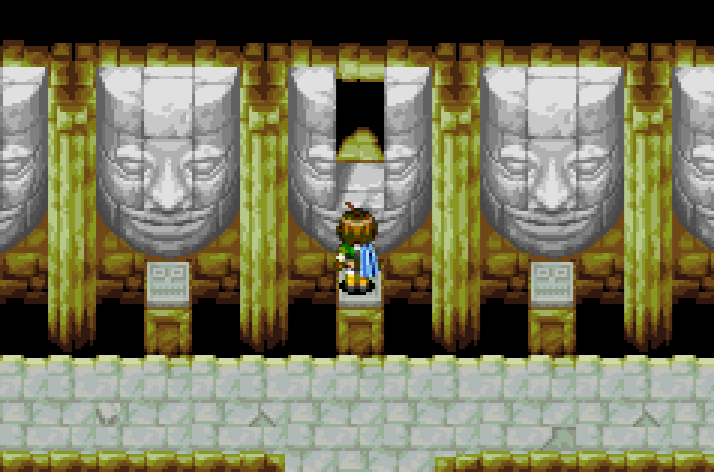
This dungeon will have many fake overgrowth bushes that will just make you waste PP. My advice is to look around the edges of the leaves to determine if there is anything behind it before you Whirlwind. Enter the dungeon and go straight, jump across all of the platforms to reach the 3 sets of leaves in the top of the room. Use Whirlwind on the middle set of leaves and go through the opening to reach a long room with a series of faces (pictured below).
Once you find this room the first thing you'll want to do is go all the way down to the right. Use your Move Psynergy on the face here and pull open the middle portion so that we can get in. We're going to be doing this with every face in this area, the first face we inspect (far right) will have a Crystal Powder inside of it. The face to the left of this one will have a set of leaves you can use Whirlwind on, the tunnel behind it leads you to a pillar that you can use Move on to push it one tile to the right. That's all we can do in this room for now but don't worry, we'll be back!
Keep going through the room with faces and using Move on all of them. Towards the left hand side of the room you'll find one face with 210 Coins inside of a chest. Go into the face on the far left hand side and you'll find yourself back in the room we moved the pillar in earlier. Use Sand to reach the chest here with a Nut inside of it.
Now we're done with all of these extra faces, return to the main room and take the exit in the bottom left to a new area. In this new area you'll want to go south, run past the two leaf clusters and go up the stairs in the bottom left of this area. Follow the route in this room to the patch of sand where you'll want to use your Sand Psynergy. You can follow this path of sand through the wall and to a chest that contains a Thanatos Mace.
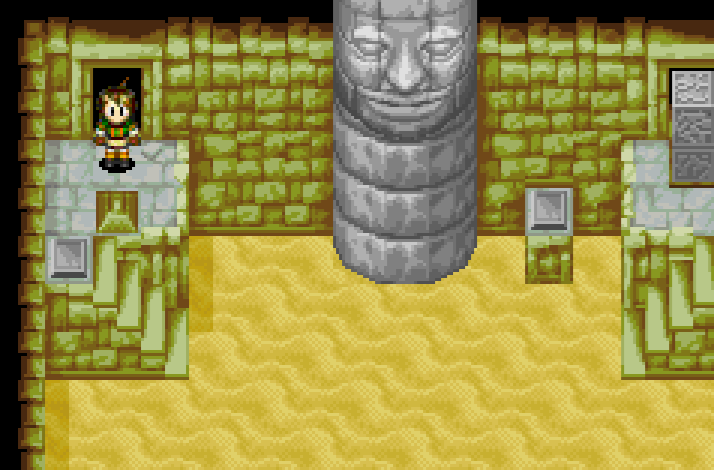
Backtrack from this chest to the hallway next to it and go north into the new area. Here you'll find a large stone you can push into a statue face (pictured below). Doing this will fill the room you're in with sand and give us a new route for later.
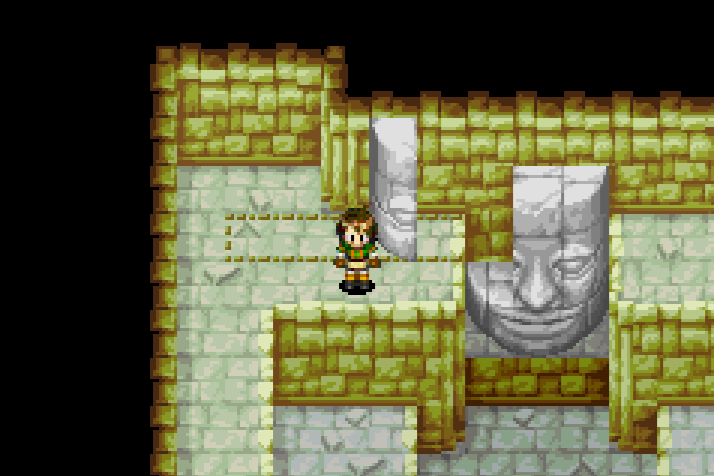
Push the left side of this face into the pit to make a complete one
Exit this room and return to the central chamber room with all of the faces. Take the bottom left exit again from this room and to the left of the door we exit from you'll find a set of leaves that you can blow away to clear a path to stairs that lead up. Follow the stairs up and you'll be in the same room from the screenshot above, just in a different spot. Grab the easy chest which has a Power Bread inside. Use your Sand Psynergy to crawl under the wall to the northern room and exit this area via the doorway in the northeast.
Continue south through this new area until you reach a doorway, go through it and travel northwest in the new area to reach a pillar that you can use Move on. Use your Move Psynergy to push this pillar one spot to the left, this will free up a small spot of sand that we can use to reach the chest in this corner which has a Vial inside of it. To get to this chest you'll have to backtrack to the previous room and exit via the northwestern doorway. South of the doorway that leads to the Vial chest you'll find another chest with 365 Coins inside of it.
When you're ready to advance through this dungeon you'll want to travel east of the chest with a Vial inside of it and go through the doorway you find. This will put you into the same room showed in my screenshot below.
For this room what you need to do is step on the switch before the stairs once - then wait until the sand fills enough so that you can step on the right switch. When you step on the right switch the obstacle in front of the door will clear and you can go through. Keep following the path and you'll find a small room with nothing but a slide down, so let's take it.
When you slide down you'll land in a room with another half-face that you can push into the stone face. One half of this face is still missing - that makes our next goal quite obvious. Push the pillar in this location to the left and you'll clear a vine shortcut to this location too. Exit via the doorway in the north when you're done here.
On the right hand side of this new room use your Move Psynergy on the pillar here to push it aside and then return to the previous room. Climb down one vine and go through the doorway - you'll eventually come to a room where you use Sand to get around the obstacle. After that room you'll find yourself back in the large room with all of the faces - we've been everywhere except the exit in the bottom right so let's head there next.
Continue through the linear hallway and use your Sand Psynergy to duck under the wall and reach the next doorway. In this next room you'll want to use Whirlwind on the first leaf pile you come across to open up the doorway that leads to a Muni Robe. Exit this room and continue through the dungeon, climb down some vines and then up another set on the left side of the room. Go through the doorway here and continue down the long hall to reach the area shown below.
Assuming that you moved the pillar earlier you should be able to use the Sand Psynergy to get across now. The leaves you see in the picture above will have a chest on the other side, inside you'll find a Sylph Feather. Grab that chest then continue east down the hall to another room.
This next room will be filled with sand and it will have two switches just like the one from before. Much like before too our goal right now is to hit the first switch to fill the room with sand and then hit the next switch to clear the obstacle near the door. Continue through the next hallway and use Whirlwind on the first pile of leaves you find, it'll lead to a chest that has a Potion inside.
Much like before, continue down the linear hallway and through the door. You'll be lead straight to another face that you can push the stone into to combine it. Doing this will cause the eyes of the statue to light up green. We need to run around this dungeon to reach the front of this statue next. When you get in front of the statue it will try to push you, use your Sand Psynergy to hide under the sand until it passes and then go back up to where it started. Here you can use Sand again to slide under the wall and reach a new location up north.
Tip: If you're having trouble timing your Sand Psynergy with this part you should quick bind Sand to L or R in the menu. This will let you hit your Sand Psynergy immediately upon stepping onto the sand.
Follow the linear route through the sand, up the vines and through the doors. Use Move on the first pillar you come across to make a shortcut and then enter the next area. Here you'll find a circle of brown and red blocks with half a stone face in the center of it. Your goal here is to push the stone face one spot left, use Reveal then push it into the hole.
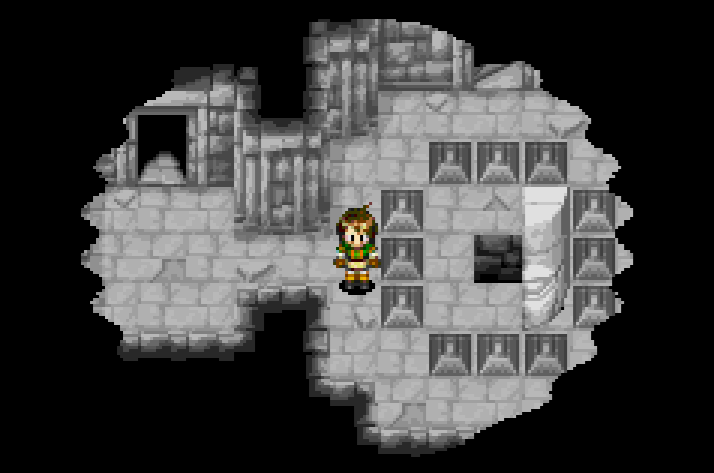
Push the stone face into the hole
After pushing it down into the hole go downstairs and push the stone face into the statue to activate it. Go back to the previous room that we made the shortcut in and use Sand to bypass the rocks, go through the door and exit in the southwest to reach the room we just activated the statue in.
Now we can use Sand in this room and climb the sand waterfall that the statue is spitting out. Exit the sand waterfall to the right and use the vines to climb into a new area. You'll be lead to another room with a sand waterfall that you'll have to climb up again to reach the top. Again, follow the linear route and you'll eventually reach the very tippy top of this dungeon which is where you'll find the Left Prong. Finally, now we're done with this place.
You can use Retreat to leave this dungeon, our next destination is the town of Champa which is where we can reforge this Trident into the item we need.
Continue to Golden Sun: The Lost Age - Walkthrough Chapter 6
Return to Golden Sun: The Lost Age - Walkthrough Chapter 4

