
Chapter 4 Walkthrough - Baldur's Gate 2
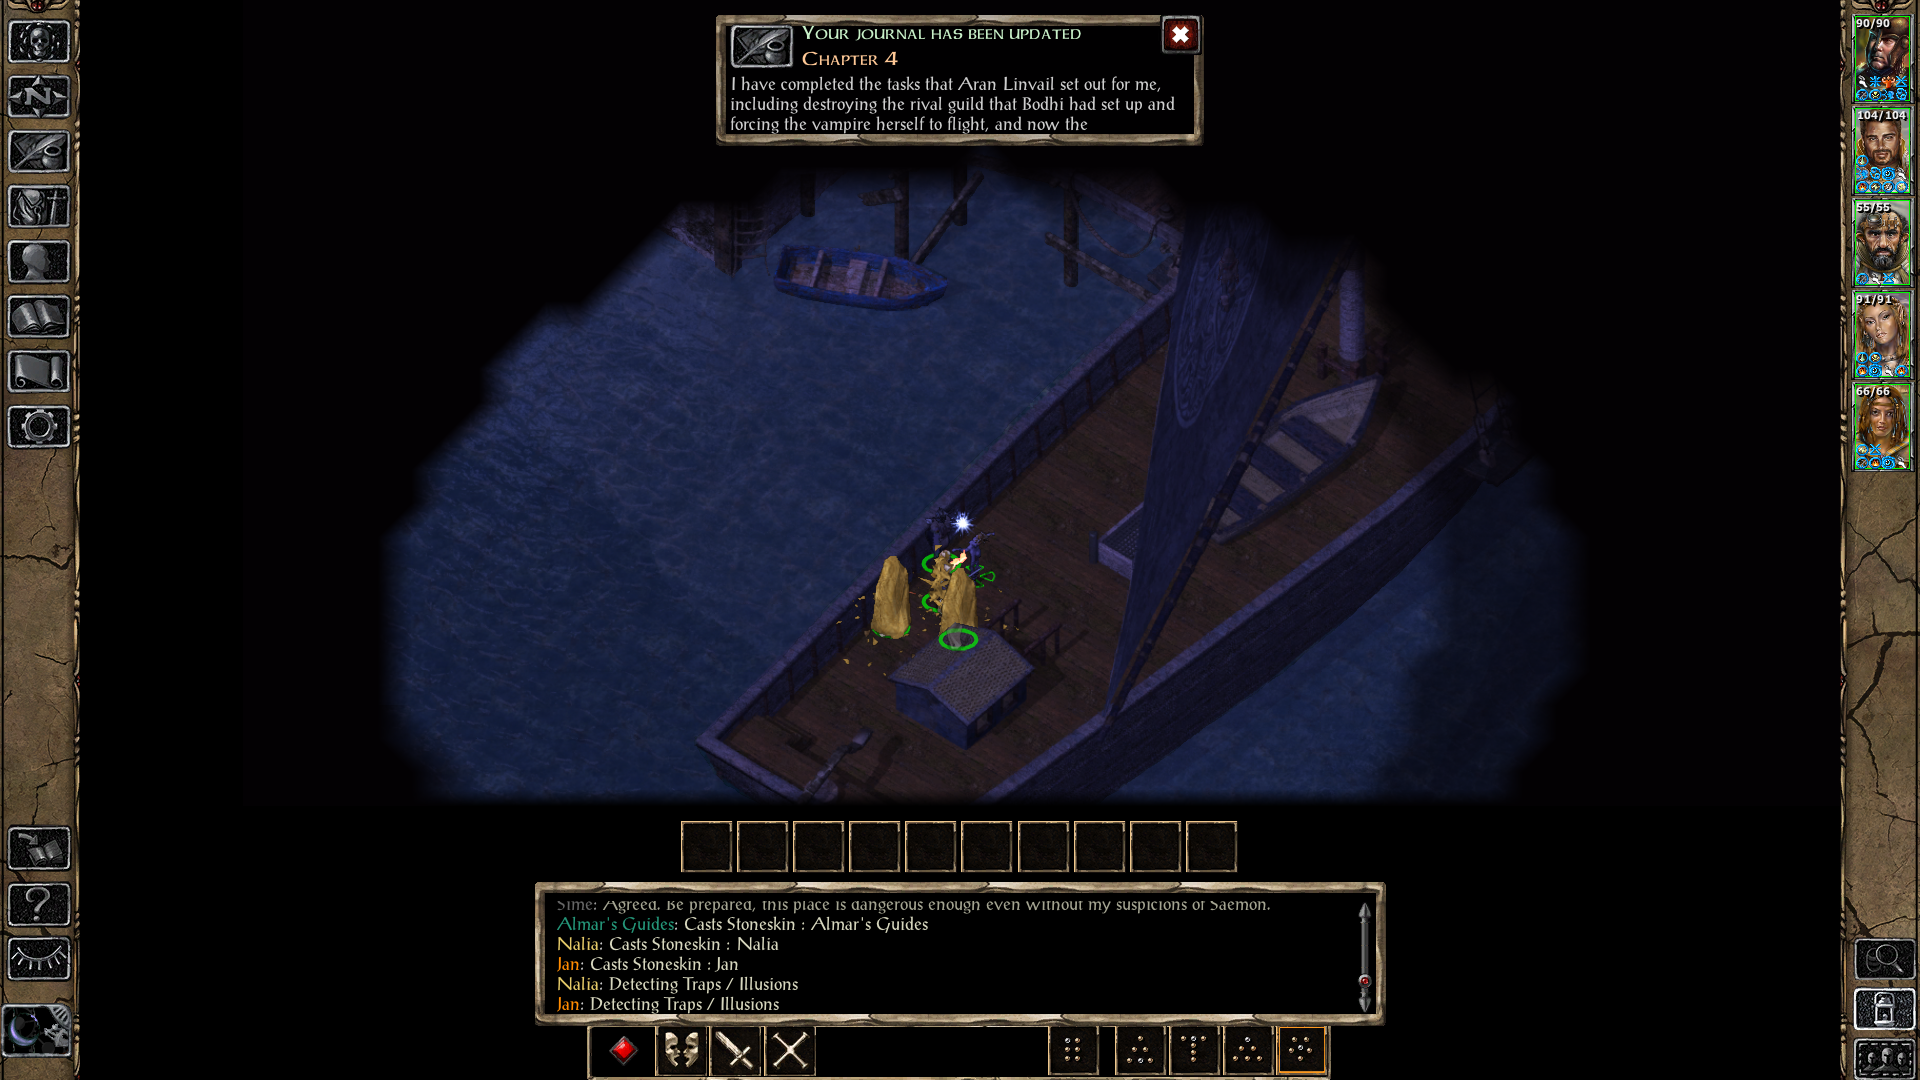
Chapter 4 begins when you arrive in the town of Brynnlaw which is adjacent to Spellhold. After getting off the boat you'll begin the Getting Inside the Asylum quest which is the main quest for this town and will require us to do a bit of running around. As always in games like this you will have multiple ways to solve the quest. If you don't want to take the convoluted approach where you sneak in then simply kill your way in.
To make everything easier for you I have put each of the steps we need to complete into a list format below.
1. Visit the Vulgar Monkey and speak with Sanik
2. (Optional) Talk with Ginia to start Island Concerns: Ginia's Tale
3. (Optional) Talk to and kill Chremy, he'll drop Galvena's Medallion
4. (Optional) Speak with a Courtesan (of the opposite sex) outside of Lady Galvena's Festhall to gain entry
5. Enter Lady Galvena's Festhall and kill the guard/lock pick the door to enter
If you are having trouble finding Lady Galvena's Festhall just open your map and check all of the map notes, this location is one of them. My preferred method of entry is the violent approach because it saves a lot of time and there is less running back and forth doing meaningless things. You'll recieve no Reputation loss for taking the violent approach.
For those of you who take the stealthy approach you will have to bribe the Courtesan out front or promise to take out Lady Galvena. They'll sneak you inside after which you'll have to use Sleeping Draught on some Guards then visit the Kitchen and put Sleeping Draught into some Ale to incapacitate the other guards and do various other running back and forth tasks.
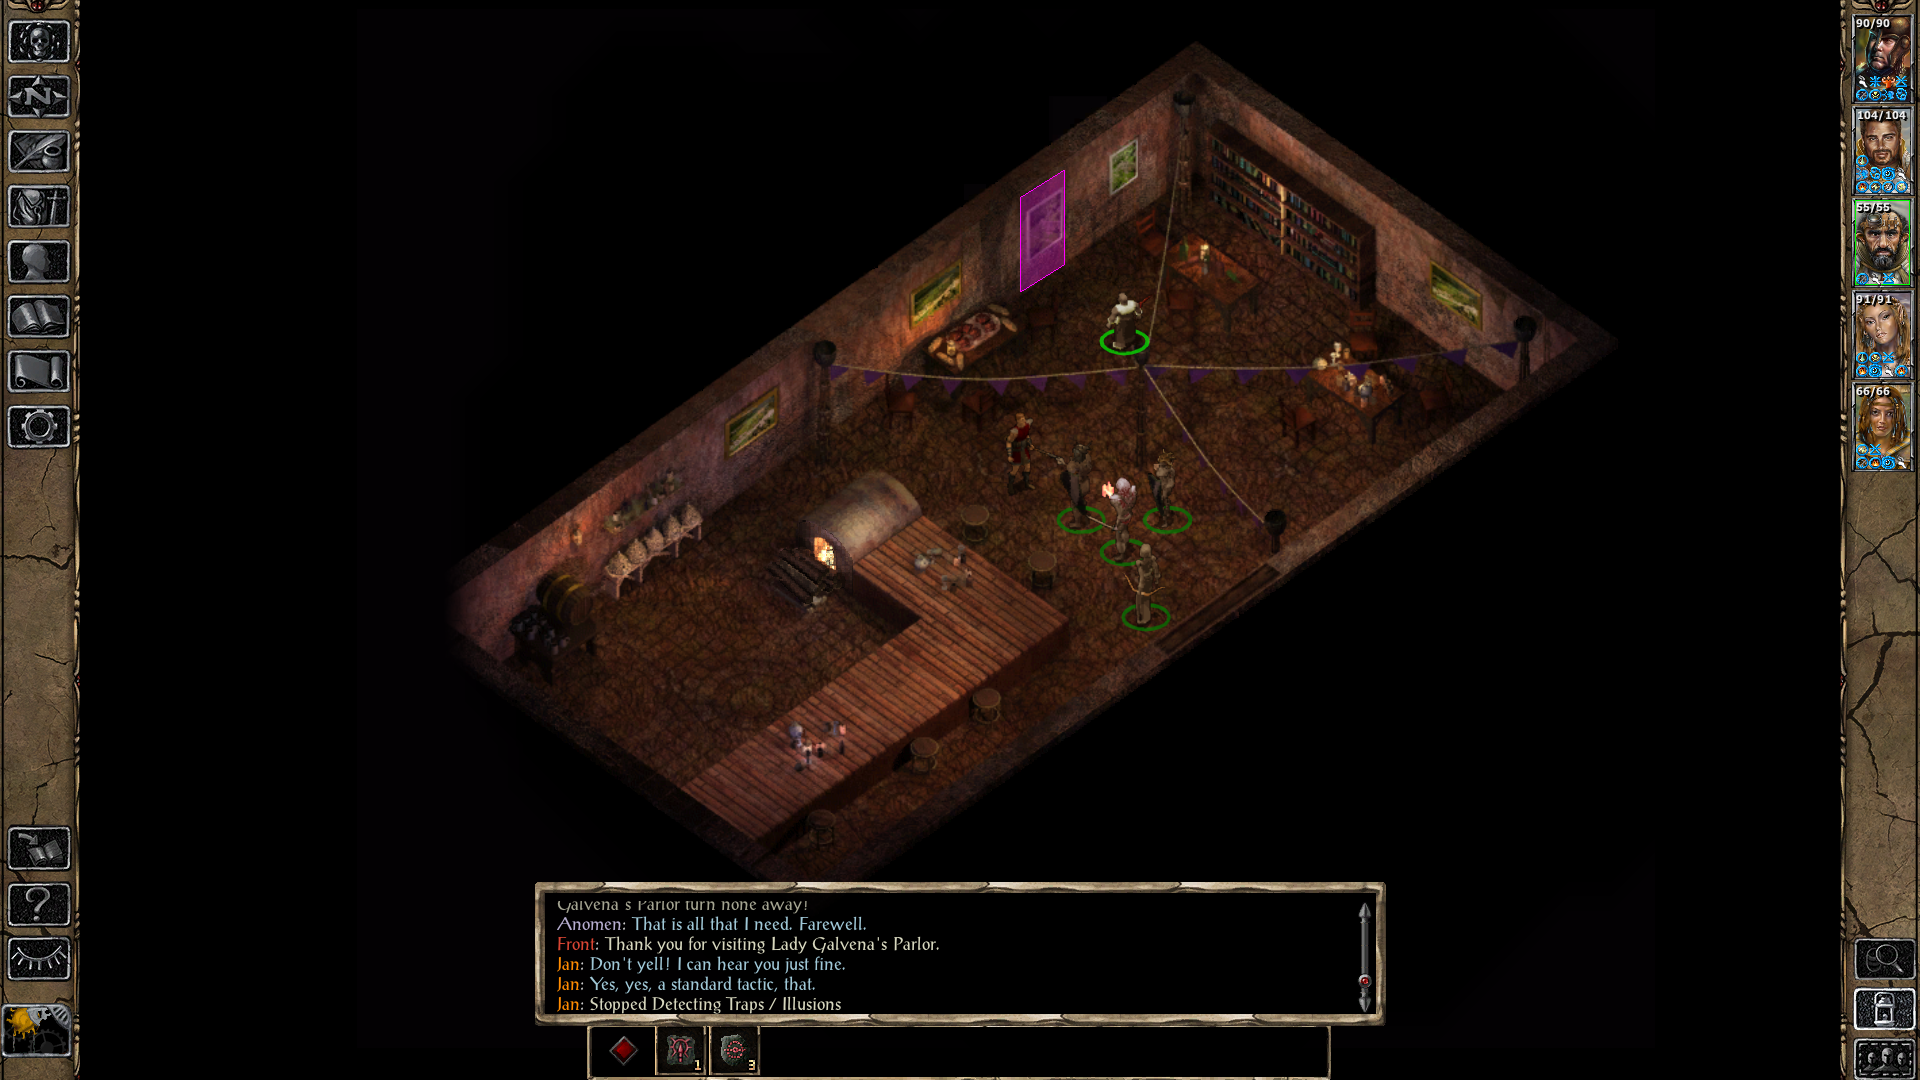
Unlock the hidden door and open it to turn everyone hostile and gain entry
Above is a screenshot of the entry room for Lady Galvena's Festhall. Those of you interested in taking the direct approach will want to Lock Pick the secret entrance then open it. Guards will be summoned when you do and Front will become hostile but that's ok, it just means more EXP for us.
Lady Galvena's Festhall is a very small dungeon with various rooms you can visit off the central hallway. Regardless of the approach you take to get in here what we need to do once inside is the same. The only rooms you are required to visit are the 2 at the northern end of the hallway; the door at the end of the hallway is where we need to go but it starts off locked.
Just before this door you'll find a side room that you can enter which has a single armoire container that you can open. Inside of this armoire is Galvena's Key which we need to access the room at the end of the hall. Use my screenshot below if you need some visual assistance to see what I am talking about.
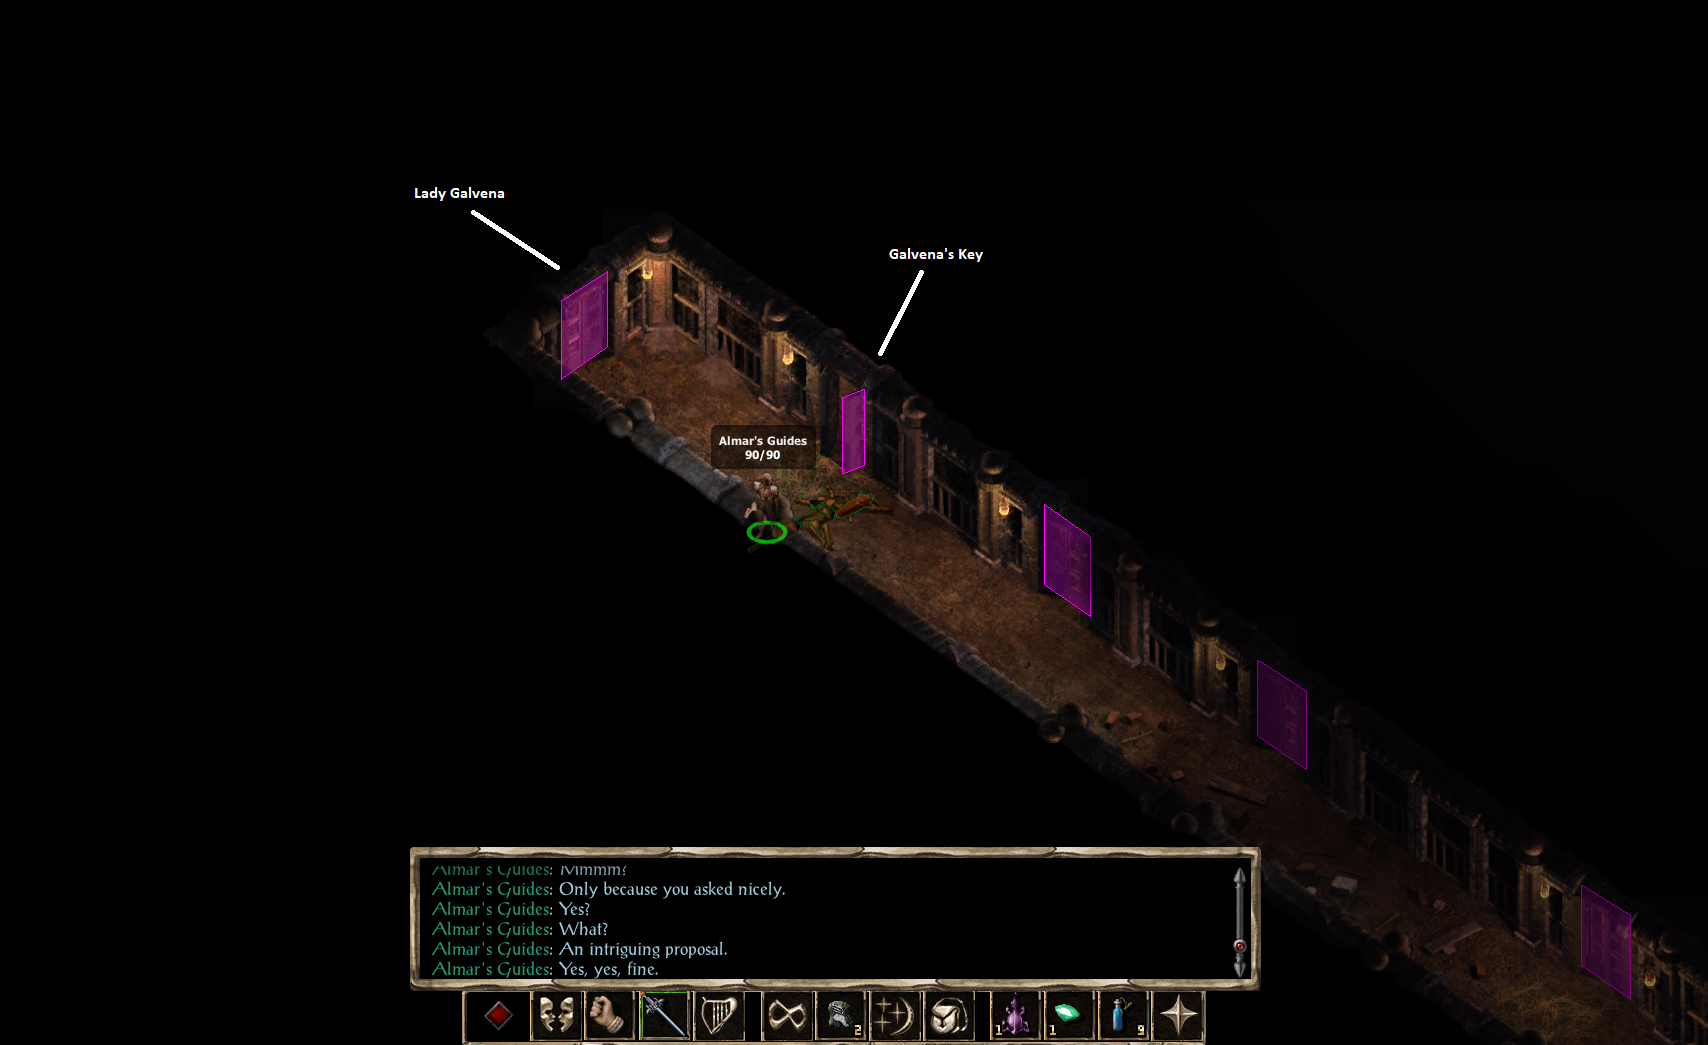
Where to find Galvena's Key & Lady Galvena
In the final room of this dungeon you'll find Lady Galvena along with her pet mage Vadek. You'll have to fight both of them before you're able to speak with Claire who is being kept in a jail cell behind them. After speaking with Claire you'll be teleported outside to the docks where you will get some more dialogue and information before regaining control of your characters.
At this point in time you have 2 ways of entering Spellhold and I actually recommend you do both! The first way is you can pretend to be insane and get admitted as a patient or you can kill Perth in town and loot the Wardstone to the Asylum off his body. I recommend you do both of these things because Perth drops a unique item called Book of Infinite Spells which you can't get anywhere else and getting admitted to the Asylum as a crazy patient will get everyone in your party 40k EXP.
You can find Perth's Home in the northeastern portion of Brynnlaw, a picture of the exact location is shown below. As for the Pirate Lord's Home, you can find that in the northwestern portion of Brynnlaw. The Pirate Lord's Home is marked on your map so you shouldn't have any trouble locating it.
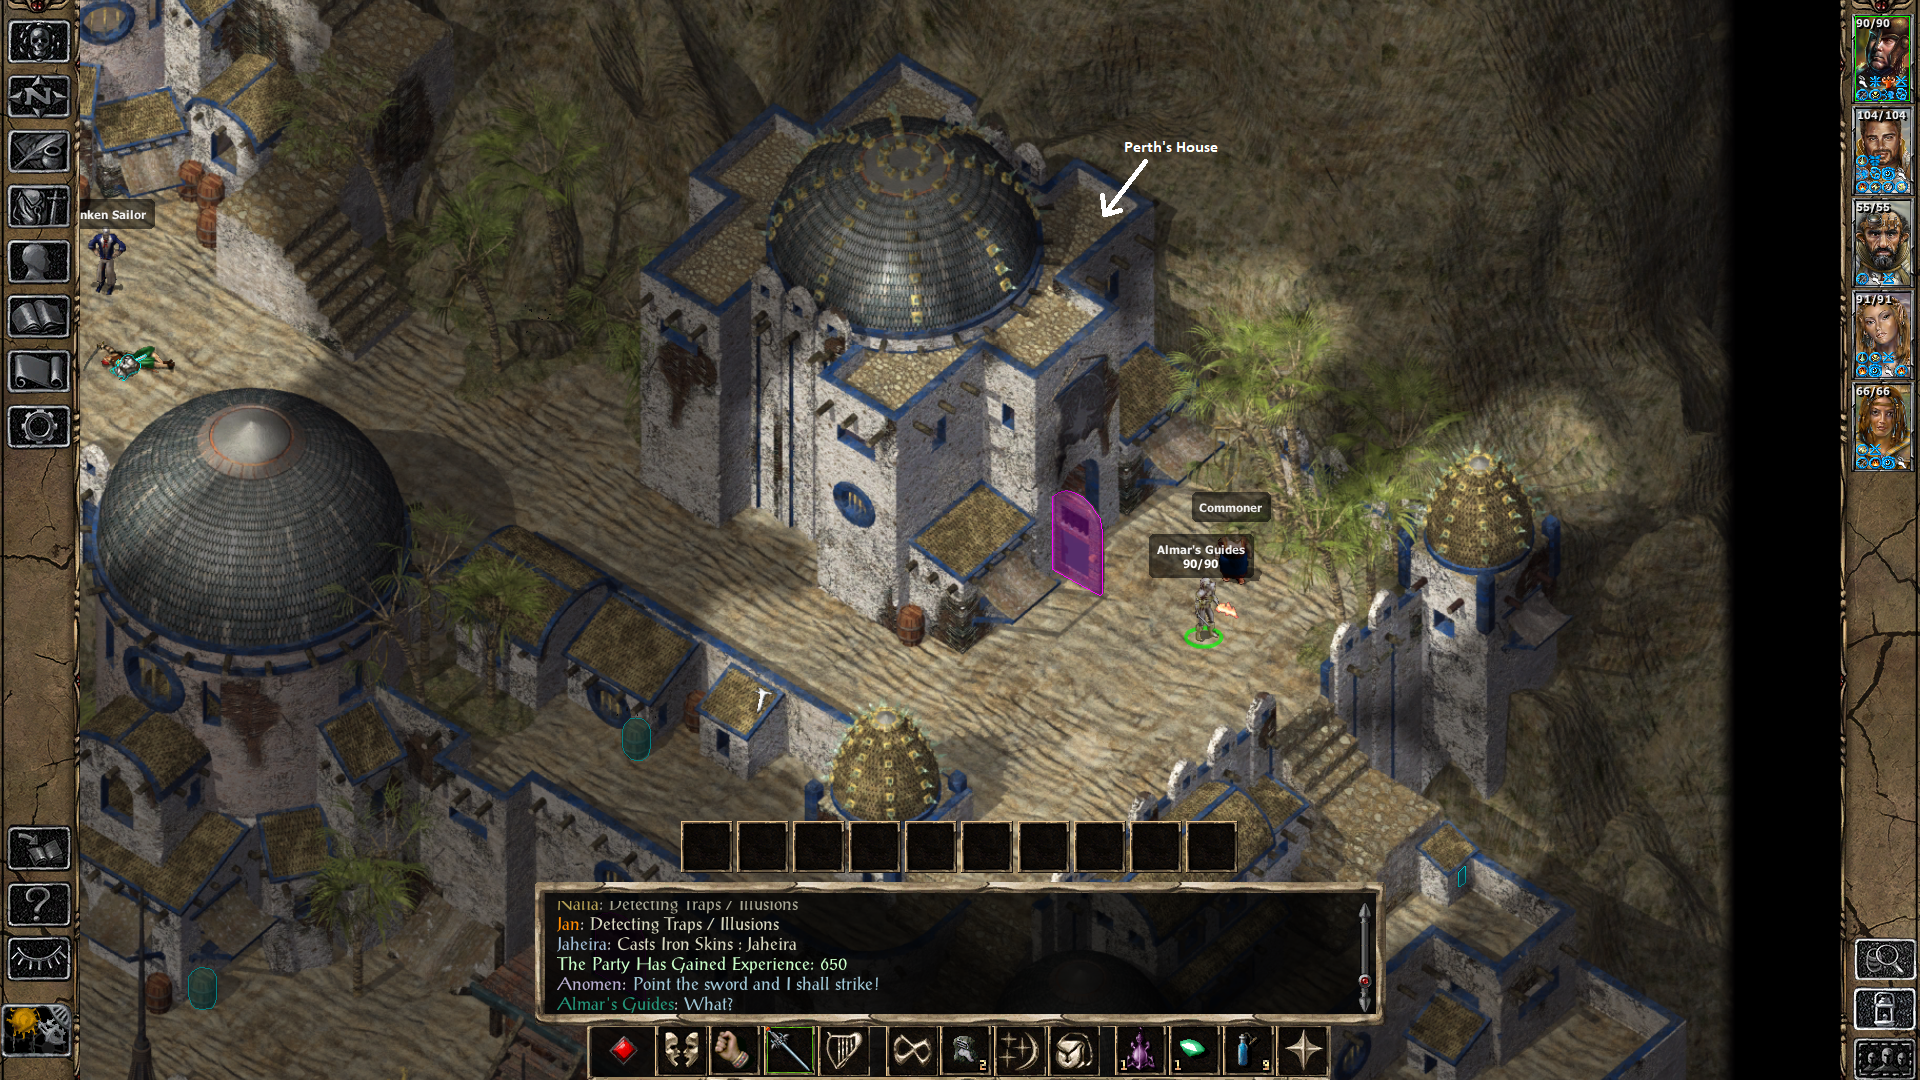
Perth's Home in Brynnlaw
As aforementioned, what I recommend you do is break into Perth's Home and take him out then visit the Pirate Lord's Home and try to get admitted as a crazy patient. In order to convince the Pirate Lord to admit you as a patient you'll need to have Minsc or Yoshimo in your party or a high Charisma stat. For those of you with low Charisma using something like the Friends spell or Ring of Human Influence to raise your Charisma will work just fine.
If you fail to get admitted as a crazy person or would prefer not to go that route then what you'll want to do next is exit Brynnlaw to the north. This will put you outside of Spellhold, all you have to do is run north to the entrance of Spellhold and enter through the front door. Depending on what route you take things will be slightly different once you get inside of Spellhold. Below is a little bit of information about the 2 routes.
Entering Spellhold as a Patient: To advance the story forward you will have to talk with every patient until none of them give you any new dialogue. Eventually Irenicus will teleport in by Dradeel in the southern most room.
Entering Spellhold through front door: When you enter this way you'll quickly run into the Coordinator (Irenicus) who will give you a tour of the place. Eventually you'll find Imoen after which there will be a scene and you'll be taken to the next area.
When Irenicus reveals himself there will be some dialogue before you're captured and subjected to more 'tests' from him. If you have Yoshimo in your party then he'll leave your party to betray you at this point and join Irenicus' side. You'll next find yourself in dream land when you regain control of your character.
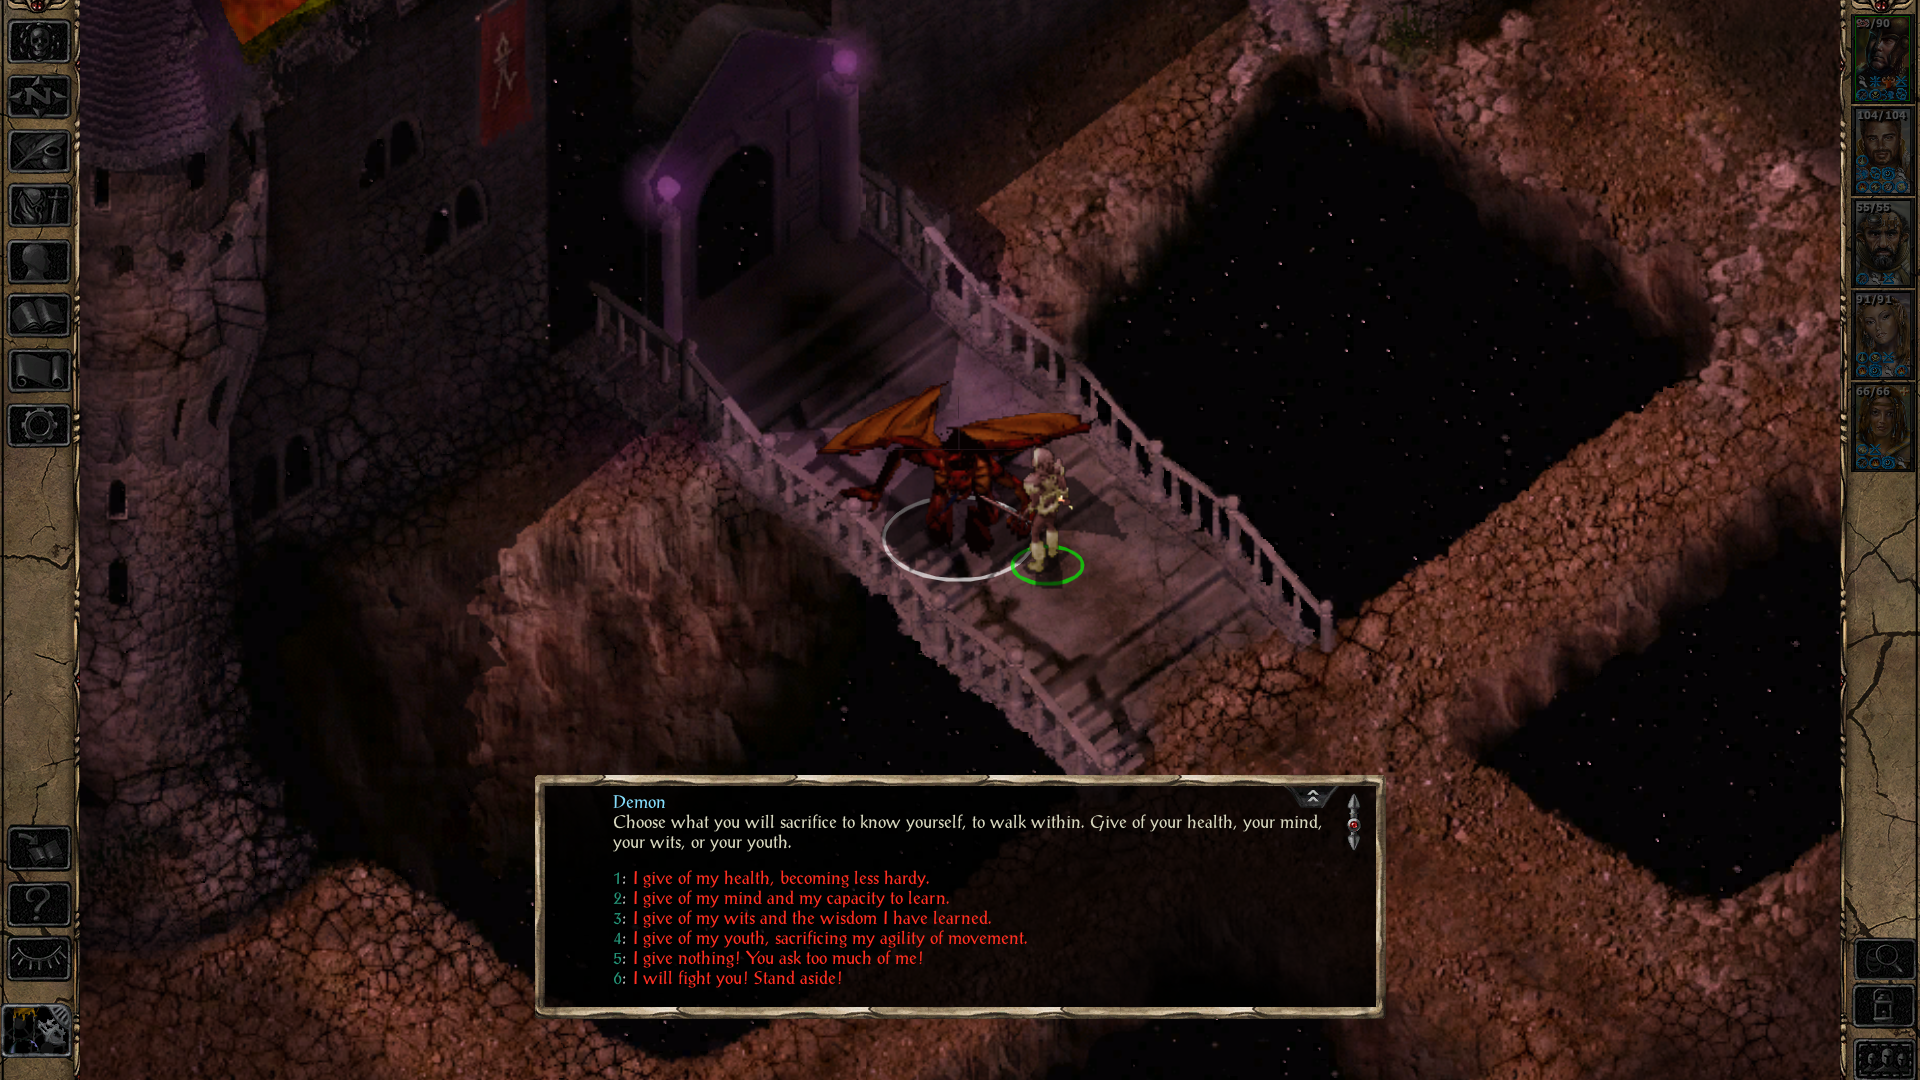
You must make a sacrifice and lower an attribute by 1 to proceed
You have 2 things that you will need to do in this dream sequence to advance the story. The first of which is to speak to the demon that blocks the entrance into Candlekeep. In order to gain entry you'll have to make a sacrifice which will lower a stat of your choice by 1. Typically the best choice is to sacrifice either Intelligence or Wisdom - whichever of the 2 is less important for your character.
Inside Candlekeep's Library you'll find Imoen who you should speak with. She'll tell you to "lead the beast here" which is our next step. To the west of the Candlekeep Library you'll find Bhaal who is the beast in question. If you try to fight him on your own you won't be able to kill him so what you need to do is escort Bhaal back to Imoen and fight him together.
There will be some dialogue with Imoen, Irenicus and Bodhi after which you'll regain control of your characters in a new area - Spellhold Dungeon Level 1.
After your dialogue with Bodhi you'll be able to talk with Imoen nearby and recruit her to your party again if you wish. The very first thing I recommend you do is pick up the nearby Bag of Holding; it's found by going up the northeastern staircase that Imoen is next to and in the room across the hall. Bag of Holding allows you to store up to 100 items inside of it without having to worry about weight or anything like that.
If you would like a detailed walkthrough of this dungeon I strongly recommend you check out my Spellhold Dungeon Level 1 Overview along with my Spellhold Dungeon Level 2 Overview pages. Both of these pages will give you information about every room, how to solve every puzzle and everything else that you need to know.
To proceed to the next level of this dungeon what you'll have to do is collect The Hand of Dace and Kurtulmak's Crystal Shard from Level 2 and use them on the statue face in the southern portion of Level 1. This will reveal the staircase that leads to Spellhold Dungeon Level 3.
Below you'll find picture solutions for the 2 main puzzles that you'll find in Spellhold Dungeon Level 1. As previously stated for more information about the dungeon as a whole check my overview pages.
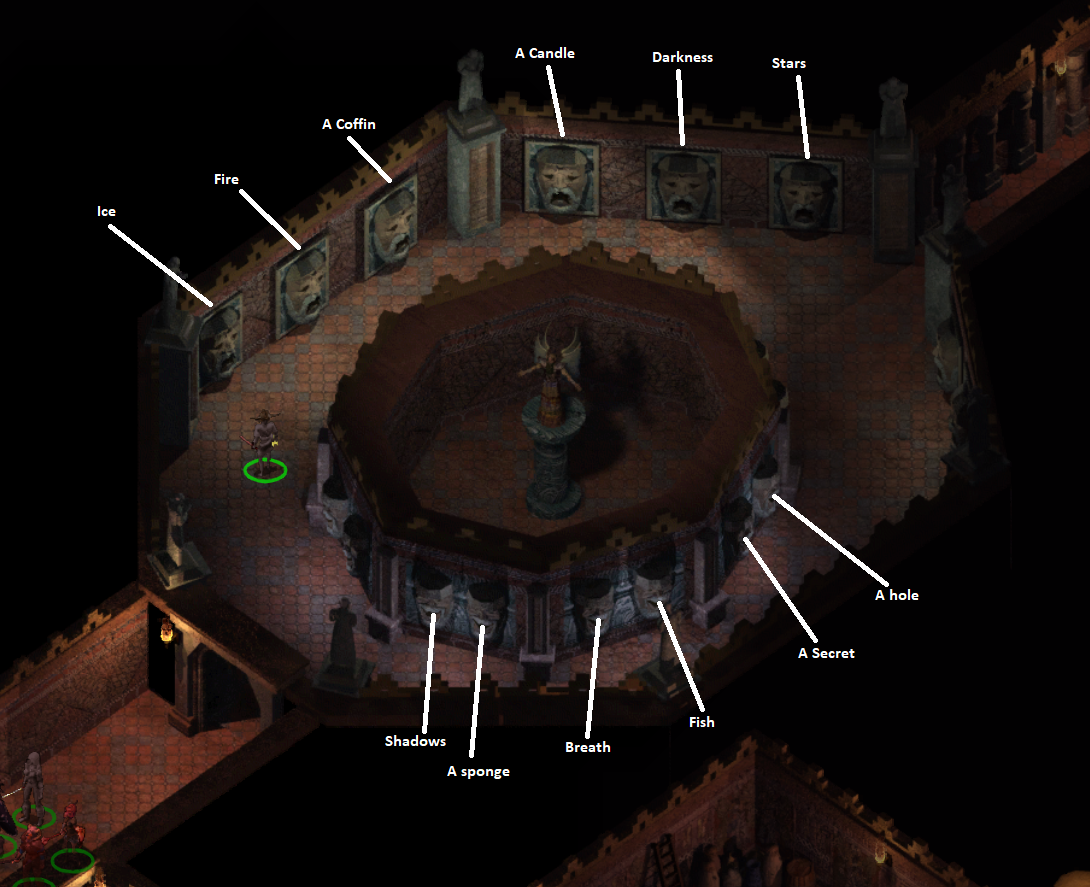
Spellhold Dungeon Level 1 Statue Faces Riddle Solutions
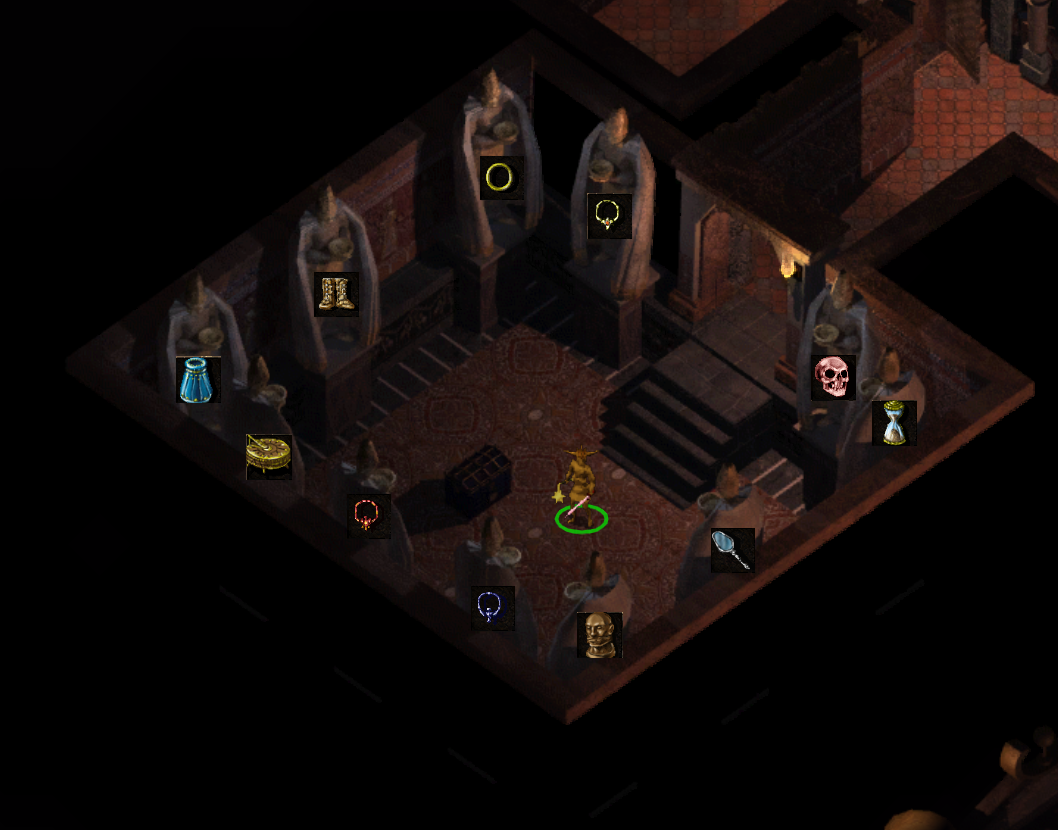
Spellhold Dungeon Level 1 Statue Riddle Solutions
Once you have collected The Hand of Dace and Kurtulmak's Crystal Shard from Level 2 you'll want to return to Level 1 and use them on the statue face in the south. If you're confused about where this statue face is open the map and it's got its own Map Note titled 'Exit'. With both of these items in your inventory interact with the statue head and it'll open its mouth to allow you passage to the next level of the dungeon.
Spellhold Dungeon Level 3 is the final floor of this dungeon and much like with the previous floors it has quite a few puzzles and secrets hidden throughout. While you're here you will definitely want to go out of your way for the Paws of the Cheetah boots that you can get from the Mithral Token puzzle. For more information about this check out my Spellhold Dungeon Level 3 Overview page.
To advance the story forward you'll have to find Bodhi in the southeastern room of this level and defeat her. During this fight your character will transform into the Slayer which is a powerful Avatar form that you'll be able to use at will for the rest of the game.
Note: It is possible to permanently bug out your game during this fight with Bodhi if you kill her too quickly/overkill her while in Slayer Form. This has happened to me a couple of times while playing through this game. Reload a previous save if it happens to you to fix it.
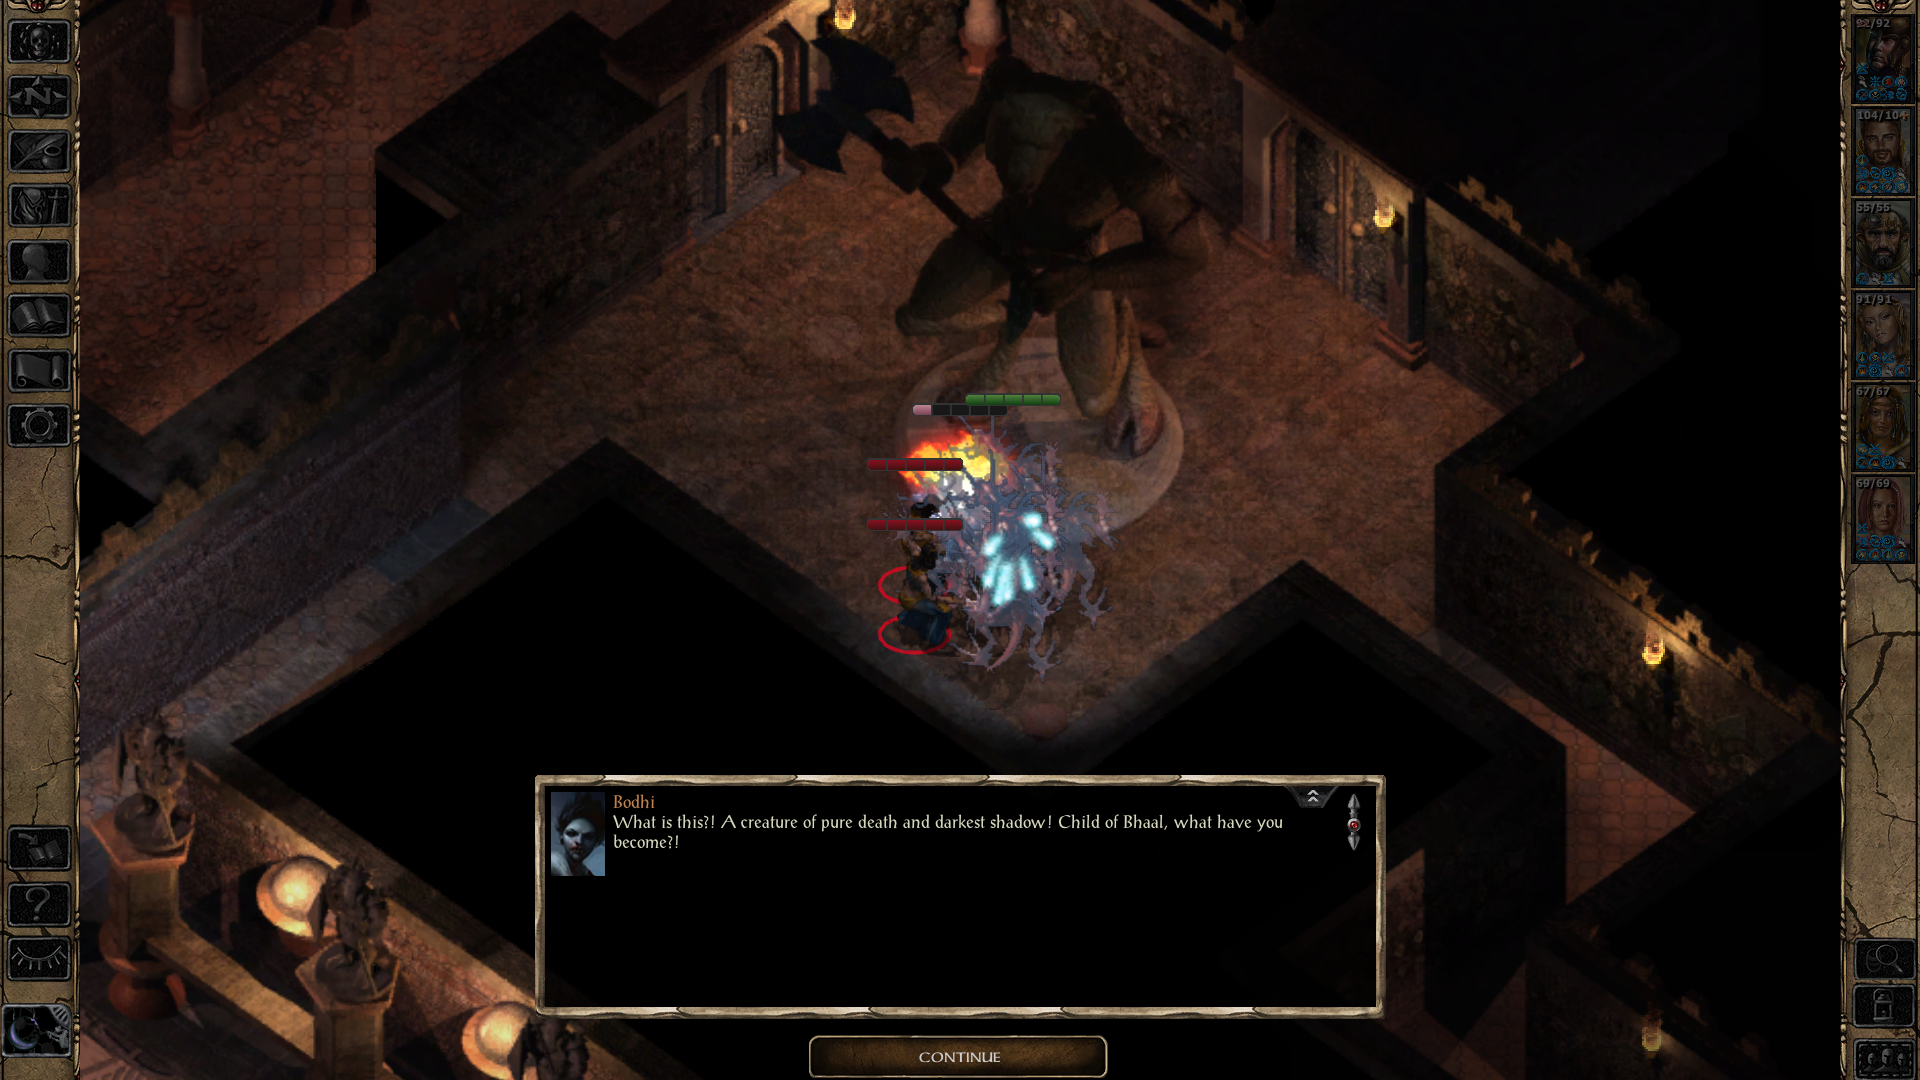
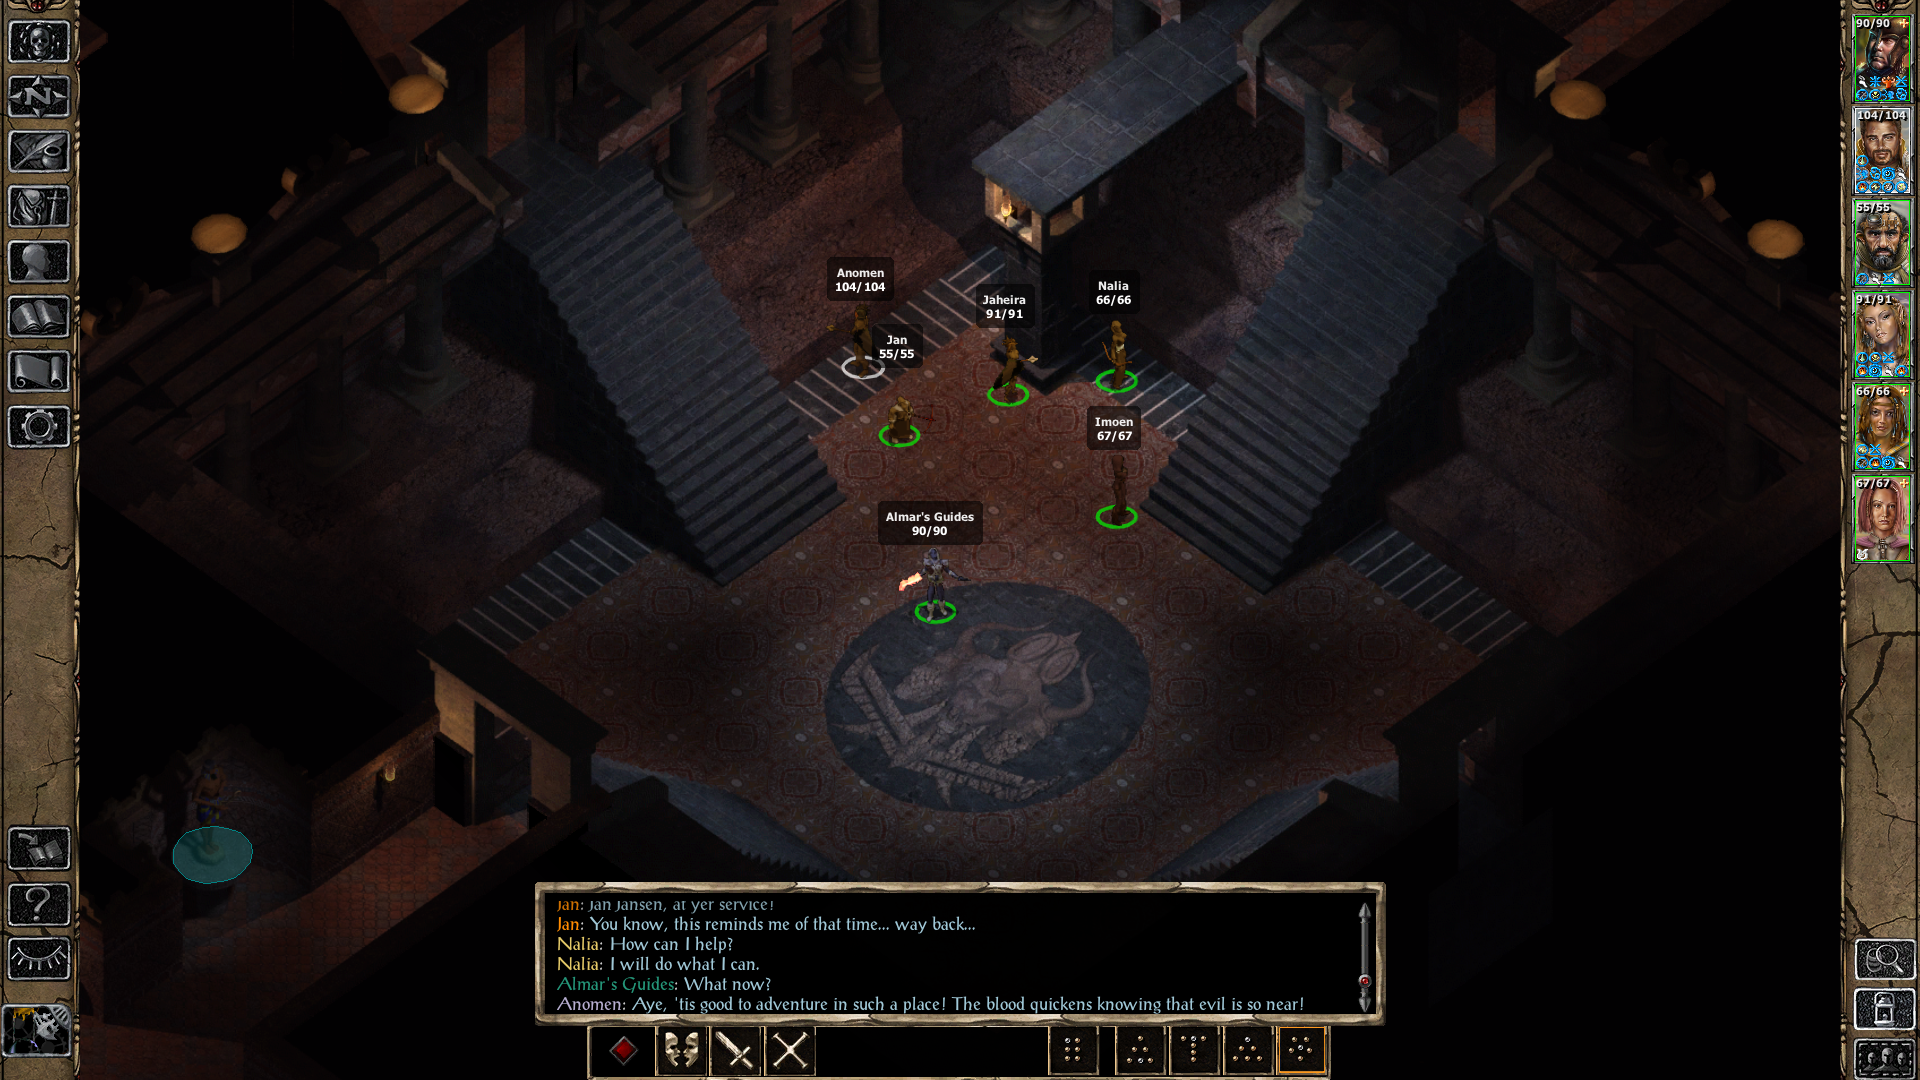
Fighting Bodhi in Spellhold
In the same room that you fought Bodhi you'll find a giant Minotaur Statue (pictured above). To advance to the next (and final) part of this dungeon you'll have to find 2 Minotaur Horns from the containers on Level 3 and use them on the statue. For locations of both these horns check my Spellhold Dungeon Level 3 Overview page.
The final part of this dungeon is known as the Spellhold Tests and it's going to be the most complicated part to explain to you. Essentially how these tests work is you have a "good" path and a "bad" path, if you answer the riddles correctly you'll be put on the good path and you'll be given more rewards. Answering incorrectly or refusing to participate in the tests will put you on the "bad" path.
For detailed information about the Spellhold Tests and what to expect on each path you should check out my Spellhold Tests Walkthrough. There are a couple of secrets and optional magical items to find in tests 2 and 3 which I explain in that guide. Alternatively if you'd prefer a video guide for this check out my Spellhold Tests Youtube Video Tutorial.
When you've finished with the Spellhold Tests you'll find yourself back in the Spellhold Asylum on Level 2 where you will be greeted by Saemon Havarian.
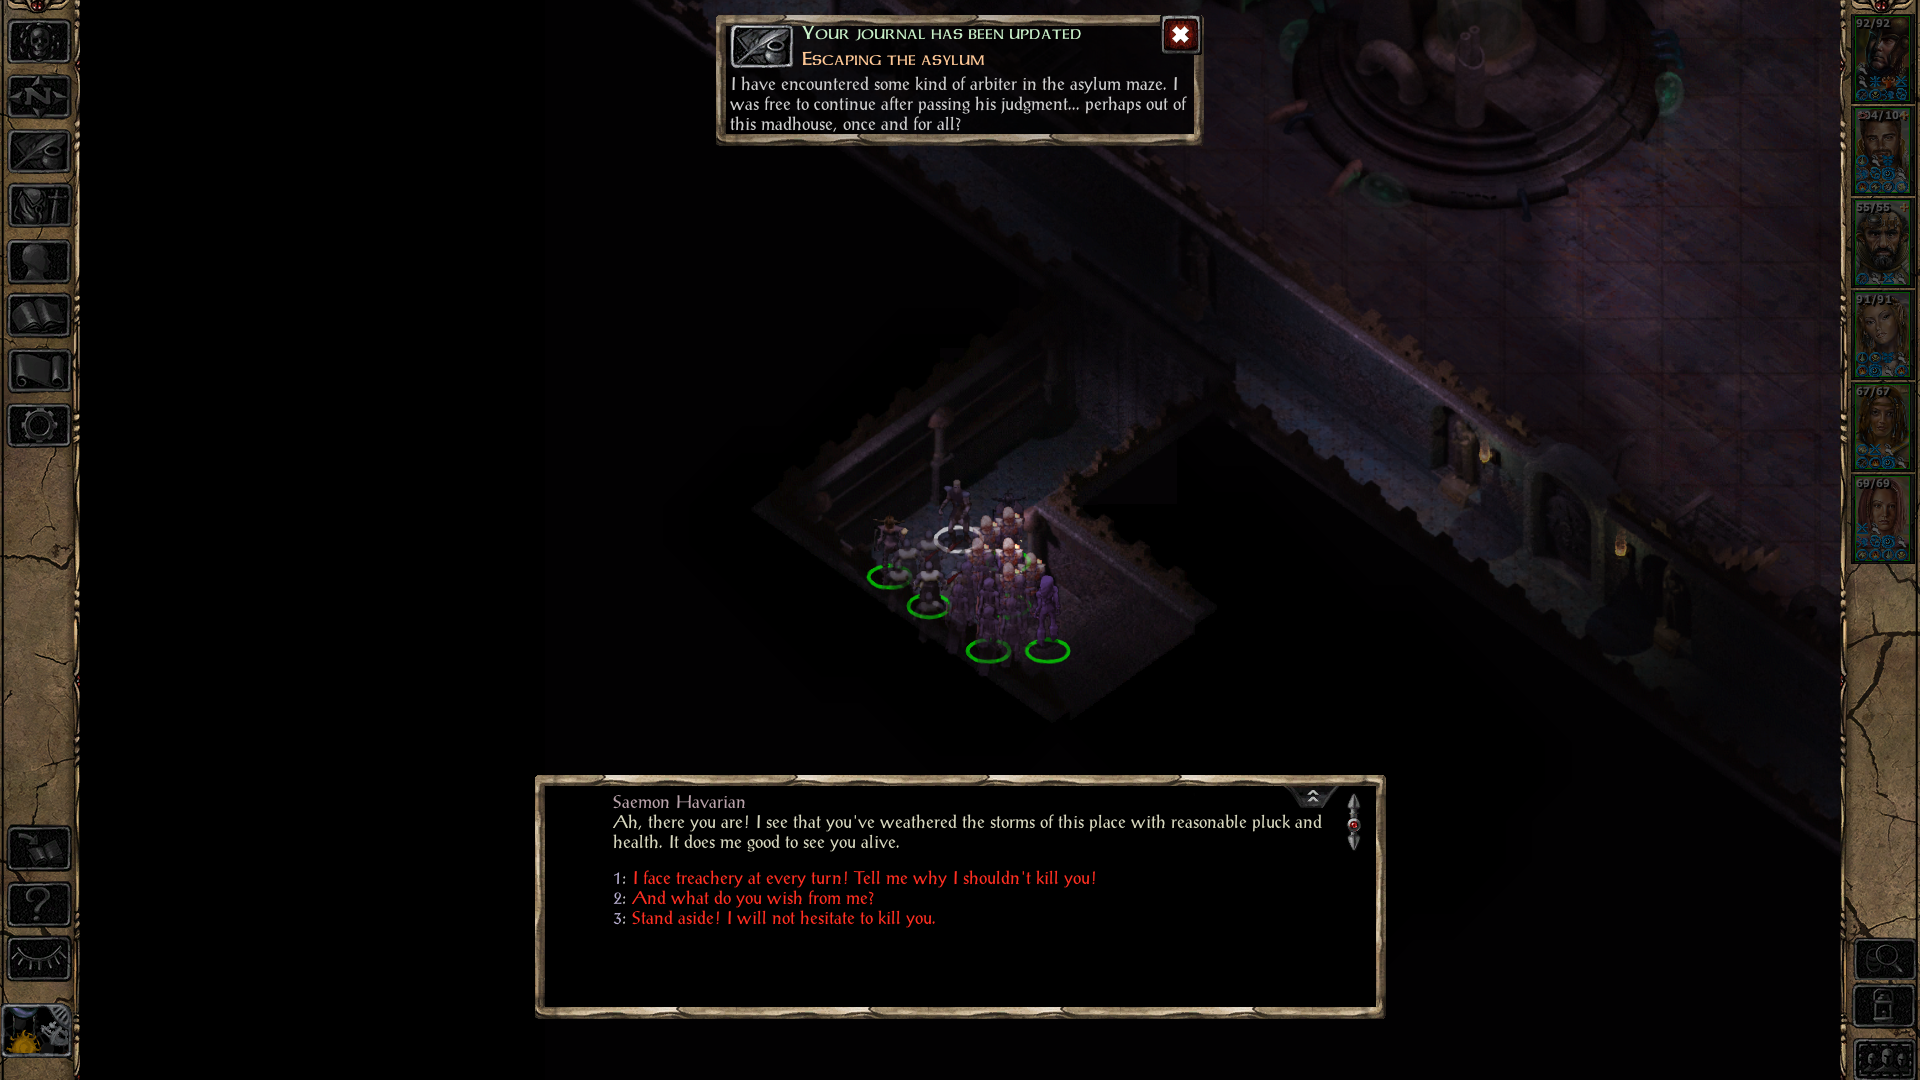
Don't kill Saemon because we need him alive to reach the Underwater City map which is our next map and an important one. In order to defeat Irenicus and escape Spellhold you'll need to release all of the prisoners from their cells on the first floor to aid you in the battle against Irenicus. To do this all you need to do is visit the 1st floor and defeat or take the keys from Lonk the Sane.
Once Lonk the Sane hands you the keys you'll get a scene with some dialogue where you convince the patients to aid you and then you'll be teleported down to the room with Irenicus. Trying to fight Irenicus without releasing the prisoners will put you in an unwinnable fight - keep this in mind!
After defeating Irenicus he will call in a bunch of Assassins to fight you while he escapes. If you brought Yoshimo with you to Brynnlaw then he'll be in this group of Assassins and you'll be forced to end his life. Any items on Yoshimo will be dropped along with Yoshimo's Heart which you'll definitely want to pick up. For more information on what to do with Yoshimo's Heart check out Yoshimo's Companion Quest.
With all of that out of the way return to the first floor of Spellhold where you'll run into Saemon again who will offer you help off the island. As much as you probably want to say no to him you should agree to his plan because this is the only way that we can access the Underwater City map. Agreeing with Saemon will get you teleported out of the dungeon - you should return to it and continue collecting loot before going back to Brynnlaw.
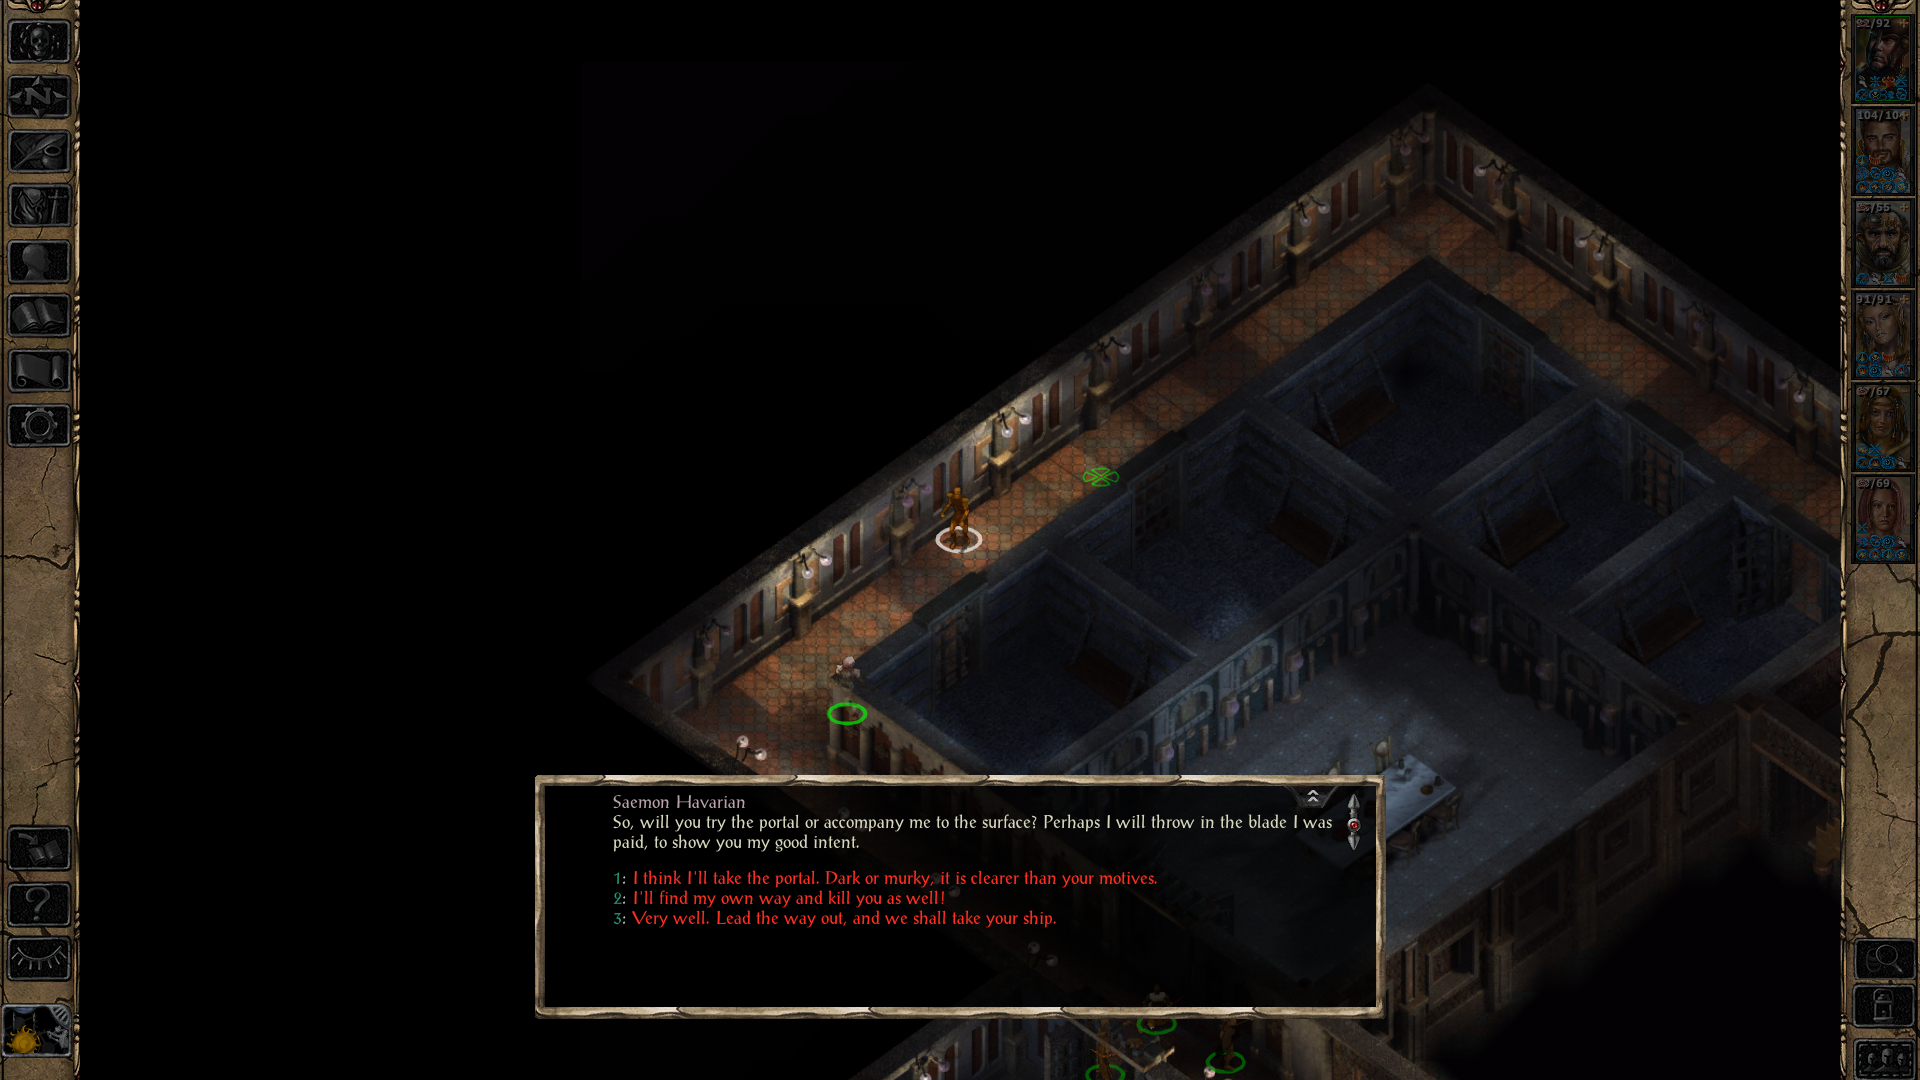
For information about what items you can find in the residential portion of Spellhold follow the link provided. The loot inside is nothing to write home about but in this game gold will buy you some of the best items so it's worth looting just to vendor! When you are ready to continue with the story return to Brynnlaw and meet Saemon at the Vulgar Monkey.
Note: If you refuse Saemon's offer and instead decide to take the portal to the Underdark you'll completely miss out on all the EXP and loot you get in the Underwater City. Keep this in mind!
Saemon asks you to steal the horn that's required to open the sea gates and escape from this island. You can find this horn inside of Cayia's House at night time. If you're wondering which building belongs to Cayia then open up your map, it's one of the Map Notes in the western portion of this town.
Even if it is night out you'll have to wait until the clock in the bottom left of your screen is between Hours 21 - 5. Unless it's between these hours then there will be no one inside Cayia's House and will likely result in you googling and finding either this page or my Brynnlaw Overview which says the same thing. Just know you're not the only one who thought your game was bugged when Cayia wasn't inside at night!
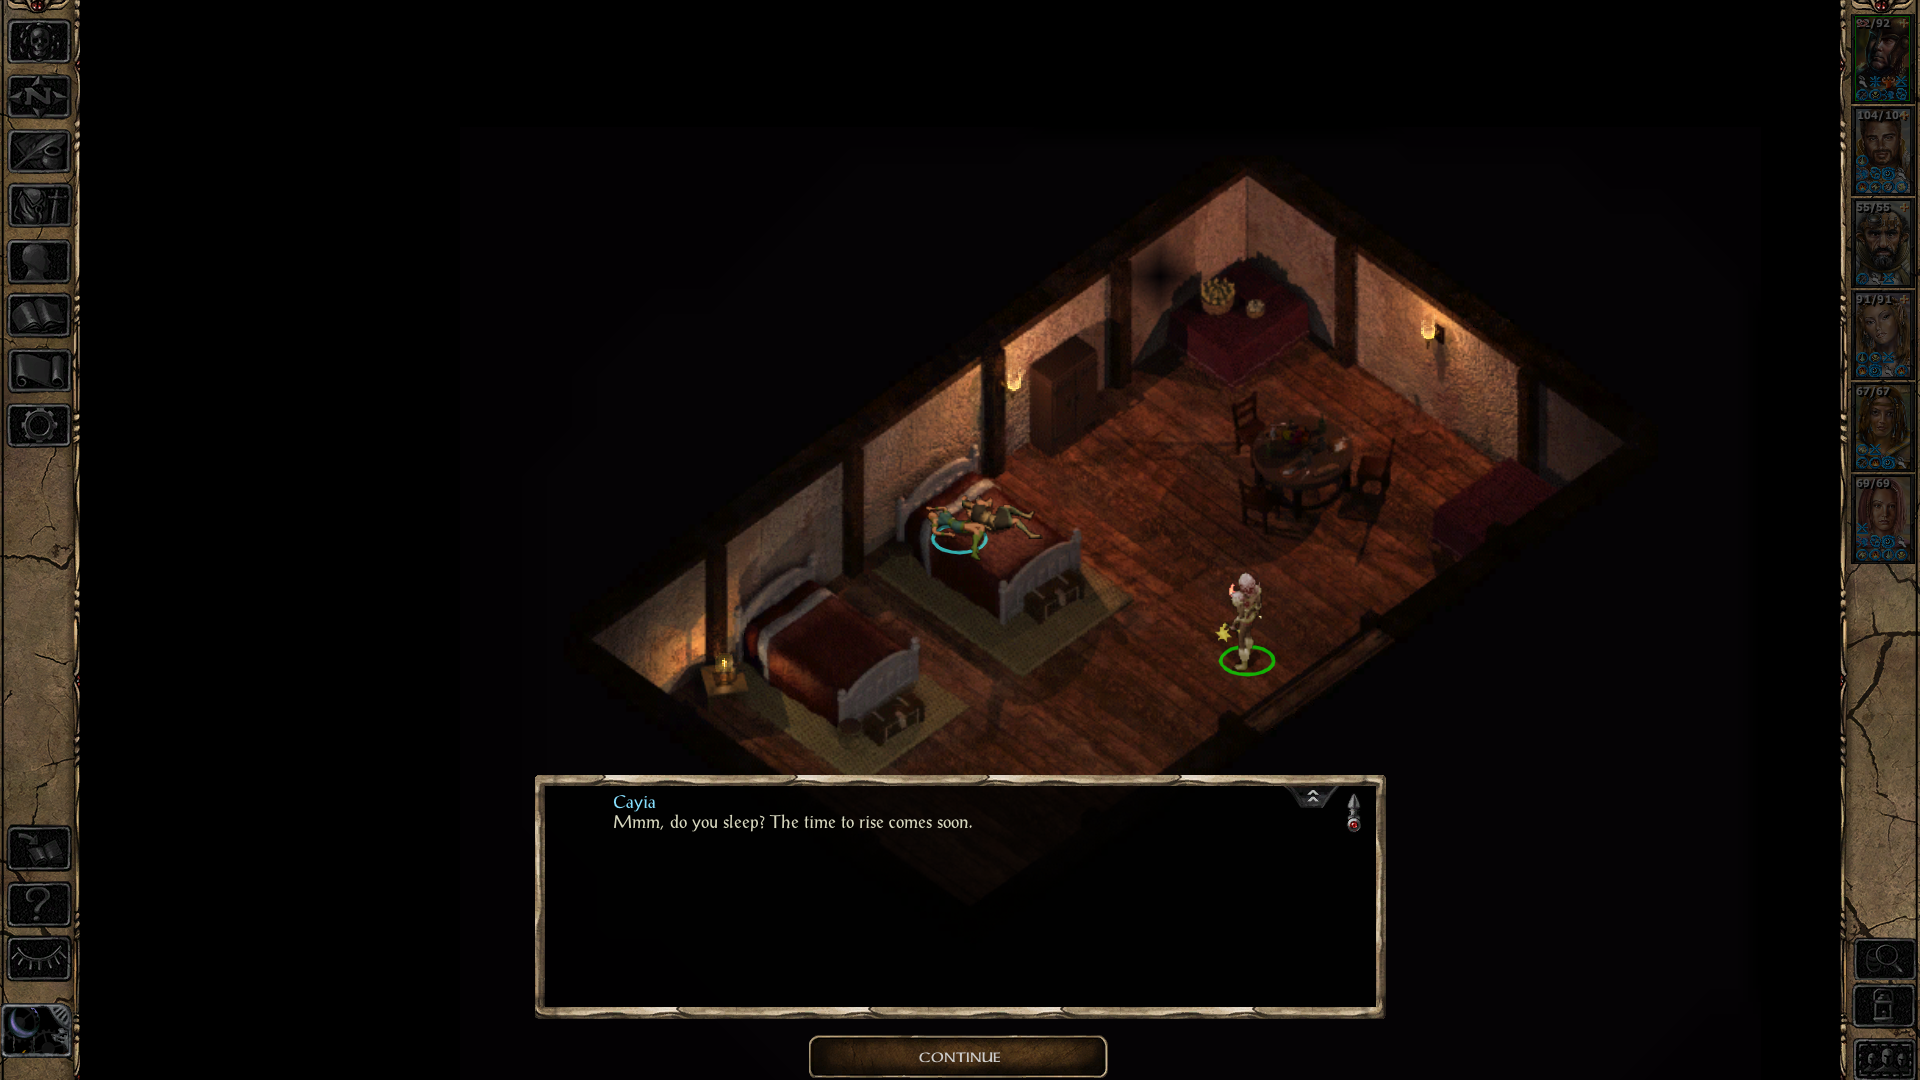
Inside Cayia's House you'll get a short scene with her and the Pirate Lord after which they'll leave and guards will be summoned in. The Pirate Horn that we need is found on the table along with a Rogue Stone which you should grab cause money. With this item in hand return to Saemon who is now found in the southeastern most portion of this map near the boat.
Talk to Saemon at this location and there will be a short scene involving you and him stealing the boat and fighting a group of Pirates who disagree with your decision. Before you disembark Saemon will give you a Silver Blade which is an item used in Cromwell's Blacksmith quest.
After departing from Brynnlaw you'll regain control of your characters on the boat as you're being boarded by Githyanki. There will be some fighting with them during which you'll be boarded by Sahuagin and your ship will begin to sink. Our dear friend Saemon will teleport away and leave all of you to your demise... Though it's worth noting you can force attack him before this happens. You won't get any EXP for this but boy does it feel good.
When you regain control of your characters you'll be in the Underwater City map. You'll have to go through a bunch of dialogue and even an arena event to prove yourself to the Sahuagin but once it's all done you'll have free reign to explore the entire area.
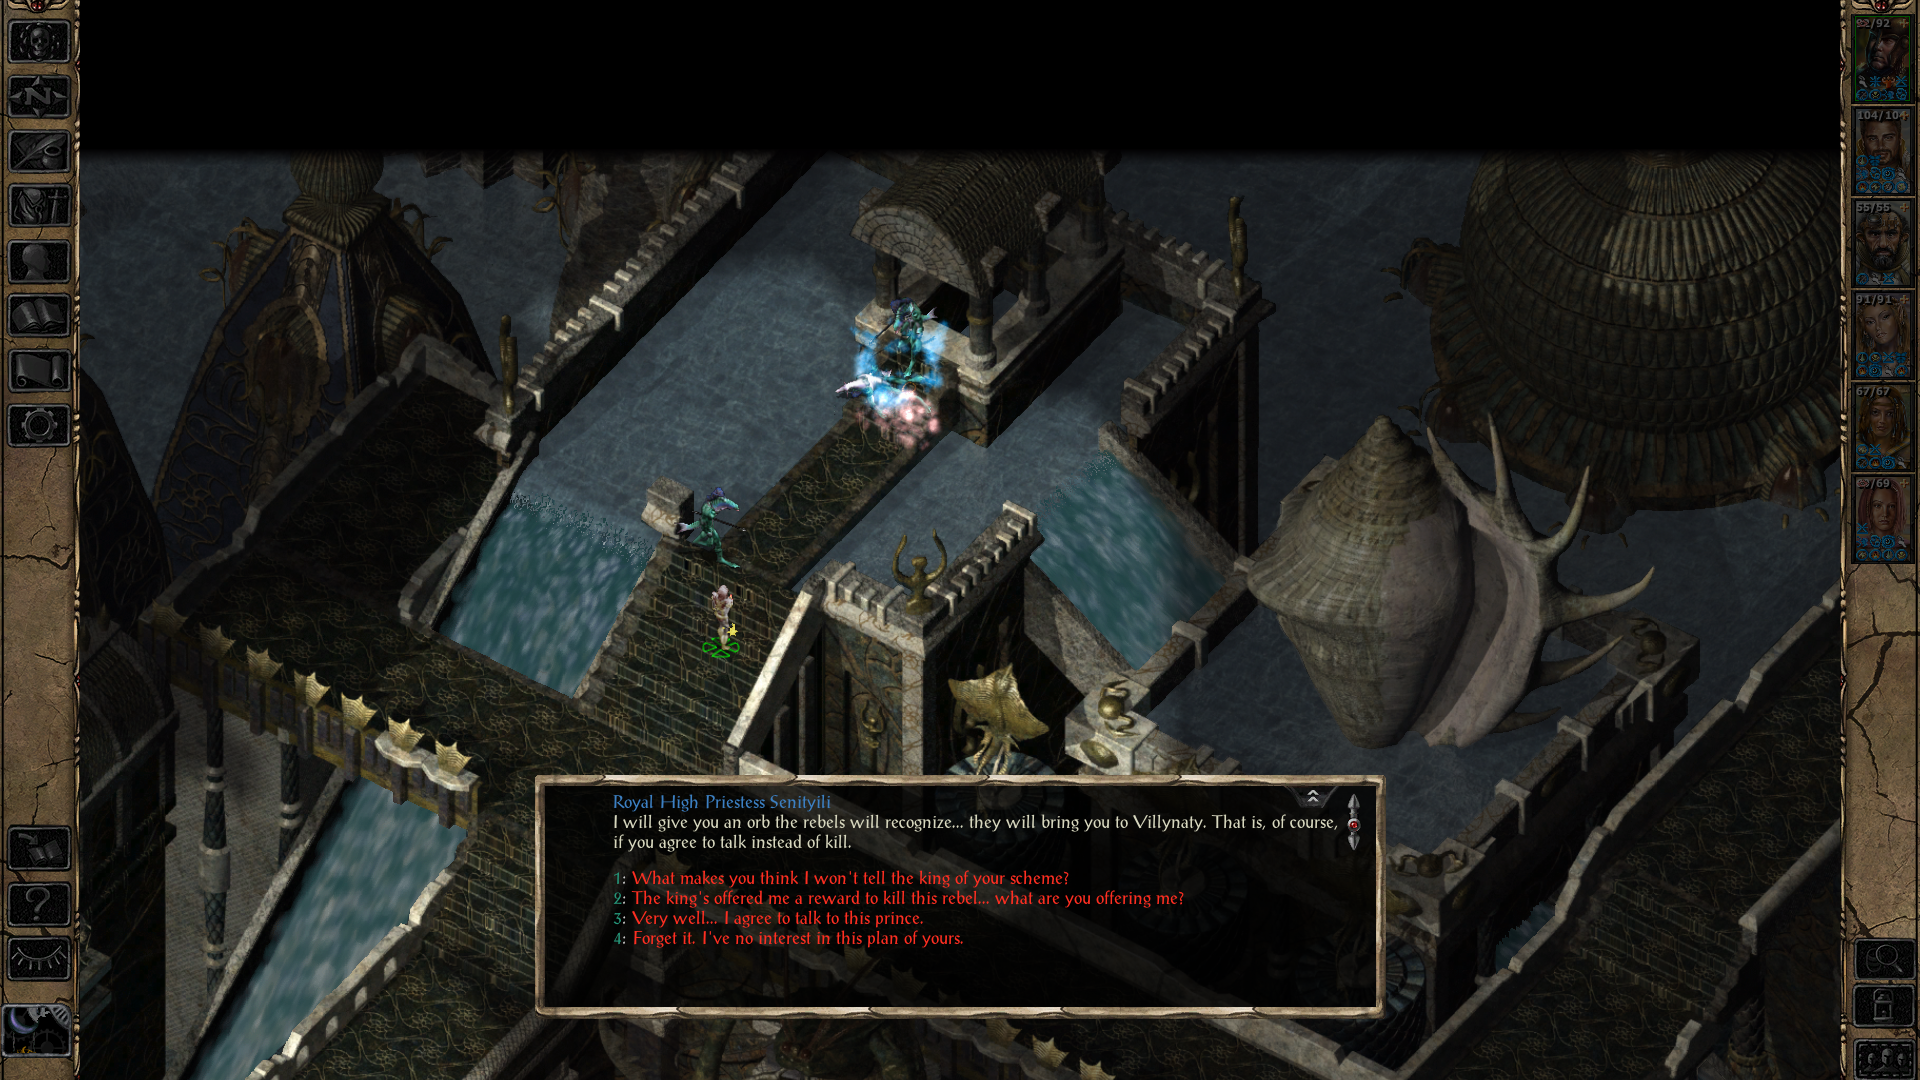
On this map you have 2 different paths available to you, you can side with King Ixilthetocal and kill the Rebel Prince or you can speak with Royal High Priestess Senityili at the temple just northeast of the King and agree to talk with the Prince peacefully. If you side with King Ixilthetocal you'll get less EXP but you'll get the Gauntlets of Crushing item which is pretty much garbage. Even if you're playing a Monk do Rasaad's Companion Quest for better Monk gauntlets.
Note: Killing Prince Villynaty will also get you the unique item Wave Blade which is used in Cromwell's Blacksmith quest .. However you can also Pick Pocket this item from him too so taking him out is not neccessary.
Below are the main differences between siding with the 2 factions:
Siding with King Ixilthetocal: Rewards you with 58,500 EXP and Gauntlets of Crushing
Siding with Prince Villynaty: Rewards you with 60,500 EXP
Keep in mind too you can always decide to kill every Sahuagin in this city before leaving. Since they are all evil creatures there is no Reputation loss for doing so and since this map is a one off area your actions here have no effect on anything else in the game. Regardless of your choice to complete this map and move onto the next one we still have to do the same things.
To complete the story objectives on the map and move onto the Underdark you'll want to do the following things:
1. (Optional) Accept Rebel's Orb from Royal High Priestess Senityili so we can speak peacefully with Prince Villynaty
2. Obtain Sekolah's Tooth from the chest behind the Spectator Beholder
3. (Optional) Complete the Riddle of the Imps Side Quest
4. Participate in the Rebel Ambush for the Cloak of Mirroring (best in slot)
5. Visit Prince Villynaty in the southeast part of the zone and either defeat him or agree to help him
6. Return to King Ixilthetocal and give him the Prince's Heart or attack and defeat him
7. Collect whatever loot remains then use the Magical Rope to advance to the Underdark
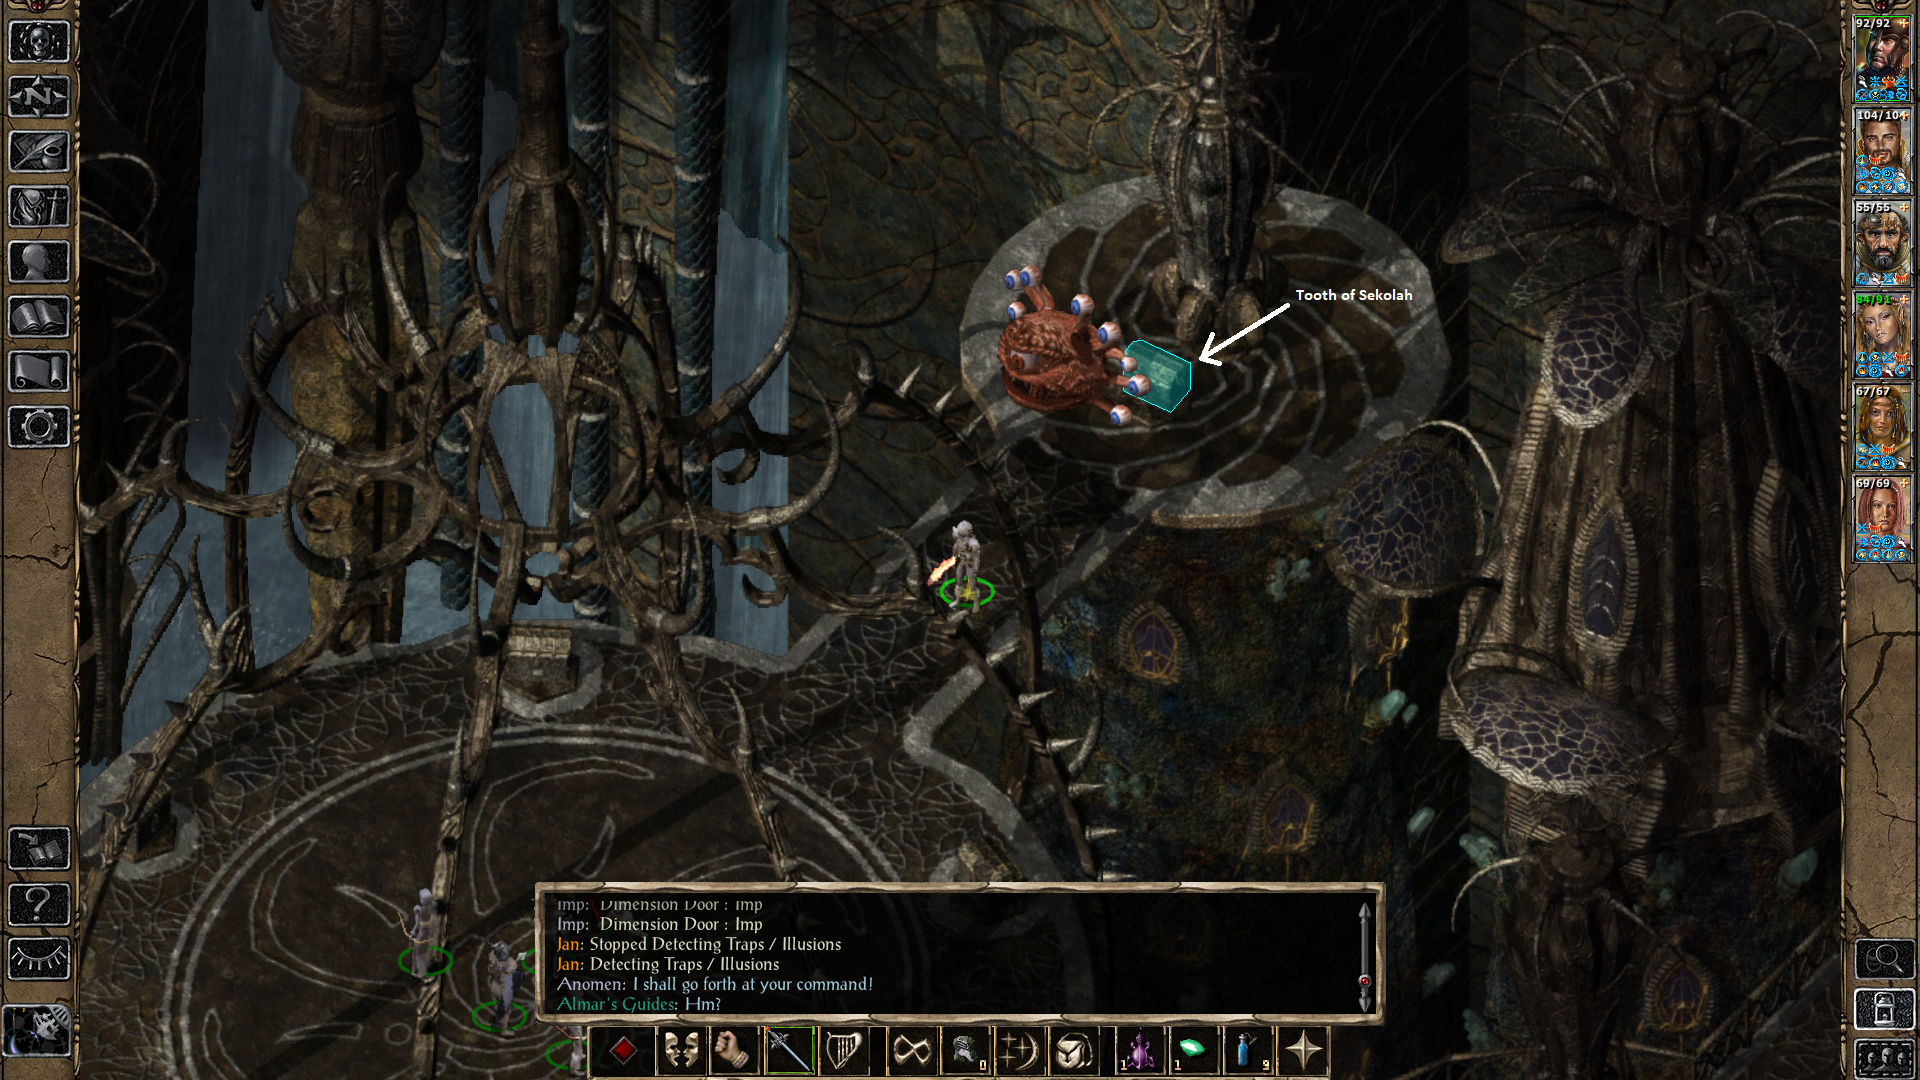
Sekolah's Tooth being guarded by a Spectator Beholder
While on this map if you need a vendor or temple you'll have to visit the Priestess of Sekolah nearby where you met the Royal High Priestess Senityili. The Priestess of Sekolah carries a few good spells too that you may want to buy - for more information check out my Where to Buy Spells page.
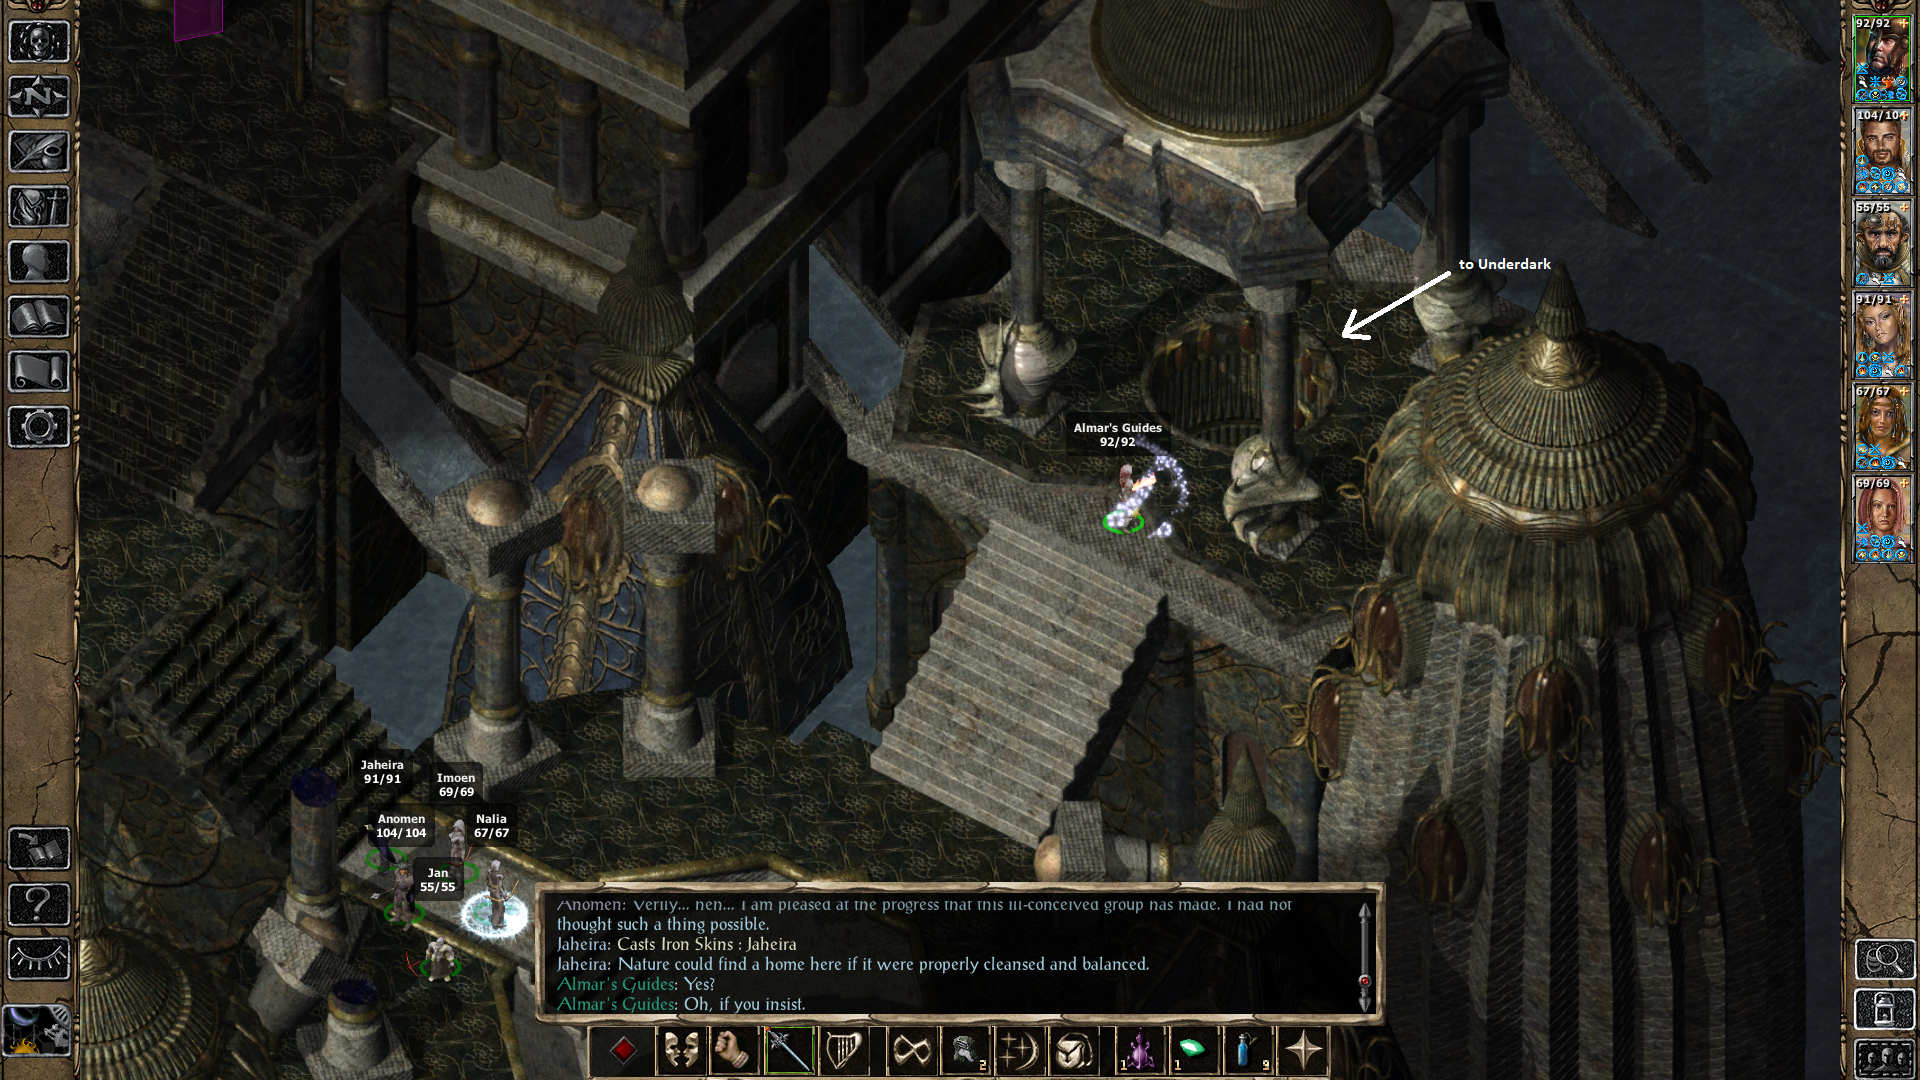
Once you have finished all of the story events on this map you'll be given the Magical Rope item which, as aforementioned, will allow you to travel to the Underdark. You can find the Underdark's entrance in the same location that you met Prince Villynaty - in the southeastern portion of the zone. A screenshot of the location I am talking about is below.
Keep in mind that once you leave this map you will never be able to return! Make sure you've done everything you want to do here and tied up all loose ends before proceeding.
Continue to Walkthrough Chapter 5
Return to Walkthrough Chapter 3