
Neera's Companion Quest - Baldur's Gate 2

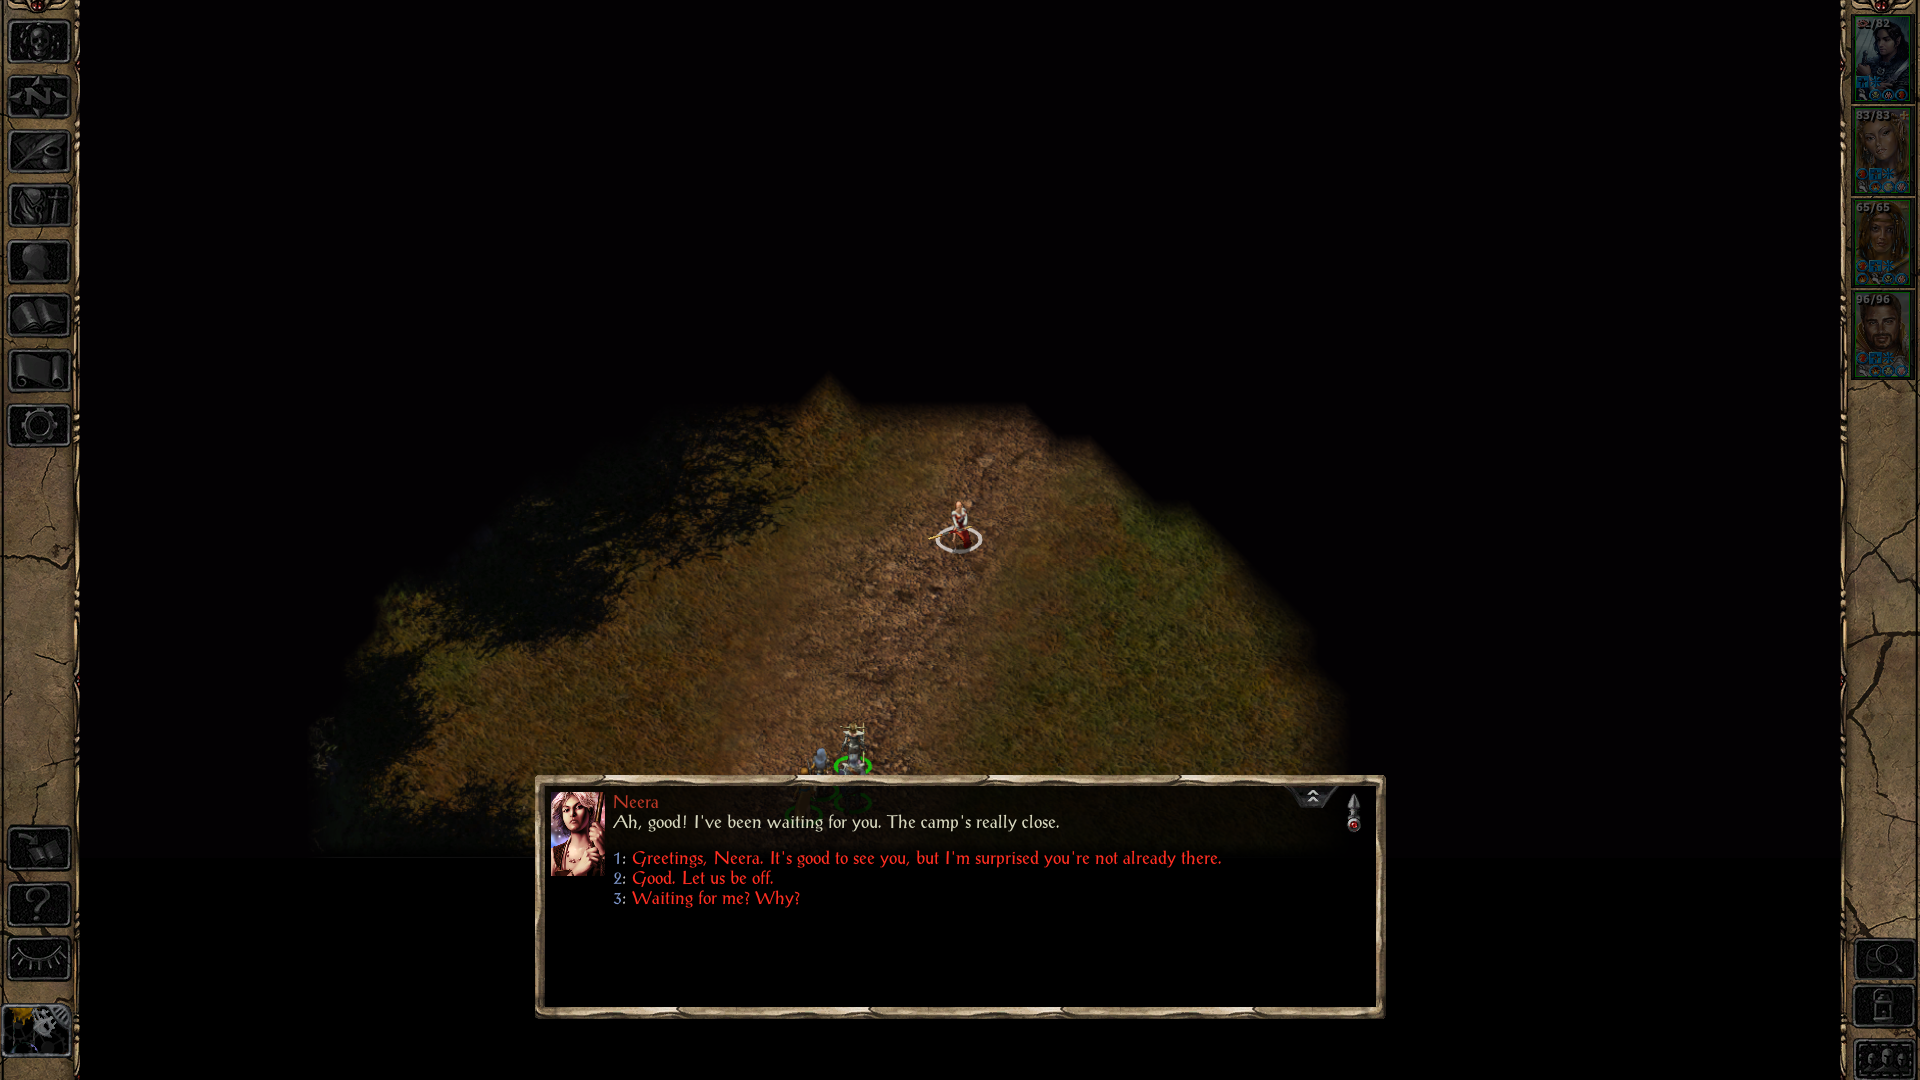
Neera's Companion Quest begins in an Athkatla waylaid map the second time you see her (pictured above). In order to trigger this waylaid map you'll need to visit the Bridge District and witness a scene with Neera and Mereth in the northern portion of the map. After you've seen this scene you'll be able to trigger this waylaid map in the future when traveling through Athkatla.
Once you've talked to Neera in the above waylaid map you'll start the quest Neera's Hidden Refuge and the Wild Forest will be added to your map. Before you travel to this zone there is something extremely important that you should be aware of. Big bold letters let you know how serious it is! All magic cast in the Wild Forest & Hidden Refuge will have a chance to proc Wild Surges!
The reason this is so important is because there is a Wild Surge that will destroy 80% of your gold. If you're not paying attention and you start casting spells in this zone, lose your gold, then save over your existing file because you don't notice... You're probably going to be pretty upset when you do notice. This has happened to me before - so heed my advice and don't fail where I have already failed!
When you arrive in the Wild Forest Neera will be waiting for you at the entrance. You can have her join your party right now or you can wait until you get to the Hidden Refuge. Either way, to access the town portion of the Hidden Refuge you will have to have her in your party. For right now all you need to do in the Wild Forest is go to the northeastern portion of the area where you'll find a broken bridge that you can cross into the Hidden Refuge.
If you have Neera in your party she will dispel the illusion on this bridge; without Neera you'll have to collect some dirt from a patch of gravel nearby which you can use to dispel the illusion. Check out my Wild Forest Overview if you're having trouble finding the bridge or the gravel. When you exit the area to the northeast you'll unlock the Hidden Refuge on your map.
Hidden Refuge is a town of wild mages that are hiding out here to avoid the Red Wizards hunting them. As aforementioned you will only be able to gain access to this town with Neera in your party. If you have Edwin in your party he will leave the moment you recruit Neera considering the fact that he is a Red Wizard.
Throughout this town you'll find various NPCs all of which you'll want to talk with. Most of them will give you side quests that you need to complete before advancing this one any further. For a complete overview of all the NPCs in this town and what quests they offer check out my Hidden Refuge Overview Guide.
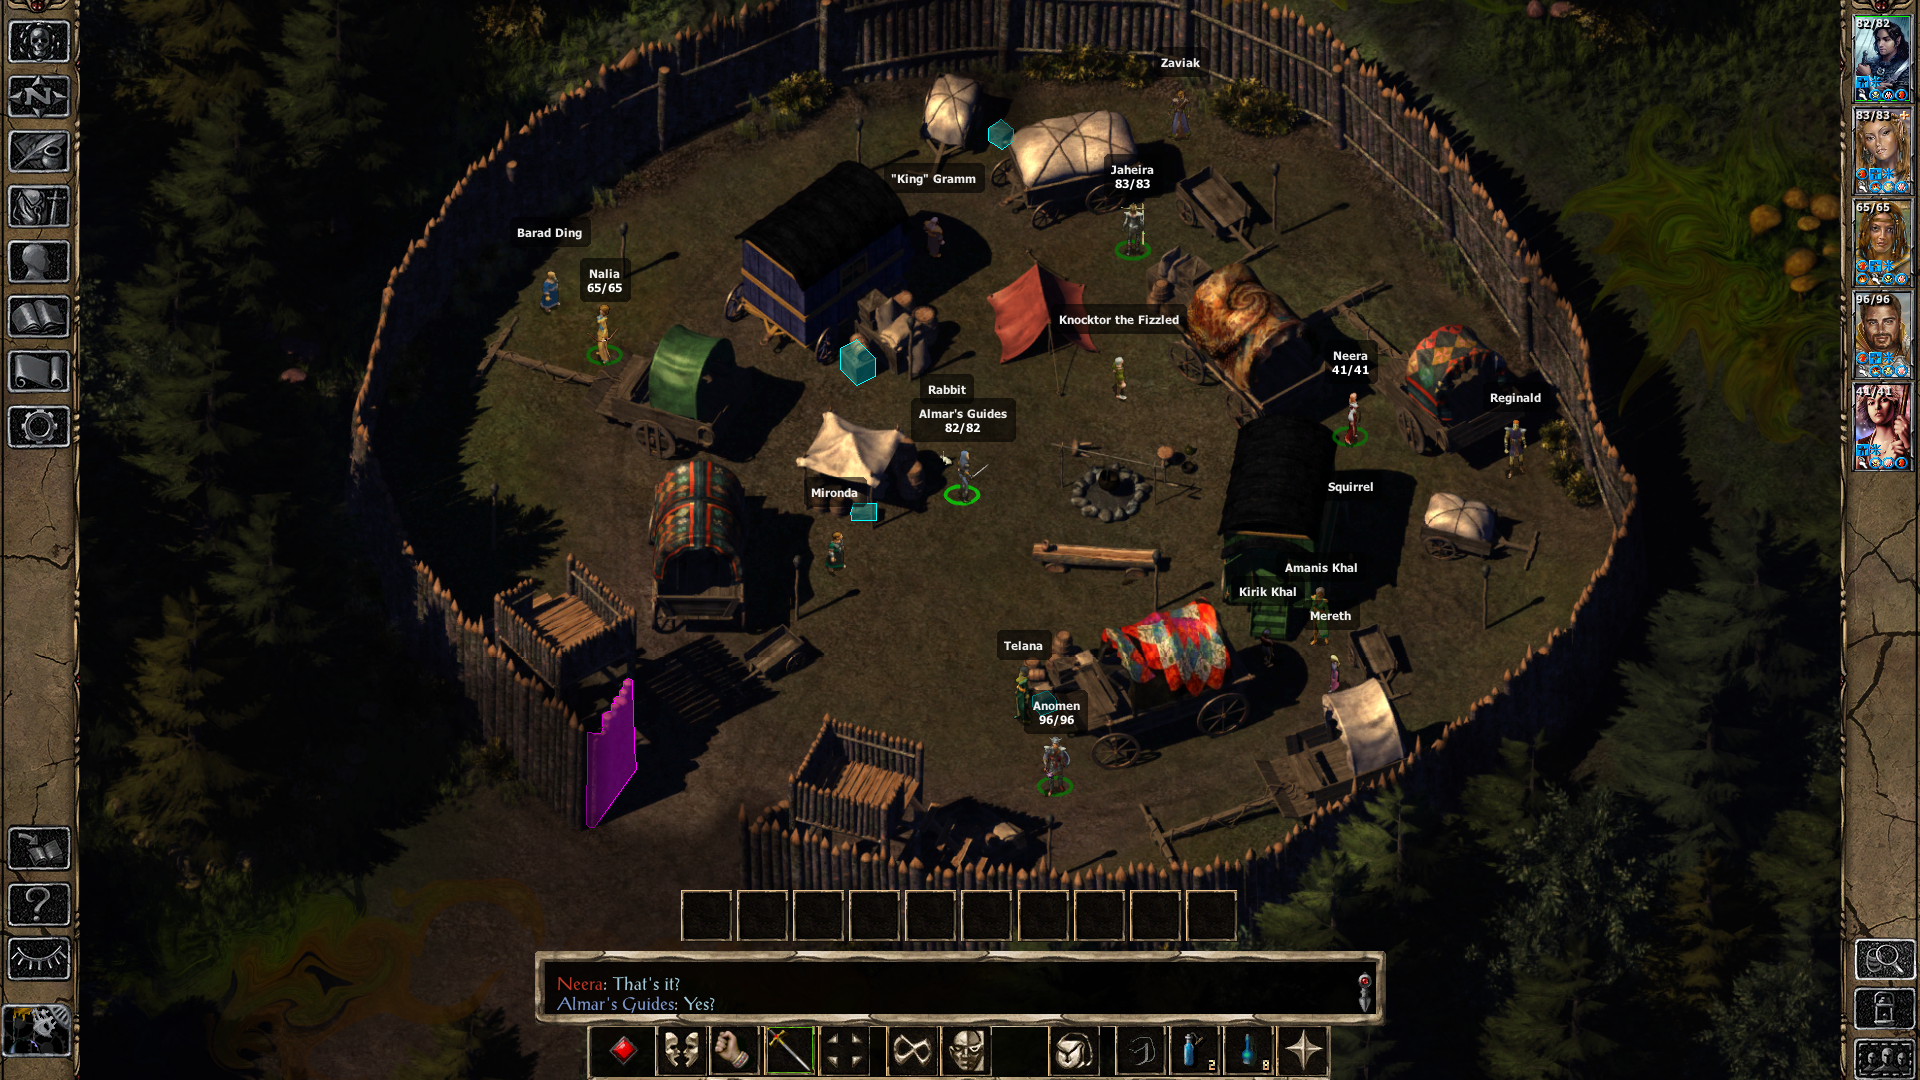
I can't explain how this quest works without spoilers so - you've been warned. You can talk with everyone in this camp except for Hayes and Telana for right now as both of them will advance the story forward. They will send you to Athkatla to rescue someone and during that rescue the Hidden Refuge will be attacked and everyone will be captured.
Warning! This is the important part.. Any NPCs in Hidden Refuge whose side quests you left unfinished will die when they're abducted by the Red Wizards! This will reduce the amount of rewards that you will get at the end of this quest. It'll also prevent you from ever getting the rewards for the side quests that take place in this town (some of which are actually decent).
Below are the 7 things you'll have to do in the Hidden Refuge if you want everyone to survive before advancing the quest.
Reginald - He doesn't have a quest, you just have to talk with him and not attack him when he attacks you
(Unmarked) Amanis Khal's Missing Son
Reward for Each Mage: 5k EXP for each Mage you free & some give rewards back in Hidden Refuge at the end of the quest.
It's completely up to you how many mages you want to save before you finish this quest. When you're ready to proceed with the next part of this quest speak with Telana in the Hidden Refuge and tell her that you'll help bring Daxus back to the camp safely. Daxus is found in the Bridge District of Athkatla, specifically in Delosar's Inn which is in the southern portion of the map. Use my Bridge District Overview Guide if you need help finding it.
Note: To save Daxus you'll need to have finished the Talisman of the Hearthfire side quest; you'll be able to give the Talisman to Daxus and have him teleport away safely. Without this he will die.
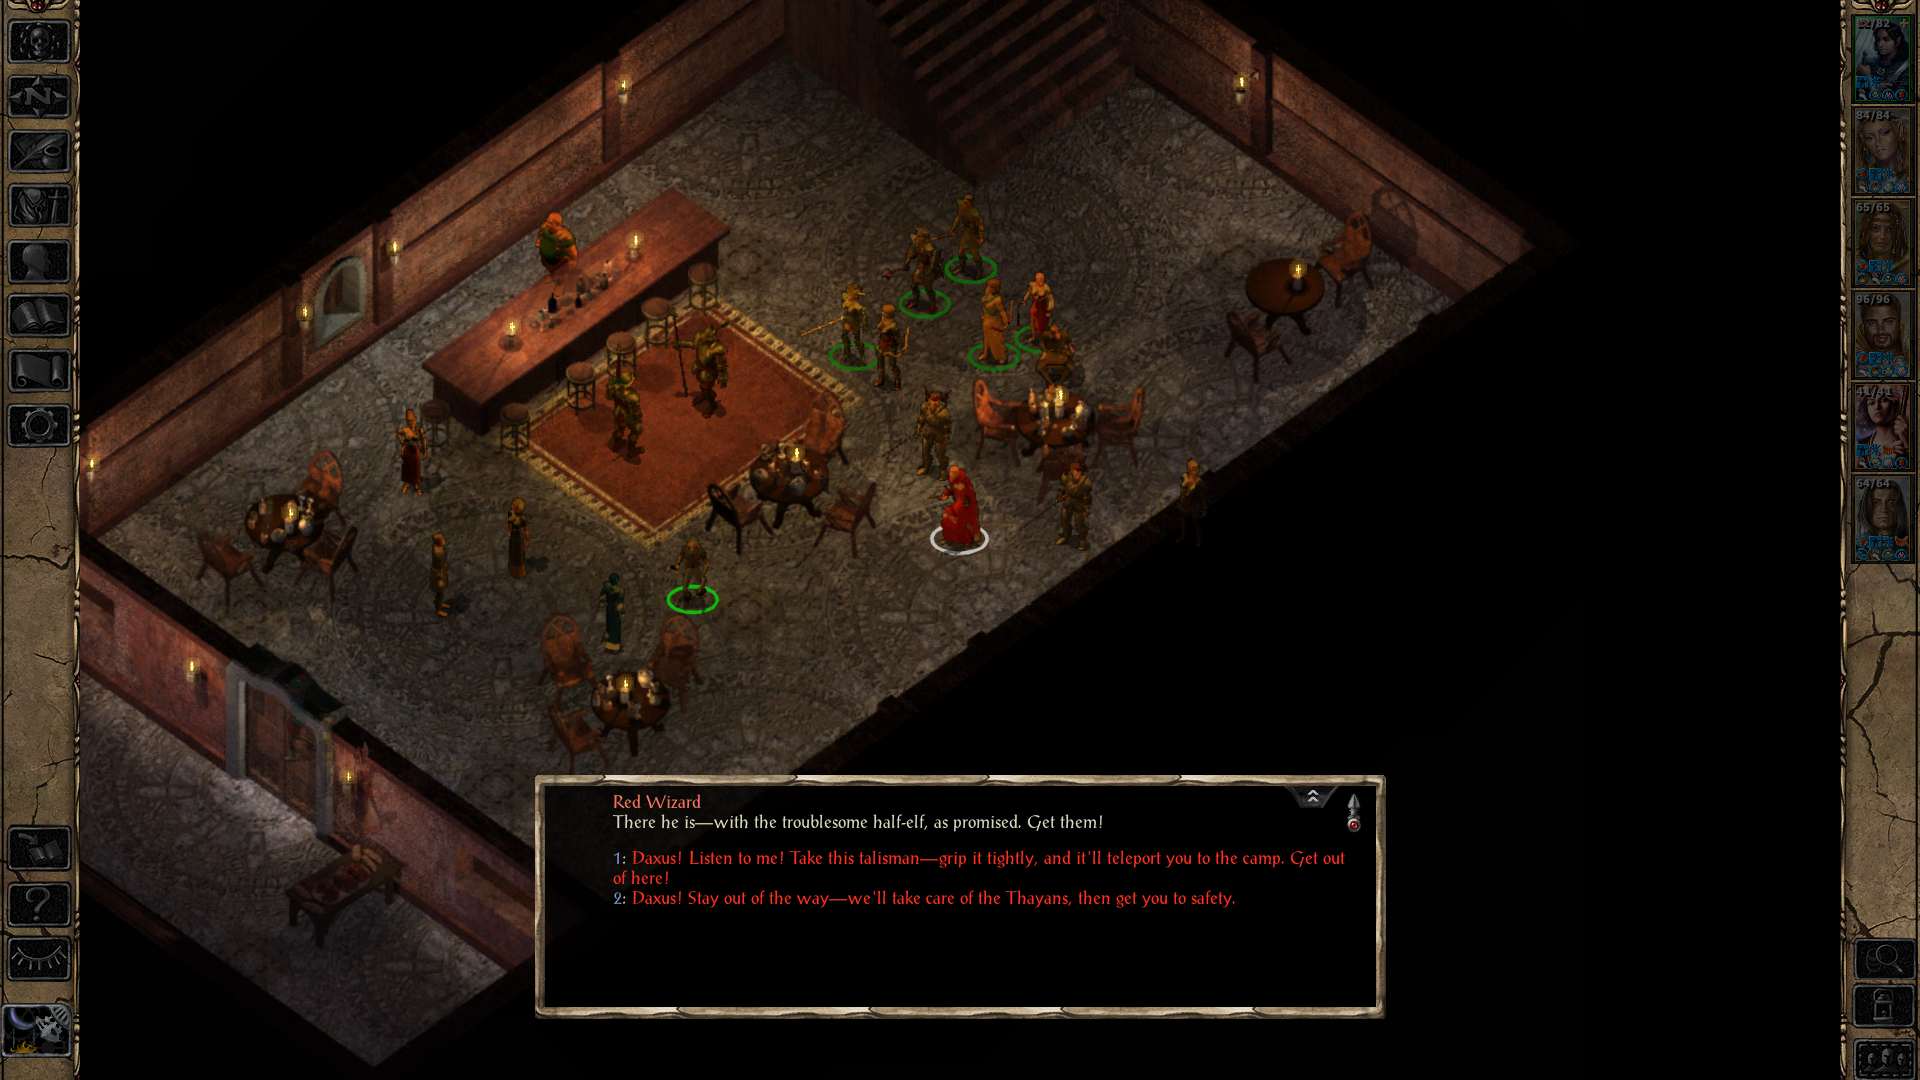
You can find Daxus on the lower floor of Delosar's Inn, without Neera in your party you won't be able to start the dialogue with Daxus for this quest. During the dialogue with Daxus a group of Red Wizards will show up and there will be a big fight. If you have the Talisman you can give it to Daxus before the fight even begins so that he gets out safely.
Without the Talisman (for me at least) Daxus always dies when I exit Delosar's Inn as there will be more enemies waiting outside to ambush you. I've read online that Daxus can survive the fight outside too but this has never happened for me. After dealing with this situation at Delosar's Inn return to the Hidden Refuge and you'll find that it's been destroyed in your absence.
At the Hidden Refuge you'll be able to speak with Telana who will update you about everything that's happened. Essentially the Red Wizards attacked and kidnapped everyone so now it's up to us to go and get them back. Our next destination will be the Red Wizard Enclave which is found in Waukeen's Promenade. You'll find this enclave in the northern portion of the zone, it'll be marked on your map making it difficult to miss.
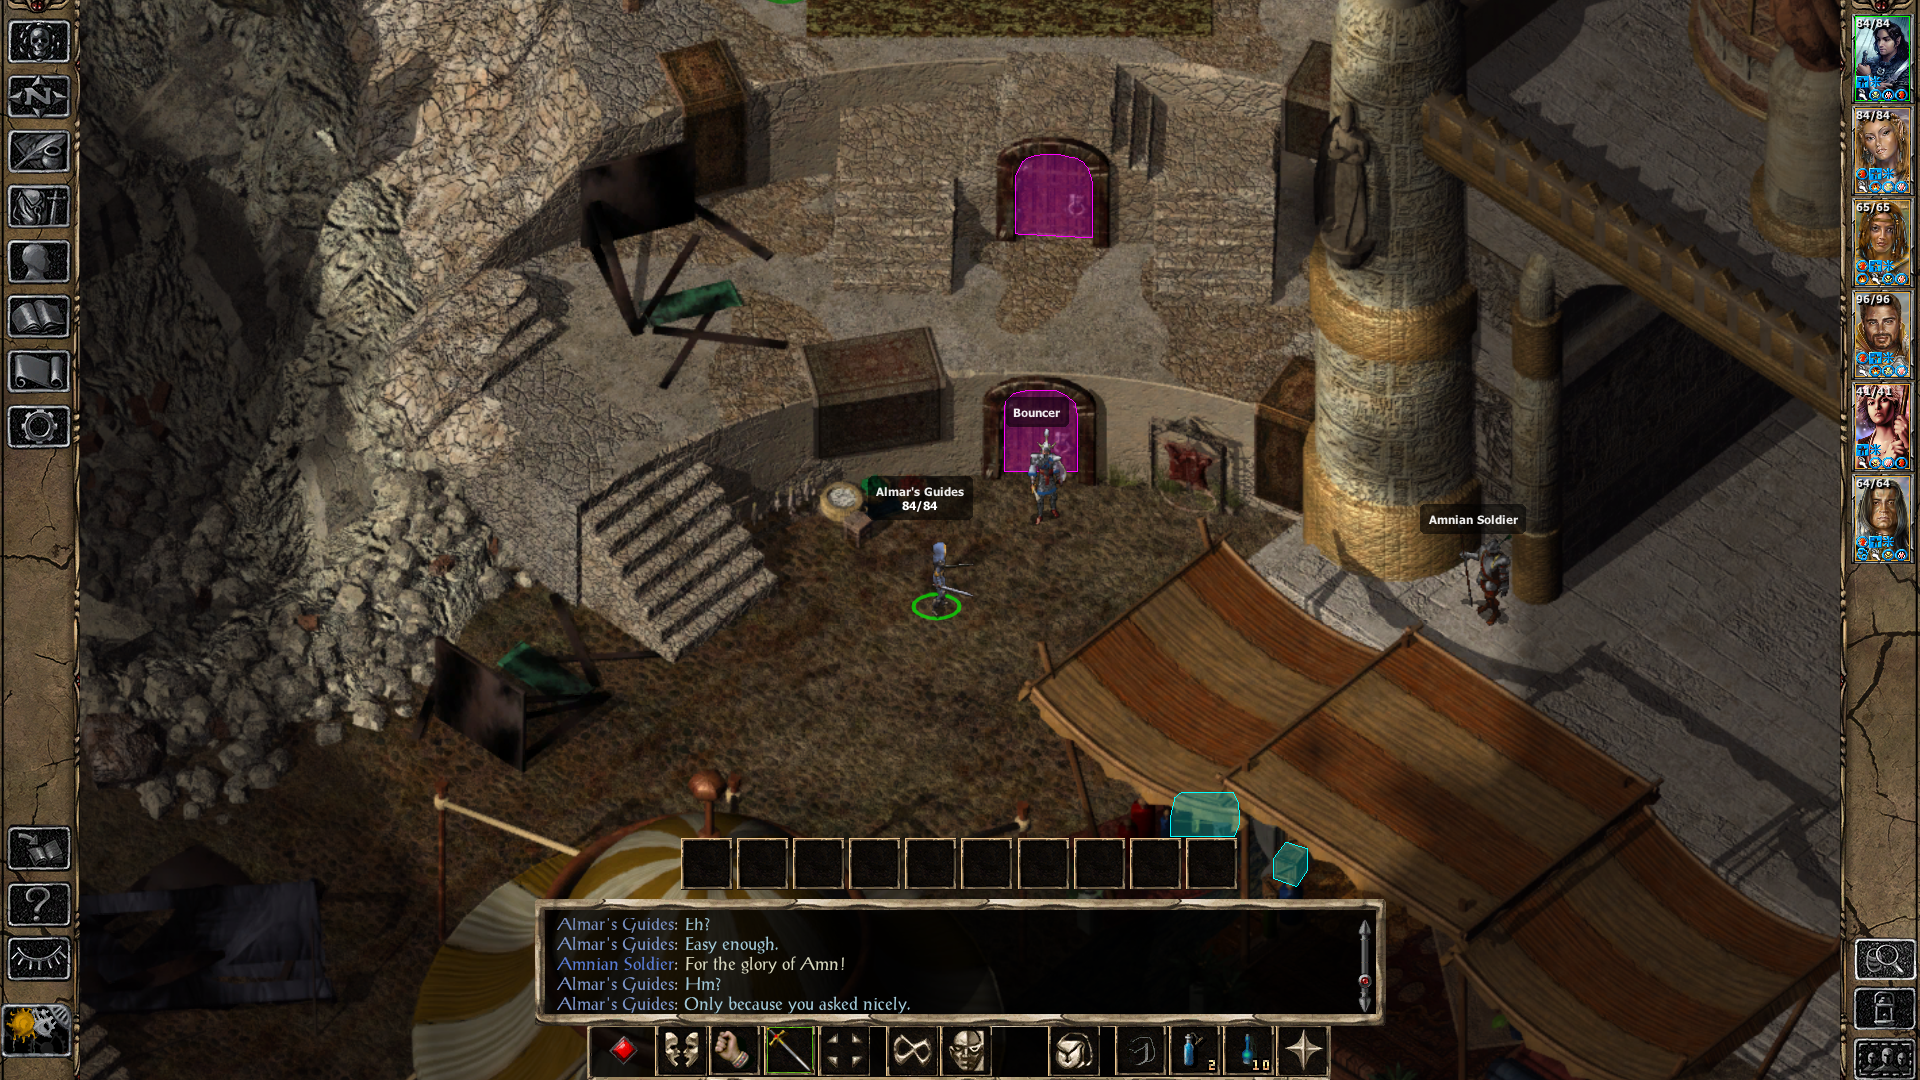
Entrance to the Red Wizard Enclave in Waukeen's Promenade
The entrance to the Red Wizard Enclave is guarded by a Bouncer (pictured above), you can deal with him any way that you want. When you enter the Red Wizard Enclave you'll have 2 ways to proceed - Neera's method which is guns blazing or the diplomatic way. I'd recommend the diplomatic approach in the first room considering that there are multiple merchants and they have some half way decent wares (including spell scrolls).
Once you've finished your shopping in the first room of the enclave I recommend you switch to Neera's approach and start blowing things up! You'll get the most EXP for blowing things up and it's the easiest approach to take since we don't have to jump through a bunch of silly hoops. If you decide to do the diplomatic approach you'll have to go through a bunch of tedious dialogue and you'll lose EXP and money since no combat = no EXP or loot.
In the next room you'll find about a dozen mercenaries along with some Red Wizards. Mironda will be running the bar if you finished the A New Beer for Mironda side quest earlier on in this quest; you'll be able to talk to her for the diplomatic approach if that is your thing. For those of you who choose fighting there will be a lot of enemies to dispatch in this room. When they're all dead be sure to loot the Slave Pen Key from the ground and free the slaves in the room to the south for some extra EXP.
Note: Sometimes if Mironda gets hit with a stray AoE spell (not even from you) she'll become hostile towards you and your party. This will often result in all of the Wild Mages in the enclave becoming hostile towards you and your party. Great coding on the part of Beamdog but this is how most of the Enhanced Edition quests are. Enjoy!

When you continue northeast through the enclave you'll run into Lanneth (pictured above). There will be some dialogue with her followed by a fight. If you freed the slaves to the south they'll join you with some Amnian Guards for this fight as well. When Lanneth gets low on health she'll summon 2 Mordenkainen's Swords and (sometimes) flee into the room behind her which is the Laboratory.
Sometimes it seems like Lanneth also fails to get into the Laboratory and instead runs around the whole enclave. Either way, once you break into the Laboratory you'll get some dialogue with Lanneth and King Gramm. It doesn't matter what you answer during this dialogue as it seems King Gramm never dies -- regardless of what you answer.
You will have one more fight in the Laboratory of this enclave with Lanneth and the last of her lackeys after that it's just one puzzle then we're done in here. To access the prison room with all of the Wild Mages you'll need to grab the Laboratory Key from Lanneth's corpse and use it to unlock the door leading to the Wild Mage Prison.
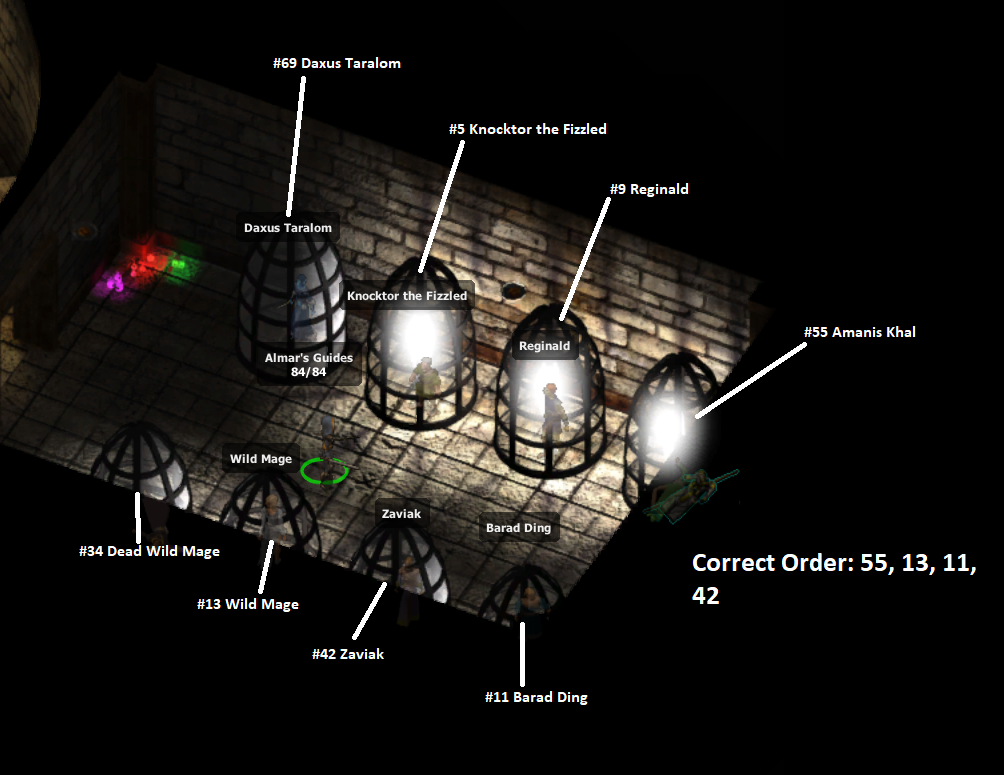
Correct Cage Order: 55, 13, 11, 42
Inside the Wild Mage Prison you'll find a total of 8 jail cells, a screenshot of what I am talking about is shown above. To free all of the Wild Mages you will have to open the cages in a specific order, the correct order is written out above. Once you open 4 cells in the correct order shown above the rest will unlock and you can safely let everyone else out.
Failing to do the correct order will result in every prisoner being hit with an electric shock. 4 electric shocks and everyone dies. Speak with each mage after you rescue them for an additional 5k EXP reward if you helped them previously in the Hidden Refuge. You can return to the Hidden Refuge when you're done here and collect an additional magical item reward from Reginald (The Brick +2) if you saved him. Neera will also give you a Mechanical Bird.
Once you return to the Hidden Refuge and speak with everyone here the quest will officially be completed. However, there is still one loose end that you can tie up (though you will not be rewarded for it). Visit Vyatri's Pub in Trademeet and you'll fin Hayes drinking away his misery here. You'll be given the option of defeating Hayes if you want, he'll even drop a Bloodied Tunic of Hayes that you can return to Telana but she won't reward you for it. This is just some optional dialogue for you to see if you want to.