
The Star Forge Walkthrough - Kotor 1
The Star Forge is the final dungeon of the game and is accessed after repairing the Ebon Hawk and departing the Unknown World. For the most part this dungeon is very linear and straight forward, instead of puzzles to slow you down you'll have tons of enemies thrown at you instead. The only thing worth going out of your way for in this dungeon is the best in slot Jedi Robes; more information can be found later in this guide or in my Star Forge Companion Guide.
Since we are at the end of the game and past the point of no return it's worth mentioning that there is no point looting anything you don't plan to use. Stims, Grenades and Medpacs will be common drops on the Dark Jedi but you may already have more than you'll use before the end of the game.
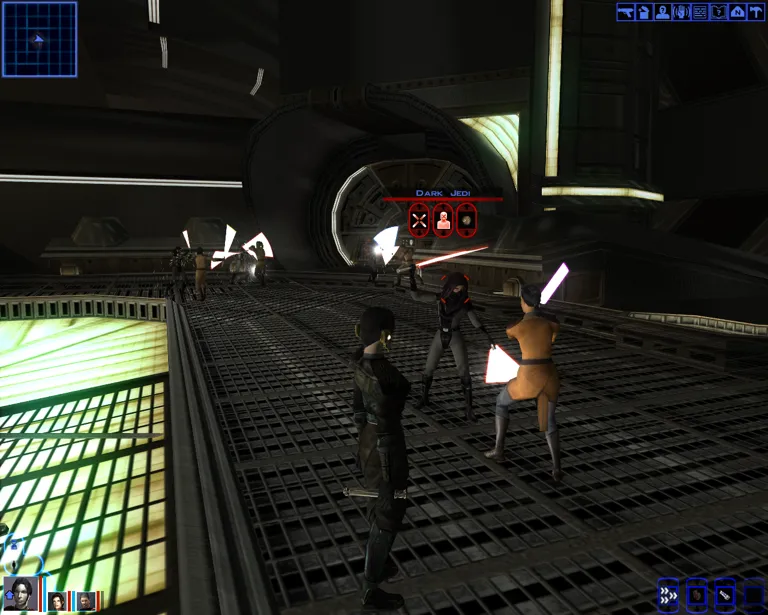
Our first objective after arriving on the Star Forge is to travel all the way south through this area until we reach Deck 2. There will be a cutscene with Malak after you go through the first set of steel doors after which a group of droids will attack you. Defeat the droids that attack and continue south until you find more Dark Jedi, beat them too and go through the nearby doors to Deck 2.
When you reach Deck 2 you will get another cutscene with Malak and his subordinate. This time he's sending a literal army of Dark Jedi and Sith Troopers to attack you. As you progress through all of Deck 2 you will trigger enemies to spawn from in front of you and behind you. Despite what you may think there is not an unlimited amount of enemies.
Typically the best approach is to move slowly through this entire area and defeat all the enemies that spawn and attack you. If you try to rush ahead too quickly you may end up spawning more enemies than you can handle. Don't forget to use your Stims and Shields in this part of the dungeon as you will get a ton of use from them here.
Our objective on Deck 2 is to get to the computer in the southeast section of the map and disable the turrets in the southwest. Check out my Star Forge Companion Guide if you'd like to see map locations instead of written directions to these areas. Technically you don't have to disable the turrets and you can just use brute force but visiting the computer is worth visiting because...
At this same computer you will also be able to create the most powerful set of Jedi Robes in the entire game. If you're a dark side character you'll create Darth Revan's Robes but if you're a light side character you'll create Star Forge Robes. It will cost some Computer Spikes to create them so hopefully you have some left over from our adventures throughout the game.

Proceed to the next floor when you're ready by taking the elevator in the southwestern portion of Deck 2. The elevator will take you to the Command Center where you'll have your first significant difference between Light Side and Dark Side playthroughs. If you're Light Side you'll have a cutscene and battle with Bastila on this floor, Dark Side players will face 3 Dark Jedi instead.
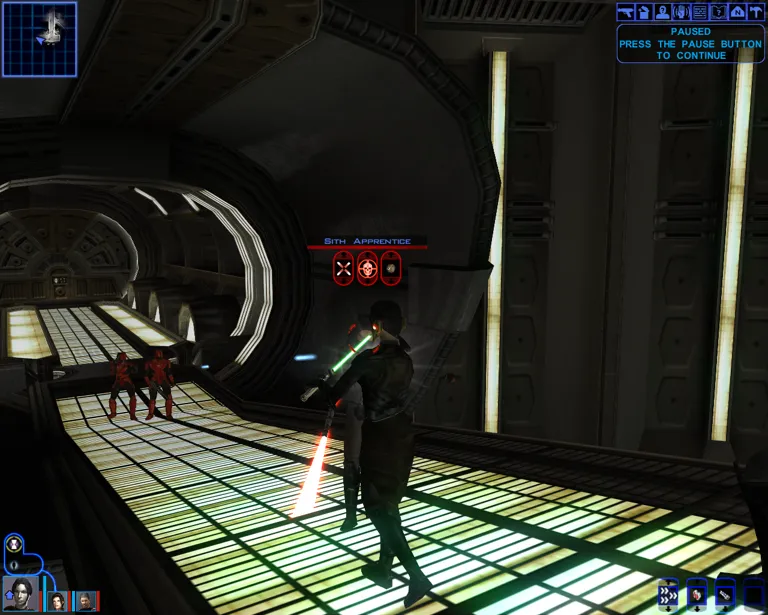
Otherwise this area is quite linear, you will be facing many more waves of Dark Jedi and Sith Troopers as you make your way to the northeastern most portion of this area where you'll have the showdown with Bastila (Light Side) or the Dark Jedi (Dark Side).
Light Side: If you are on a Light Side playthrough and you want to turn Bastila back to the light you'll need to use some specific dialogue with her after she attacks you twice. Tell her the Light Side is stronger and that you could never kill her. If you pursued a romance with her throughout the game you'll also be able to tell her that you love her. When given the option tell her you trust her enough to leave yourself open to attack and that is usually enough to convince her.
Note: Light Side players lose their companions when they enter the room with Bastila. Dark Side players lose their companions when they enter the next room with the droids. Either way, the rest of the Star Forge you finish alone.
After the room with Bastila or the Dark Jedi you'll come across another very large room and another scene with Malak. First I will tell you how to cheese this room then I will explain how it's supposed to work. So, to cheese this room you will want to run to the door Malak exited through in the south and bash it open. You can skip this entire event and save yourself the headache.
How you're supposed to do this room is visit each of the 6 different terminals around the room and disable the droids using the terminal. It will cost Computer Spikes each time you do this and if you don't have enough you will need to destroy the droids that spawn throughout the room then loot the cases around the room.
If you defeat Forge Droid Type E then you'll want to loot the Type E Spike Bin for Computer Spikes. That's really all there is to this event, each time you destroy a droid 1 Computer Spike will appear in the bin. Rinse and repeat this process as many times as you need to farm all the Computer Spikes until you stop all the droids. As aforementioned, if you consider this to be too much of a pain in the ass just bash the door.
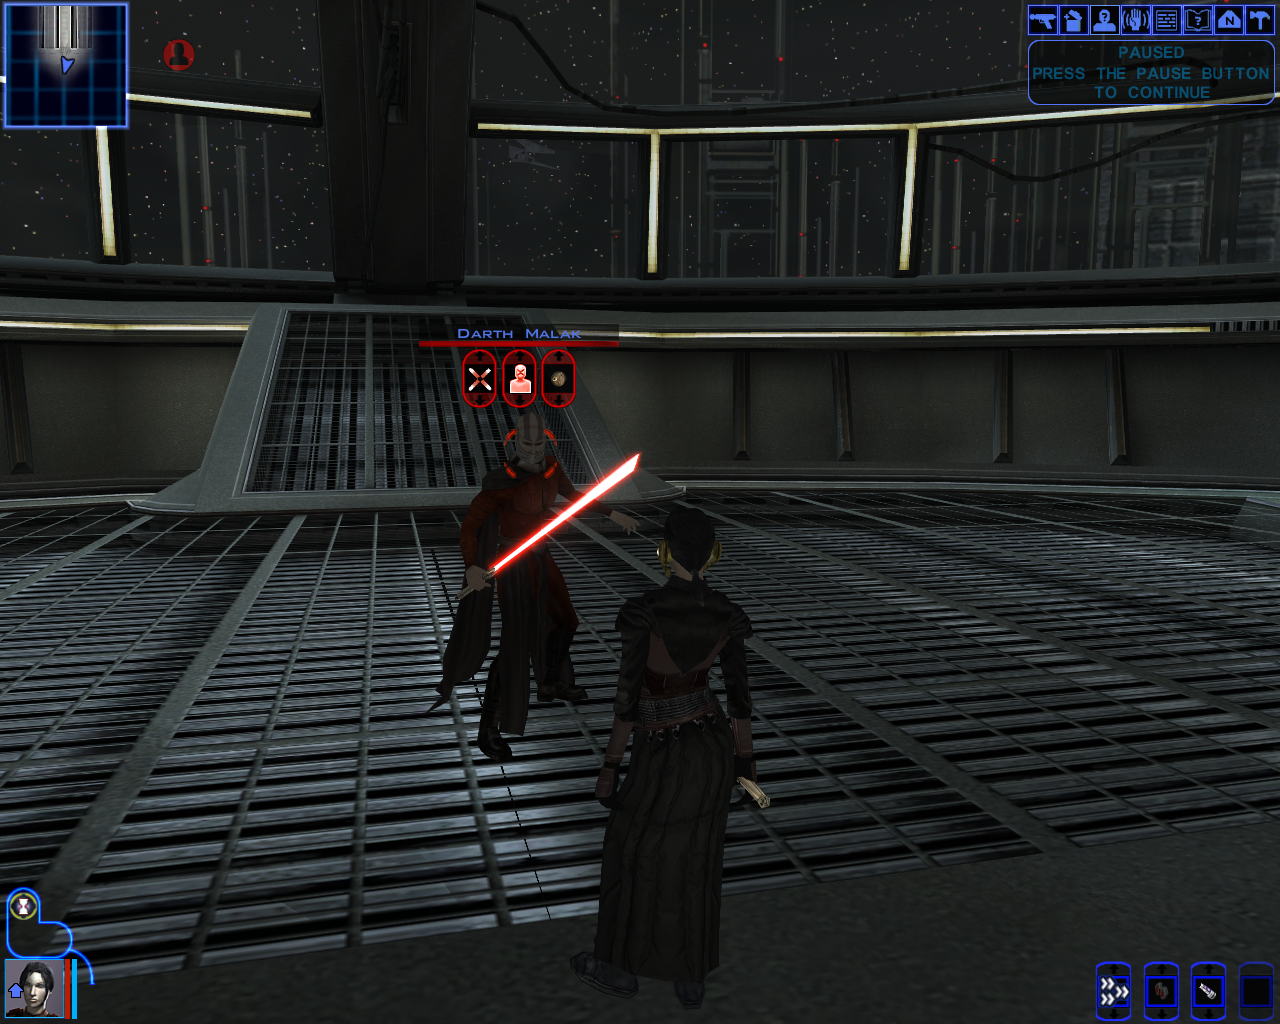
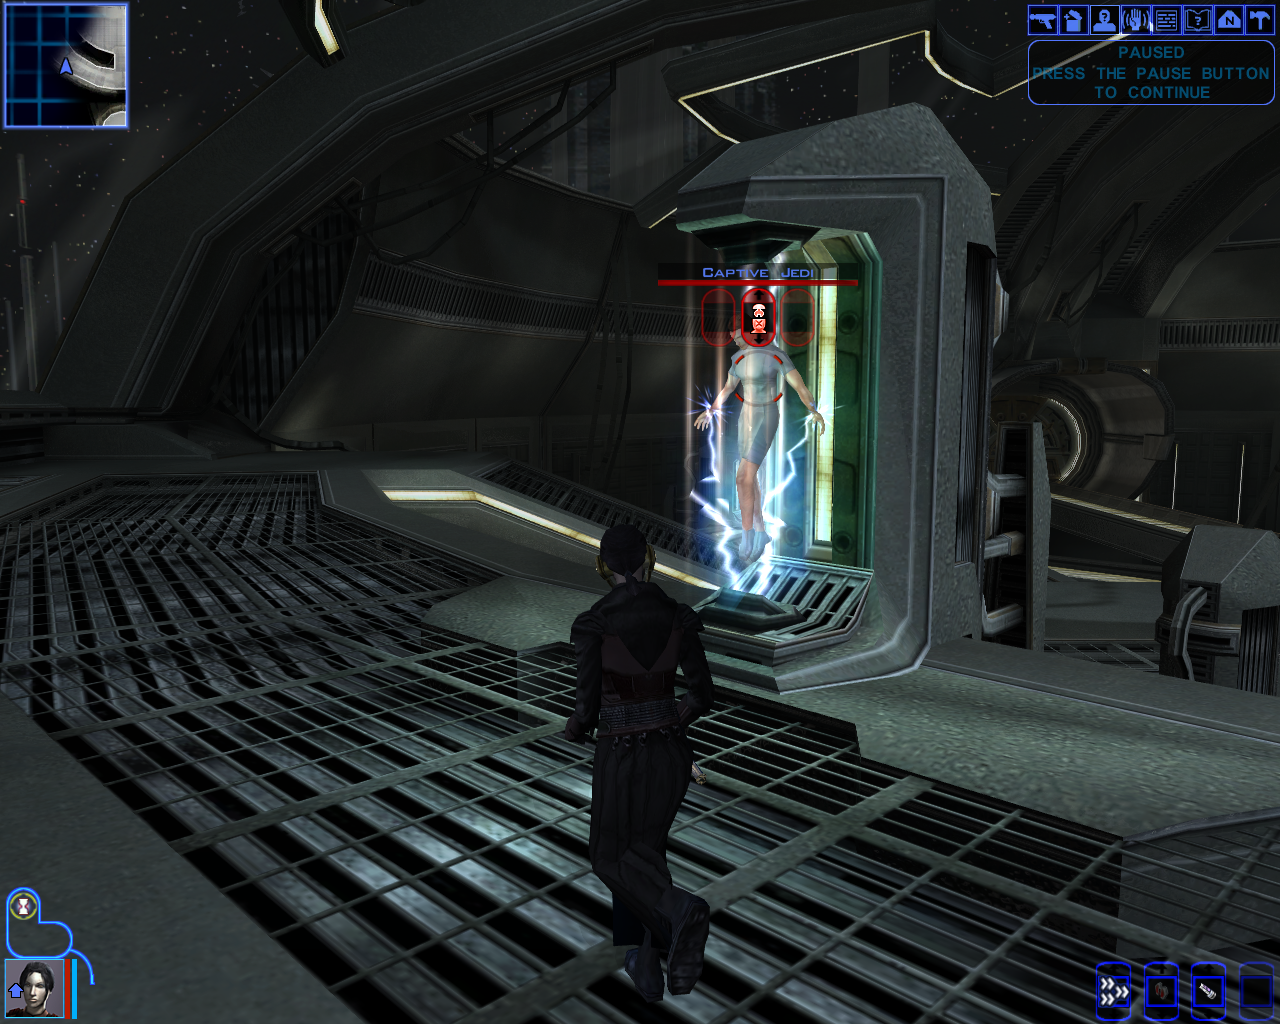
The way the Darth Malak boss fight works is pretty simple, you will battle him until his health reaches about 70% then you will get interrupted by a quick scene. Malak will explain that the Jedi Captives held around the room can be used to restore his life and force powers. After you watch this scene all of the Jedi Captives will become hostile to you and you'll be able to attack them yourself too.
What you need to do in order to prevent Malak from healing 9 times (apparently he is a cat with 9 lives) is to run around the room and 'kill' all of the Jedi Captives. Use the Force Speed line of powers to put some distance between you and Malak and use whatever hostile power you can on the Jedi Captives to destroy them.
In my experience with Malak he uses Jedi Captives to replenish both his Vitality (health) as well as his Force. If you can get Malak to waste a lot of his Force Energy on you by either attacking you or Force Breaching you then you can make him use a Jedi Captive to replenish it when you damage him even a little bit.
Defensive Tips: Using Energy Resistance or Force Immunity is highly recommended as it'll help negate some of Malak's damage. Save your force energy for these two buffs over all the other ones. Shields and Stims are also no brainers to use for this fight. Use Master Speed or whatever rank you have of that power to put distance between you and Malak and load up on your Stims/Shields.
Grenades: Adhesive Grenades work on Malak and can lock him in place after that you can spam your highest damage grenades on him to defeat him.
Mines: Since Malak has very predictable pathing it's possible to place a butt load of mines on the ground and force him to run over them. What I would recommend is kill all but 1 Jedi Captive and then position yourself very far away from the remaining one. This will give you ample time to drop tons of mines as Malak runs to the final Jedi Captive than back to you. It's possible to one shot Malak if you place enough mines.
Once Malak has been defeated you'll be able to watch the ending cutscene which will be different depending on your choice of Light Side or Dark Side. We've now officially completed Star Wars: Knights of the Old Republic!