
Rikku's Celestial Weapon - Godhand
If you didn't already know, in order to complete any of the Celestial Weapon quests in Final Fantasy X you'll have to first obtain the Celestial Mirror. Once you have the Celestial Mirror you'll be able to open any chests with Celestial Weapons in them as well as fuse them with the crests and sigils you find in the Macalania Woods.
For Rikku you'll need to find three items, Godhand, her ultimate weapon as well as the Mercury Sigil and Mercury Crest, both of which make her weapon more powerful. To find the unaltered Godhand you'll need to input a password into the airship's navigation, GODHAND. This will unlock Mushroom Rock on the list of places you can visit. If you need more information about the airship's passwords visit that guide by following the link provided.
Once you reach Mushroom Rock you can find the Godhand in a chest to the north. It's the only thing in this area so it shouldn't pose much difficult to find.
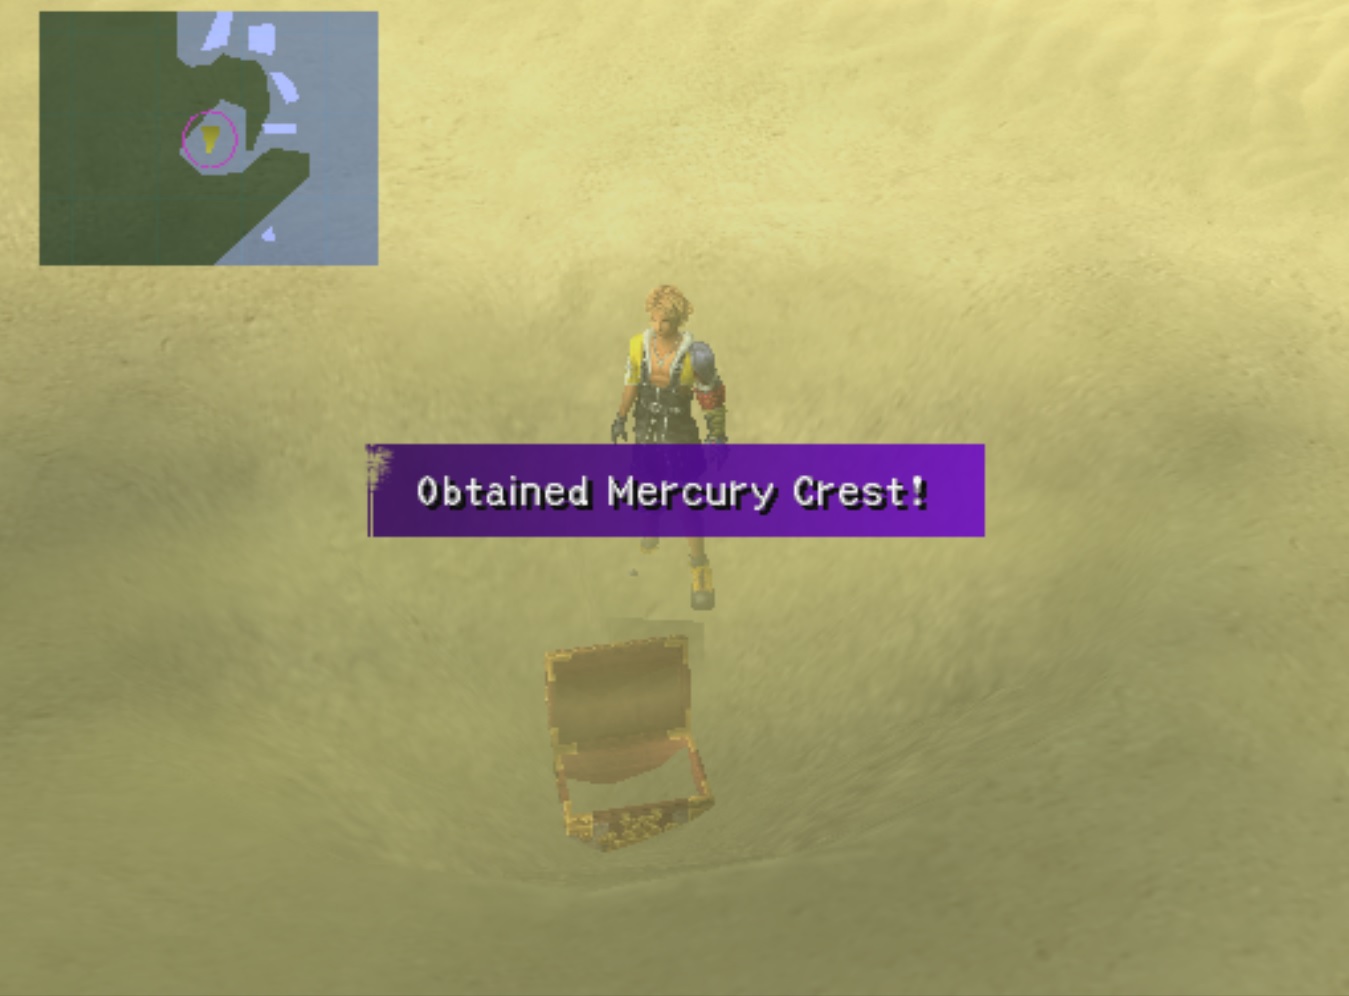
Mercury Crest
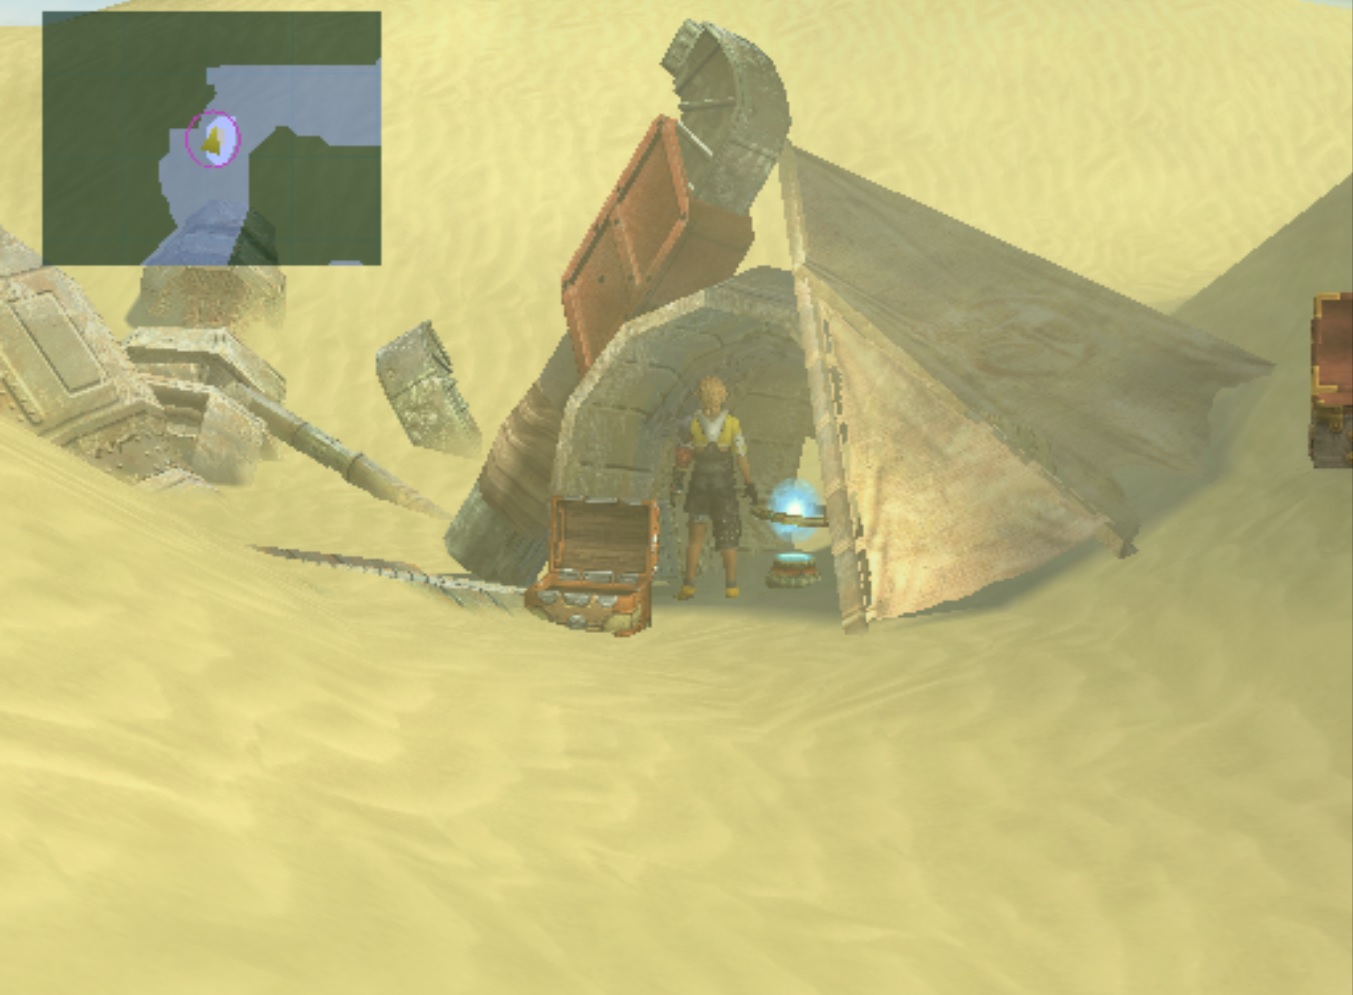
The Mercury Crest can be found in the Sanubia Desert - West. It's literally just a tad bit west of where you find the Mercury Sigil. If you need help locating it use my screenshot below. Click to enlarge the picture!!
Mercury Sigil - Village of the Cactuars Sidequest
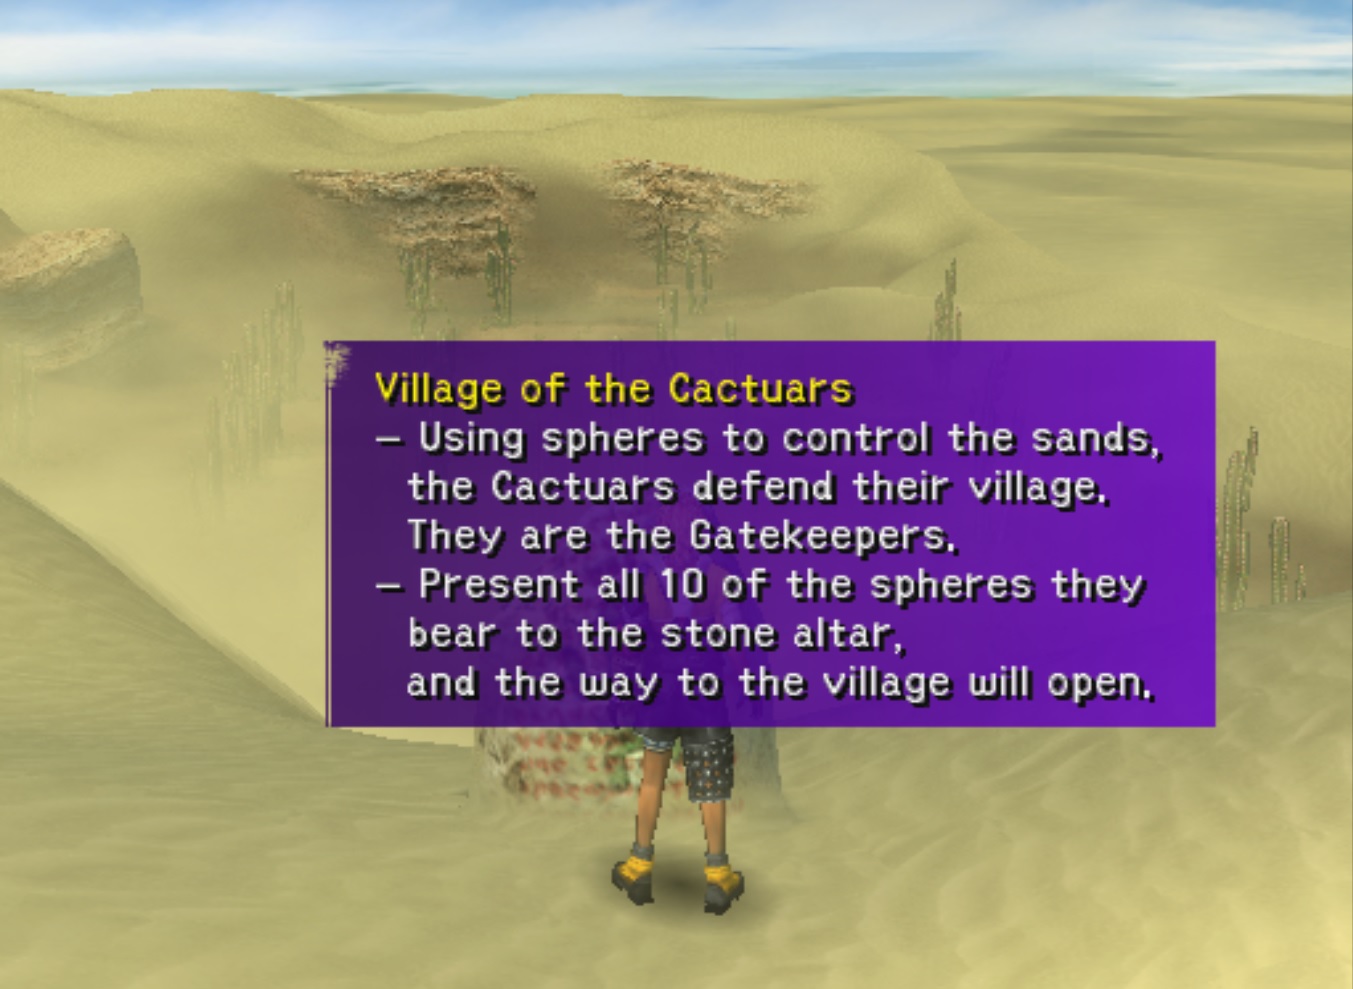
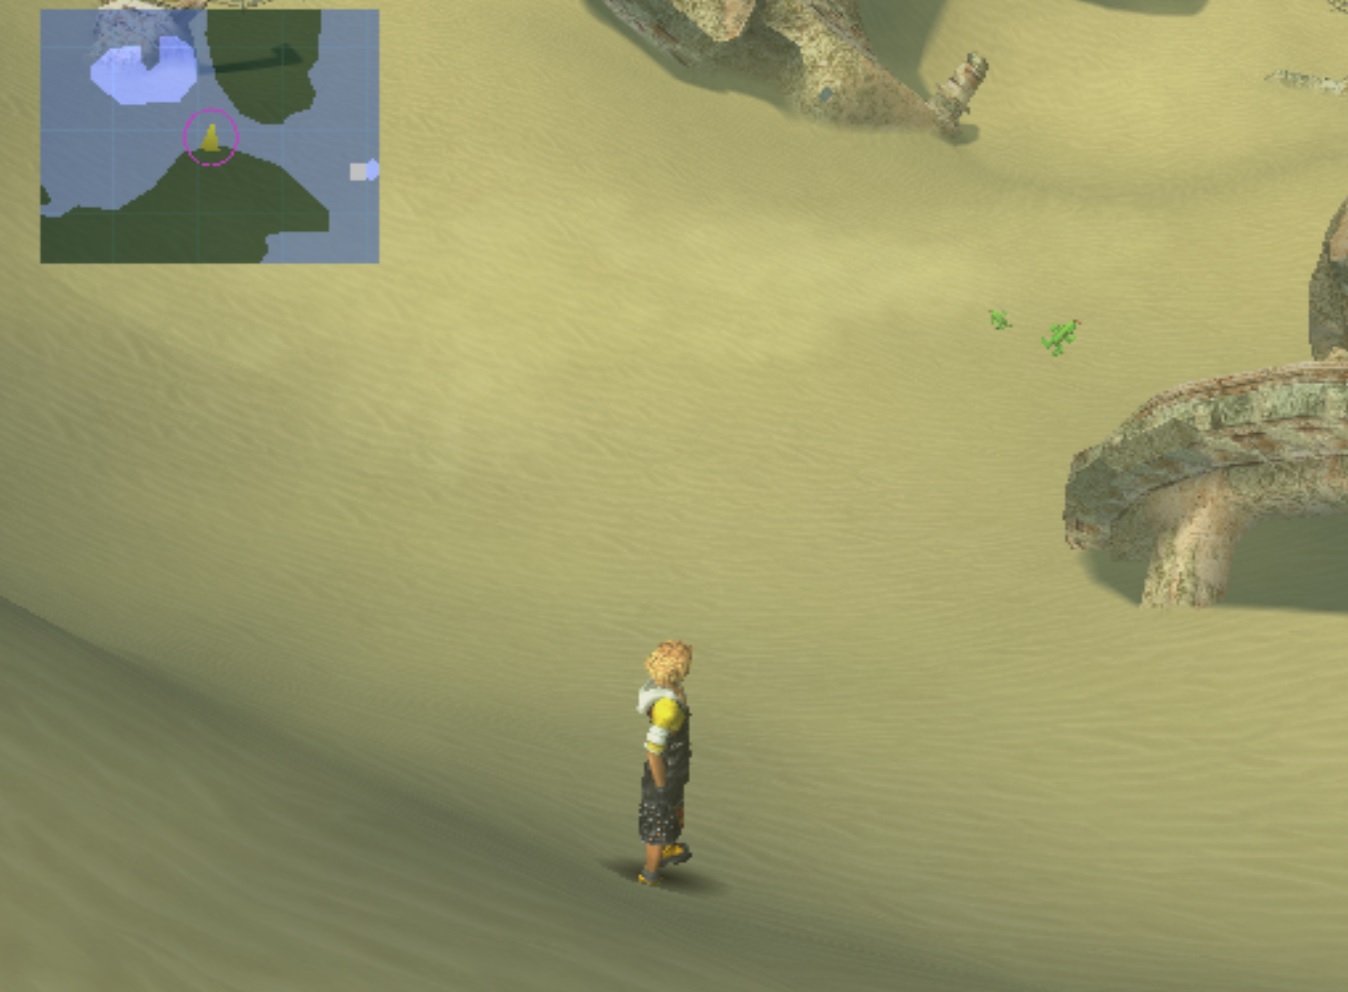
In order to begin this sidequest you'll need to find the Cactuar Stone Glyph located in Sanubia Desert - West. It's the area that's furthest away from where you first enter the desert from (the oasis). You passed this glyph on your first run through the desert - if you need some guidance on what we're looking for check out my picture below.
If you haven't yet collected all the monsters you need from the Sanubia Desert for the Calm Lands Monster Arena sidequest I recommend you do that while you're here. Otherwise I would strongly recommend that you wear a piece of armor with No Encounters on it. Otherwise this sidequest will be quite time consuming!
When you find each of these Cactuars they'll challenge you to a little minigame. Upon successful completion of the minigame you'll receive a Sphere of that Cactuar's name. Failing the minigame will net you a Sphere del Perdedor. Both of these spheres count towards your objective and even if you fail every minigame you can still get the Mercury Sigil for Rikku's Godhand.
Each time you get a sphere you'll need to return to the glyph stone that begun this sidequest to put the sphere into a slot. The more Cactuar Sphere's you get the better your 'other' reward will be for finishing this side quest. The other reward will either be a Potion (1 or 2 Spheres), an Elixir (3 to 6), a Megalixir (7 or 8) or finally a Friend Sphere for 9 or 10 Cactuar's Spheres.
Finally the last bit of advice I have for you is; if you don't already know you can press Triangle at any time to check your location. It's displayed at the bottom when you open up the menu. The Sanubia Desert has 4 different areas:
Sanubia Desert - East
Sanubia Desert - Central
Sanubia Desert - West
Oasis
Use the menu to check which location you're in which will make locating the Cactuars much easier for you.
Tomay
You can find Tomay by the Oasis we port in at via the Airship. A screenshot of his location can be seen in the picture below.
The Minigame that you have to play for Tomay is fairly easy and it's the same minigame we'll be playing for a lot of the other Cactuars in the desert. Essentially all you need to do is run towards Tomay when he has his back turned to you. You'll have to reach him in 10 seconds or less in order to successfully get Tomay's Sphere.
Rovivea
You can find Rovivea in Sanubia Desert - East. Rovivea can be found running around in a small area off to the west side of this area. If you've having trouble locating this Cactuar take a look at my picture.
Much like Tomay the minigame you have to play for Rovivea involves running towards him while he isn't looking.
Chava
You can find Chava in Sanubia Desert - West. In other words he's in the same location as the Cactuar Glyph Stone which we return the spheres too. To the east of the glyph you'll find two different sign posts with two signs attached to them. You'll want to inspect the one further away from the glyph to find Chava.
If you're having trouble finding Chava take a look at the location I am at in my screenshots below. Chava's minigame is the same as the previous two Cactuars.

Alek and Aloja
You'll be able to find these two Cactuars in Sanubia Desert - Central. If you're standing at the Save Sphere in Sanubia Desert - Central then head to the northwest into the destroyed city looking part of the desert. You'll find the two brothers running around in this area, interact with them to start the minigame.
This minigame is the same as all the previous Cactuar minigames that you had to participate in. If you're having trouble finding the location of these two Cactuars take a look at my screenshot below.
Vachella
This Cactuar can be found in the Oasis part of Sanubia Desert. In order to make this Cactuar appear you'll want to inspect the Save Sphere that's on the northern end of the Oasis, leading towards Sanubia Desert - East. When you touch the Save Sphere Vachella will pop out and the minigame will begin.
This minigame is the same as the others but insanely hard. Vachella turns around to face you much more than the previous Cactuars and you'll have to make every fraction of a second count in order to catch him in time. I highly recommend using save states if you have them and for you to be extremely patient.
Robeya
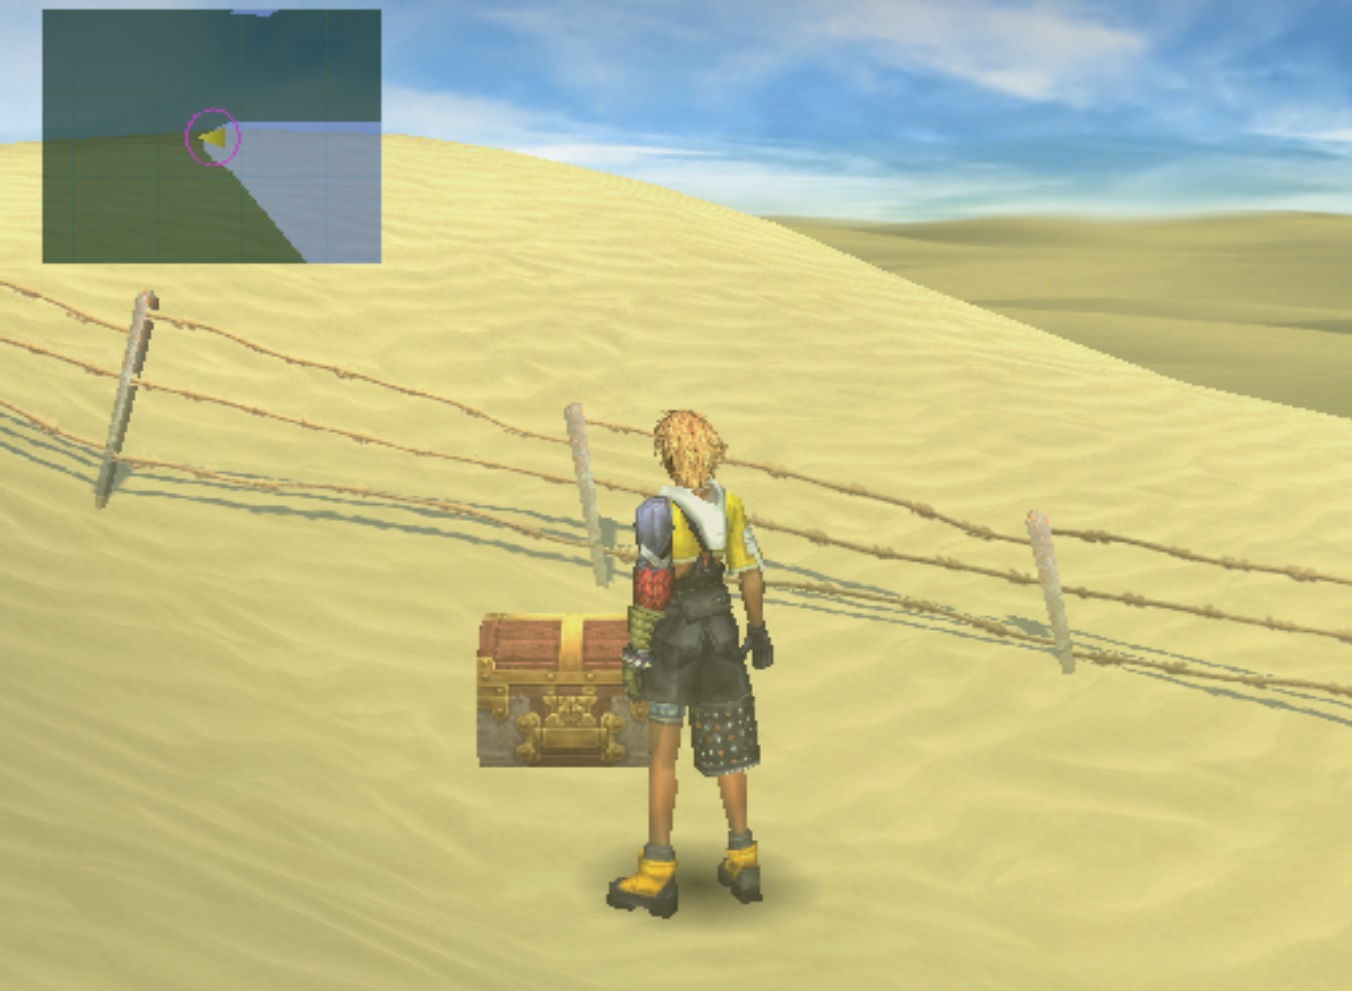
For Robeya you'll need to head to the Central part of Sanubia Desert and over to the far west side of the map. You'll find a treasure chest over here that Robeya is stuck inside of. If you're having trouble locating this Cactuar take a look at my screenshot below.
This minigame is a bit different than the others. The first thing you'll notice is there's 3 treasure chests that are placed along your path to Robeya. The chest closest to where you start contains 2 Shadow Gems, the next one 2 Shining Gems and finally the closest chest to Robeya contains a Blessed Gem.
It's possible to get all these chests as well as Robeya since you get to keep the treasure chests even if you fail. During the first trial grab two of the chests before the time runs out. The second attempt you get you'll have enough time to grab the chest nearest to Robeya and even him if you were quick enough. Otherwise just wait until the third attempt to get Robeya.
Isrra
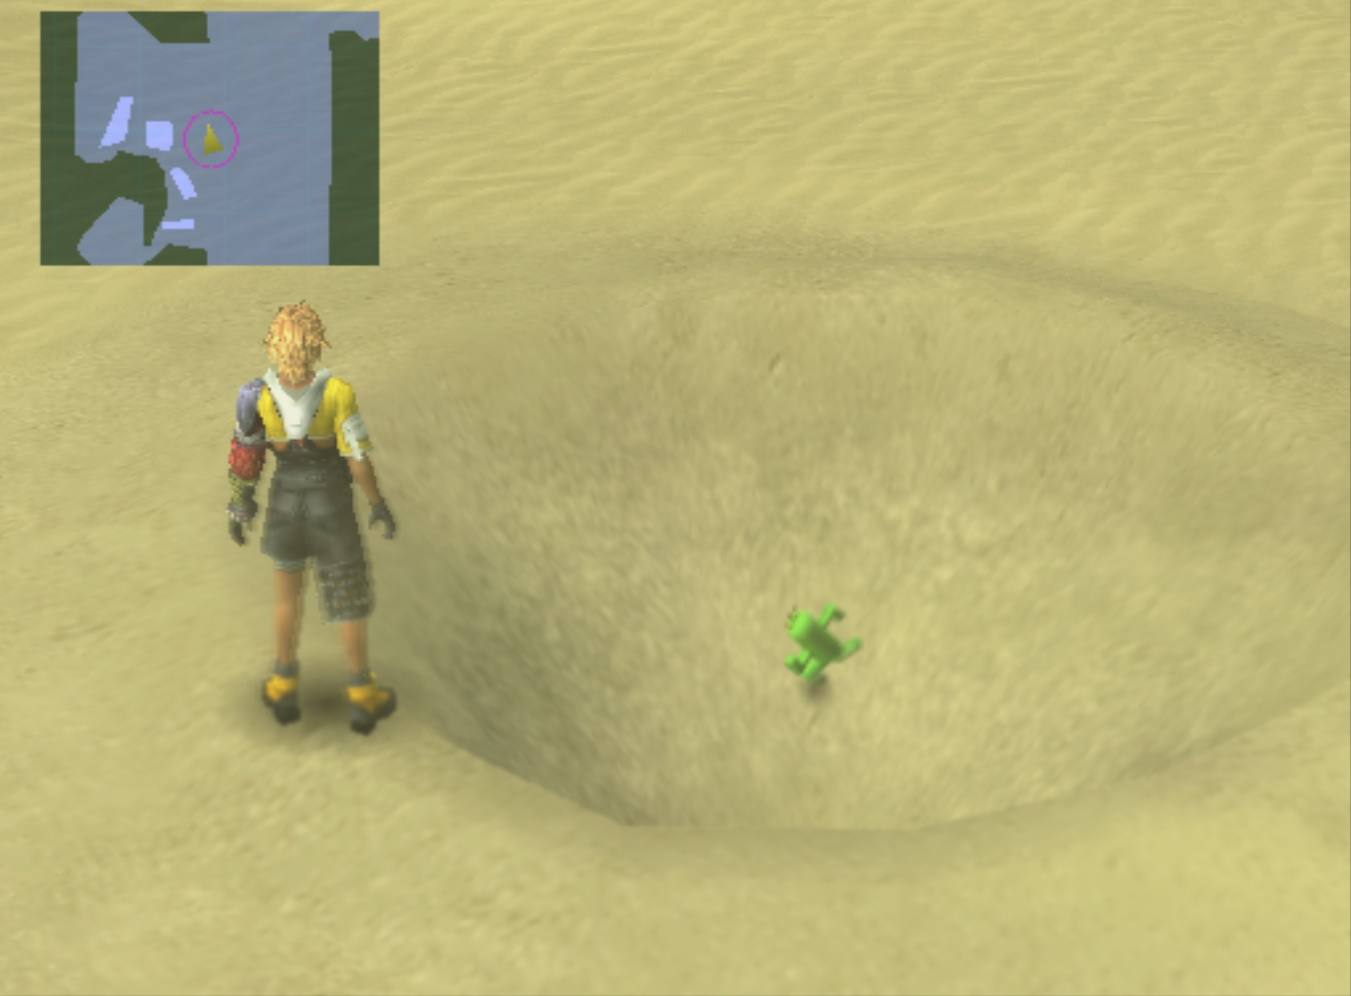
This Cactuar is found in Sanubia Desert - West, the same location we receive the clues from. This guy is located in one of the quicksand pits and he won't appear until you've first left the area and returned. If you're having trouble finding him use my screenshot to tell which sand pit he's in.
The minigame for this Cactuar is a bit harder than the others but not nearly as hard as Vachella was. This guy spends most of his time facing Tidus so when he isn't looking you'll have to make every fraction of a second count when inching your way towards him.
Elio
For this Cactuar what you'll need to do is head back towards the Oasis - the same location where we found the first Cactuar. When you get near the Save Sphere here you'll be given a brief cutscene where Elio transports up into the airship. You'll have to board the airship and head to the same location ontop the ship where we faught the dragon-like monster protecting Bevelle.
Once you corner Elio up here you'll be given another minigame. This time though you'll have to deal with the airship moving around as you move towards Elio.

Flaile
This is the very last Cactuar you'll need to finish this side quest. Unlike all the previous ones you actually won't even have to search for this guy, he'll appear behind you as soon as you insert the sphere from Elio into the glyph.
The minigame for this guy plays a bit of a psychologial mind game on you. The "Needletime" messages and the sound that's made alerting you to stop moving are out of sync with the Cactuar's actual movements this time. You'll have to keep a close eye on Flaile this time and use his movements as a judge of when is safe to move and when isn't.

Once you beat Flaile it's finally all over. Insert his sphere into the glyph and it'll cause the sandstorm to stop in the valley to the north. There are two chests in this valley, one of which has the Mercury Sigil which is used in Rikki's ultimate weapon. The second chest, as mentioned earlier will have a different item in it depending on how many minigames you successfully completed.
The loot is mentioned at the top of this page but just for argument's sake I will post them again here.
Potion (1 or 2 Spheres)
Elixir (3 to 6)
Megalixir (7 or 8)
Friend Sphere for 9 or 10 of the Cactuar's Spheres
Wanna know how you can get 400,000 or more AP per battle without cheating?
Return to my Final Fantasy X Guides Index Page