
Wild Arms Optional Boss Locations & Guide
There are many optional bosses in Wild Arms, they're scattered throughout the world in optional dungeons, 'random' encounters or triggered by a unique item in your inventory. Most of these optional bosses are pretty tough, a few of them (like Barbados & Leviathan) are complete push overs though.
The rewards for defeating these enemies are usually best in slot weapons or equipment for one of your characters so doing these optional encounters is highly recommended if you want to get your characters the best stuff.
Barbados Optional Boss - Dist Dim Cecilia Ultimate Weapon
Barbados is the easiest optional boss for you to fight in the entire game. You can first challenge him after you collect both Gemini Circuits for the Protowing and gain the ability to fly over mountains. You can find Barbados by flying over the mountains that are in the upper right hand or lower left hand portion of the map.
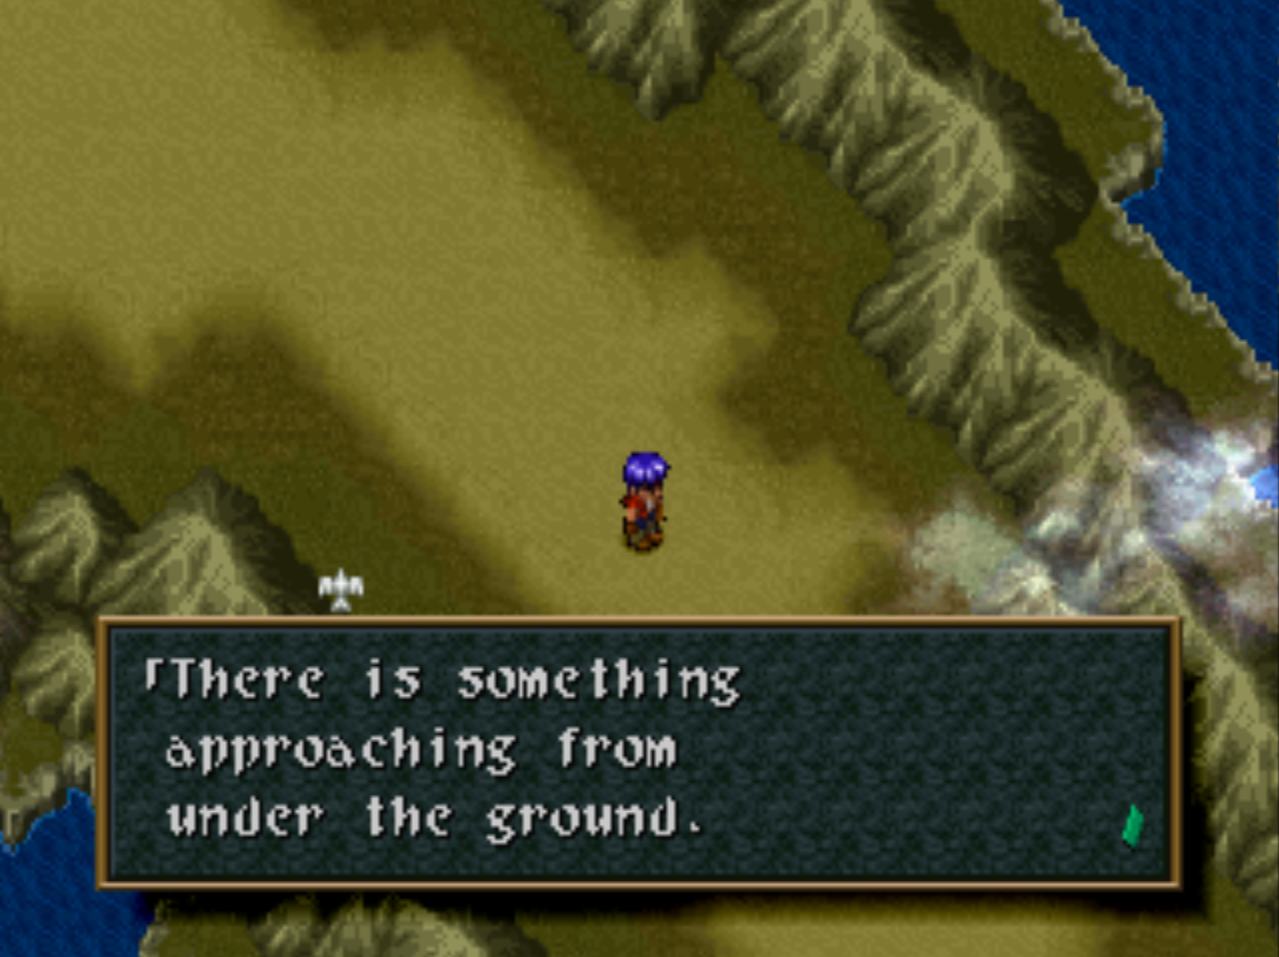
You might have noticed it earlier in the game but there is a very long stretch of desert that's enclosed in a mountain range. Barbados is found in this desert area but I think only appears after you inspect the sign which tells you not to litter in this area. At least he didn't appear for me until I inspected the sign.
My two screen shots above show you the location that I encountered Barbados. The screen shot on the right is the exact same location that I was standing in the screen shot on the left.
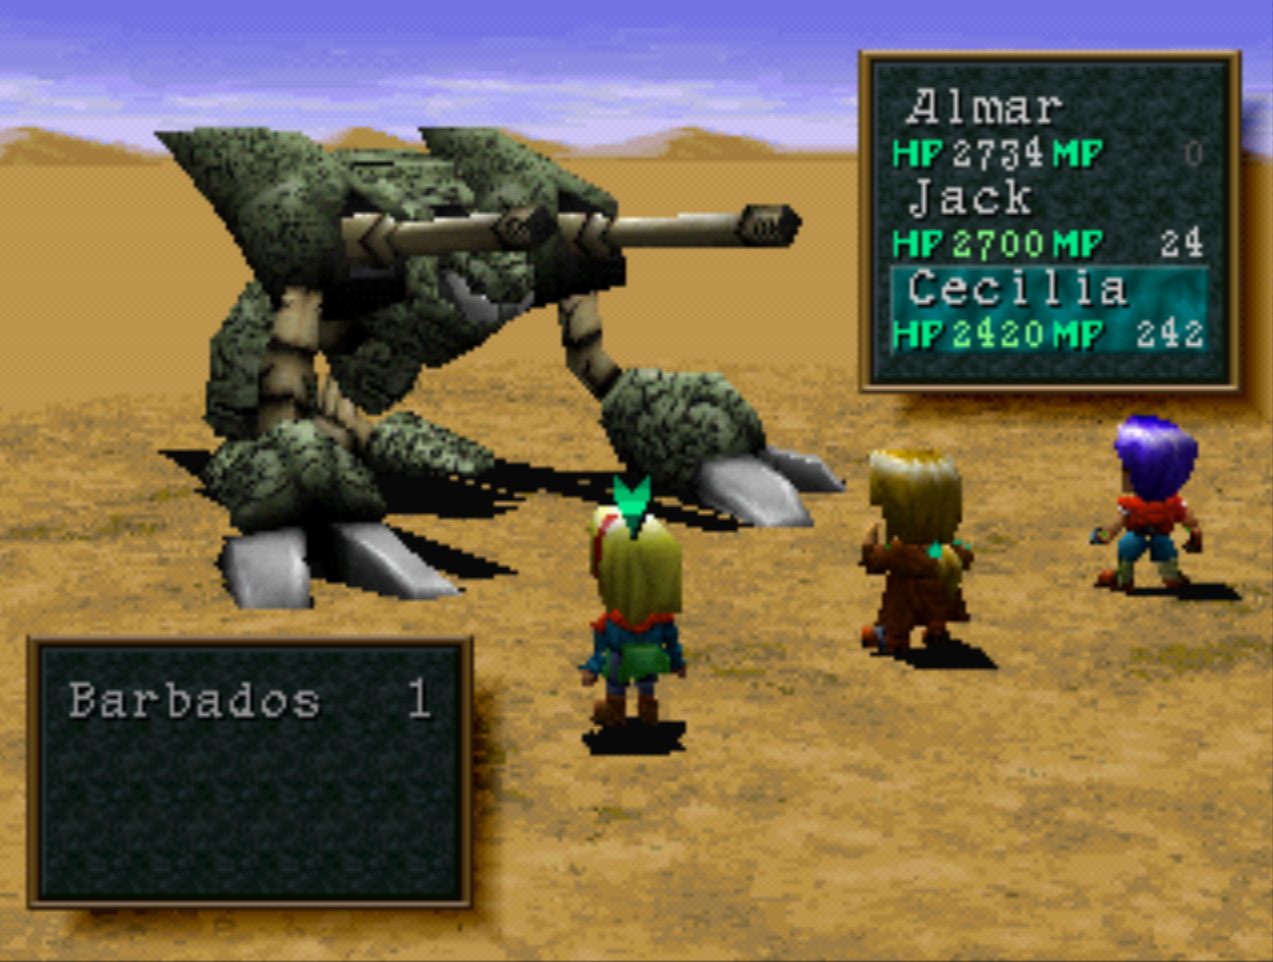
The only attack that you need to worry about when fighting Barbados is Acid Missile which will deal about 2000 damage to everyone in your party. All of his other attacks are single target and deal a smaller amount of damage than Acid Missile which makes them basically negligible.
After you defeat Barbados you'll be rewarded with Dist Dims, Cecilia's Ultimate Weapon.
Leviathan Optional Boss - Cecilia's Best Chest Armor
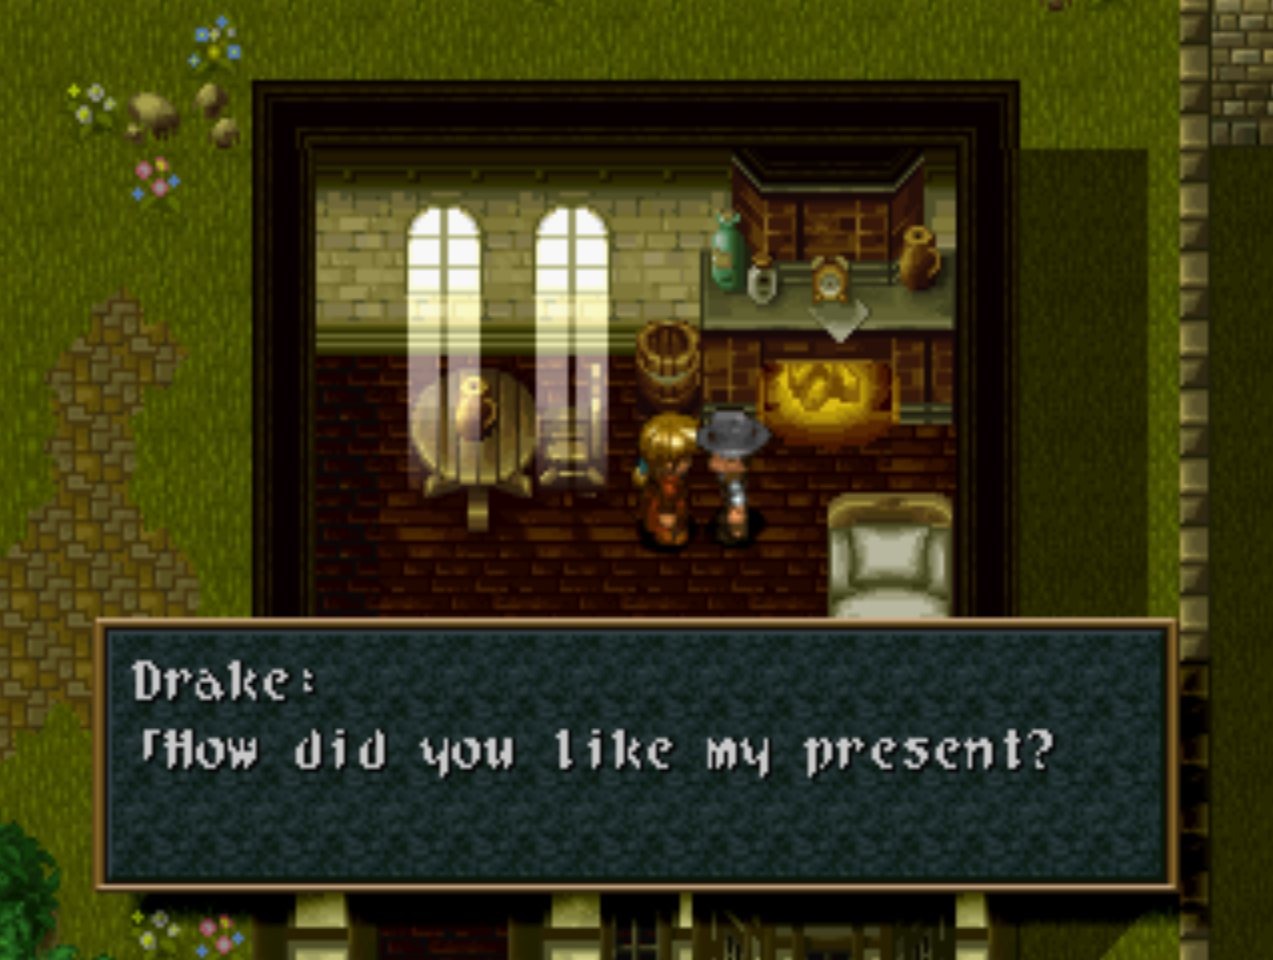
After you rebuild all of Adelhyde you'll find new buildings in the eastern part of the town where trees used to be. In one of these buildings you'll find Drake, the guy who was with you and Bartholomew on the Sweet Candy earlier in the game. Long story short, he rebuilt the Sweet Candy for you and it's parked outside of Adelhyde!
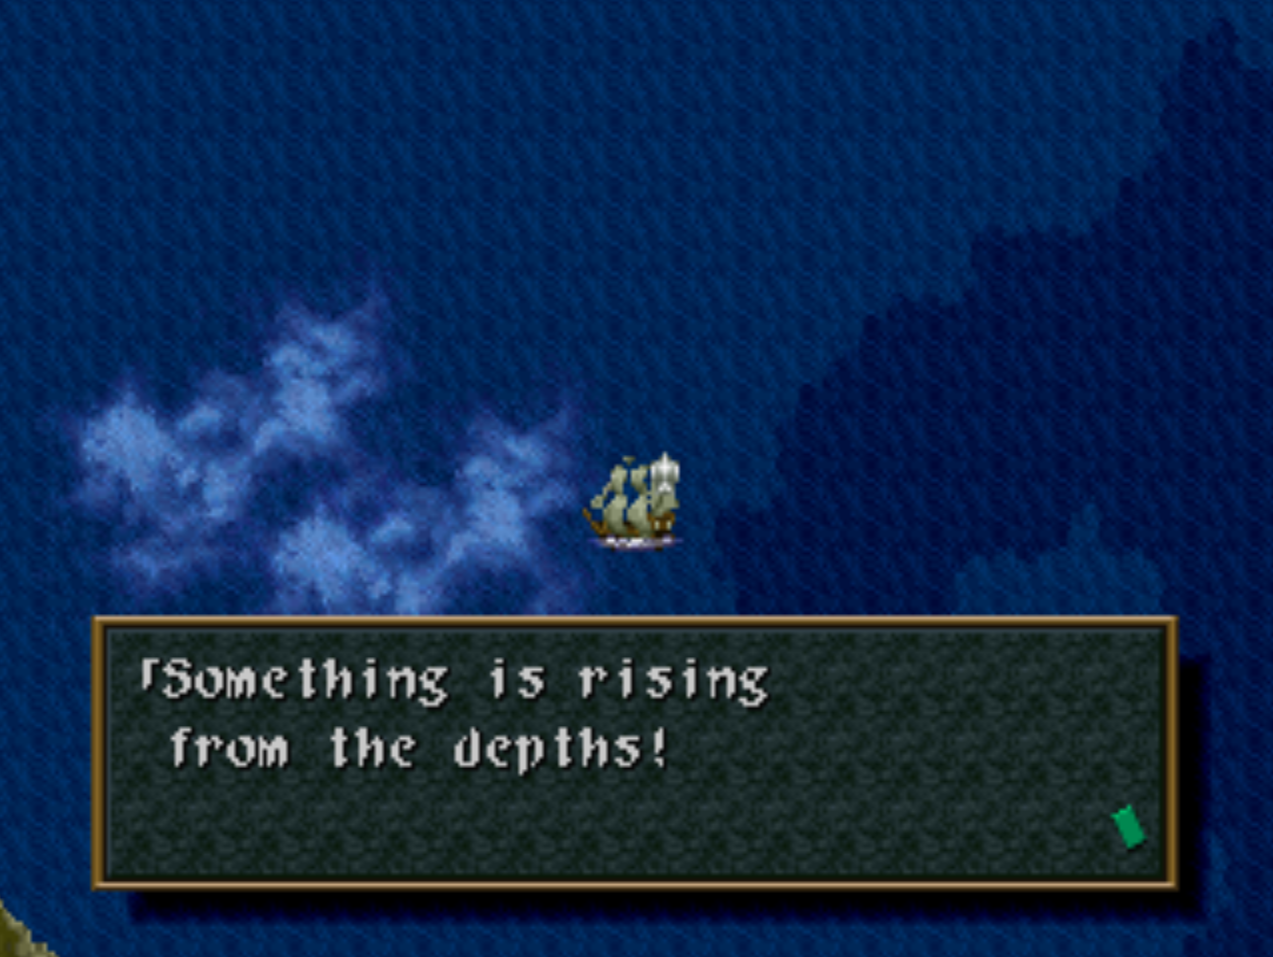
Since you have the Protowing and it can fly there's really no reason at all for you to use the Sweet Candy except for fighting Leviathan. This is one of the many optional bosses in the game and he's much like Barbados both in difficulty and the fact that he's one of the golems that got loose earlier in the game.
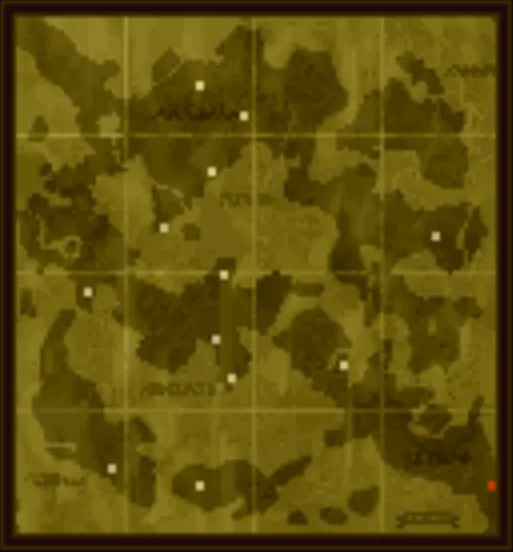
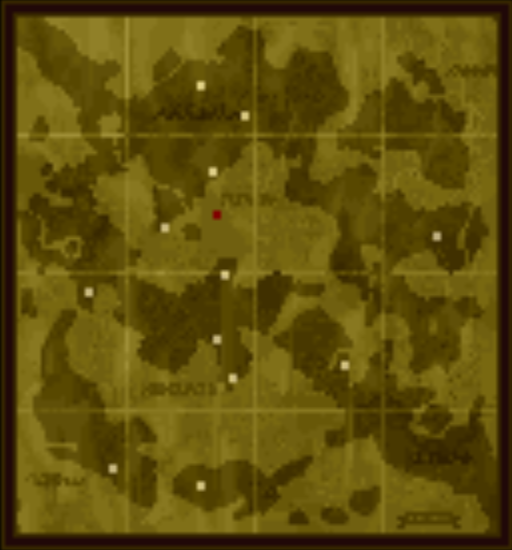
To find Leviathan you'll need to sail around in the ocean to the southeast of Adelhyde until Leviathan comes out to attack you. The spot I encountered him is shown in the screen shot below. Or you can use my map location which is also below for some idea of where he is found.
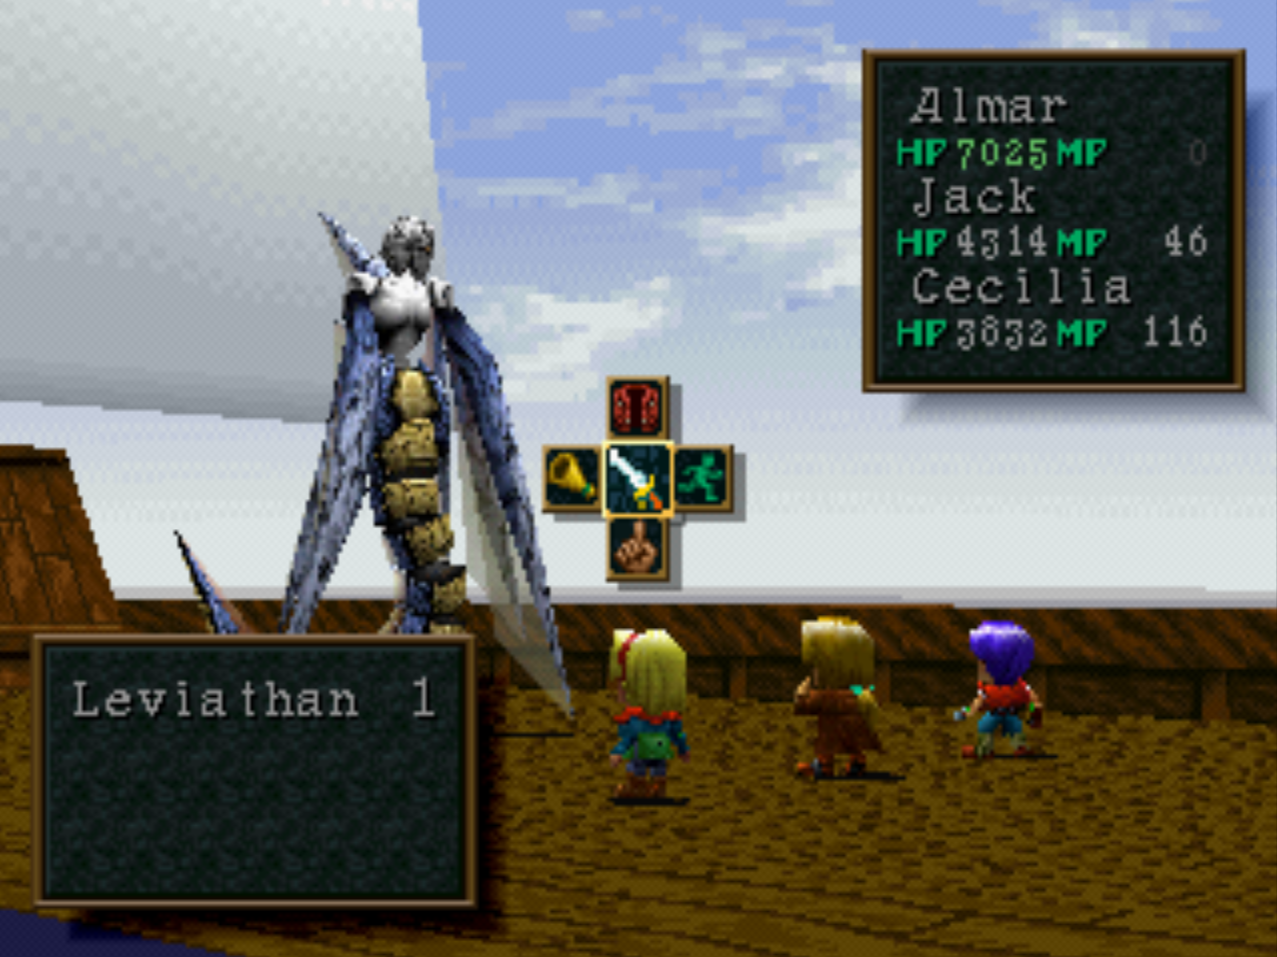
As for the fight with Leviathan, it's a piece of cake assuming that you're leveled up already. She has one attack which hits your entire party for about 2000 damage, Deep Sea Cyclone. Other than that, most of her attacks are single target and don't hurt much at all.
The reward to say it again is Pret-a-porte Cecilia's Ultimate Jacket.
Monster Zed - Optional Fight (Jack's second best weapon Doom Bringer)
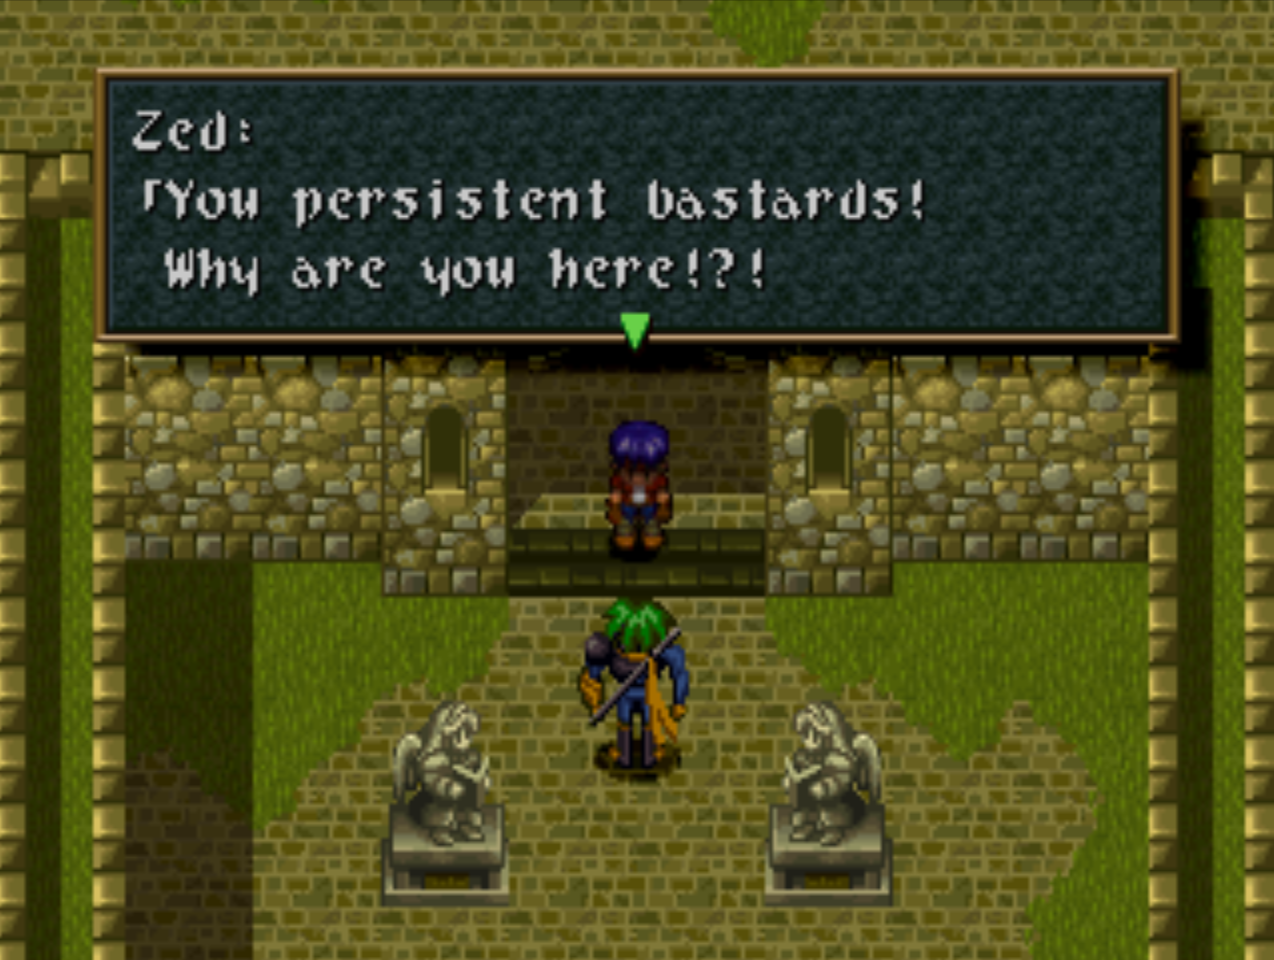
Towards the end of the game, after you've collected both Gemini Circuits and can fly around on the Protowing return to Saint Centaur. Here speak with the blind girl in the southeastern most portion of this village; she is the last person left in town. She'll tell you that someone has been taking care of her this whole time and he seems sincere.
After you speak with her try to leave town to encounter Zed, the person who has been taking care of her this entire time. He'll ask you if you want to fight him, if you say yes he'll transform into Monster Zed and engage. The fight itself can be really easy or really tough depending on how lucky you are.
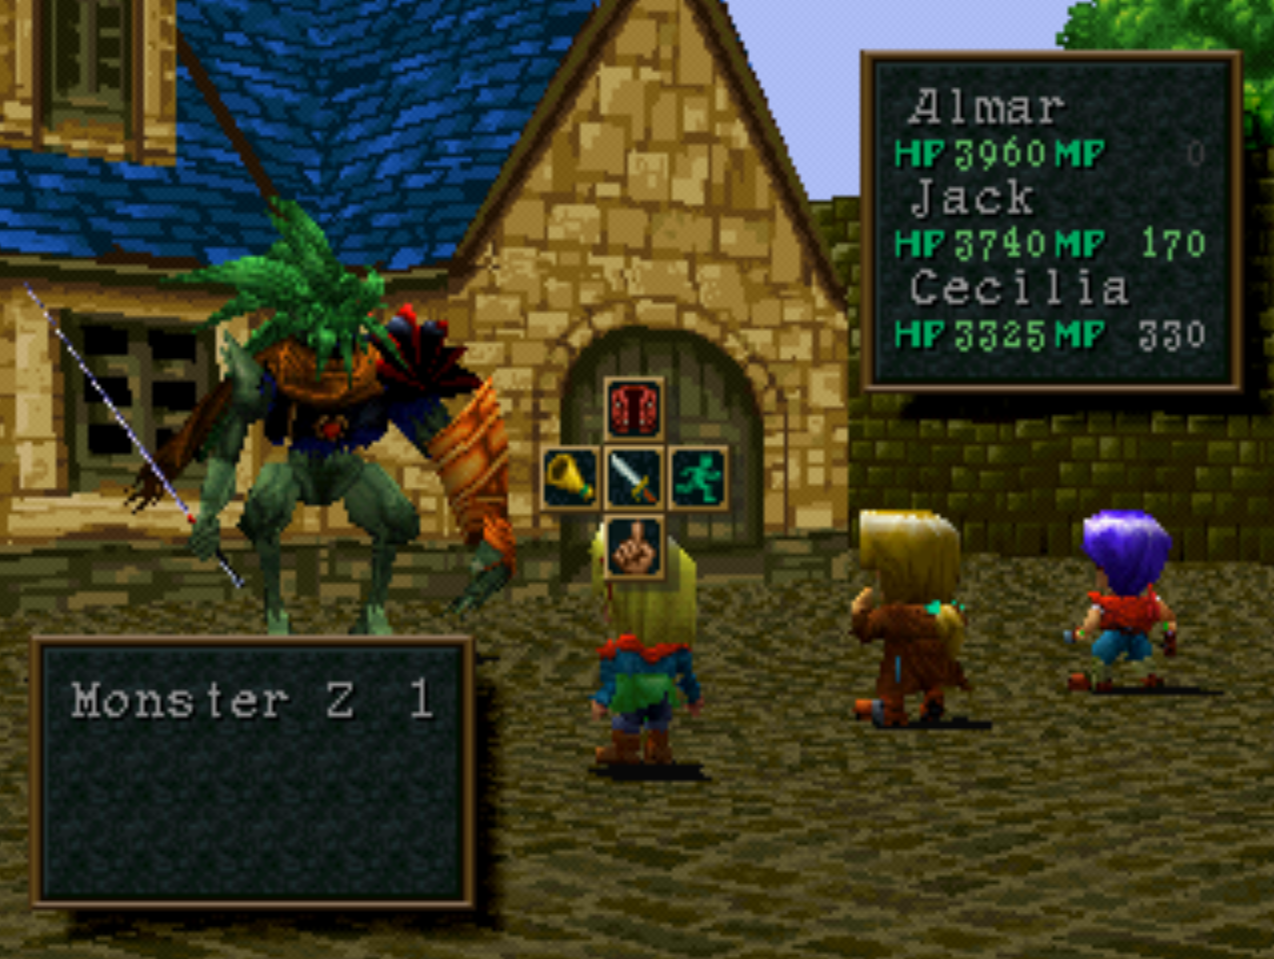
Zed only has two attacks that you need to worry about.. These are Higi Kajin-Eisatsu and Gaia Crash. The first one, Higi Kajin deals about 2500 damage to everyone in your party and also has a small chance of inflicting a negative status effect on everyone.
He also sometimes uses Kinjite Yasha-Ichimonji which is a single target ability that hits for about 1500 damage and inflicts the target with multiple negative status effects. If you're having trouble with this fight, I recommend using a Goat Doll on everyone and if it gets consumed during the fight equipping another one. It's the easiest way to cheese basically any fight in this game.
Once you defeat Monster Zed you'll be rewarded with Doom Bringer, Jack's second best weapon in the game, the primary downside to this weapon is it will reduce Jack's luck to 0. You'll also watch a short scene with Zed where he explains that he has been helping this young girl the entire time and you get the opportunity to let him live if you desire.
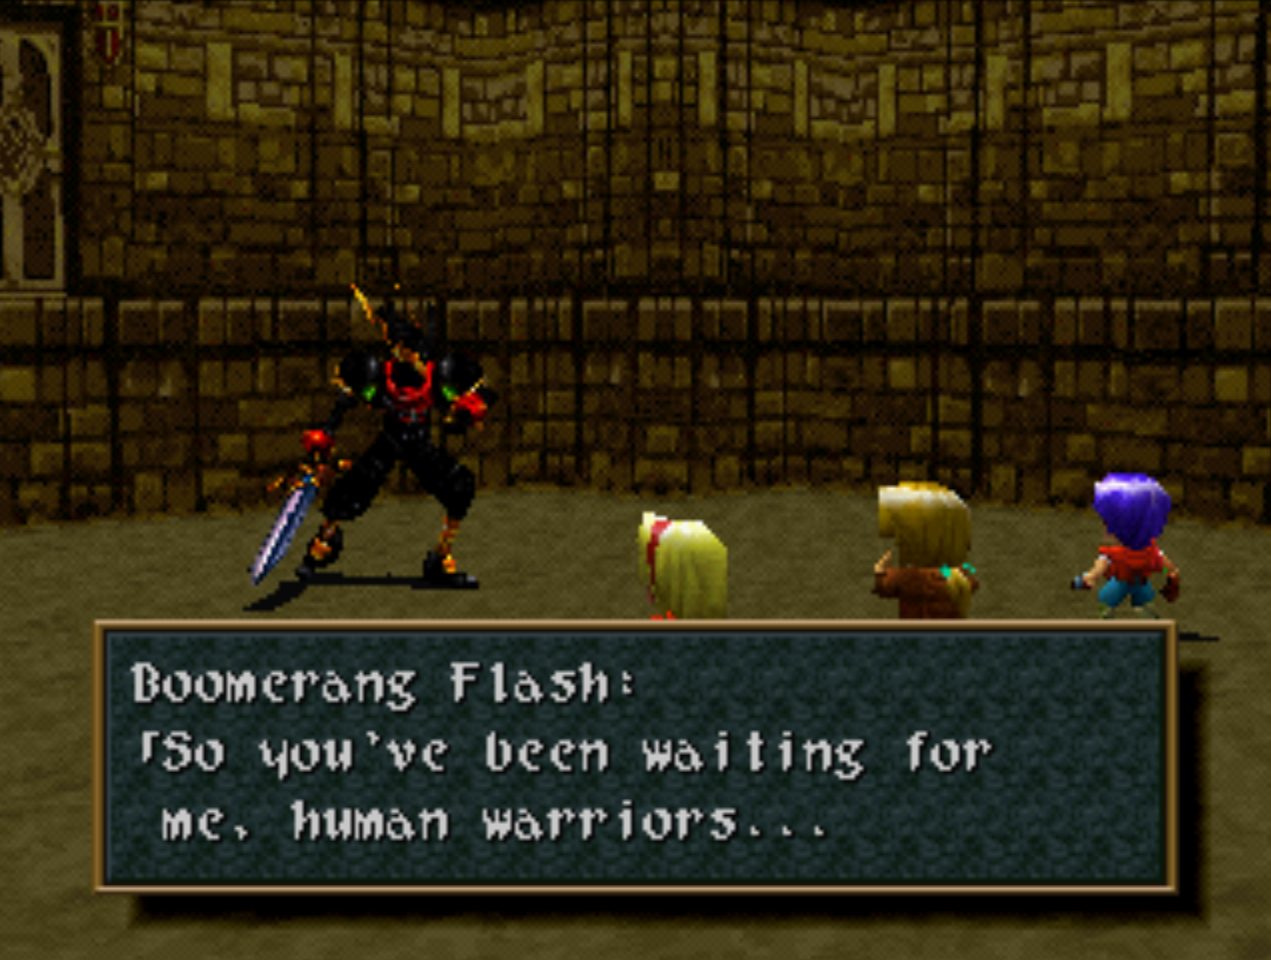
Boomerang Flash - Divine Blade Rudy's Ultimate Weapon
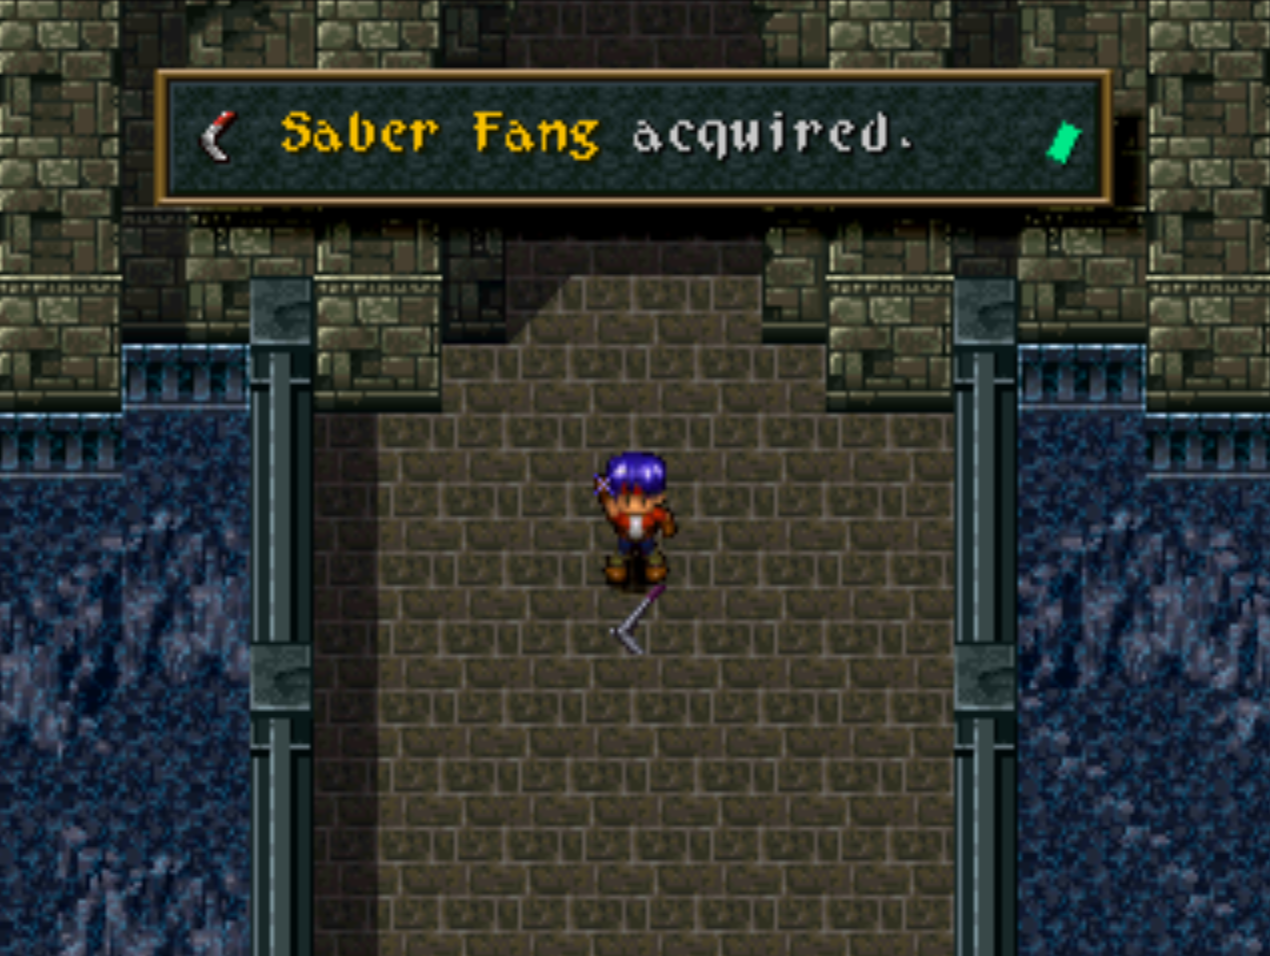
After you defeat Boomerang and Lucedia at Ka Dingel and witness the scene of them holding off the demons as you enter the fortress, return to that area and pick up the Saber Fang that's left behind. This item is one of the two prerequisites to fighting Boomerang Flash.
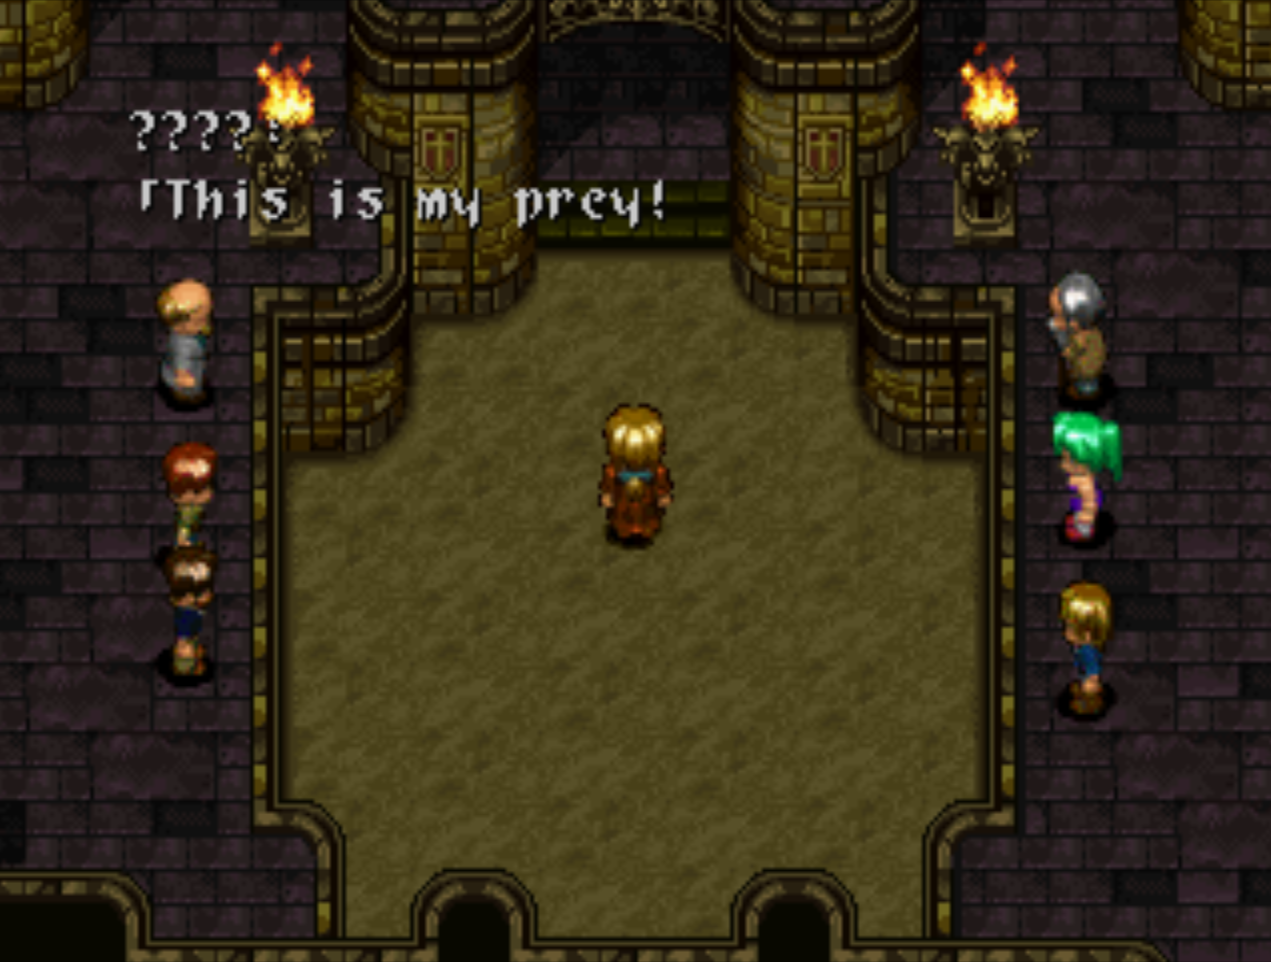
The second prerequisites that you need to fulfill is to defeat all four enemies in the Ancient Arena, completing it, at least once. If you've done both of these things then when you enter the Ancient Arena again you'll the message that's shown in the screen shot below.
Much like the previous encounters with this boss, he has some really hard hitting attacks so you'll want to come prepared. His two biggest attacks are Zero Count Execution which deals over 2500 damage to a single character and Shadow Boomerang Maximum which does over 3000 damage to your whole team.
Make sure to keep using Hi-Shield on your group, Life Guard on any character that isn't using a Goat Doll and to keep the boss debuffed with Arm Down and Slow. I also recommend using the x2 Attack Power spell on Rudy and Jack, it'll speed the fight up a lot.
Defeating Boomerang Flash will reward you with Divine Blade, the best weapon in the game for Rudy.
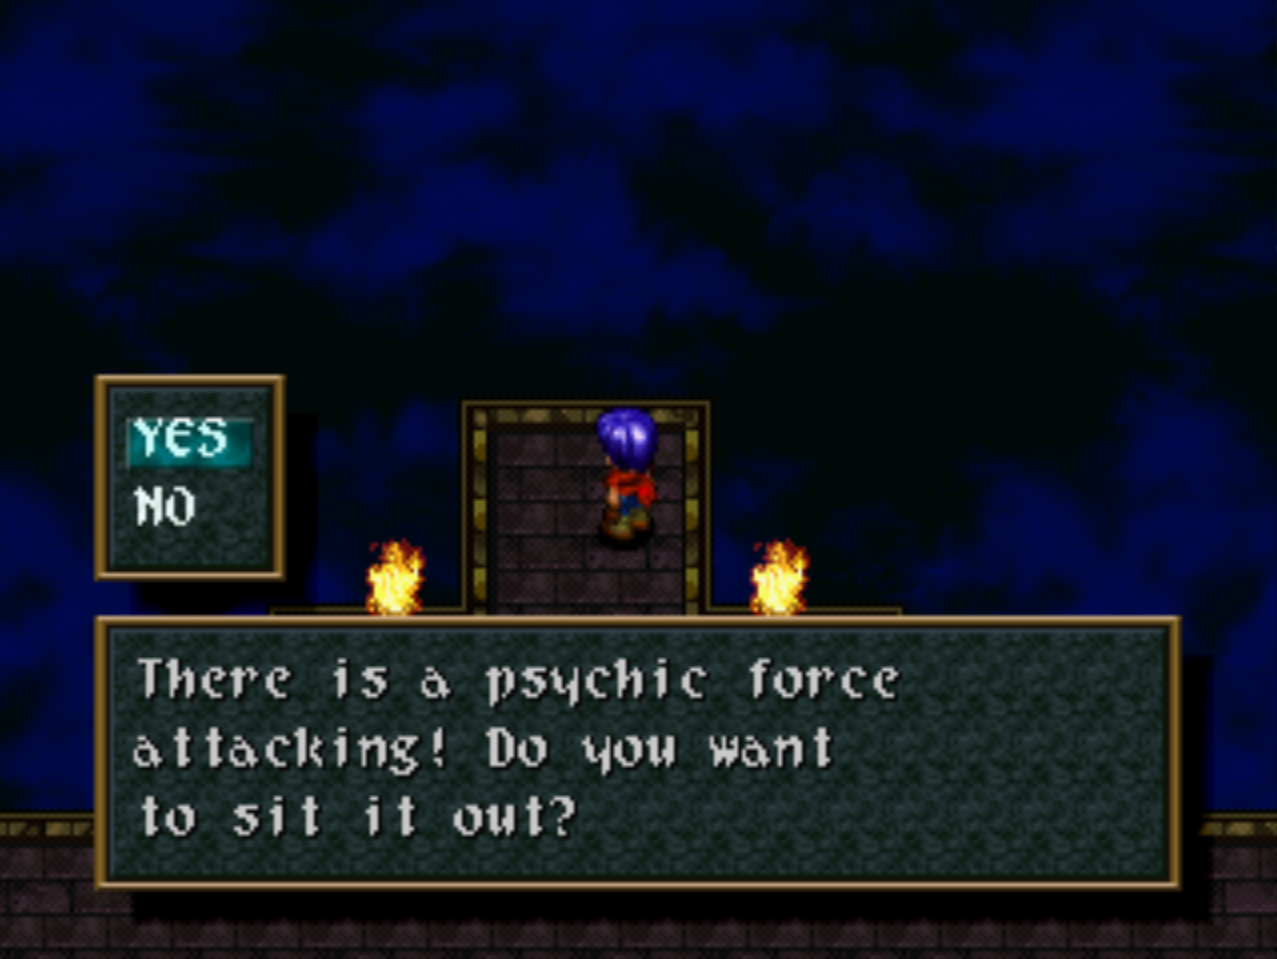
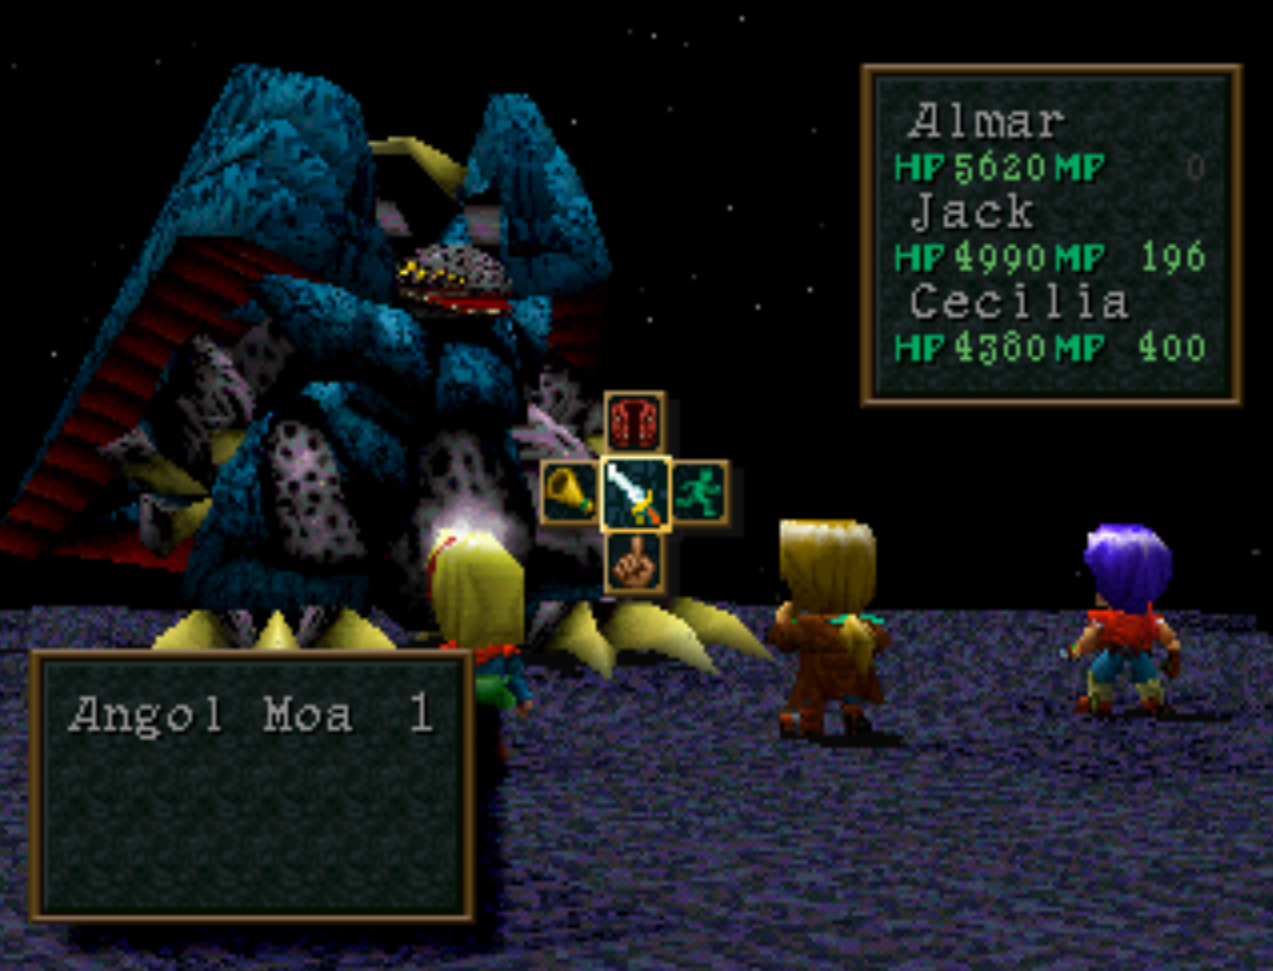
Angol Moa - Juggernaut Jack's Ultimate Weapon
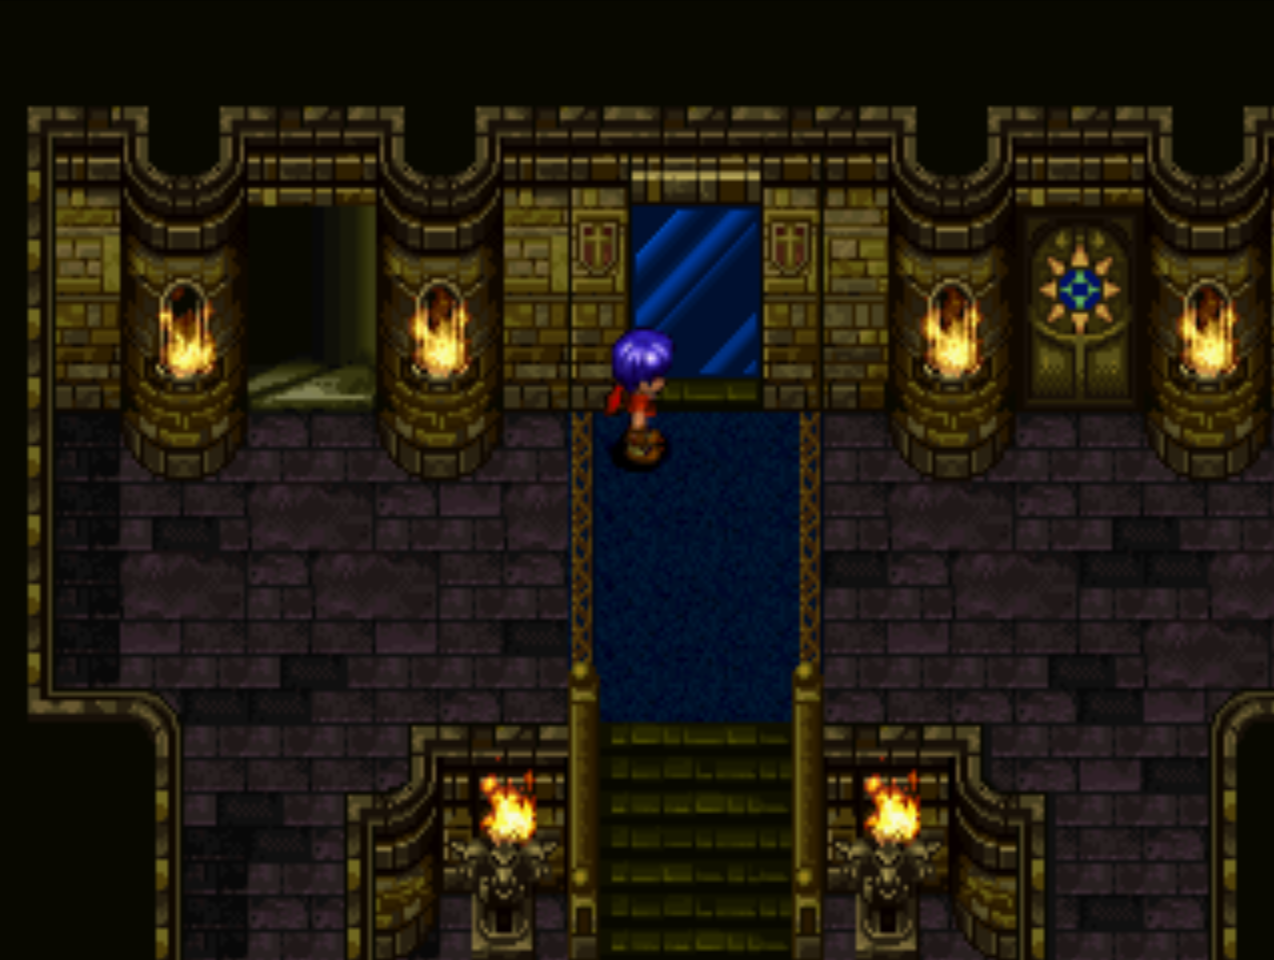
Angol Moa is found in a room behind the spectator's seat in the Ancient Arena. In the screen shot above where you see the blue door, use Rudy's Power Glove to give this door a good pounding and break it down. It leads to a hall way which you'll need 5 Duplicators in order to get through. At the end of this hall way there's a few stairs, some warnings about Angol Moa and then finally what you see in the screen shot below.
If you don't have enough Duplicators to make it to Angol Moa I recommend you hunt the Hayokonton enemies on the islands to the southeast of Ancient Arena. This location is also the best spot in the game arguably to level up your characters very quickly. For more information about it, just follow the link provided.
Now, as for the Angol Moa fight - expect a fight harder than almost anything of the other optional bosses mentioned on this page. Angol Moa has one devastating attack, The 7th Moon which deals roughly 3000 damage to everyone in your group. All of his other attacks are tis but a scratch in comparison to this one... Unless you don't have a way to protect against Silence for Cecilia - then you'll have to worry about that too.
Depending on what level your team is and what you can handle I may also recommend equipping Goat Dolls on your team. My team was in their 60s by the time I fought Angol Moa and I didn't have a hard time due to the fact that I could basically eat two rounds of his strongest attack in a row.
Return to Wild Arms Guide Index