
Dragon Quest 6 Walkthrough - Chapter 1
I talk about this on the Dragon Quest VI index page but it's worth mentioning again here. This walkthrough is designed to give you (the player) as much freedom as possible when playing the game. What this means is I do not hold your hand the entire way, my guide points you in the right direction and tells you how to advance the story forward. This means that exploring towns and dungeons is mostly left up to you.
Any puzzles, rare items or otherwise troublesome elements are covered in this guide. My goal is to make you spend as little time as possible reading this guide and the most time possible enjoying the actual game.

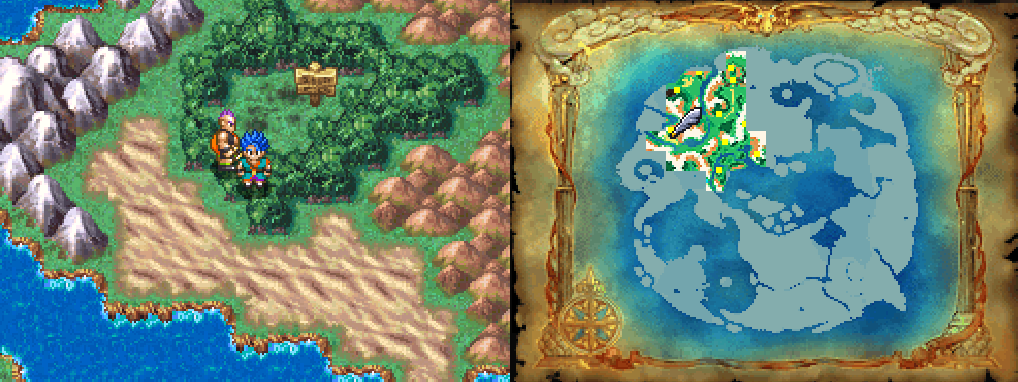
When you first gain control of your Hero you will be next to a campfire (pictured above) which remains to be one of the most iconic Dragon Quest introductions ever (in my opinion). This whole first part of the game is extremely linear, all you must do is speak with your team mates each time you have to advance the story forward and to follow the path laid out before you.
After you're turned to stone you'll wake up in your house in the town of Weaver's Peak. Explore the town and steal everyone's stuff then speak with the Mayor in the northern most house to advance the story forward. He asks you to travel to another village down south through the Mountain Pass.
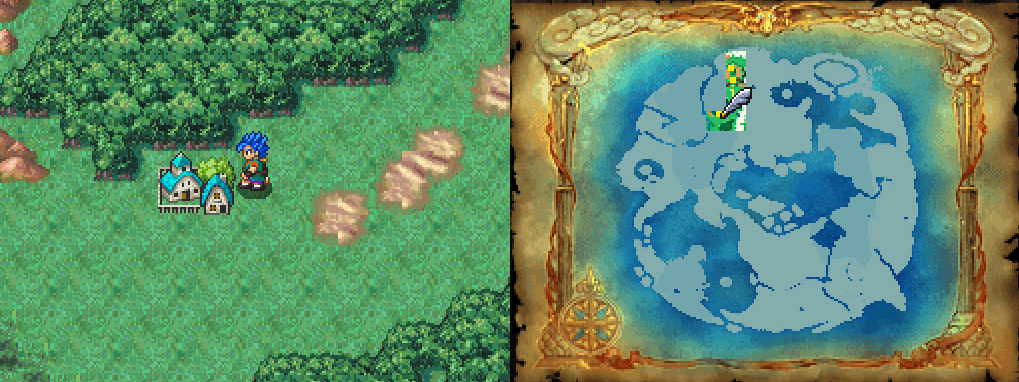
Exit your current town out to the World Map and travel a little bit south to the Mountain Pass area. There are a few items for you to find in this area and it's pretty straight forward to navigate. You'll find an Inn here too incase you want to rest but don't want to travel all the way back to town.
In the town of Haggleton you're supposed to haggle your goods from Weaver's Peak for as much gold as possible. To do this go back and forth between the shopkeepers here until one finally offers you 480G which is the most possible you can get. Alternatively, if you don't want to waste your time just accept whatever offer you want. There is no penalty for not haggling.
Purchase whatever items you want from this town for your Hero, just make sure that you buy the Thief's Key (pictured below) which you can haggle down to 200G from 3000G. This key will allow you to open two doors in Haggleton that are locked for the Big Book of Beasts and 250G.
When you are ready to advance the story forward speak with the red haired girl (pictured below) in the northeastern most house in town. She asks you to help look for her missing father whose last known location is west of Haggleton across the bridge.


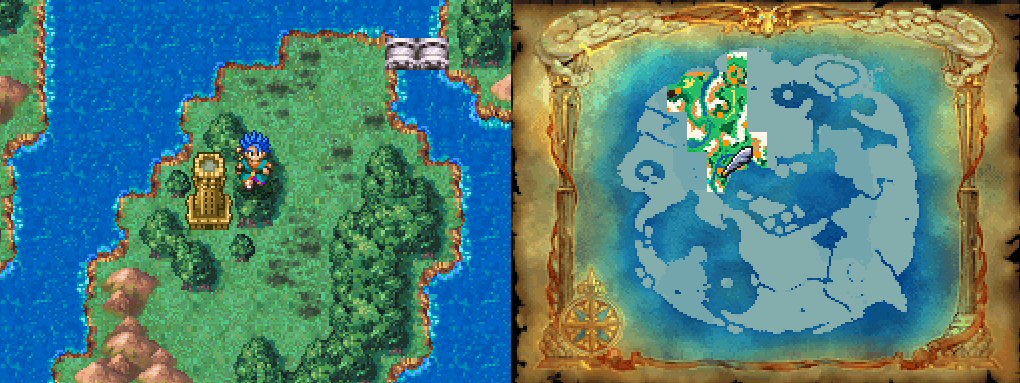
Cross the bridge on the World Map and go northwest until you find a huge hole in the ground. Approach this hole to enter an area; on the northern end of that area you'll find a man by the name of Cliff dangling off the side of the cliff (pun intended) whom you'll need to approach and speak with to advance the story forward.
After your fall you'll regain control of your Hero on a new World Map in front of the town of Wellshire. Despite being a ghost you can still steal from dressers and break pots to collect all of the goodies throughout town. The only thing you are required to do in town to advance the story forward is enter the northeastern most building where the dog will sense your presence.

Dog in Wellshire that you must interact with to advance the story forward.
Once you're done in Wellshire and ready to return to Haggleton, exit to the World Map and travel north until you come across a lone building on the World Map. Go into the Well inside of this building to be transported back to the previous world a little bit east of the hole that we fell through.
Return to the town of Haggleton and speak with Cliff inside of the same house that we spoke to his daughter in earlier. He'll give you the Spirit Crown after which you'll want to Chimera Wing back to Weaver's Peak. There are a few things you'll have to do to advance the story forward at this point, here's each step in a list format to make it easier to follow:
1. Speak with the old lady in your house to sleep
2. Go to the northern part of town to trigger a scene with Buddy and Tania (left of Mayor's House)
3. Talk to the Mayor and receive the Entry Pass
4. Speak with Tania in her house
5. When you wake up speak with Tania again
At this point you're free to leave and go on your adventure! Use another Chimera Wing to zip down to Haggleton then from there go south until you reach Somia Castle. In the Well you'll find Dragon Quest 6's reference to Lord of the Ring's Golum as well as a chest with an Antique Ring in it. Give it to the lady outside of the well for a Seed of Strength.
I'd recommend you be at least level 6 before taking on the Grim Grinner in the well as he can be quite difficult. Make sure you're fully rested, have Medicinal Herbs in your inventory and are equipped with the best possible gear before challenging him to a fight.

The other "optional" thing you will want to do in town is purchase a Boomerang. There will be large groups of enemies we'll be fighting soon and you'll probably be doing a bit of grinding in the next dungeon; the Boomerang makes a huge difference.
Advance the story forward by going up to the castle and talking to the guard at the entrance; then go to the church in town for a scene. This will trigger the bell to ring when you leave the church and allow you entry into the castle. Once all of the scenes are finished exit to the World Map and travel east until you reach the tower pictured below.
If you plan to participate in the actual race at Gardsbane Tower and attempt to win it I recommend you spend a little bit of time leveling up outside of it first and then rest in town. Additionally, stock up on enough Medicinal Herbs to fill your Hero's entire inventory prior to the boss fight of this tower. You'll want to be about level 8 before entering and you'll probably get to level 10 before the boss at the end.
Once you enter Gardsbane Tower, leaving it means you will fail the race. Aside from the Restless Heart Accessory item there is no benefit to winning this race. This is going to be your first real dungeon of Dragon Quest VI, one of the biggest tips I can think to give you is to make use of the L and R buttons to spin your camera around. You'll save a ton of time running around by doing this.
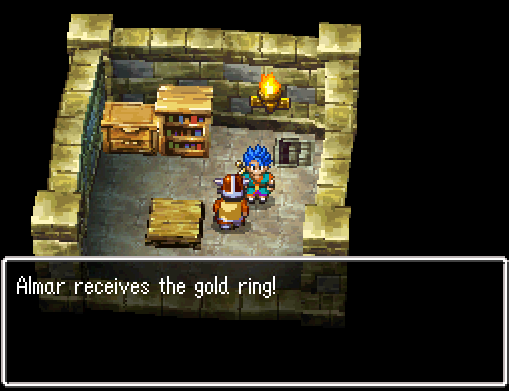
Towards the top of the tower you are going to come to an outside area where there are 3 doors. Go into the right-most door first and up the stairs to find a Mini Medal in the dresser as well as a guard who will give you a Gold Ring. This is an Accessory item and very useful for this point in the game, equip it on your Hero immediately then head into the left-most door to make your way up to the final boss.
If you left the tower after entering it then you'll find Carver in the treasure room opening the chest; otherwise you'll find a guard blocking the door to the treasure room whom you'll have to defeat. This fight is extremely tough and it's highly recommended you fill your inventory with Medicinal Herbs prior to challenging the boss.
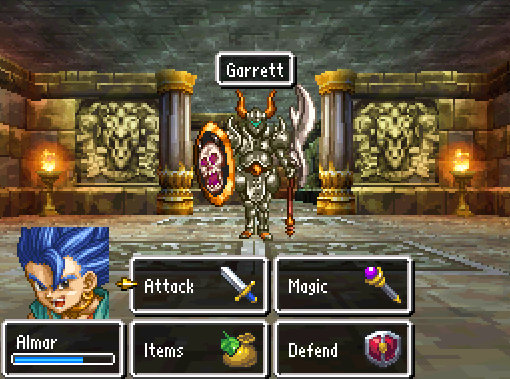
Garrett is the boss you will be facing at the top of the tower if you're the one who is winning the race. He's quite tough but you can make it a lot easier by using Sap on the boss and healing yourself with Medicinal Herbs instead of your Heal ability. Once you defeat him grab the Restless Heart in the other room then return to Captain Blade in Somnia Castle and speak with him.
You're now free to explore Somnia Castle and steal everything of value. In the center courtyard of the castle you'll find an old man standing next to a Wagon, speak to him and you'll learn that his Wagon is without a Horse. After you've collected everything in the castle exit to the World Map and Carver will join your party.
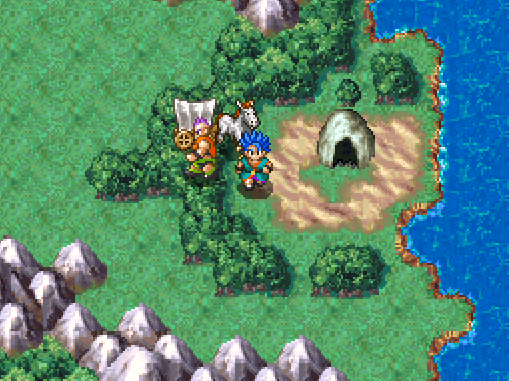
Our next destination is an area to the west of Somnia Castle (pictured below). If you follow the river south-west of Somnia Castle you'll eventually run into a bridge that leads you to the area shown below. Approach the clearing by the sign post to enter into an area with no monsters and a wild horse.
Chase the horse around for a little bit then talk to Carver to advance the story forward. Return to town and talk to the man in the castle's courtyard to receive the Wagon then speak with the King of Somnia Castle. The next quest we have to embark on is finding Ra's Mirror, go to the World Map and head northeast from Somnia Castle. Previously there was a guard blocking the gate but it's now clear for you to pass.
If you keep traveling to the northeast you'll eventually run into a church and inn combo. There are some items for you to collect here but more importantly, spend the night to recover your HP/MP then head directly south to a lone hut surrounded by hills.
Living in this hut you'll find a dwarf with whom you'll need to speak to advance the story forward. Answer 'No' to his first question then 'Yes' to all of the other ones. There will be a scene where Carver builds him a shed then the dwarf will tell you the information you want to know.
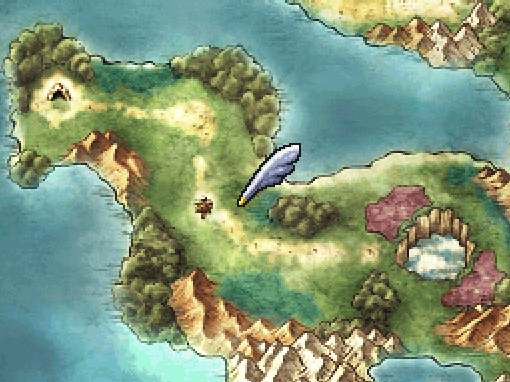
East of his house you will find a patch of dirt near the shore that stands out (pictured below), investigate this area to make the secret passage appear. Once you are on the otherside of the water continue east until you come across another massive hole in the ground (like earlier in the game). Approach it to enter the area and fall down the hole like we did when rescuing Cliff.
You'll now be a ghost again and back on the other World Map. Our next destination is Port Haven which is southwest of the destroyed castle.