
Dragon Quest 5 Walkthrough - Chapter 6
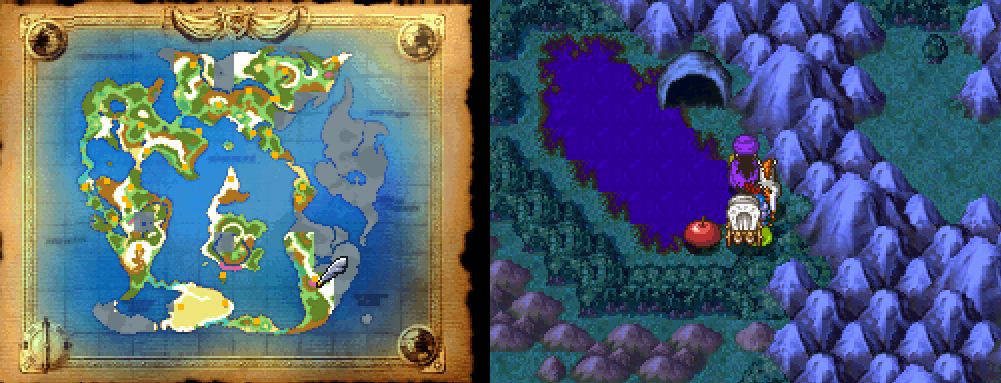
When you're done with all of the optional exploring you'll want to sail your ship to the east. In the central portion of the southeastern most landmass you'll find a cave next to a poisonous lake. South of this location there will be a lone building ontop of a forested area; exploring that hut will yield some items.
Enter the cave to find yourself in a mountain pass area with multiple bridges and a lush green environment. Basically the total opposite of the cave we were lead to believe this was. This dungeon is pretty straight forward with a couple goodies to find throughout. After you make it through the lush green area you'll finally be in a cave before reaching the town of Battenberg.
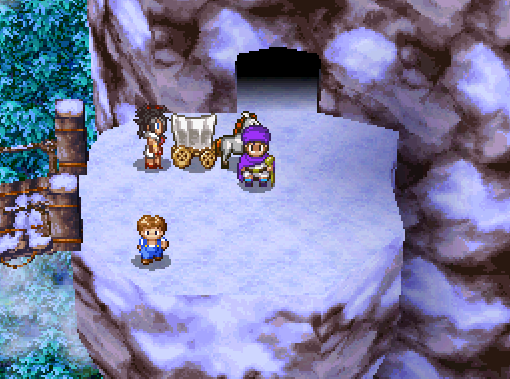
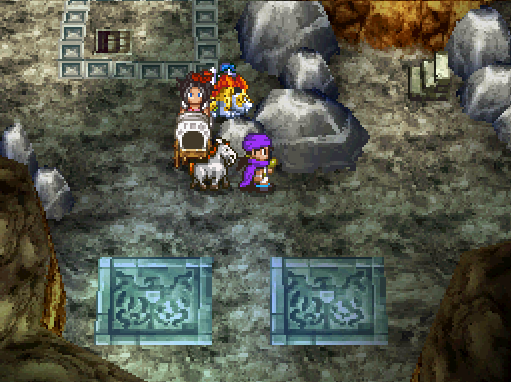
The cave entrance east of Battenberg (left) and the bottom floor of the cave where the path splits (right).
This next dungeon can be pretty confusing since it has many different possible routes and that also makes it hard to get all of the available treasures. Throughout this dungeon you will see a set of stairs in the middle of each floor that you can't access until the bottom floor (pictured above). In the east end of the bottom floor you'll find stairs that will lead you all the way back up the dungeon to the last few treasure chests.
On your way back up the dungeon you'll take a staircase that is in the middle of a hallway seemingly with no way to pass it. Go up this staircase to the next floor and then immediately turn around and come back down it. This will give you access to the other side of the staircase and allow you to grab the Staff of Divine Wrath treasure. Remember this trick for future dungeons.
In the screenshot above on the right, if you go south from where I am standing through the room with the pillars you'll find a man standing out on a ledge. Say 'No' to each of his questions and you'll receive all of the items he mentions. Now for escaping this dungeon...
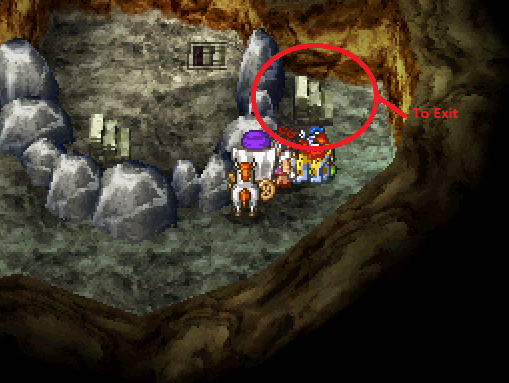
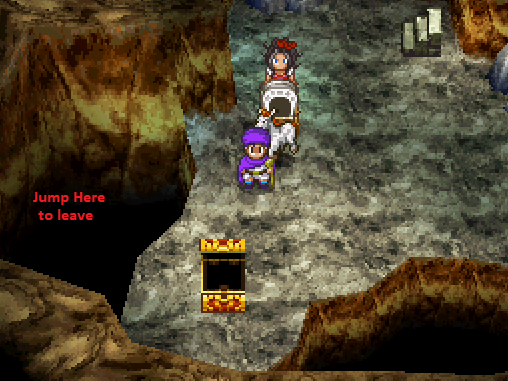
To get out of this dungeon you will want to return to the bottom floor in my screen shot above and go to the eastern most staircase (pictured below). Climb up a few floors until you find yourself in the room that's shown below on the right. Once you're in this room you're going to want to fall off the western edge, shown in my screen shot below. This will put you on a rather linear path out of the dungeon.
Back on the World Map you will want to head just a tad bit north and you'll run right into the next town, Gotha Castle. To advance the story forward in this town you'll need to enter Sancho's house which is outside of the castle to the right. It's the only building sitting just outside the castle. Entering his house will trigger a scene after which you'll gain access to the castle and learn that your wife is pregnant.
Once the scene with your wife is over speak with King Albert in the room below yours for another scene. He'll inform you that he wants to give you the throne and to do so you'll need to complete the Riteof Passage. Yes, Riteof Passage, not Rite of Passage. The English translators were very lazy/bad for this game apparently.
You can find the cave that leads to the Rite of Passage northeast from Gotha Castle. It's surrounded by a forest and on a small patch of sand. The first room of the dungeon will have a plaque which tells you that the Royal Symbol will guide you. Remember this for the dungeon as it's the key to navigating it.
In the first part of the dungeon (pictured below) step on the switches to spin the bird statues until they're facing one another. You only have to spin two rooms in total, the ones marked with the symbol on the ground. After you finish the first room the symbol will change locations and then you'll have to repeat the same thing in the next room.

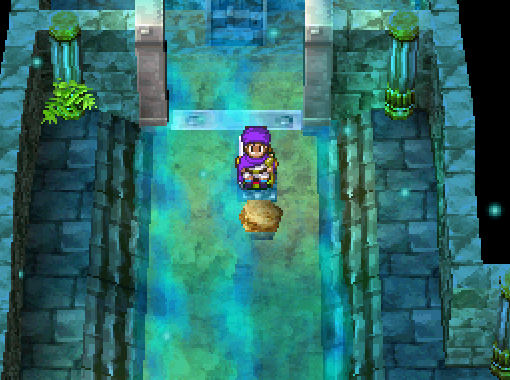
A little bit further in the dungeon you'll come across a room with a pushable boulder and a switch on a sandy surface (pictured above). What you want to do is push the rock so that it is below the switch, this will make it so the water doesn't push you down the hole but instead into the rock.
Tip: Try to get an Orc King to join your party in this dungeon. He is a powerful physical damage dealer and he comes with Zing (resurrection spell) as well as Multiheal (heals whole group). Monsters like this are always useful even if you only ever keep him in your Wagon since he can heal your group.
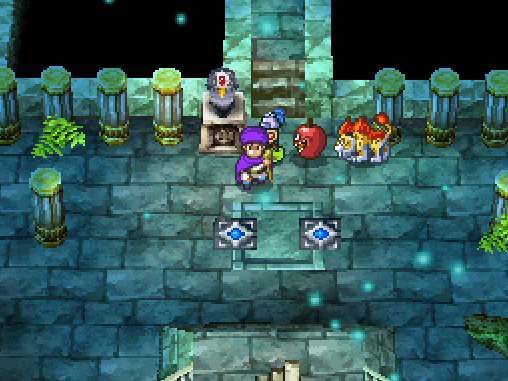
Room With Final Puzzle (pictured below): In the final room you'll find 3 sets of switches and you need to step on them in the appropriate order to progress. Just north of the stairs you can step on right or left it doesn't matter, after that you'll want to step on the northern most switch in the northeast part of the room. In the northwest part of the room you'll want to step on the left or right switch. This will move the statue out of your way.
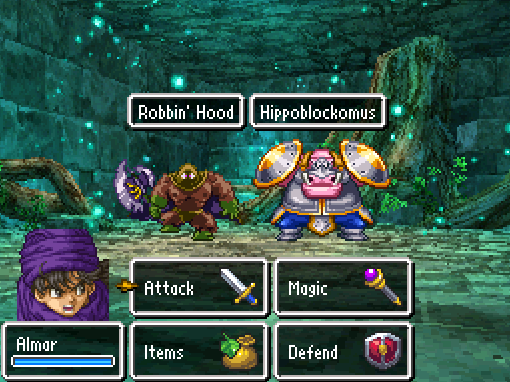
Once you grab the Royal Insignia from the northern end of this room and try to leave you'll be forced into a fight with two enemies, Robbin' Hood and Hippoblockomus. Take out Hippoblockomus first since he has almost no HP and use Kabuff if you have it on your group immediately. Robbin' Hood hits extremely hard and will one shot your characters if you have poor gear or are lower level so any extra defense helps a lot.
With this fight out of the way return to the castle and speak with the King. There are many scenes coming up and lots of talking to people to advance the story. Below is a list covering each part.
1. Speak with the King in Gotha Castle
2. While your wife is giving birth speak to everyone in the throne room
3. Go back upstairs and name your children
4. Go downstairs to the Coronation Ceremony
5. When you wake up in the church return to your bedroom and inspect the bed to trigger a scene
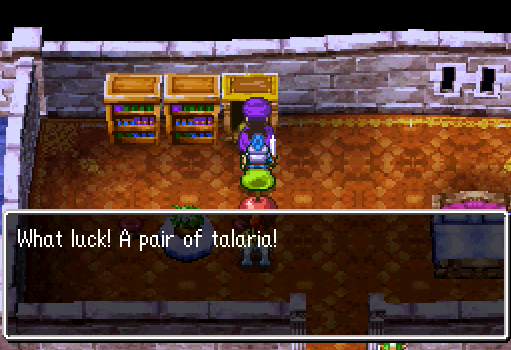
6. Go to the Chancellor's Room and grab the Talaria from the dresser (pictured below)
Go outside of the castle onto the World Map and use the Talaria item to be transported to a building north of Gotha Castle. It's a Church/Inn combo, rest here if you need to then travel north to the large tower in the middle of the continent. If you Zoom out of this area for any reason just use the Talaria item to return here (or Zoom back here).
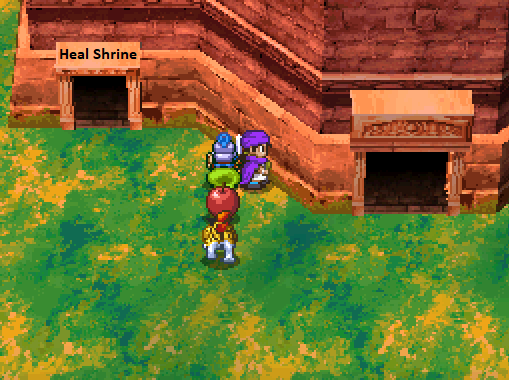
This next dungeon looks a lot more confusing than it actually is. When you approach the tower there will be 3 entry doors and 1 staircase down into a basement. The basement area has nothing in it and the door to the left has a heal shrine (pictured below). I recommend you use this after collecting all of the treasures in the tower, Evac out, use this heal shrine then head back up to fight the boss.
As for the door in the middle and the one on the right, they both lead to the same third floor area, only their first and second floor layouts are unique. In other words, start with the center door or the one on the right and continue up through the dungeon.

What you're looking for at the top of the dungeon is a lever, pull it to drop one side of a draw bridge then take the nearby teleporter to another lever. Pull that then make your way down to where the draw bridge is and cross it to the next part of the dungeon.
You'll find Chancellor Jeeves on the ground in one of the upcoming rooms as well as two enemies that sit on thrones at the top of the tower. The first one you fight is an Orc Pawn, he is a piece of cake and does primarily heavy melee attacks to single targets. Chimera Pawn, the second enemy, loves to blast your whole group with Sizzle and Crackle spells and is significantly harder. Even worse, he gets to attack twice in a single turn (sometimes) and he can hit you with both spells or even worse, two Crackles in one turn.
Use any available items you have that can restore HP on your Hero and any other healer in your group then head down the stairs to fight the boss of this tower, Kon.
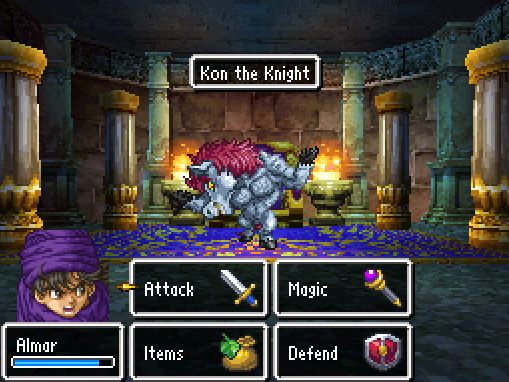
Kon will be invulnerable to damage until your wife breaks his shield. This can take anywhere from 1 to 3 turns, during this time just focus on healing and buffing your party with whatever available buffs you have. Once Kon's shield is taken away - you know the drill.
Once Kon is dead there will be a very long scene after which you'll regain control of your Hero in your room in Gotha Castle.