Mother 3 Walkthrough - Chapter 7
When this chapter begins you'll be woken up by Alec and Wess. You and your dog are ok but Duster and Kumatora are both missing for the time being. Exit the building you're in and search behind it for a Thunder Bomb, the trick that never fails us! After collecting the loot head towards town and you'll be interrupted by a scene.
Your dog runs off and you'll find one of the Magypsy people (Ionia) tied up on the bridge. Talk with Ionia for a scene, when it's finished follow the two paddlers a little bit south who claim they can help you and talk with them next to their boat. Agree to ride the boat with them and they'll take you north to the Magypsy's house by the river.
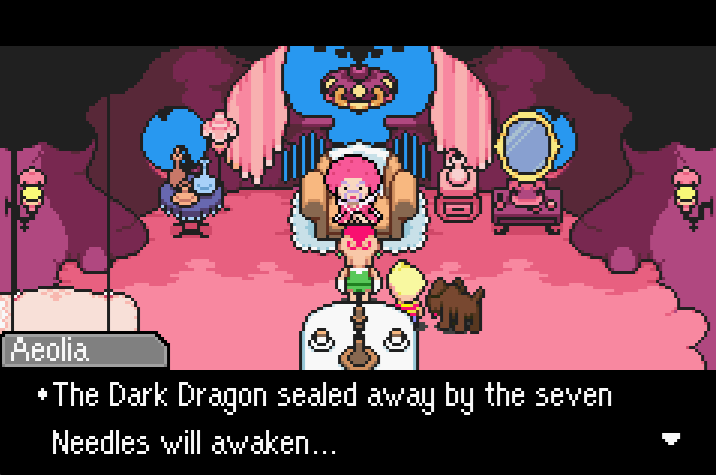
After you dock the boat go east and north into the shell house. Speak with Aeolia inside and then speak with Ionia - there will be another scene. Once the scene is finished examine Aeolia's chair for the Aeolia's Memento item, this will automatically revive the person carrying it when their HP hits 0.
During the scenes we just watched, the stage for the rest of the game has been set. There are needles and we need to find them! Head down the tunnel that just opened up and start working your way through the underground area. If you find the enemies too hard remember there is a hot springs just south of the Magypsy's house!
The underground area is very linear, keep going south until you find the ladder that goes back up. When you arrive there will be a scene, a long one. Once the scene is over go a little bit south to the transceiver that is ringing, interact with it for another conversation. Speak with Ionia one last time and then travel down the ladder to the right.
Follow the path back to Osohe Castle and then exit the castle and head towards Tazmily. You'll be stopped by your dog in the cemetery and he'll drag you to your mom's grave. During the scene at the grave you'll be given the Courage Badge item. When the scene is over keep going south to the railway for another scene.
Money Making Tip: Visit the shop in the town square, it's the small brown building where Caroline used to live. She now runs a new version of her old bakery. Purchase Fresh Egg from Caroline and then wait outside of her building (or use the turbo speed on an emulator) and all of the eggs will hatch into Chicks and eventually grow up into Chickens. Each egg costs 40 DP and each Chicken is worth 200 DP.
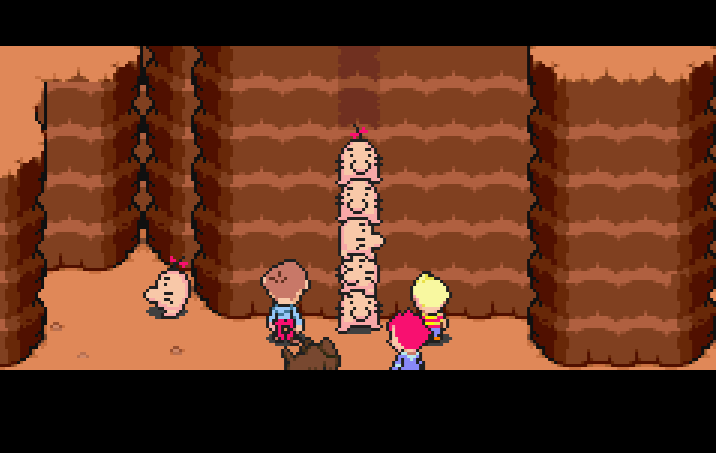
Do what you want to do in town first and then head east down the railroad and north when you get to the factory. Just like you were told, turn west when you hit the ropeway station and go over two screens to reach the Chimera Factory (pictured below).
Tip: West of the factory you'll find a hot springs and a chicken. Each time you talk to the Chicken you can get a Fresh Egg, if you enter the hot springs this will turn into a Hot Spring Egg which heals for 100HP. If you let it hatch instead of turning it into food you'll get a Chick then a Chicken which sells for 200 DP (more info above).
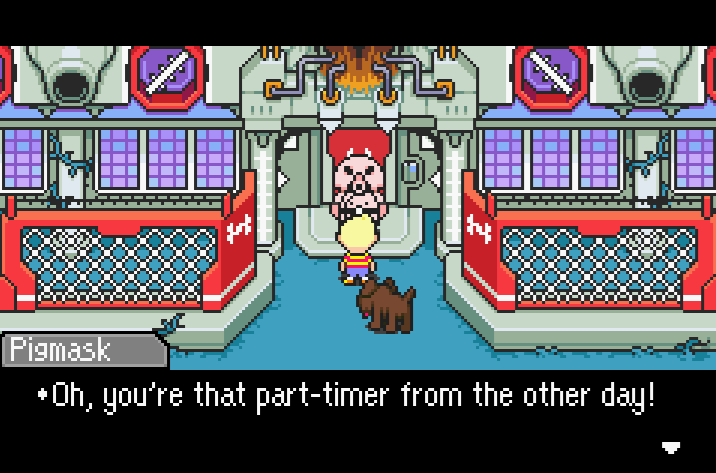
Talk with the Pigmask outside of the factory and he will falsely recognize you then let you in. If you didn't get the Yo-yo during the previous chapter you should buy the Very Good Stick from the vending machine here, it's an upgrade for your main character. You'll also find a new vendor in this area, he is dressed in a white lab coat and looks a bit like a scientist. Their ingame name is Researcher though.
You can find four different items at this vendor, I listed all of them below to make this part of the page really stand out! The two that I want to draw your attention to are the Bufferizer and Wimperizer. Bufferizer is something you will only want to play with if you know what you're doing. It's costly and unless you use it on the right enemies you won't find much benefit.
As for the Wimperizer though... This item can be used on bosses and can drastically reduce the difficulty of some bosses. It's up to you if you'd like to buy a few, if you choose to I recommend you keep them on your dog. Your dog is the best character in the party for using items since their attack is low and they don't get weapons.
Researcher Vendor:
Offense Spray: Raises Offense of 1 member for the whole battle
Defense Spray: Raises Defense of 1 member for the whole battle
Enemy Bufferizer: A special drug that strengthens one enemy. Also increases the EXP gained.
Enemy Wimperizer: A special drug that weakens one enemy. Decreases EXP gained. Can be used on bosses to significantly weaken them.
When you're done shopping exit this room to the southeast and you'll find yourself in an auditorium of sorts. Go up onto stage and exit to the right to reach the room shown in my picture below.
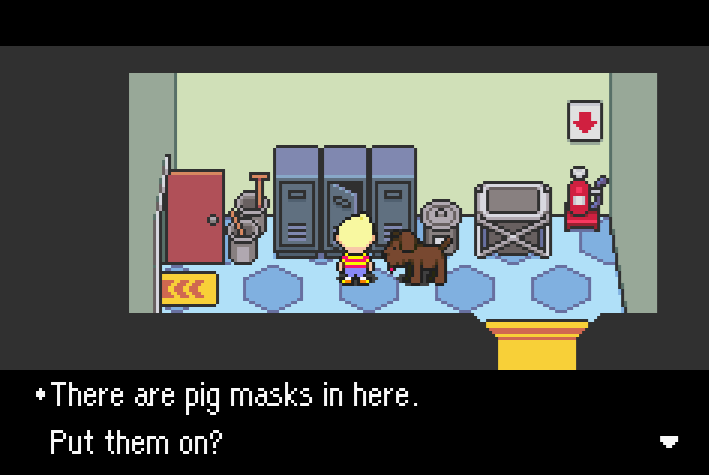
Inspect the locker to put on a pig mask
Inside this room you'll want to inspect the lockers and put on the pig masks inside. This will disguise you and your dog; it will also allow you to get past the pigmask guard that you find in the next room. If your way is blocked because there's a pigmask guard, put on your outfit then come back.
You'll find the Chimera Lab Map in the room that the pigmask was protecting before you got the disguise. For this next part our destination is the room in the northwest corner of the second floor. In this room you'll see Salsa and his girlfriend hiding but they will run away from you when you approach them.
Return to a previous room and you'll have a mandatory fight with An Almost Mecha-Lion. Use any Saltwater Guns you have and blast this boss with your strongest attacks, this will be a tough fight. When the fight is over you'll be warned twice by a Pigmask that there is one more chimera on the loose - this one will give you an instant Game Over if you run into it. A picture of the Chimera you're supposed to avoid is shown below.
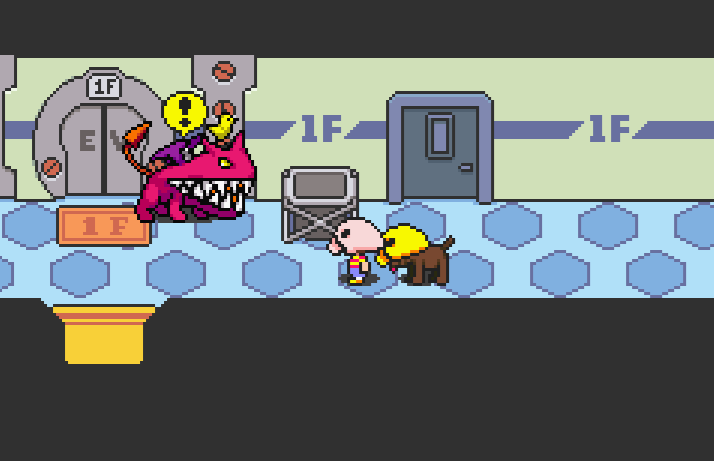
Touching this Chimera will give you an instant Game Over
Listen! Tracking the Chimera is pretty easy and it can be done with audio queues. If you see pigmasks in your hallway and hear loud footsteps, the Chimera is not in your hallway. Alternatively, if you hear the normal BGM and there are no pigmasks around - the Chimera is in your hallway so be careful! Sometimes you will hear a loud clang as you walk around, this lets you know when the Chimera changes floors.
Our destination is the basement, but the elevator down to the basement is on the first floor in the western room. The Ultimate Chimera will camp this door unless you take the long way around, you need to go east out of the 2F and down the stairs to the first floor and then loop around to avoid the monster. Keep listening for the clanging of the Chimera changing floors, this will help you figure out where he is.
When you finally make it to the lab on the western side of the first floor talk with the blue pigmask and he will tell you some Monkeys did indeed run by him and go downstairs. Go downstairs and check the final room for a scene with Salsa and his girlfriend, they'll run away from you again.
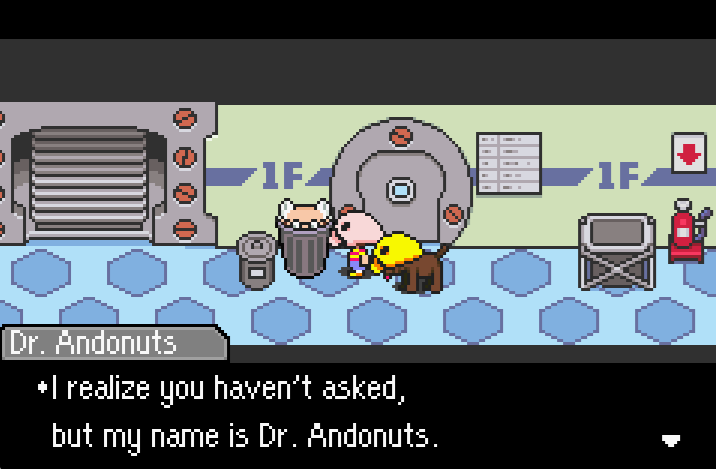
Return to the long hallway on the first floor, there will be a short scene with Salsa and his girlfriend after which you'll want to inspect the nearby trash can (pictured below).
You'll meet someone named Dr. Andonuts, he's apparently a character from the previous game and he plays an important role in this story too. Once the dialogue is done with him travel east to the end of this hallway and enter the room, there will be another scene with Salsa and his girlfriend during which the Ultimate Chimera bursts in and rudely interrupts you.
Watch the scenes that play after this and when you regain control of your characters you'll have Salsa as a new companion! He won't be with us for long so don't bother spending time outfitting him with nice stuff or giving him a ton of items. In fact, you'll want to sell almost everything he has on him except what he is wearing.
Bonus Items: Reenter the lab with Salsa, go to the hallway on the first floor and enter the room on the left. Examine the shelves and Salsa will grab an Offense Spray for you. Visit the second floor and do the same in the room across from the hot springs for a Defense Spray and Bug Spray. Last but not least, talk with the scientist inside the museum room to get an Enemy Bufferizer.
Exit the factory and travel east once, the door you find in this area is what we need to activate next (pictured below). Interacting with it once will switch your controlled character to Salsa; interact with the door using Salsa then press left or right to dance and open it. Make sure you grab the present to the left once you're inside, it has Magic Gloves. This is a weapon for Kumatora, she'll be rejoining us in a second.
Inside this area you'll find a house with another Magypsy inside, this one is named Doria. He will talk to you for a bit and tell you about the Needle nearby, however in order to obtain it you'll need to drain the water. For that we'll need to return to the lab and speak with Dr. Andonuts, he's now standing outside of the lab (lucky us).
Choose the Pump Chimera when given options to choose and then pull the Needle out when all the scenes are over. More scenes, during which you'll get Doria's Mementos, if your inventory is full check his house after the scene. Kumatora will join you and Salsa will be leaving your party. Equip the Magic Gloves onto Kumatora before you forget.
Exit this area and head south, you'll run into The Squeekz - he isn't much of a fight. If you want you can return to the Chimera Lab and fight some porkies or you can go east and trigger a scene with a Mole Cricket. This is honestly pretty cute, the Mole Cricket from the start of the game has been training and waiting for you.
The Mole Cricket will lead you to another area and open up a hole for you. Follow him inside and navigate the tight hallways to find him in a room next to the elder. Go through all of the dialogue and beat him in a fight - as a result the Mole Crickets are going to help you out from now on.
How to Navigate Mole Cricket Hole: Your goal is to reach the exit in the top right hand corner of the map. The secret is to always turn every time you reach a fork in the road. This sounds crazy but it's honestly worked for me each time I tried it no matter where I was in the dungeon. When I say every turn I do mean every turn too, no matter how minor. If you go straight sometimes it will take you longer to find the exit because it'll take you longer to get on the right loop.
When you reach the end of Mole Cricket Hole there will be numerous vines for you to climb after which you'll be back outside - in the snow. Don't worry about conserving your PP, there will be a hot springs later in this area. Most of the enemies here are weak to fire so use that to blast them away. About 3/4 of the way through this area you'll be stopped by a Mole Cricket that wants to sell you some items, accept his offer. If you decline check near the hot springs and you'll find him.
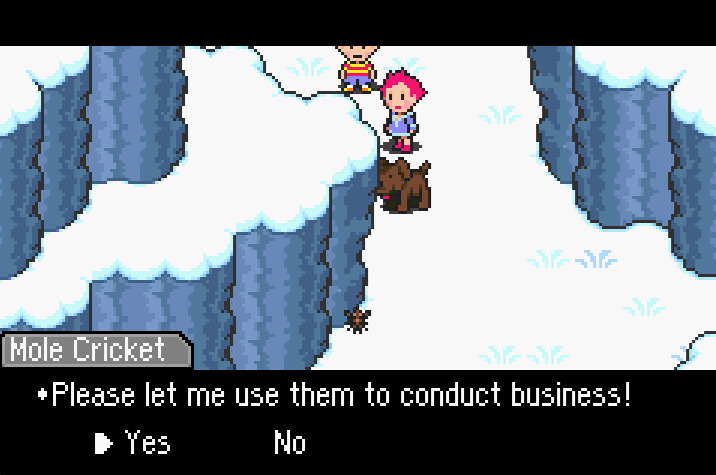
Stock up on goodies from the Mole Cricket
This mole sells Bantam Charms, Bear Hat, White Ribbon and Cancer Bracelet. All of these are upgrades for you and are worth buying. When you're done buying and equipping stuff head north of the hot springs to meet Lydia, he's the next Magypsy. Talk to him, follow him and talk to him again. When the scene is over go outside through the door he opened for another scene.
We didn't make it in time to pull this Needle, someone else did. As they leave a Steel Mechorilla approaches and begins a fight. Make sure to buff your characters, debuff the boss and unload on him with Thunder based attacks. This guy is pretty tough! Once you defeat him watch the scene and then return to Lydia's House.
You can talk with the Pigmask inside here and see him without his mask on (he's just a normal dude). When you're done travel north of the house and go up to the edge of the mountain, you'll be prompted with a "Leave Snowcap Mountain?" dialogue, select yes and you will ride a refrigerator back to the cemetery in Tazmily.
Note: If you need to heal up find a hot springs or Instant Revitalization Machine to rest in.
After arriving back in Tazmily exit the fridge and inspect the shaking bottle to the north, it's only one gravestone above where you landed. You'll have a short scene after you read the note during which your party will go underground. Travel east to the next room and you will find another bottle shaking next to what looks like a coffee table.
This note tells you to visit Thunder Tower and that whomever wrote it needs help. Inspect the Coffee Table next to this bottle and then ride it like a Pork Bean (pictured below).
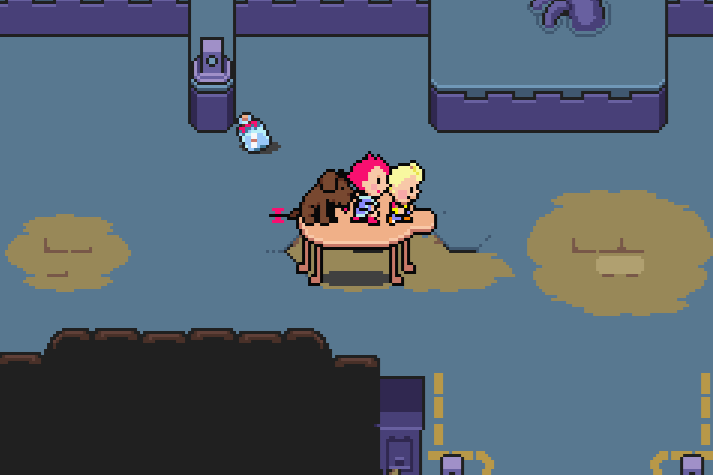
Ride the Coffee Table like a Pork Bean to Thunder Tower
Our next destination is Thunder Tower which is to the east of where we are now. If you follow the tunnels we're in now to the east it will take you to the same area from before where we helped the mother mouse locate all of her children (the large highway map with many turns). You can find Thunder Tower in the northeastern portion of this map, if you open your map the location of Thunder Tower will be marked on it.
From Thunder Tower you'll want to travel east since the main entrance is blocked off by a Pigmask. You can ride your table through a few more tunnels before reaching some construction vehicles that block your route further, hop off the Coffee Table and continue on foot from this point on.
A little bit south of the construction vehicles you'll find an NPC lying on the ground named Mr. Saturn. When you talk to him it will say "Watching ceiling" in the same font as the bottles we found. Keep going through the tunnel and you'll reach Saturn Town which is currently being invaded by some Pigmask soldiers.
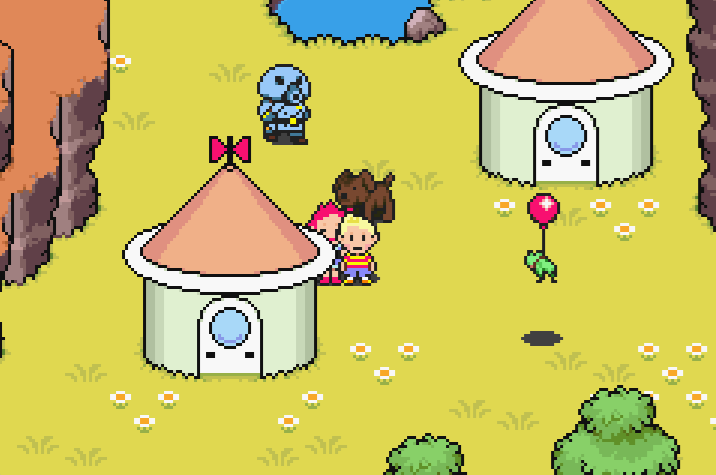
In Saturn City rescue Duster in the northern building
Spend your time searching every building and around the village, there are many presents to be found and stuff to do here. In the northern building you'll find Duster currently being held hostage by some Pigmasks, enter and watch the scene. There will be a fight against them in the middle of the scene, it's a pretty tough fight so make sure you're prepared. Duster will join you after the fight.
Make sure you get the Black Collar for your dog (climb ladder NW of town) and the Good Kid's Shirt for your main character in this village. Things start to go up in difficulty from here on out so this will help us. Once you save Duster from the Pigmask soldiers Saturn City will become friendly again.
A shop will open in the southwestern building, talk with the people inside to find it. There is a lot for sale here including a Funny Stick (upgrade for main character), Sevolg (upgrade for Kumatora), Leo Bracelet (upgrade for everyone) and much more. If you're short on money I recommend my same money making tip from earlier:
Money Making Tip: Visit the shop in the Tazmily town square, it's the small brown building where Caroline used to live. She now runs a new version of her old bakery. Purchase Fresh Egg from Caroline and then wait outside of her building (or use the turbo speed on an emulator) and all of the eggs will hatch into Chicks and eventually grow up into Chickens. Each egg costs 40 DP and each Chicken is worth 200 DP.
It may take you a long time to run back to Tazmily (not really if you have turbo speed on an emulator) but it's well worth it and we need EXP anyway so... Once you're done shopping it's time to continue with the game.
Important!!: The upcoming boss is probably the hardest in the game, you really want to take some time to get better equipment and some more EXP. If you aren't at least level 35+ then you need to grind more. For those of you who don't know how to combo in this game (me) - level 40+ is recommended. Truthfully, it's either grind more now or later anyway because we'll need level 50+ to beat the game. Probably 55 - 60+ if you're not great at the combat system.
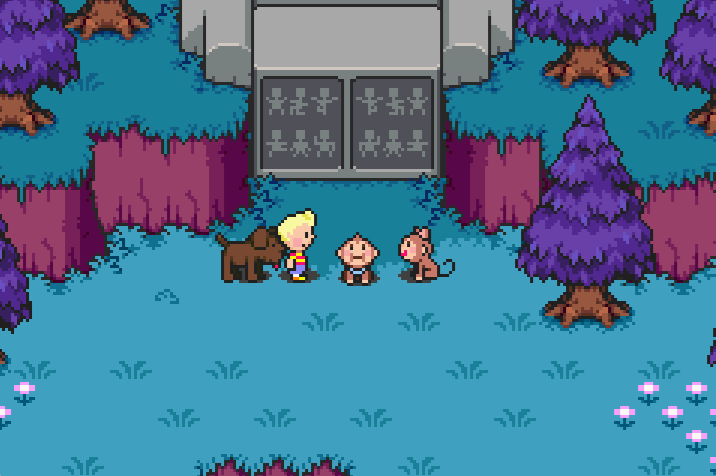
North of Saturn City you'll find a cave, go through here and talk with the Mr. Saturn human centipede that is found next to the ladder. When you reach the dead end area (pictured above) speak with the Mr. Saturn walking around this area, he'll call the Saturn-ladder over and you'll be able to climb them up to the top of the cliff.
You'll find the Magypsy's house that we need directly to the north, inside you'll want to read the sign near the sleeping Phrygia. At the end of the sign's dialogue you'll get some Encouraging Words which we'll need to move the boulder near the house. When you approach the boulder and interact with it you'll automatically use the item. Further up the path you'll find three more boulders, to move these boulders you need to examine them from the right side.
Follow my instructions below on how to move each of these boulders.
How to Move the 3 Boulders:
1. Examine the boulder on the right from the right hand side
2. Inspect the boulder on the right that is just above the boulder we just moved (it will move up)
3. Move the first boulder we touched back to its original spot (examine it from the bottom)
4. Examine the only boulder that's left on the left now and it will move to the right
The dungeon that comes after the three boulders can be quite challenging. You'll encounter Mrs. Lava enemies which can cast PK Fire. Each hit of this will deal about 120 HP of damage to your entire team. For this enemy what I recommend you do is use PK Freeze on her the first round of combat and if she uses PK Fire on you spam A to get through the dialogue and end the fight ASAP... because...
Tip!: If you take mortal damage on a character (or a lot of damage) you can cancel out some of that damage by finishing the fight! When you take damage it doesn't take your health down immediately, it goes down slowly and if you end the fight your health counter stops going down. Here's an example, if you get hit for 150 damage and the next hit finishes the fight, the health counter may have only gone down by 30 points or so before the fight is over, therefore you negated the large hit. This strategy is the only way to effectively fight some enemies (like Mrs. Lava).
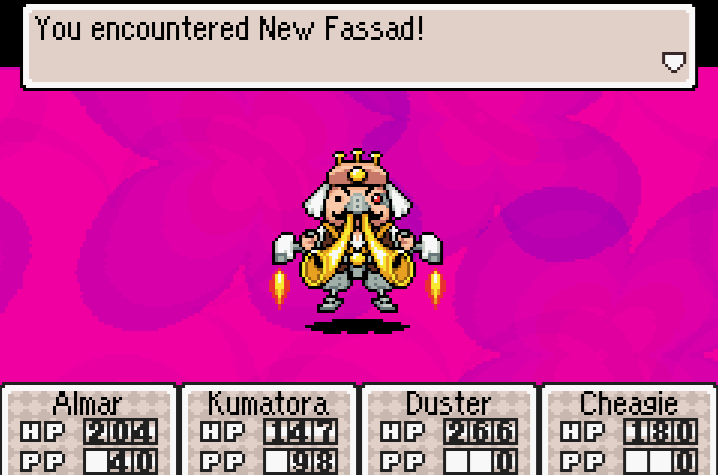
I found this dungeon to be pretty linear, when you reach the very large room in the volcano you'll find the Needle in the far northern side. You'll have to take a round about way to get here, if you're having trouble finding it just explore in the big room. You can really use the EXP... trust me. When you try to pull it out you'll be confronted by New Fassad - prepare yourself for a tough fight!
Just like always my main advice to you is going to be buff yourself up at the start of the fight and debuff the boss. You can debuff his Offense and Defense 3 times each and buff your own 3 times each. Now that he is half human half machine he's also vulnerable to things like Saltwater Gun. My advice is to put all of the items you plan to use during this fight onto Duster and your dog; especially onto your dog since that is your weakest character.
Your main character and Kumatora should be using PSI basically every round so make sure you start the fight with enough PSI power (unlike what you see in my picture). Once New Fassad takes enough damage he'll start scarfing down Luxury Bananas that heal him for 550~ HP consumption. He will also start throwing bombs that hit your entire party for 120 - 140 HP.
Once New Fassad starts throwing bombs and eating bananas it's a race against time to defeat him. Keep unloading on him with your strongest attacks (and PK Thunder) and eventually he'll go down. When the fight is over you'll learn a new PSI power and you'll meet Phrygia the Magypsy. He will vanish before your eyes and leave you with Phrygia's Notebook and Phrygia's Memento.
There are 3 Needles left but before we can go get them we have to return to Saturn Valley first. When you get back to Saturn City there will be a scene of Pigmasks destroying the tunnel that leads back to Tazmily/Thunder Tower. Inspect the pile of rocks at the tunnel then enter the house in the northeast portion of the village and talk with the Mr. Saturn here.
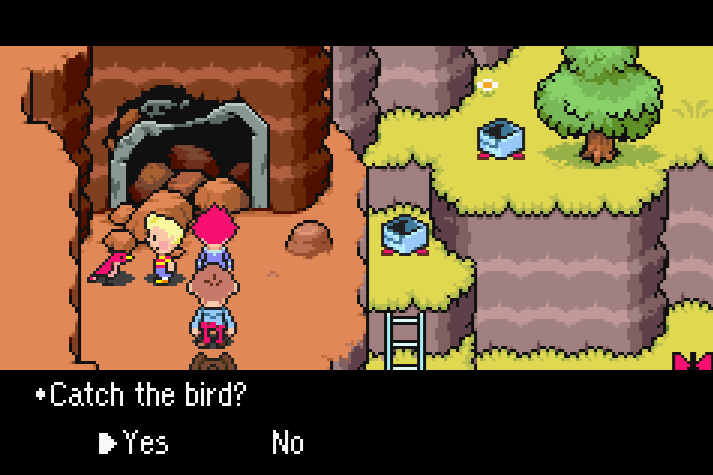
Mr. Saturn tells you to collect one bird, you need this bird to use a 'flying machine'.
WALK DON'T RUN and you can easily catch a bird, simply walk up to it and press A while standing next to it. You'll be prompted with dialogue like you see in my screenshot above. Capture the bird then return to the Mr. Saturn in the northeastern house and talk with him. He'll tell you to wait in the hot spring to the north.
Visit the hot spring and talk with the Mr. Saturn inside the hot spring, agree to have coffee with him and there will be a scene. When it's finished return to Saturn Village and inspect the bird cage, our old friend Rope Snake will talk with you a bit and join you for another flying adventure. Sadly, he doesn't do his job well and you and your team will fall into the ocean right near Tazmily.
Continue to Chapter 7 (Part 2) of my Mother 3 Walkthrough
Return to Chapter 6 of my Mother 3 Walkthrough

