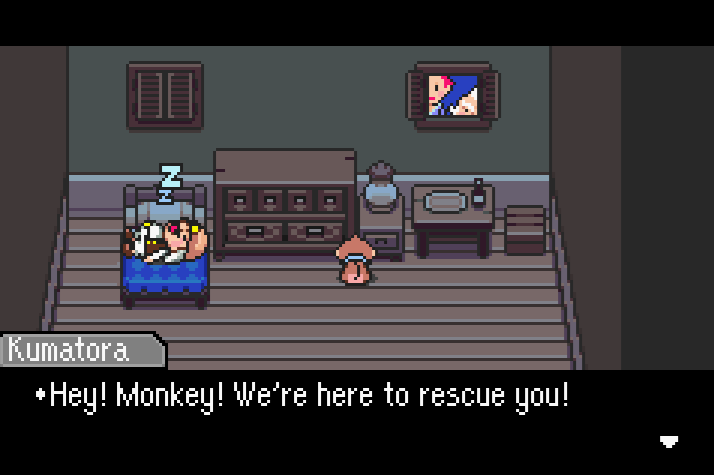
Mother 3 Walkthrough - Chapter 3
Chapter 3 begins with a new character being introduced, their name is Salsa. Well, apparently it's Sarusa but the wiki says Salsa so we're rolling with it! You will get to name this monkey during the opening cinematic of this chapter. During the opening cinematic you'll be tasked with pressing the directional buttons to perform for the guy.
Press the buttons in the following order to do all the stunts: Left, Right, Down, Up. After the scene is over you'll gain control of Salsa with Fassad as your follow character. Salsa is kind of weak, the main strengths are the special abilities. During much of this chapter we'll have Fassad with us who is much better at dealing damage than Salsa, if you're ever in trouble Guard on Salsa each round during combat and heal when needed. Fassad does enough damage to handle everything.
Apologize & Crowd Pleaser: They can immobilize an enemy for a few rounds, spotty success rate.
Dance: Random buff, debuff or immobilizes an enemy
Monkey Mimic: Probably the best skill of them all, it will mimic your opponent's attack and use the same attack against them. Doesn't work on status affecting moves.
I recommend you hang out in this next area for a bit and get used to the character, there are a few presents to collect too. You can find a Nut Bread in the south, Running Bomb in the southwest and Beef Jerky in the north. In the northeast you'll find a dung beetle by the name of Wan Sum Dung and he has a serious hankerin' for some poo.
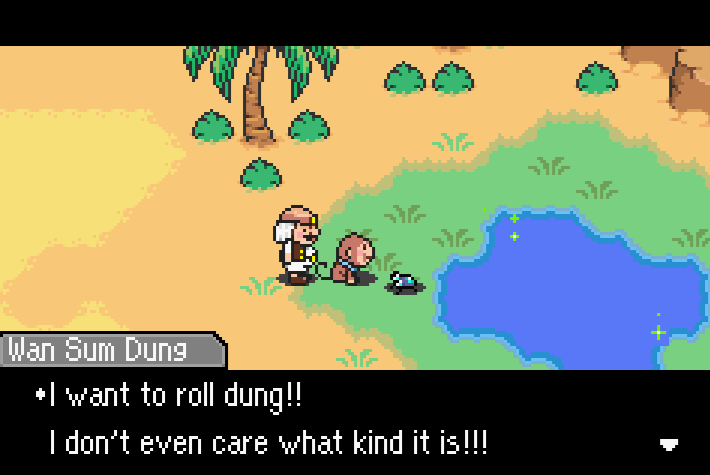
Give Wan Sum Dung your poop for EXP
The various dung beetle enemies in this area will occasionally drop Dung when defeated. You can turn this into Wan Sum Dung for extra EXP. Head south when you're ready and follow the northern wall west to find two presents, the one you can reach has Bug Spray. North of the Bug Spray you'll find a save frog spinning around in a sand whirlpool.
Interact with the frog to fight a Great Antlion, you can use a Bug Spray to one shot it if you want. Either way, this will save the frog and get you a Flea Charm as a reward. Return to the previous screen and go west, you'll find a present with a Running Bomb. North of where you find this Running Bomb is where you need to go to advance the story. Explore the rest of the area to the south if you want to first!
Before attempting this next boss I would recommend you get to level 7 or 8 with Salsa. When you travel north of the Running Bomb present you'll find a house with a sleeping dog outside (pictured below). There will also be a present here that contains an Aquarius Bracelet. Equip this before the next battle and make sure the Flea Charm is equipped too.
Tip: If you struggle with this fight make sure to fight some Sand Lizards for the Nut Bread that they drop.
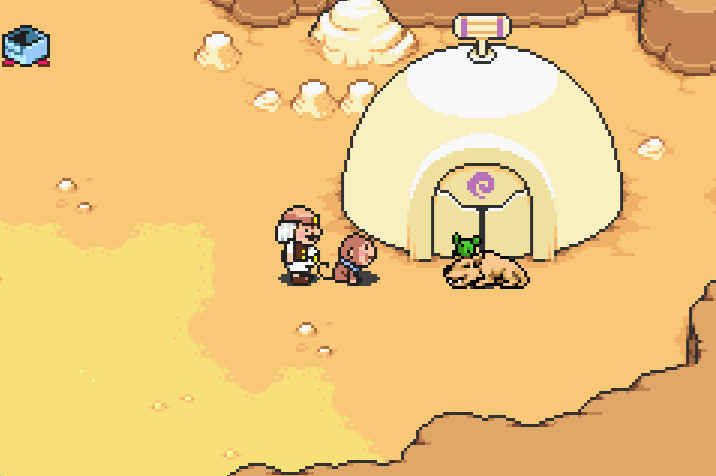
To fight the next mini boss, interact with the sleeping dog
To advance the story, interact with the Cactus Wolf outside of the tent. For this fight you will want to use any bombs you have in your inventory then use Guard over and over and basically let Fassad do all of the work. His attacks are way better so you just need to survive. When the fight is over interact with the front door for a scene.
Going inside will put you in some factory looking place, travel south and grab the Bug Spray from the present. A little bit further south you'll find a blue present, inside is the Underground Map. This is an important item so try not to miss it! Continue into the room to your south for a scene - grab the Beef Jerky and Ancient Banana from the presents.
When you're ready to take off climb down the ladder and board the Pork Bean, Fassad will give you some instructions on how to use it. Hop into the Pork Bean and fly it to the west, when you reach the room with tanks you'll want to dismount the Pork Bean and go south. Grab the Chick Bandana from one present and the Nut Bread from the other.
Continue west after getting the presents, in the next room you'll find two more presents - one has a Bug Spray and the other has a Running Bomb. Heal up and then talk with the 3 slimes near the ladder when you're ready to fight them. I recommend throwing a bomb at the start of this fight then defending until Fassad beats everything. Climb up the ladder when the fight is over and you'll have a scene - you're now in Tazmily.
Exit the cemetery and keep traveling south, you'll have a few scenes along the way. When the scenes are over continue south and look for the building marked "Yado" this is the Inn. Go inside and talk with the person behind the counter for another scene. When you regain control of Salsa in the middle of the night go outside and towards the town center for yet another scene. You can get caught by Fassad or return to the bed and go back to sleep, either way the story will advance.
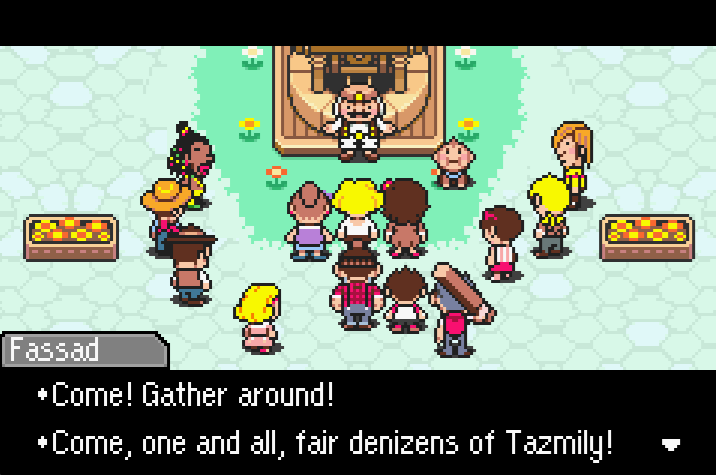
Fassad talks to the residents of Tazmily
When you wake up, go outside and there will be a scene with Fassad talking to all of the residents in Tazmily. During this scene you'll have to perform tricks for Fassad otherwise you'll get fried. The order of buttons you have to press is shown below:
1. Down
2. Left
3. Up
4. Right
5. Down
6. Talk with everyone who raises their hand
7. Up
8. Down
After the scene if finished Fassad will tell you to visit the cemetery and do it in under 22 minutes for a reward. Even if you complete this next part quickly - there is no reward (as you could probably imagine). Before we start with Fassad's task let's stock up on some healing items and resources first. If you leveled up Salsa like I told you to earlier in this chapter you probably don't need as many resources to stay alive.
Tip: Open your inventory and equip everything you got onto Salsa if you haven't already. Also, discard any Bug Spray, Dung, or Flea Charm that you still have. The Flea Charm just got replaced with the Mosquito Charm that we got from a previous battle.
Tip x2: Just like before, you can get unlimited Thunder Bombs by inspecting the area behind Wes' house in eastern Tazmily.
First, let's focus on getting some healing stuff. You can dance for the blonde lady inside of the Yado Inn for a Nut Bread, you can also dance for Caroline the baker for more Nut Bread. You'll find Caroline's house near the western exit of the town square. Alec who is near Hinawa's (your mother) grave in the northeast will also give you some Nut Bread when you speak with him. Mike inside of Thomas' Bazaar will give you a Nut Cookie if you dance for him.
Once you're done stocking up you'll want to travel north of the town square and east into the mine. Inside the mine you'll find a total of 10 presents - you'll find 1 Rotten Milk, 2 Nut Bread and 7 Nuts. North of the mine's entrance you will find Nuts on the ground too, but you have limited inventory space. Note: These presents will likely become empty once you deliver the boxes of happiness.
(Healing Items Tip): You can trade 3 Nuts to Caroline (the baker) for 1 Nut Bread if you need healing items.
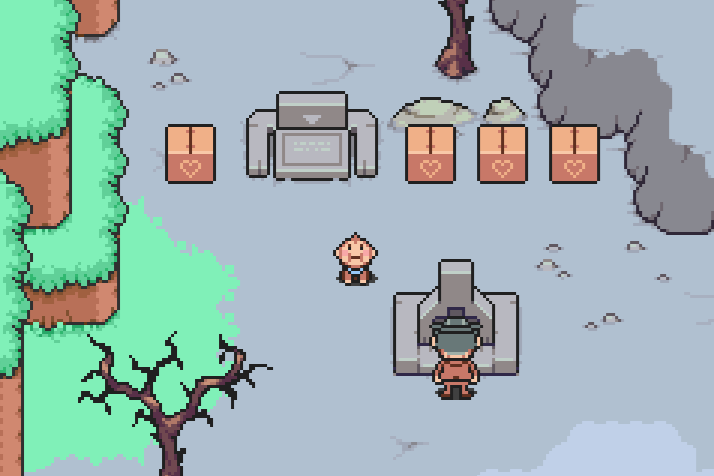
Talk with Mapson here to get all locations marked on your map
When you're ready to continue with the story you'll want to return to the cemetery - next to the grave you came out of you'll find four boxes with hearts on them (pictured above). You will also find Mapson in this area too - talk with him and he will mark the locations of all three people we need to talk to on your map.
Now comes the annoying part, you can only carry one box of happiness at a time so you will have to deliver one then return here, deliver another rinse and repeat.
Abbot & Abby: Their home is on the north side of the town square. When you enter the map from the north their house is the first door on the left. These two share a box of happiness.
Biff: Found at a ranch in the southeast corner of the village, he is standing outside.
Isaac: Near the hot spring in the forest, he's the house right next to it. Be wary of the mice on the way to his house, they will be tough for Salsa.
Once you're done delivering the three packages it's time to return to Fassad at the Yago Inn. He will always tell you that you finished just over the time limit, then punish you. Now that Fassad is with you, Thomas' Bazaar will give you items too. For me there was nothing here currently but other walkthroughs say he sometimes has stock here. Either way, head north to Osohe Castle when you're ready to advance the story.
Since we're friendly with the pigs, Osohe is pretty safe for us now. Head upstairs and through the dining room until you hit the gap. Inspect it and Fassad will tell you turn around, we're heading to the basement now. In the basement you'll find a stone face just like we saw before (pictured below). Remember how Wess danced for us to open it?
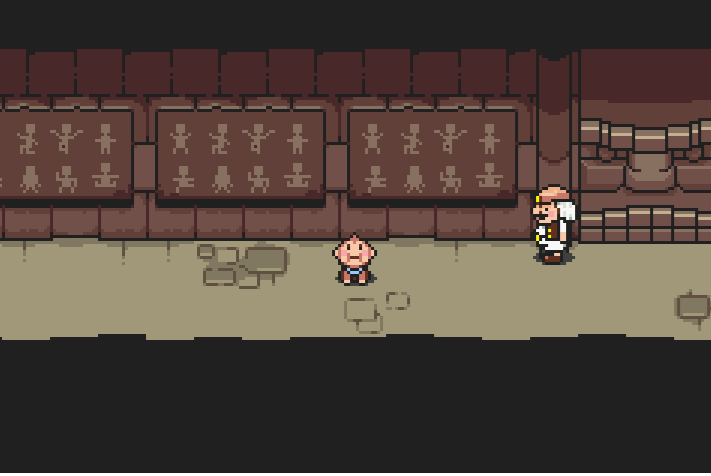
Examine the 3 panels on the wall then dance in front of the door
You'll first need to examine the 3 panels on the wall in this room (pictured above) for Salsa to learn the dance. Then interact with the stone face and press either left or right, Salsa will perform the dance and you can go through. When you get downstairs loot the Pisces Bracelet and equip it, drop whatever you had before.
To the east you'll find a present with a Beef Jerky, after going down the ladder to the south you'll find another Beef Jerky. East of that will be another present with an Ancient Banana; these items are the best damage that you can do on Salsa. You'll find a switch in the western part of this area, pull it when you find it for another scene.
During the scene Fassad tells you it's time to return to Yado Inn. So, you'll want to backtrack all the way there. When you go through the town square you'll bump into everyone outside, this is the same scene we watched at the end of the last chapter. After the scene is finished you will return to the Inn and get punished then fall asleep.
You'll be awoken that night to the voice of Kumatora, approach the window for a scene.
When you regain control of your party you'll have Salsa and Kumatora - put all of your healing items onto Salsa since he is the less useful of the two. Once you're good to go, it's time to head into the forest and to the hot springs! If you are struggling with the enemies it's probably best to grind and heal at the springs for a bit. Also, stock up on healing items from beating the pig men enemies.
To advance the story you will want to go as far as you can to the north for a scene then turn around and come back south for another scene. Your next boss will be a Pork Tank, have Salsa use items and Monkey Mimic and on Kumatora use PK Thunder. The Pork Tank has a lot of HP so this will take a bit.
Once you defeat the boss there will be a long scene, this is the conclusion of Chapter 3. Normally I don't pay much attention to the story in games like these anymore since they're always very generic; but I must say I am impressed so far with this game's story. It's quirky and entertaining while also having moments of seriousness.
Continue to Chapter 4 of my Mother 3 Walkthrough
Return to Chapter 2 of my Mother 3 Walkthrough

