
Golden Sun Walkthrough - Chapter 1
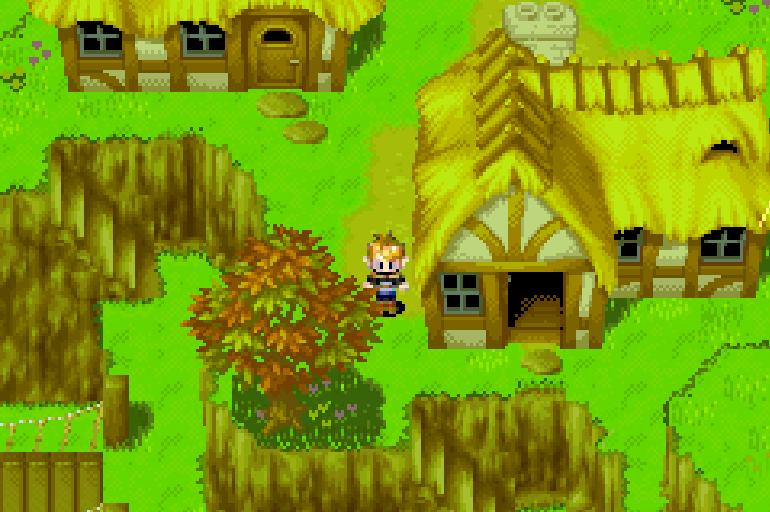
You begin your adventure in Golden Sun by naming your main character and going through a short prologue where you're essentially on rails. When you gain control of Isaac you'll want to go north and up a flight of stairs to meet Garet, our next party member. Speak with Garet and tell him to leave his stuff behind and he'll join your party.
Head west across the bridge for a scene then continue west through the forest until you find an injured man lying on the ground. Speak with him and he'll tell you that monsters have flooded this area; from now on you'll have random encounters with enemies. Since we're still in the prologue you shouldn't expect anything difficult, however if you need to heal both Isaac and Garet carry some Herbs in their inventory.
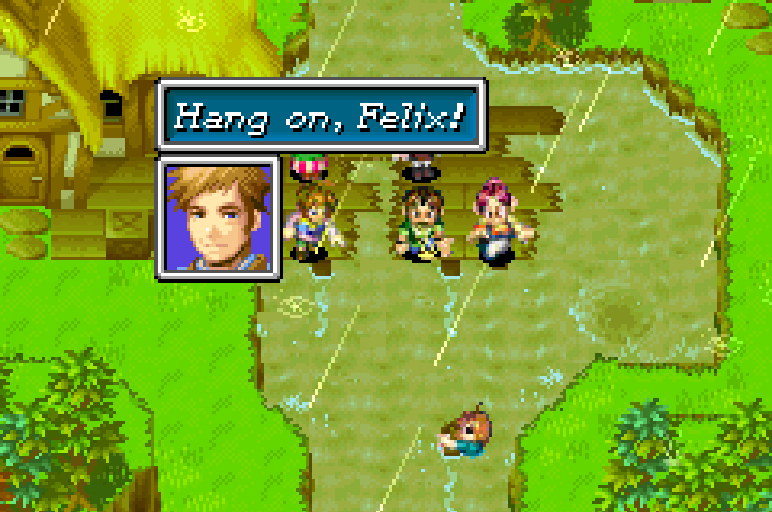
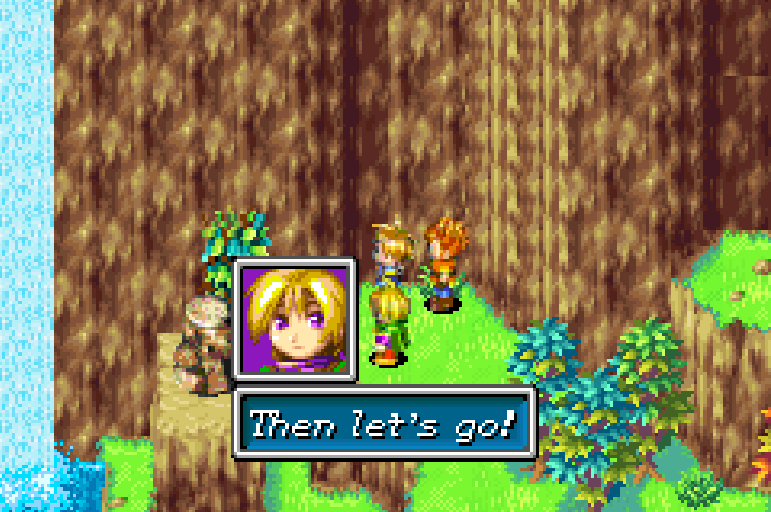
From where you found the wounded man you'll want to travel south a little bit then west back into town. Each time you try and go the wrong way boulders will fall to block your path - the correct route is south down the stairs to the waterfall. When you arrive there will be a scene involving Felix and Jenna (pictured below).
After the scene is over you'll want to go south in the same direction Jenna went. Go east across the bridge near Felix then south when you get back into the 'town' section. You'll need to go down 3 flights of stairs to reach the plaza which is where there will be another scene. If you're having trouble finding the plaza keep an eye out for people walking around and a building with two signs on it. One sign is a sword and shield and the other is a potion bottle.
Find Jenna in the plaza and approach her to trigger the scene. When the scene is over you'll need to backtrack to where we saw Felix earlier hanging on for dear life. Upon your return, as you're crossing the bridge south of Felix there will be another scene. Once the scene is over you'll want to run back in the same direction as the plaza - you'll be stopped on your way there and thrown into a fight you can not win.
Once you lose the fight against the Mystery Man and the Mystery Woman you'll get another cutscene, this time there will be a 3 year time skip too. When you regain control of Isaac you'll be outside of his house just like at the start of the Prologue earlier.
This time we're going to be heading the same direction as before - to the west. Remember where we found the wounded man during the Prologue who told us about the monsters? Head over to this area for a scene involving the two attackers from 3 years ago.

Unlike before this time the Mystery Man and Woman let you pass unharmed. Go up the stairs next to these two and you'll find Kraden standing outside of his house talking to himself. Talk with him for a bit of dialogue during which you'll learn our next destination - Mt. Aleph.
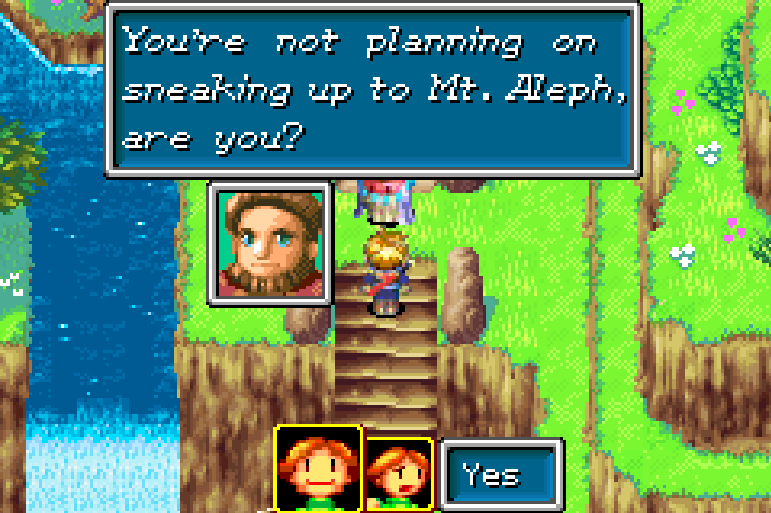
You can find the entrance to Mt. Aleph in the northern portion of Vale, the town you're in right now. Use my two screenshots above if you need help finding the entrance location for Mt. Aleph. Entering Mt. Aleph is forbidden so you'll have to sneak past the elder that is guarding the entrance of this area.
The first time you try to walk past the tree pictured above you'll be stopped by the elder and he'll lecture you. After this dialogue the elder will begin patrolling this area. You'll have to wait until he is on the right hand side of the building (pictured above); once he is over here you'll want to dash (Hold B) up towards the mountain.
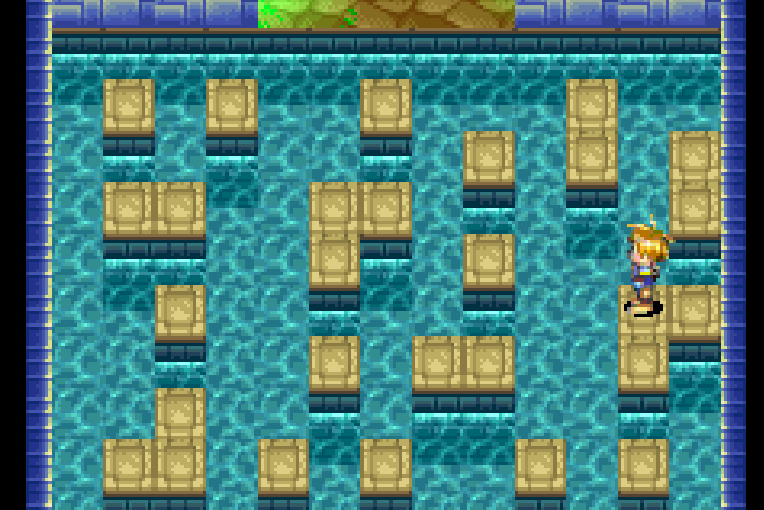
One of the first rooms you come across inside of Sol Sanctum will have a rather easy to solve jump puzzle (pictured above). You can only jump to platforms that are in front of you, you'll have to start by going up the right side then following the platforms down then back up in the middle of the area to proceed.
After a linear hallway you'll find yourself in another room with a jumping puzzle just like the previous one. This time though there will be 3 different routes for you to go, left, middle or to the right. First you will want to take the middle route so that you can collect the Small Jewel item. Then you'll want to go up the path on the right and place the Small Jewel into the statue head on the wall - this will open a nearby door on the left path.
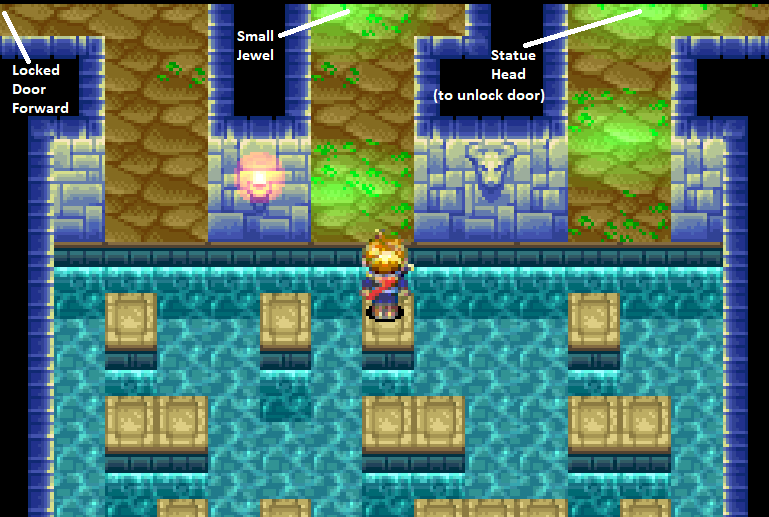
The left path will lead you to a large room with many different statues. You'll find a statue on the right and left hand side of this room that can be moved with either Psynergy or by pushing it with your hands. Look at the ground near the statues - the ones that can be moved have 'tracks' next to them which stand out quite a bit.
Move the statue on the right hand side of the room and continue up the stairs to reach a maze-like set of hallways. In this 'maze' the first thing you'll want to do is locate and open a treasure chest with a Small Jewel inside. You will pass by this chest on your way to the next room so it's pretty hard to miss. Once you have the jewel exit the maze to the north through the only doorway.
In this next room you'll find a total of 6 statues lined up (pictured below); when you first enter you'll be told by Kraden to use your Psynergy to move the statues.
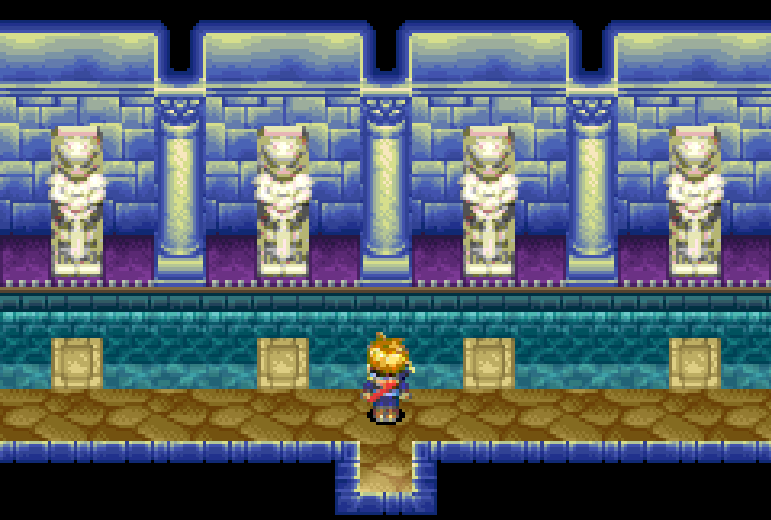
We only need to move 2 statues in this room, the one on the far left and far right. The statue on the left will reveal another minotaur face where you can place the Small Jewel that we just got. Placing the Small Jewel here will open the door behind the statue on the far right.
Continue through the dungeon and you will eventually come to the heart of Sol Sanctum. There will be a scene with Kraden here and he'll ask you to continue exploring the dungeon for him. Head upstairs and you'll find two more rooms with statues in them, attempt to move a statue in the 'moon' room and you'll trigger a scene with Kraden.
For this next puzzle what you need to do is move two of the northern statues in the 'sun' room so that their light(s) shine on the floor and open up a hole (pictured below). This will allow you to use your Move Psynergy spell on the statue in the middle and drop it down the hole.
Note: If you run out of PP then enter the room that's to the south of where you came up the stairs. You'll find a small room filled with crystals, you can interact with a red one on the floor that will restore all of your PP.

Once you have dropped the big statue into the hole you'll get a message letting you know that something clicked nearby. Return to the 'moon' room and move all 4 of the statues into the correct spots, essentially you just push each statue one spot closer to the center. You'll know the statues are in the correct position when they're all shining a light on the central platform. Return to Kraden once you've moved all 4 statues and talk with him.
In the room next to Kraden you'll discover a beam of light that is being shot at the northern wall - when you are ready to proceed you'll want to inspect the northern wall that the light is hitting. If you want to be frugal, you should take off all of Jenna's Equipment and move any items out of her inventory. She'll be leaving your party after this and you won't get her back for awhile.
After inspecting the light you will find yourself inside of the Elemental Star Chamber. Kraden will give you a long lecture after which he'll ask you to collect stones from each statue for him to inspect.
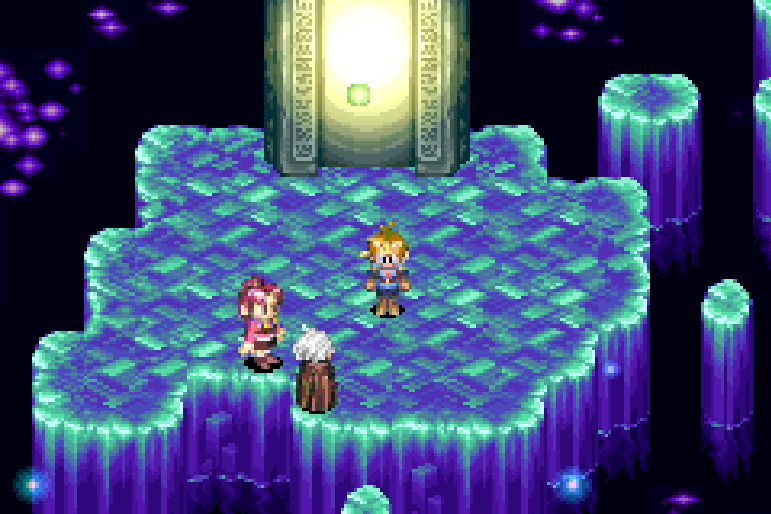
You'll have to collect the Elemental Stars in a specific order, each time you collect one land bridges will rise from the water giving you access to another. After collecting 3 of the Elemental Stars you'll be ambushed by Saturos and Menardi as well as a masked man who turns out to be Felix.
There will be some more dialogue after which you'll be told to collect the final Elemental Star. You'll have to return to the central platform and circle around to the north in order to reach it. When you grab the final Elemental Star there will be a scene and some dialogue. At the end of this scene you will be teleported outside of the Elemental Star Chamber - back to the room we were in before inspecting the light.
We're now officially finished with this dungeon - you can either escape on foot which will take awhile or you can open up your menu and use the Retreat Psynergy spell on Isaac. This will teleport you to the entrance of the dungeon for just 6 PP. Exit the dungeon and return to Vale for another scene and more dialogue.
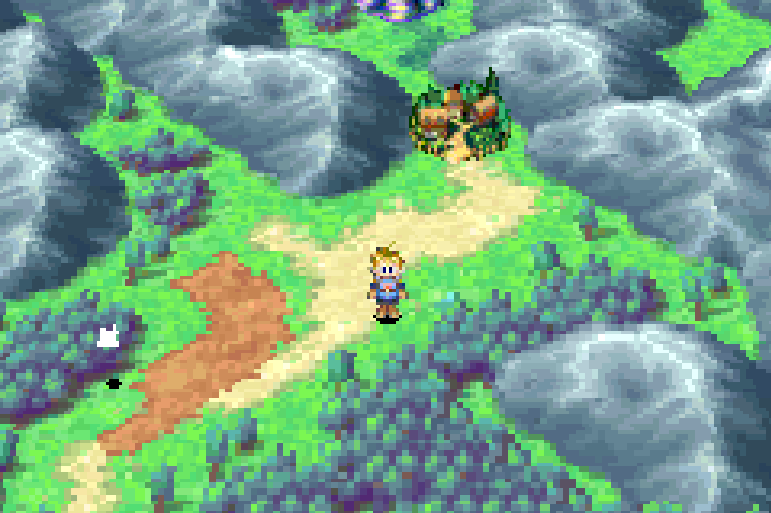
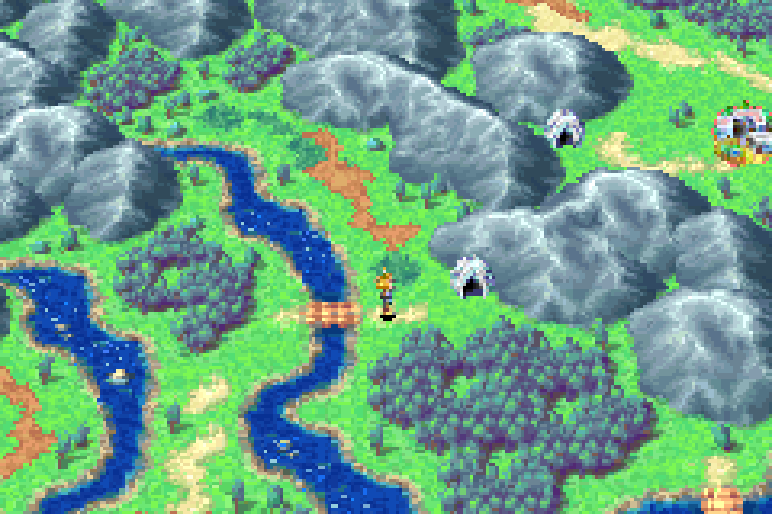
When you finally regain control of Isaac it will be on the World Map just outside of Vale (pictured above). The first thing you'll want to do is travel south a tad and approach the Djinni that is flying around in circles. Since this is the first Djinni that you're collecting in Golden Sun you will get a run down about what they are and how they work.
The Djinni system in this game ties into Psynergy and is something you'll have to mess with a bit as the game progresses. For more information about the various Djinni Combinations you should follow the link provided to my guides. I'd also recommend you check out my Djinni Locations Guide so that you never miss a Djinni. I'll be pointing out the locations of every Djinni in the game during my walkthrough as well.
Before you get too far away from Vale I strongly recommend you spend sometime grinding to level up your characters. Our characters are still extremely weak and you'll only survive the journey to the next town if you're lucky or if you grind a bit first so that you're not so weak.
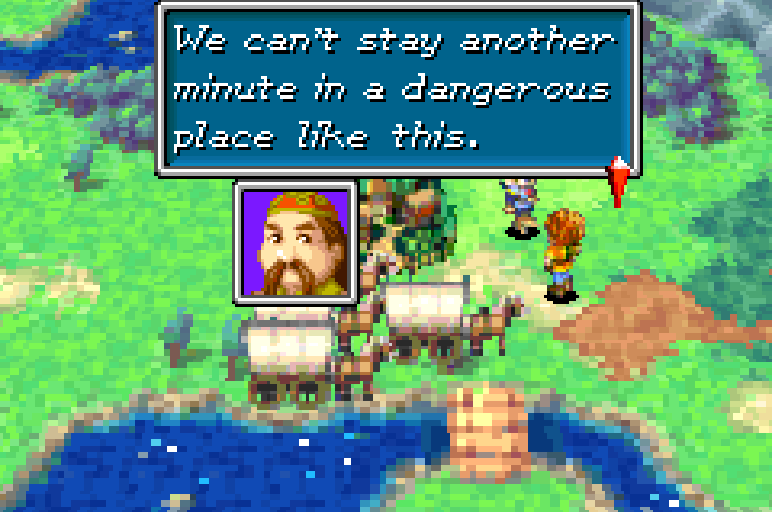

Our next destination is the town of Vault which is to the south of Vale. When you first arrive at Vault you'll find a caravan leaving the town - they'll tell you that it's too dangerous then head north to the town of Lunpa. Ignore their warning and head into town. Our first stop is the building in the northwest part of town, inside you'll find a kid named Ivan who will join your party after you talk with him.
Ivan needs your help to find the Rod thieves in this town - you will have to make use of his Mind Read ability to find them. The thieves that we're looking for can be found on the second floor of the Inn which is in the center of town. On the second floor of the Inn you'll find two people that will run from you whenever you get near them. Chase them for a second then try to exit the room and Ivan will come up with a plan to encircle one of them.
Boxing them in is pretty easy, Ivan will slowly approach them from the bottom and all you have to do is circle around up top and corner them.

After Ivan uses Mind Read on the thieves you'll want to exit the Inn and climb the ladder next to the front door. Go inside the hole in the roof and use the Move Psynergy skill to scoot the crate over to the left - this will reveal a doorway. Enter the room and untie the man who is currently being held prisoner for some dialogue and a scene. When the dialogue is finished you'll have a fight against 1 Bandit and 2 Thief enemies.
I recommend you use AoE attacks on the entire group to quickly eliminate them - if you're using a single target attack focus on the Bandit. The Bandit is capable of healing the other enemies which means they should be eliminated first. When the fight is over you'll have a bit more dialogue after which Ivan temporarily leaves your party.
Visit the Mayor's House in the northwestern part of the town; it's the same building that you originally met Ivan inside of. The Mayor will reward you with the Water of Life item and tell you how to get to your next destination. Before leaving town you should consider doing some shopping too - buying a few restorative items or some armor/weapon upgrades isn't such a bad idea. I'd recommend you sleep at the Inn too so that you're fully healed before departing.
Our next destination is Goma Cave which is northeast of Vault. Use my map screenshot below if you need help locating this place.
Once you enter Goma you'll have to jump across a river then move a pillar aside so you can climb a ladder. To the right of the ladder you'll need to use your Move Psynergy spell on the pillar and drop it into the hole so that you can cross. Climb the other ladder and make your way across the ledge to a stump that's covered in vines next to the waterfall.
Have Isaac use his Move Psynergy on the stump unsuccessfully - you won't be able to move it at this time. This will trigger some dialogue with Garet during which Ivan will come along and demonstrate that he can clear out vines with his Psynergy. Ivan will join your party again - this time permanently.
Use Isaac's Move Psynergy skill on the stump again and push it off the cliff. Jump across then use Ivan's Whirlwind Psynergy to clear the vines blocking the entrance.
My first recommendation for Goma Cave is going to be grind a little bit while exploring. There is another Djinni for us to capture in this dungeon but there is a chance that he will flee battle if you don't defeat him quickly enough. For this reason (among others) you'll want to make sure your characters are a decent level and capable of winning the fight quickly.
Check out my Djinni Locations (Part 1) Guide for more information about how to acquire and where this Djinni is. Normally I won't put information in this guide about how to get the Djinni, however, since this is one of the first ones I'll put info here too. When you find the room with this Djinni make sure you push the pillar into the appropriate position so that you can jump across up top.
As far as progressing through this dungeon goes, south of the Djinni you'll have to jump across a river and follow the linear path around until you reach the area shown in my screenshot below.
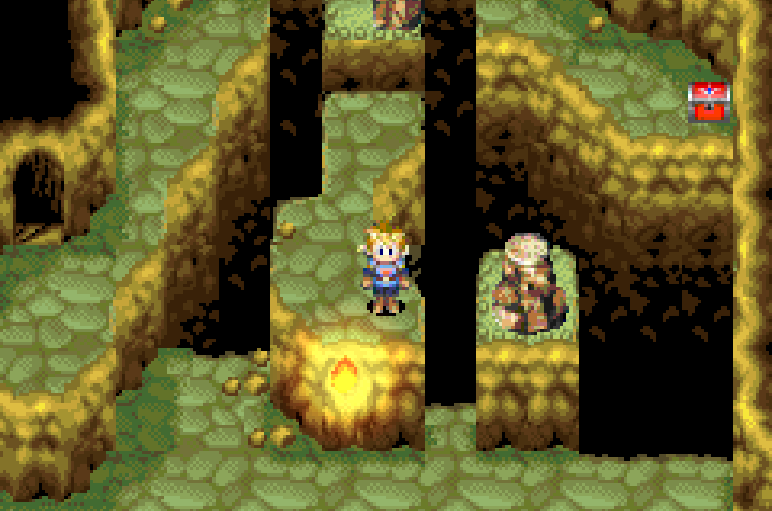
Here you'll need to use Isaac's Move Psynergy on the pillar to shift it one position to the right. This will allow you to reach the stump which is pictured above. Push the stump off the ledge and into the darkness then collect the treasure chest before returning to the previous room. In the water you'll see a new platform that you can jump to - it's the same stump we pushed down from above.
Use the stump to jump across the water and then go up the stairs in the east. You'll be able to jump across the gap to reach the Djinni in this area if you moved the pillar earlier - if not then you'll have to back track and move the pillar to reach the Djinni. Like I said earlier this Djinni you'll have to battle and if you don't defeat him quick enough he'll flee.
Make sure to set the Djinni to one of your party members after the battle (I recommend Garet) and then continue along the linear path until you make it out of Goma Cave. You'll find yourself on the World Map right next to the town of Bilibin. I recommend you do some exploring in this area and leveling up before heading into Bilibin because the enemies here will give decent EXP and Coins.
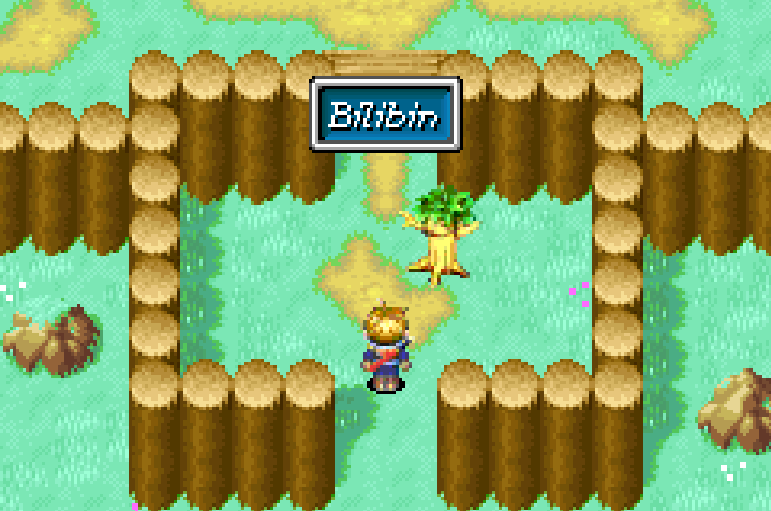
The first thing you will want to do inside of Bilibin is obtain the Djinni Gust. You can reach Gust by running across the wooden posts that make up the border of this village - for more information check out my Djinni Locations (Part 1) Guide. Don't forget to assign the new Djinni in your party to someone (I recommend Ivan) and then exit the cave.
Our next stop is McCoy's Palace in the northern portion of this city. Talk to the guards outside to be let in then continue up the screen following the red carpet to meet and speak with McCoy himself. You'll have a scene here and some dialogue after which you're done with this town.
Before leaving I recommend you stock up on supplies and purchase any upgrades (Armor or Weapons) for your characters.
Continue to Golden Sun Walkthrough (Chapter 2)
Return to Golden Sun Guides Index