
The Underbog Instance Guide
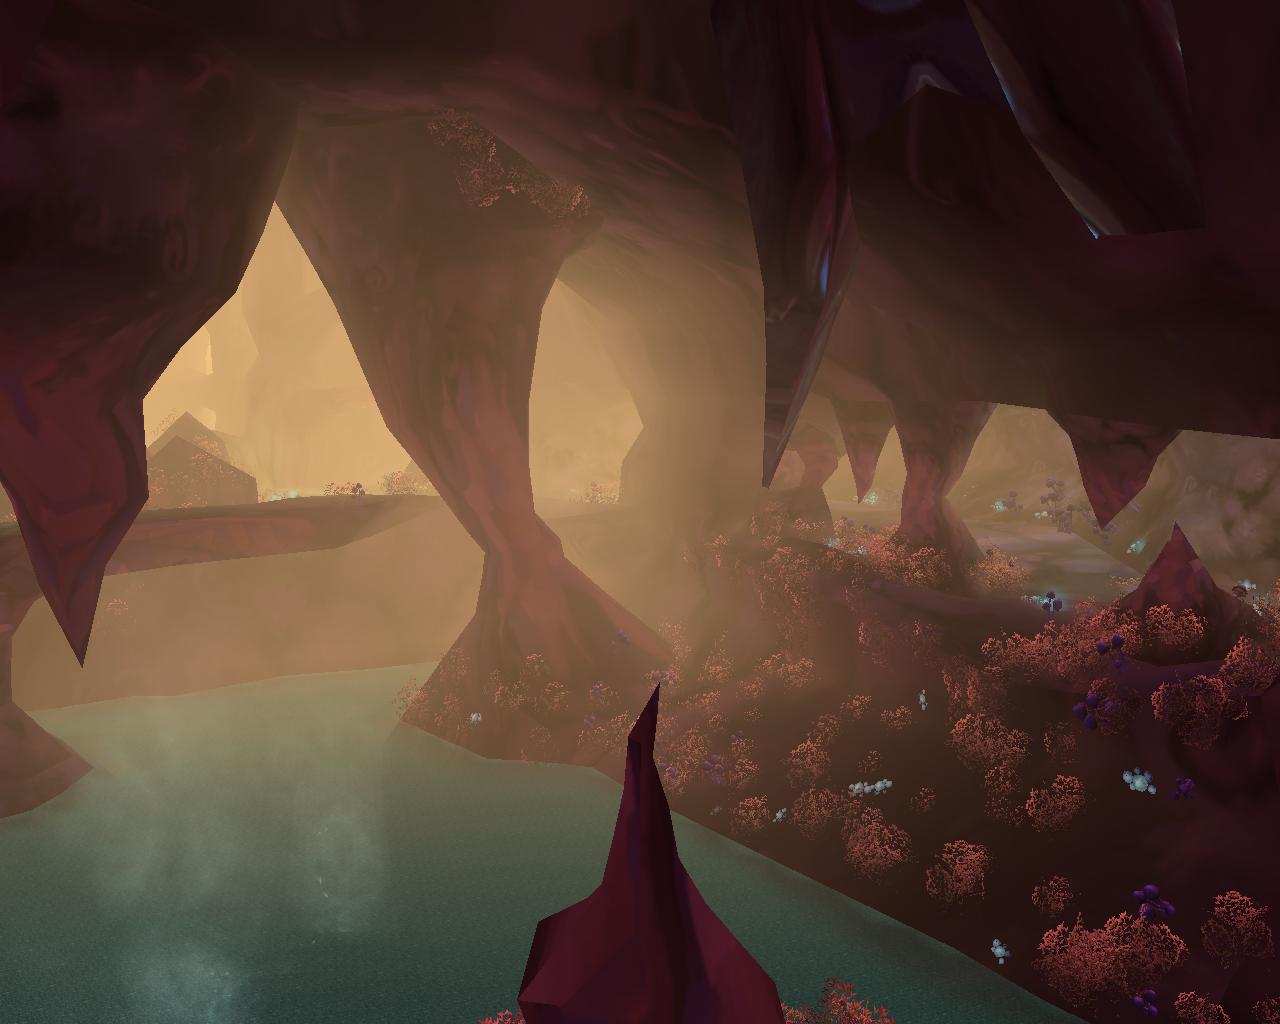
Underbog is one of four instances located in the Coilfang Reservoir which is in central Zangarmarsh. Underbog is the second hardest instance located in Coilfang Reservoir followed by The Steam Vaults and Serpent Shrine Caverns. I feel as if Underbog and The Slave Pens are rather on-par with each other as far as level wise goes but Wowhead says that Underbog is slightly higher level, so we will go with that. Something to keep in mind is that when you're in the Underbog you will be able to collect small little flowers off the ground called Sanguine Hibiscus'.
These can be used to raise your Sporeggar reputation or sold on the Auction House if you don't care about your reputation with The Sporeggar. If you are interested in learning more about the Sporeggar reputation then you can check out my reputation guide by clicking here.
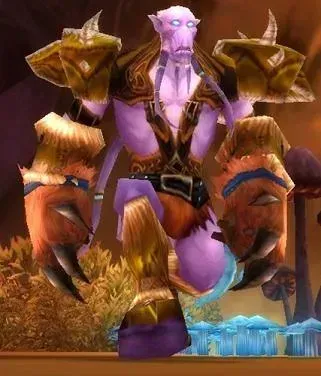
Hungarfen
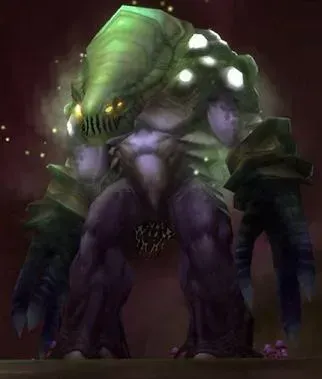
Hungarfen is very well known for two reasons. One, is he was one of the hardest bosses to do on Heroic difficulty and two, he has the item players needed for the famous Underspore Pod right behind him. Aside from all the history this boss has, he is rather simplistic if you're actually capable of paying attention.
Hungarfen has two attacks worth mentioning. The first is he will spawn a mushroom on the ground which pulses out poisonous gas until eventually exploding. When one of the mushrooms spawns under you, you will want to get away from it. It is very difficult, I know, but you can do it! *Rolls eyes* The second move he has that is worth mentioning is around 35% HP he will entangle himself in roots and begin to Regenerate HP. During this time you will want to go all out DPS on him to take him down.
Normal Loot Table:
Heroic Loot Table:
On your way to Ghaz'an you will have to fight a few difficult packs of mobs. When the mobs you're fighting switch over to the pink Draenor looking mobs mixed in with serpents you will want to keep your eye out for their

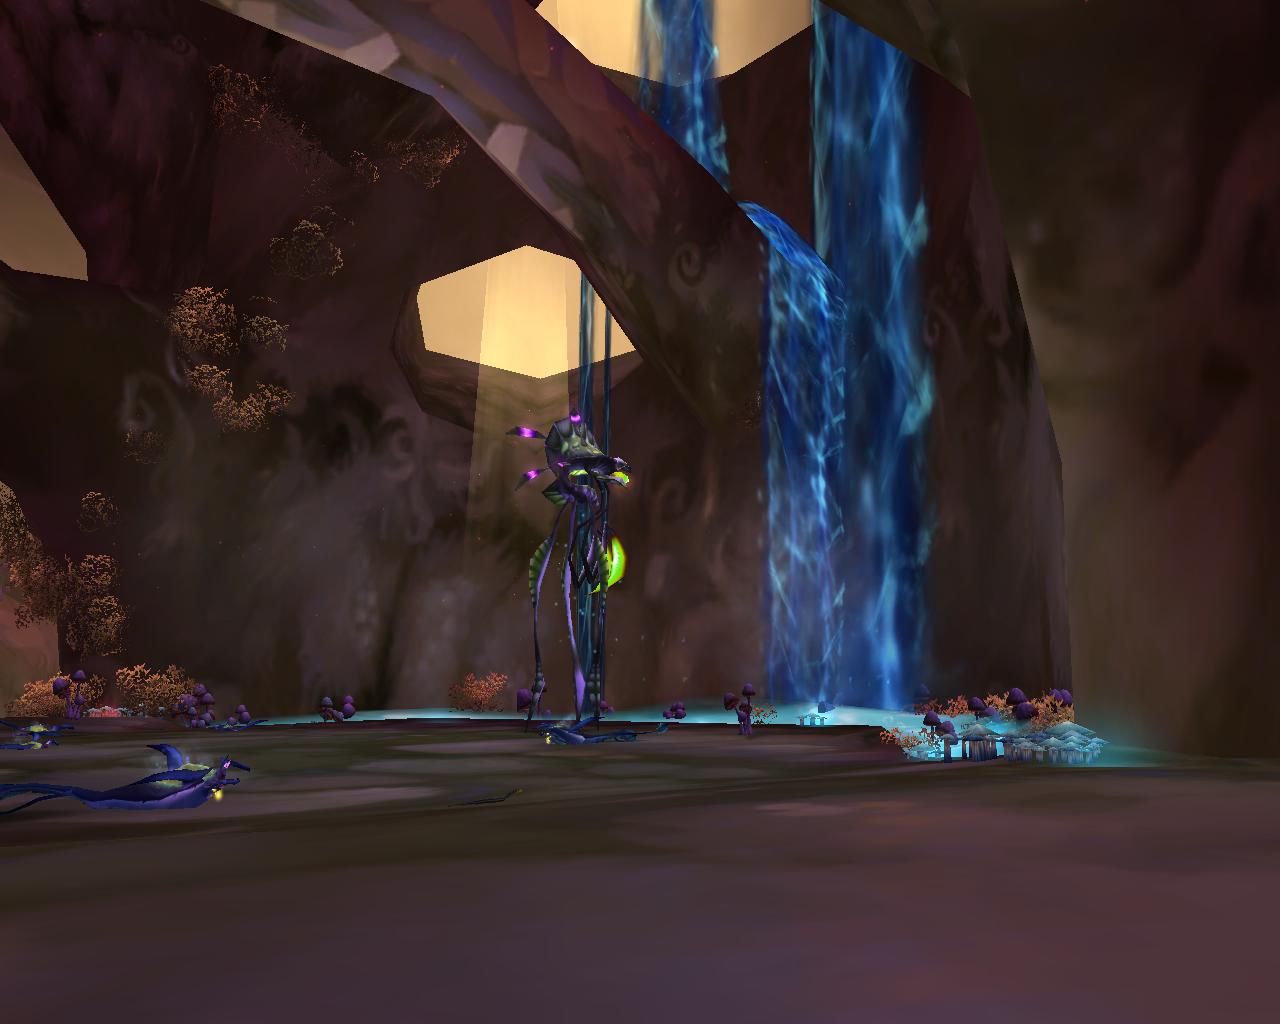
Ghaz'an

Ghaz'an is a very simple tank and spank style boss. He only has really one ability that could severly ruin your groups day and that is his tail-oriented knockback. If anyone in your group goes behind Ghaz'an they will be greeted with a very unwelcoming knockback, most likely shooting them far off the platform and into the water below. For this reason you will obviously want to resist going behind Ghaz'an at all costs. The tank should pull Ghaz'an to him and not even bother trying to reposition him. Just tank him where he is.
Another thing Ghaz'an does is a poison breath. He will use two different types of poisonous breaths throughout the fight. One of them will only effect the tank where as the other will effect everyone in front of him. If you have a Druid in your group to Abolish Poison or even a Shammy to drop a Poison Cleansing totem it will be a big help in removing the DoT. If you're having trouble with Ghaz'an have a Hunter use his Aspect of Nature or have a Shaman use their Nature Resistance Totem.
Normal Loot Table:
Heroic Loot Table:
After Ghaz'an is dead you will want to jump down into the water on the opposite side of his platform. You will see a large crack in the wall that you can jump into and continue through the instance. NOTE: There are two paths you can take here after you land. Both of them are to the left since to the right is a dead end. If you follow the path leading up you will find Earthbinder Rayge stealthed and in the bushes. Talking to him is required for the "Lost in Action" quest.
Swamplord Musel'ek
The first thing to tell you about here is Swamplord Musel'ek comes with a pet bear whom you should not kill first. This bear pet of his actually a Druid under Swamplord Musel'ek's control. If you focus all of your damage on Swamplord Musl'ek then you will free the captured druid (which is used in a quest). Keeping that in mind this is a pretty basic fight. He will continually do ranged attacks, ice trap everyone and a bunch of other hunter moves.
Just DPS him hard and he will go down quickly. Most CC's can be used on his bear pet and should be used on his bears pet. If you have a hunter in your group have him lock down the pet and then dps the boss. Things will go much smoother this way. At the end of the fight Claw's pet bear will turn into Windcaller Claw whom is part of the "Lost in Action" quest.
Normal Loot Table:
Heroic Loot Table:
In the pulls before The Black Stalker you have to tank amazingly hard hitting Bog Lords. On heroic these things could take down a level 80 in epics. Be wary when going through this tunnel and don't kamikaze bomb into it all thinking you're going to survive. Make sure to only pull one, is what I am saying here.
The Black Stalker

On normal this is a pretty basic encounter. The Black Stalker has a few noteable skills that I would like to bring to your attention. They are as follows; Static Charge, Chain Lightning and Suspension.


On heroic The Black Stalker has another big issue, he summons adds that all chain lightning too. Making the most important part about this whole fight is spread out! If you're all clumped together you will get completely destroyed by AoE damage.
Normal Loot Table:
Heroic Loot Table: