Tower of Evermore Walkthrough - Castlevania Curse of Darkness
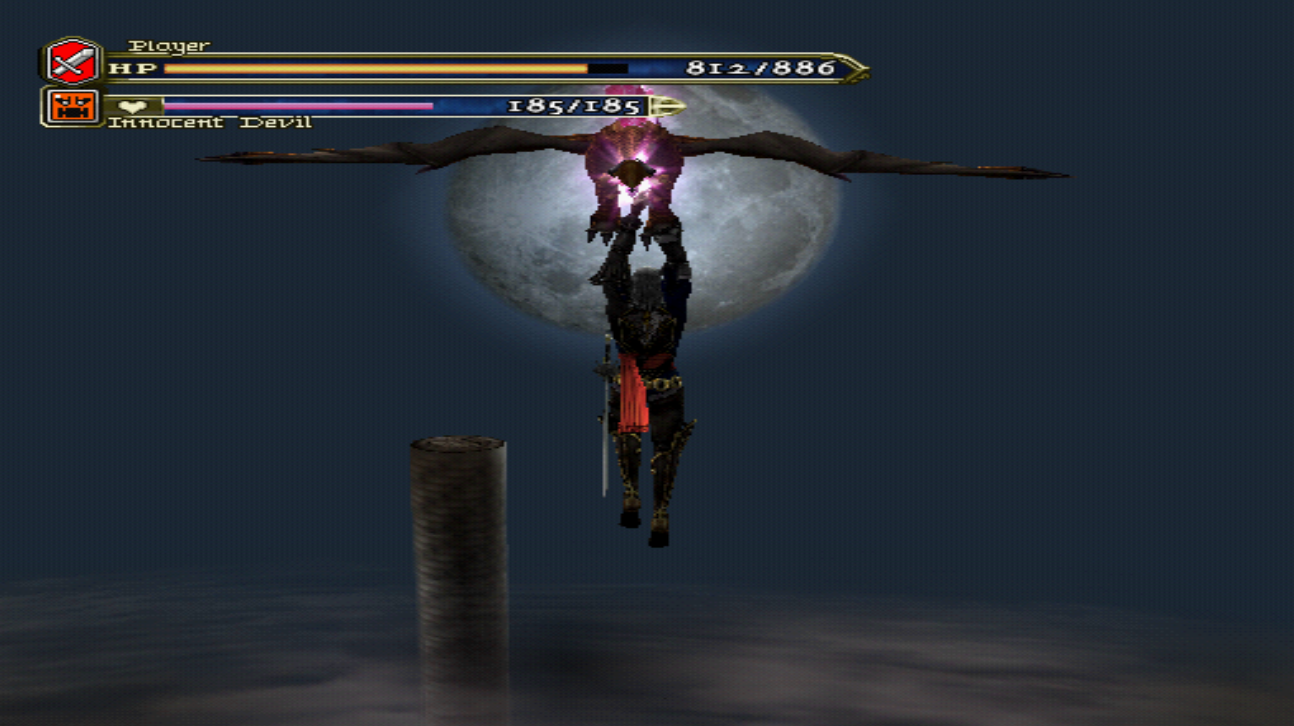
The Tower of Evermore is one of 2 optional dungeons in Castlevania: Curse of Darkness. Once you complete the Tower of Eternity you will be able to use a Bird ID with Long Glide to glide over to the next optional dungeon, Tower of Evermore. When you are standing ontop of the Tower of Eternity you'll want to face the moon in the distance and Long Glide towards that - like you see in my picture above.
As you can probably imagine the Tower of Evermore is going to be significantly harder of a dungeon than the previous one. I would recommend you wait until you're at least level 65 before attempting this dungeon - depending on how good you are at the game you may want to wait a little longer.
You can make this dungeon a lot easier by bringing the right Innocent Devils with you too. Corpsey is the best Battle ID to bring with you and I would recommend at least one or two Fairy IDs (Tiramisu is what I would bring) along with at least one or two Mage IDs. If you'd like you can cheese this entire dungeon by stacking Mage IDs and spamming Demonic Disaster or Twinkle Star in every single room.
With a single level 85 Embryo Rod Mage ID I was able to clear about 10 rooms (floors 35 - 25) by using Demonic Disaster before he ran out of hearts. All I did was run around the room dodging attacks as I waited for Demonic Disaster to explode.
One of the biggest tips I can give you for clearing this dungeon too is to always remember to destroy the candlesticks. They'll sometimes contain Potions and High Potions for you which will allow you to heal up between floors. Unless you have Healing Field and/or Gold Heal on one of your Fairy IDs you'll likely run out of Hearts very quickly trying to heal yourself with them.
Below is a list of all the enemies you'll be encountering in this dungeon along with what floors you'll find them on. Something to note is that you do not have to defeat the Blood Skeletons you encounter throughout this dungeon. Once you defeat the other enemies in the room the door proceeding down to the next floor will open.
50F: Magical Ticket ×1
49F: Red Ogre Lv75, Rapid Sniper Lv40
48F: Flame Demon Lv43, Rapid Sniper Lv40
47F: Flame Demon Lv43, Basilisk Lv46
46F: Basilisk Lv46, Iron Gladiator Lv47
45F: Iron Gladiator Lv47, Spirit Lv32
44F: Great Armor Lv46
43F: Great Armor Lv46, Red Ogre Lv75
42F: Red Ogre Lv75, Flea Man Lv75
41F: Flea Man Lv75, Great Armor Lv46
40F: Flea Man Lv75, Thief Lv32 - High Potion ×1
39F: Blaze Phantom Lv44, White Dragon Lv38
38F: Blaze Phantom Lv44, Final Guard Lv75
37F: Fishman Lv45
36F: Lizard Shaman Lv43, Final Guard Lv75
35F: Skeleton Rider Lv45
34F: Lizard Shaman Lv43, Flame Demon Lv43
33F: Efreet Lv45, Flame Demon Lv43
32F: Spirit Lv32, Blood Skeleton Lv75
31F: Blood Skeleton Lv75, Final Guard Lv75
30F: Death Ripper Lv40, Thief Lv32 - High Potion ×1
29F: Merman Lv35, Frost Dragon Lv39
27F: Executioner Lv47
26F: Executioner Lv47, Frost Demon Lv38
25F: Frost Demon Lv43, Armored Sprinter Lv44
24F: Unicorn Lv44
23F: Ectoplasm Lv37, Unicorn Lv44
22F: Cyclops Lv75
21F: Cyclops Lv75, Dark Warlock Lv42
20F: Flea Man Lv75, Gi-Lee Lv31 - High Potion ×1
19F: Assassin Zombie Lv44, Thunder Dragon Lv40
18F: Assassin Zombie Lv44
17F: Amduscias Lv44, Thunder Demon Lv43
16F: Amduscias Lv44, Duke Mirage
15F: Duke Mirage, Ghoul Lv75
14F: Amduscias Lv44
13F: White Gravial Lv43, Basilisk Lv46
12F: White Gravial Lv43
11F: Assassin Zombie Lv44, Ghoul Lv75
10F: Flea Man Lv75, Death Ripper Lv75 - High Potion ×2
8F: Slogra Lv45, Blood Skeleton Lv75
7F: Blood Skeleton Lv75, Cockatrice Lv46
6F: Cockatrice Lv46, Harpy Lv46
4F: Red Ogre Lv75, Iron Gladiator Lv47
3F: Flea Man Lv75
2F: (No enemies) - Vampire Blood ×1
1F: Flea Man Lv75, Golden Bones
On the second floor of this dungeon you'll find a Vampire Blood item which is one of your big rewards for finishing the place. The second reward for finishing this dungeon is a Miracle Egg which drops from the Golden Bones enemy on the final floor. It's worth noting that this Golden Bones only appears once, after you've defeated him he'll never appear on this floor again.
To leave this dungeon all you need to do is smash the cracked wall on the first floor (pictured below). This will open up an exit/entrance which will put you in the Garibaldi Temple map.