
God of War: Ghost of Sparta Walkthrough Chapter 5
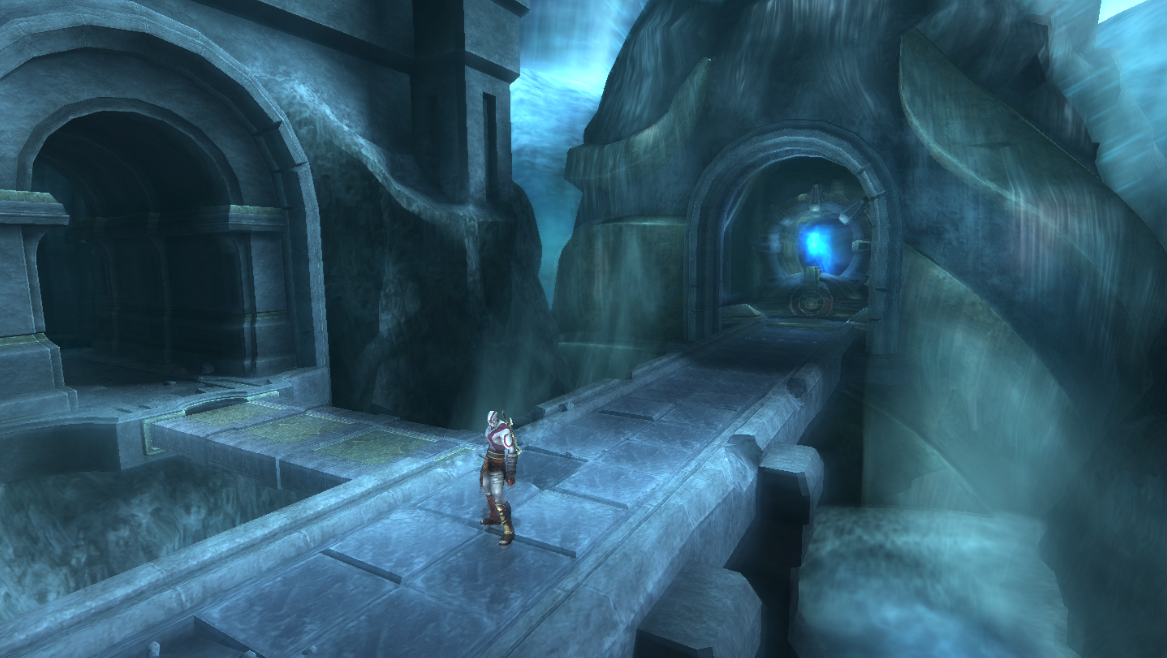
You will come across another room with the blue glowing machine and a wheel connected to it that you must put the Automaton Gear into then turn. There will be another cutscene when you turn the wheel after which a platform will connect to our bridge allowing us to access a new area.
At the end of the hallway you will find a pool of water that you must dive down to the bottom in. Grab the two chests of Red Orbs at the bottom and then swim down the nearby tunnel until you come to an area with a bunch of traps (pictured below). What you need to do here is to use your swim dash to quickly navigate through the traps.
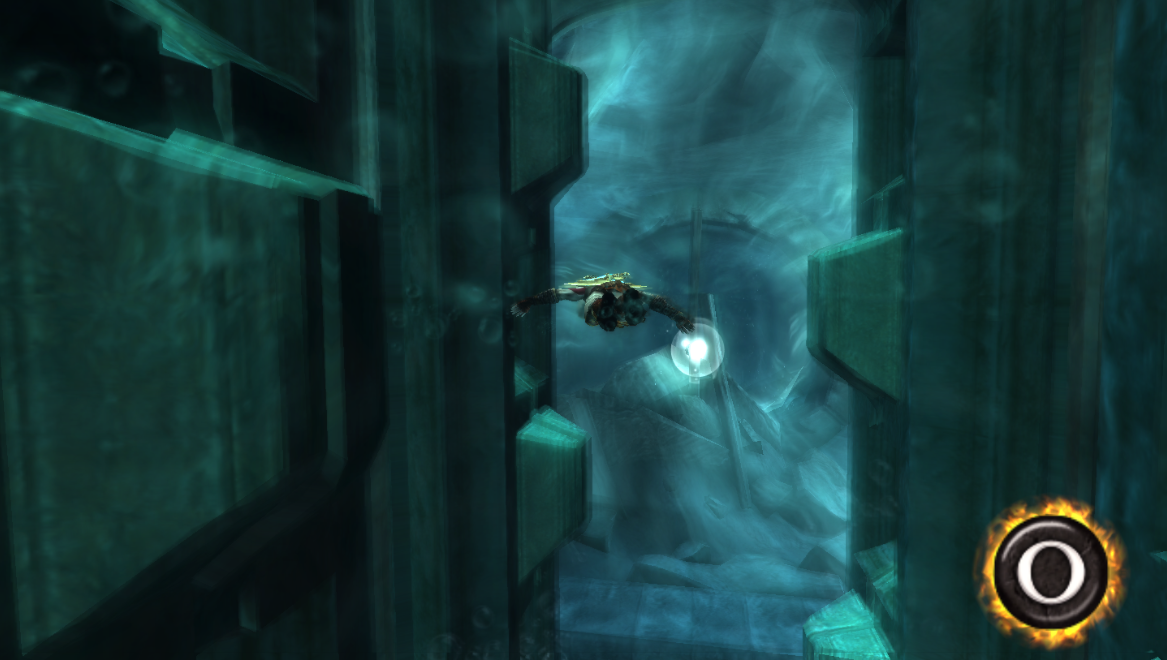
When you get close enough to the opposite side of this area you will be able to grapple onto a Grapple Point and then spin the analog stick to pull Kratos to it. This entire event is timed and it's actually quite challenging because once you grab onto the Grapple Point the timer does not stop.
My advice is to have a fully charged up dash ready to go the moment the trap clashes together and separates. You will need to do two more dashes to reach the Grapple Point - once you grapple on be ready to spin that analog stick as fast as possible so that you can avoid the trap.
Further into the tunnels you will have another trap that you need to avoid, this one is a bit different though. This time a strong current of water will push you past a Grapple Point and towards a trap. What you need to do is wait until the prompt appears that lets you grapple onto this location and then spin the analog stick to pull yourself in.
After this trap continue down the linear hallway and grab the chest with Red Orbs as you go. Eventually you will reach a wall that's half broken apart - use your swim dash to break through and you'll find yourself in a large circular room. Surface in this room and jump onto land to continue.
In the next room you'll find three chests, a Health and Magic chest as well as an unmarked chest that has Green Orbs and Red Orbs inside of it. My guess is it has either a Gorgon Eye or a Minotaur Horn.
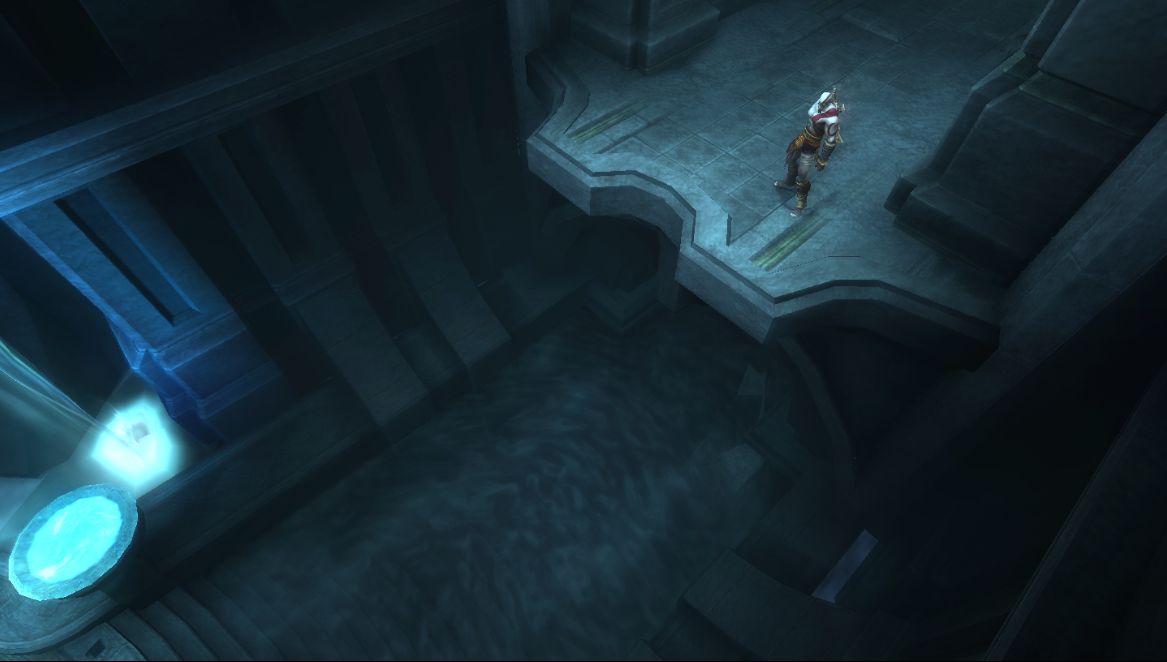
Continue down the only available path and you'll find a drop off (pictured above) that will take you to the next area. Be prepared for a pretty tough fight in this next room against the electrical enemies that carry a large boulder on their back. Once you have beaten all of them go up the nearby stairs and press circle near the large contraption.
You will have to spam Circle when prompted to raise a giant bridge that we can now travel across. On the other side of this bridge you'll find a save point along with a wall that we can climb up. Climb it and you'll reach an area that may look familiar to you since we were here much earlier in the game.
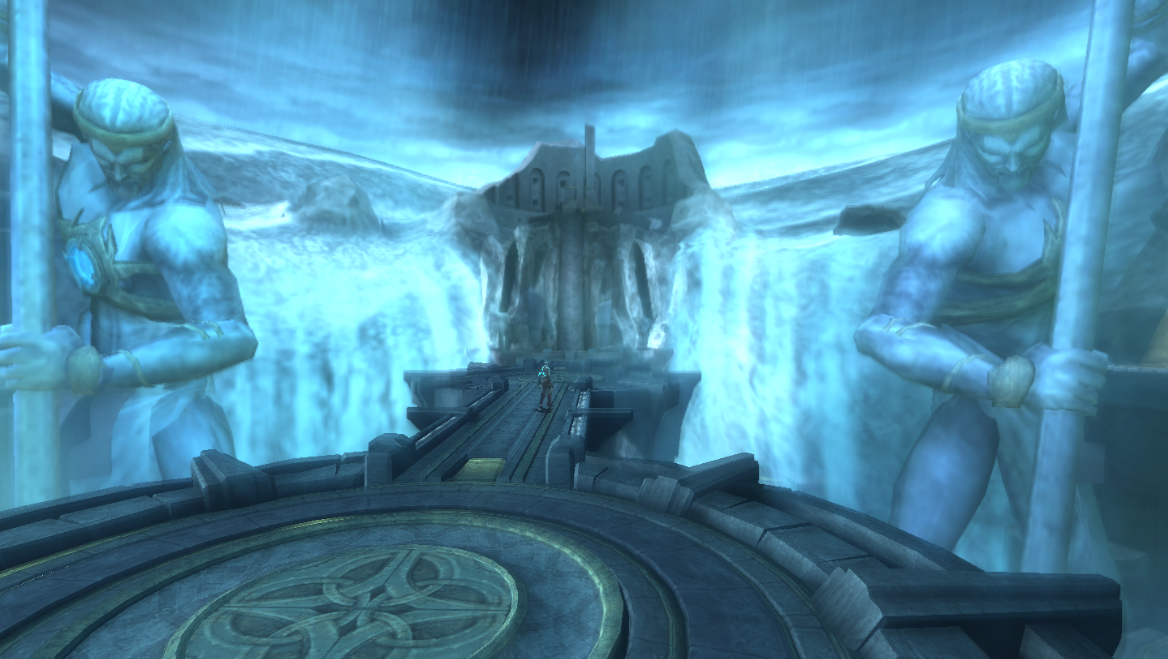
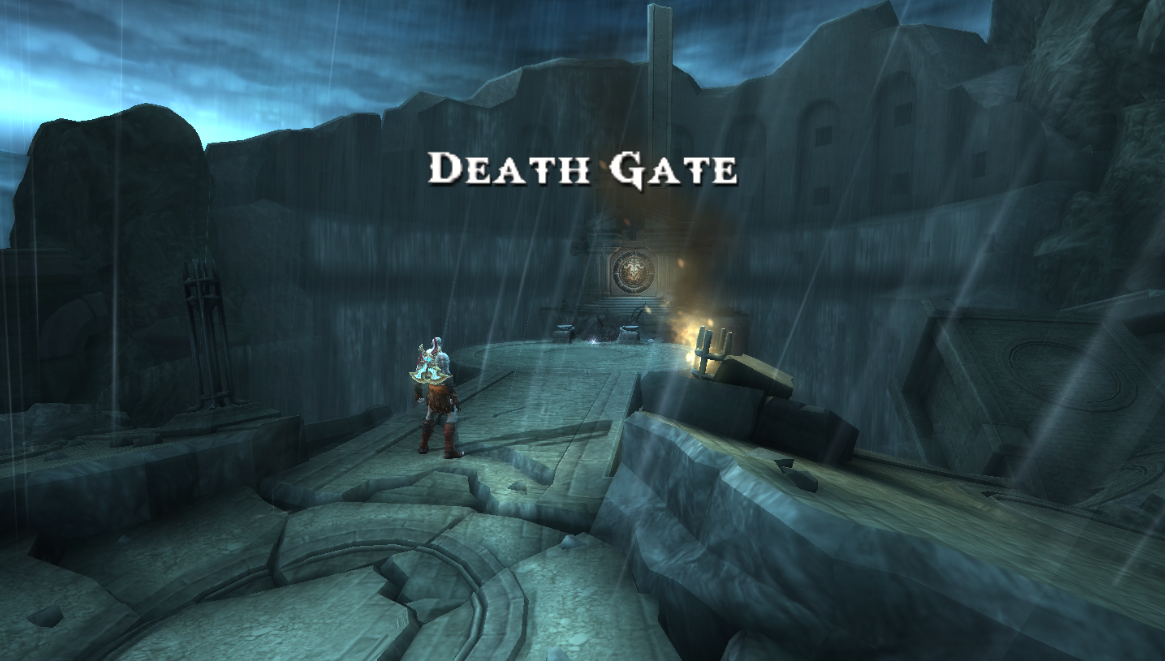
Approach the temple in the middle of the Death Gate area and use the Skull of Keres on the ground-lock to open up the temple and create a bridge that we can cross. Enter into the temple and you will get a brief scene as you enter into the new area. The first thing you will want to do in this area is run to the right a little bit and pick up The Bonds of Ares which are on the ground. We can't use this item until we beat the game but at least we now have it.
Head up the path to where a Health and Magic chest are currently sitting. Equip your Arms of Sparta and throw your Spear at the 3 hanging jail cells on the tree to reveal a Grapple Point for us to use. Grapple over to a new ledge where you'll have a fight against some enemies.
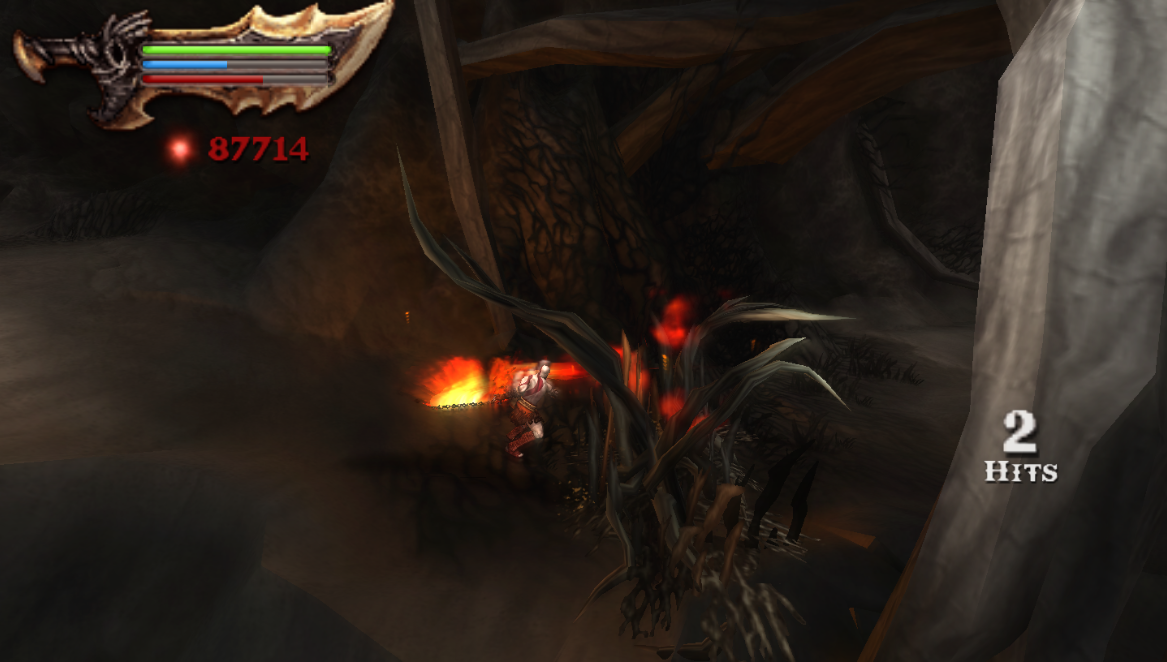
Once all of the enemies are defeated you will want to climb down a wall at the bottom of the screen. In this next area you'll have to use Thera's Bane to defeat some large vines that attack you and block your path (pictured below).
The path we are on now will lead us to a dead end with two ledges that we have to climb up and shimmy across to get to where we are going. Defeat the birds you find in this next area and grab the Red Orbs chest along with whichever you'd like Health or Magic from the other one. In the next area there will be a few more birds and a few more plants that we need to eliminate.
You will also come across two giant roots (or branches) that are blocking your path - much like with the plants you'll have to use Thera's Bane to get them out of our way. After getting rid of the second root you'll have a Grapple Point that you can latch onto that will allow us to proceed to the next area.
In the next area you'll find a large stone column and a piece of one to the south. Move the large column out of the way and grab the unmarked chest behind it - it has what is most likely a Phoenix Feather. If you already have max magic then you'll get Red Orbs and Blue Orbs instead.
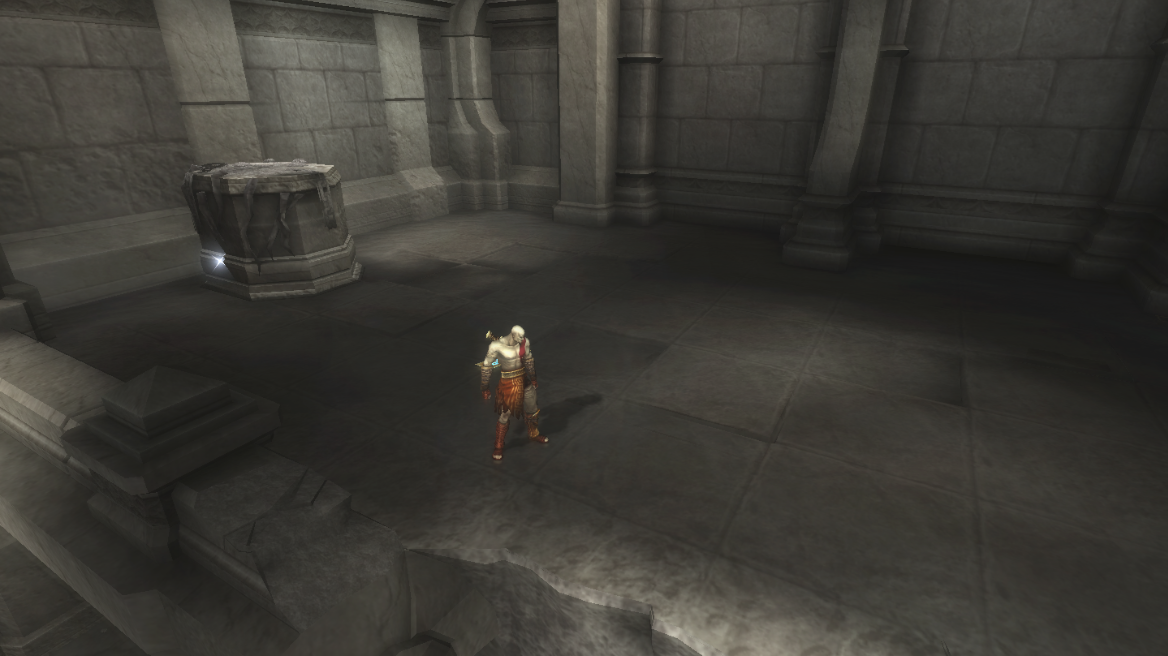
Now, with the smaller stone column you will want to slide that over to the nearby ledge like shown in the screenshot above. You can then jump ontop of this column to reach the ledge above. Follow the path until you reach a save point, run towards the screen a bit and you'll find an unmarked chest with what most likely is a Gorgon Eye. If you have max health then it'll be Red Orbs and Green Orbs instead.
Run past the save point and approach the large temple, this is the Hall of Damnation.
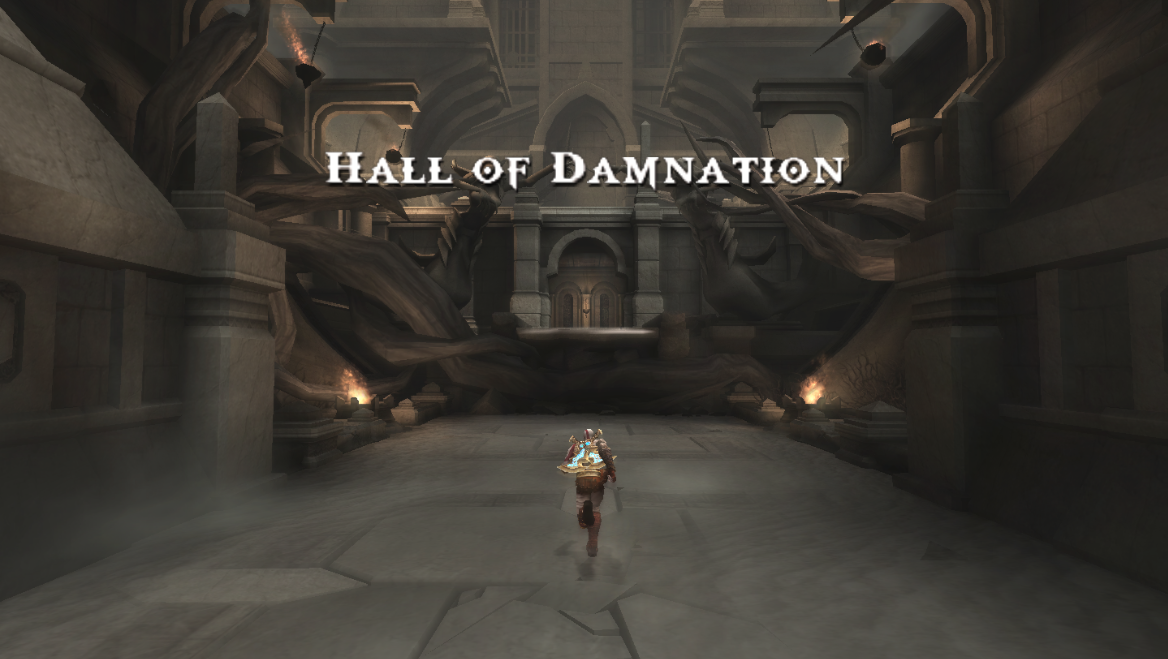
Follow the linear path through this place fighting all of the enemies that spawn to attack you. Keep in mind that when you face off against heavily armored enemies you'll want to use Thera's Bane to strip off their armor. Eventually you will come across a fragment of a stone column, just like the one we moved earlier to reach a ledge.
To the left of this stone column on a platform you'll find an unmarked chest that gives you Green Orbs and Red Orbs which tells me it was likely a Gorgon Eye. After collecting this chest grab hold of the stone column and drag it all the way down the hallway to the right until you reach a large chain overhead. Grab the chest of Red Orbs in this area then use the stone column to jump up and grab ahold of the chain above you.
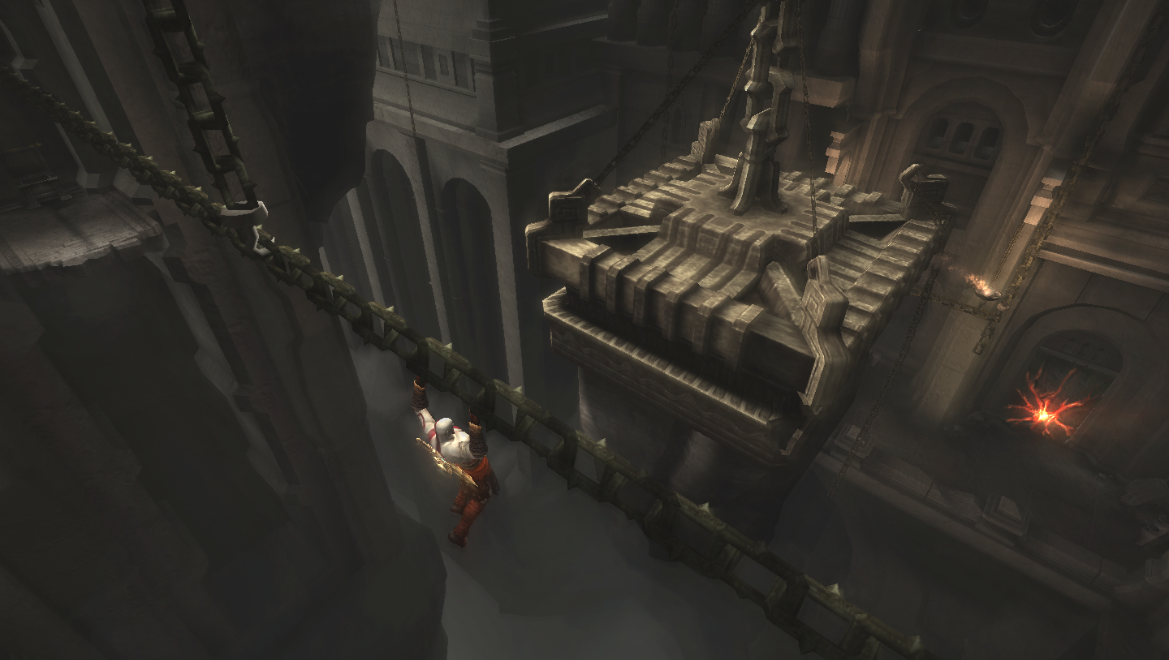
You'll want to climb across this chain all the way to the other side first that way you can grab the chest full of Red Orbs that's over here. Hop back onto the chain and climb out into the middle area near the floating platform (pictured below). What you'll want to do now is turn to face the moving platform and jump across to it.
Shimmy around the ledge on the moving platform until you can reach the adjacent chain that runs overtop the nearby balcony. Jump to that chain and then shimmy overtop the balcony and drop down.
On this balcony there will be a lava door for you to explode followed by a room with a Health and Magic chest as well as a save point. For this next part you will have to shimmy across a small ledge then jump up to another one. You can jump across to the ledge with the smashing-block trap from this location.
What you need to do for this part is wait for the trap to fully extend down this tunnel and start to retract. Once the trap hits near Kratos you'll want to stand up and start running towards it. There is a doorway on the right hand side of this area that we're running towards - you'll have plenty of time to make it if you time things properly.
In the next area downstairs you will find four large spinning gears (pictured below). Enemies will spawn when you enter this room and you'll have to fight them while destroying each of the four gears. Use Thera's Bane when attacking the gears to damage them.
Destroying all 4 gears will cause the large smashing machine upstairs to stop. Return to the previous area and you'll now be able to push the large smashing block-trap back down the hallway and into its socket. To the left and right you'll find chests with Red Orbs in them - make sure to grab both before going through the newly opened gate in this hallway.
Go through the gate and follow the linear path to a Health or Magic chest and a door that you can open by spamming Circle. Head through the door and run towards the screen to find an unmarked chest that gives you Red Orbs and Blue Orbs; alternatively it may have a Phoenix Feather for you if your magic isn't already capped.
Equip your Arms of Sparta and throw the Spear at the nearby hanging jail cell to unveil a Grapple Point. This next part will require you to grapple back and forth between a few Grapple Points; your goal is to keep going up in elevation until you reach a new platform.
This next area is quite linear as well, there will be a very tough fight in the next room against armored Cyclops enemies and the agile banshee enemies that can hit you from range. Once they're defeated you will want to run across the long bridge and battle some skeletons. Before going through the door you should pull the lever over here to open up the gate in the previous room.
Return to the previous room and open the two chests with Red Orbs inside of them - then return to the door near the lever and open it to continue.
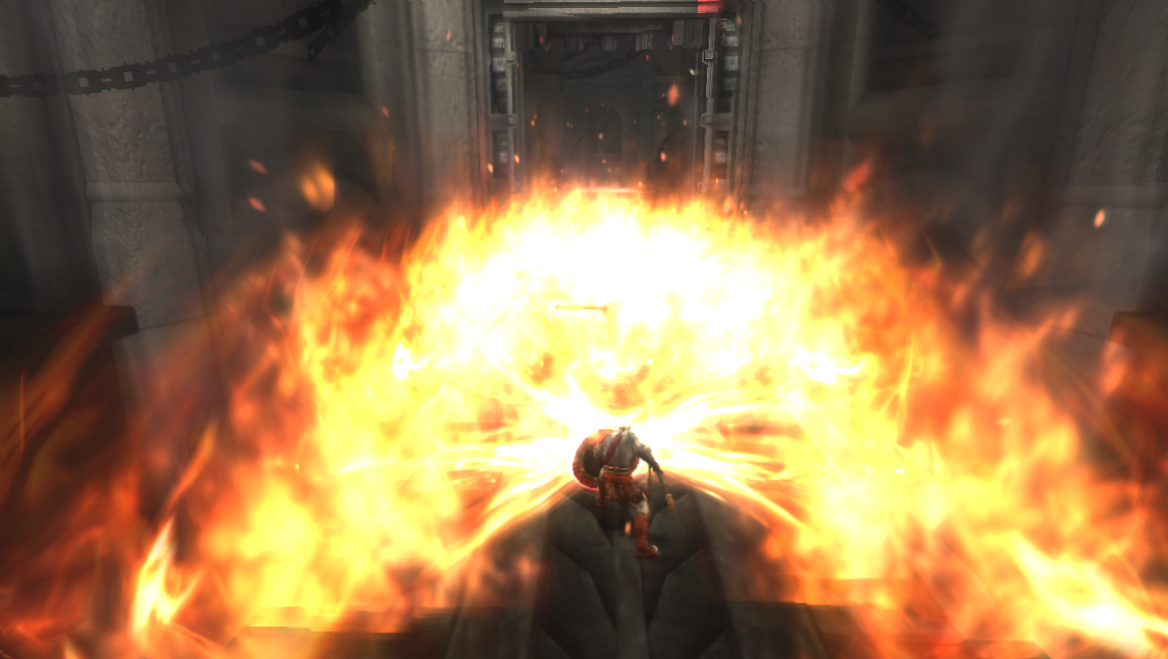
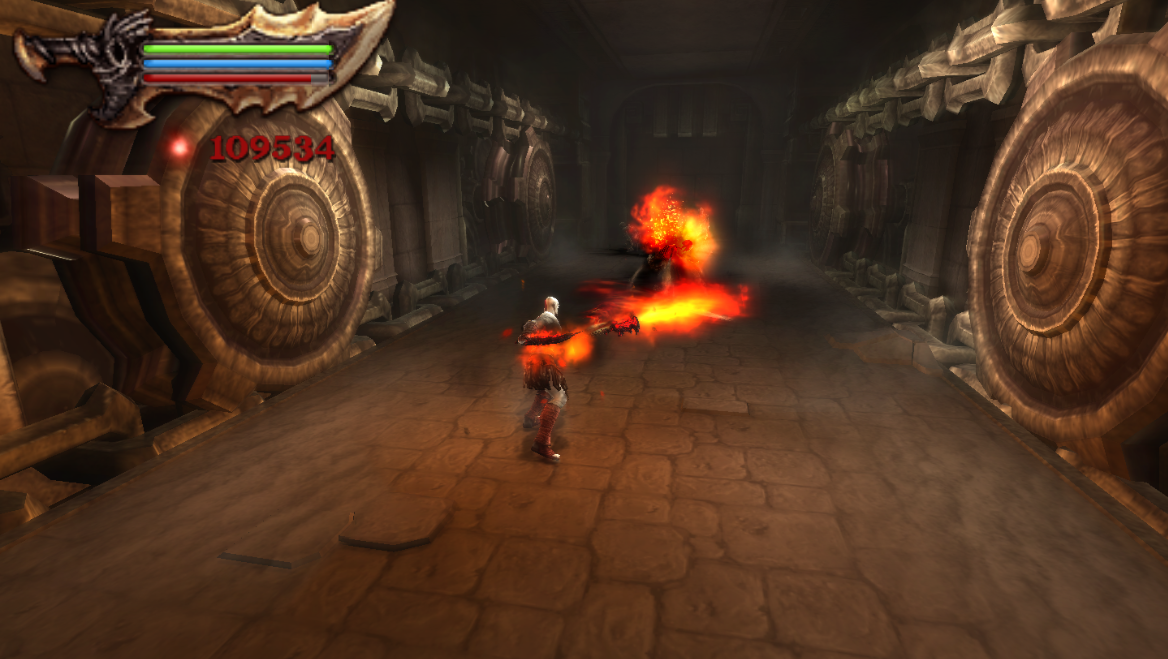
In the next area you will get a tutorial letting you know to use the Arms of Sparta to block the environmental hazard. What you need to do for this part is block the incoming fire each time it's shot at you using your Shield then use the Spear on the Arms of Sparta to hit the gears above the fire place. After hitting both gears it will cause the door to close temporarily.
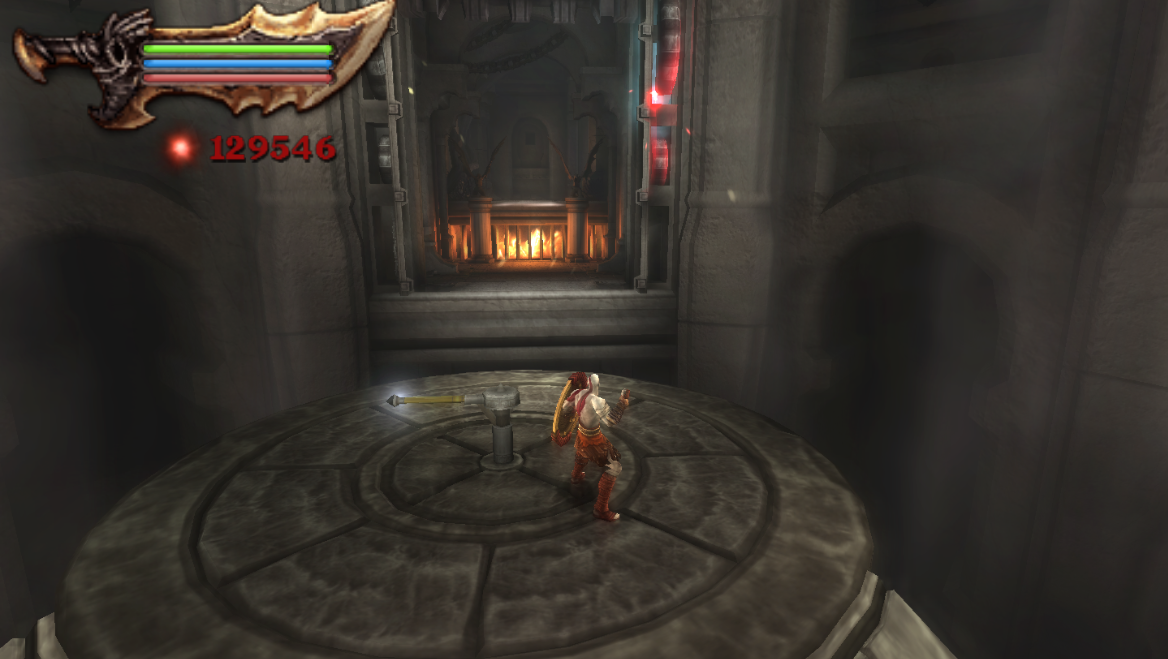
The crank in the middle of this platform will turn the walkway - to the right there is a chest of Red Orbs and to the left you'll find an unmarked chest that gives you Green Orbs and Red Orbs. After collecting both of these you will want to turn the platform to face the door that the fire is coming out of. Run inside of the room that the fire is coming out of and jump up onto the ledge above the fire place.
Grab the chest of Red Orbs you pass in the next hallway and continue up the stairs to find a save point along with a Health and Magic chest. Head through the door here to find Deimos hanging from the ceiling in the next room.
To break Deimos down from his prison you will want to attack the root on the left hand side of the room with Thera's Bane. Deimos will still be hanging on by a thread so equip your Arms of Sparta and chuck your Spear at the final chain to break it and free Deimos.
You will have a cutscene once he is free after which there will be a boss fight against him. After you deal enough damage to Deimos he will tackle Kratos through the wall and you'll go flying with him off the cliff. There will be a scene after which you will have to hobble with Kratos to the edge that Thanatos and Deimos fell off from.
Kratos will jump off and there will be another scene after which you'll regain control of Kratos on a climbable wall. Quickly move across this wall in the direction of Deimos - you will have to smash a few rocks along the way to clear a path but otherwise it's quite linear. When you get to Deimos press Circle and perform two quick time events to save him.
There will be another scene during which Kratos gives Deimos the Arms of Sparta. Deimos will join you for the final battle against Thanatos and you'll even be able to command him a little bit - kind of similar to how you command Atreus in God of War (2018). While you're fighting Thanatos you can instruct Deimos to throw his spear by pressing down on the D-pad.
Grab the Health and Magic chests and save your game if needed then hop down into the new area to challenge Thanatos.

During the first part of this battle you'll fight Thanatos in a humanoid form, as pictured above. Once you deal enough damage to him he will transform into a giant creature with heavy armor and claws. You'll have to use Thera's Bane or magical attacks when he is in this form to damage him. While he is in his big form he will also launch a lot of projectiles at you that you'll have to either dodge or parry.
After you deal enough damage to the big creature version of Thanatos he'll transform back into a humanoid to fight you again. He is a bit stronger during this phase and will have a slightly different attack rotation. Much like before, deal enough damage to him and he will transform again into the big creature.
The second big creature transformation will be his last. Once you deal enough damage to him in this form you'll be able to finish the fight with a quick time event minigame. Just wait for the giant Circle to appear above his head and then start the first minigame. You'll have a short minigame followed by a cutscene.
You'll regain control of Kratos when he is in a rage, simply attack the hell out of the boss until a Circle appears above his head again and then finish him off.
Return to Ghost of Sparta Chapter 4 Walkthrough