
God of War: Ghost of Sparta Walkthrough Chapter 2
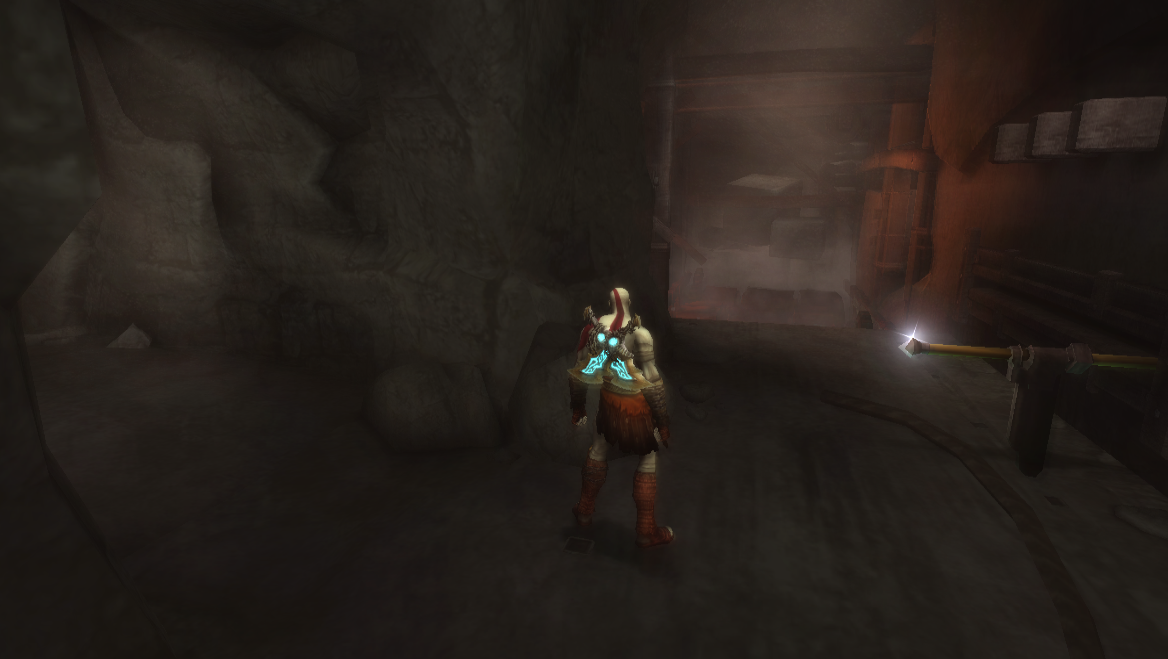
On the ledge up top you'll find a chest with a Gorgon Eye inside of it and a rope that you can jump up and grab onto (pictured above). Climb across the rope to reach a new set of rooftops, you'll find a Health and Magic chest over here as well as a hole in one of the ceilings that you can drop down through.
Grab the two chests with Red Orbs inside of this room then grab onto the stone block and push it into the next room where you'll find some Undead Archers. You can use your one magical power to eliminate the archers ontop of the ledge in this area if they are annoying you. Otherwise push the stone block over to the ledge that had/has the archers and use it to jump up and grab onto the ledge.
Climb up to the next ledge and you'll find yourself in an arena of sorts with two unmarked chests. One of them has a Phoenix Feather and the other has a Minotaur Horn. Take both of these then slide down the rope nearby into a new area with a save point.
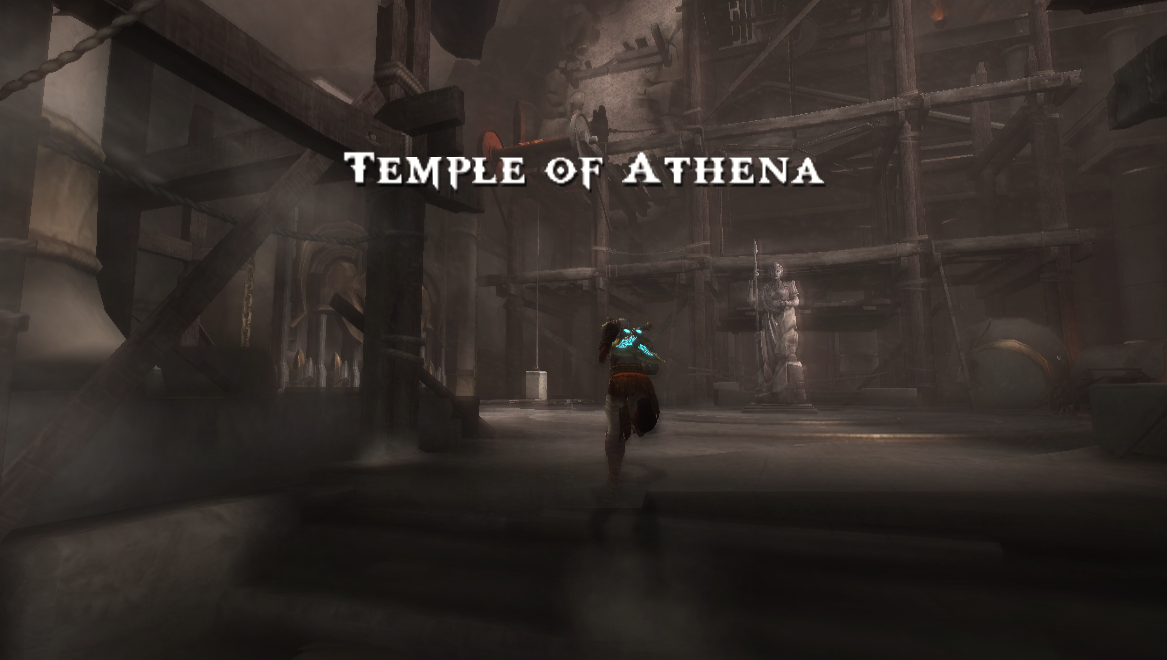
When you go up the nearby stairs you'll find yourself in a new area, the Temple of Athena. There will be a cutscene when you first arrive during which Kratos will smash the statue. Once the scene is over search the surrounding area to find Athena's Owl which is another item that we can't use until we beat the game.
To proceed you'll need to climb up a rope to the right of the locked door in this area. You'll be lead to a lever first which will raise the platform you're standing on - after that you'll need to climb the nearby wall, smash the wood in your way and circle down to another platform. If you need Health or Magic grab the nearby chests then continue into the next room where there will be a scene introducing new enemies - dogs.
For this part you will need to throw dogs into the gears to break them. You can do this by facing the set of gears on the wall and pressing Circle when fighting one of these enemies. Kratos will perform a slam-kick attack and (assuming your aim is good) he'll kick them into the gears. After throwing enough dogs into the gears they will smash apart and open a new path for you.
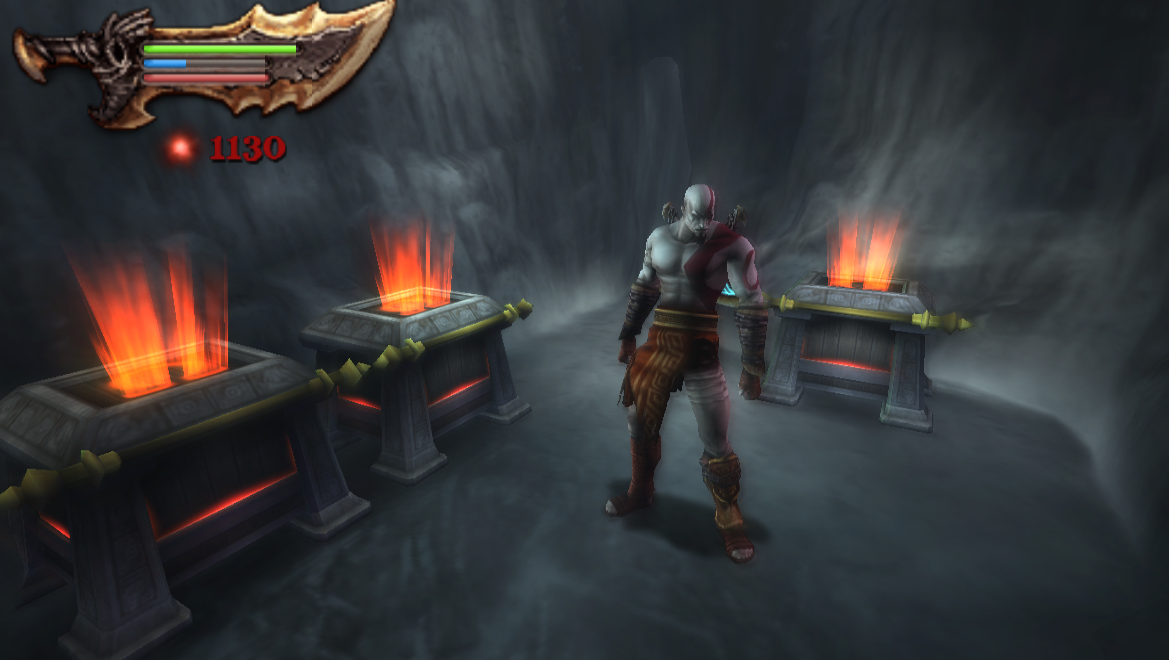
You will have one elevator crank you have to spin after which you'll come across the area shown in my screenshot below.
The path splits here, make sure to go left first for the chests!
There will be a crank on the right and a some-what hidden path on the left. Follow the left path to two unmarked chests, one of which has a Phoenix Feather and the other a bunch of Red Orbs. Return to the crank at the fork in the road and push it forward to make a Grapple Point come into reach.
Grapple to the point that slides into view and then ride it over to the left until you reach a platform with a Red Orbs chest. Near this chest you'll find another crank which operates much the same way as the previous room. When you push this crank it will make a Grapple Point appear over the turning gears. This time you have to use it to jump across this area though instead of riding it to the left.
Follow the linear path and it will lead you directly to a chest with a Gorgon Eye inside of it. To the left of the chest with the Gorgon Eye you'll see one lever on the base of the platform and another one up top; these two levers are part of our next puzzle.
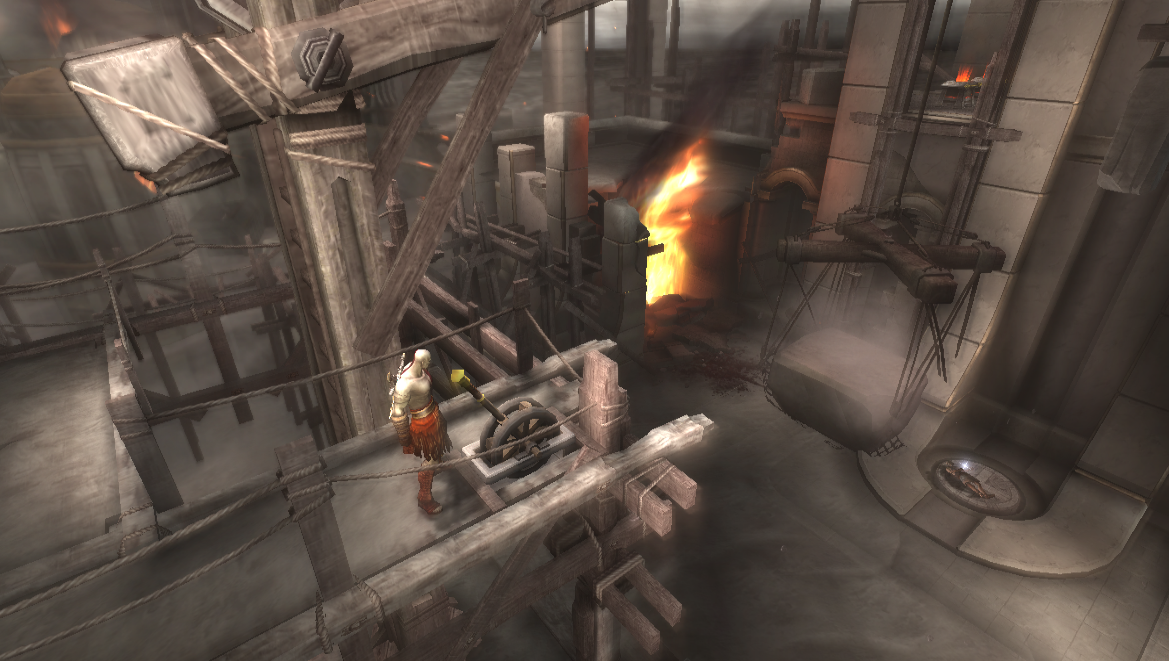
The first thing you'll want to do is use the bottom lever to move the giant stone block overtop the burning building. Climb up the ladder and use the second lever to drop the stone block onto the building killing the person trapped. When the stone block raises back up you will need to pick up the person's body (which is somehow not crushed) and place it ontop of the pressure plate nearby (pictured above).
Move the large stone block back to its original position - next to the pressure plate - and climb back up to the top of the tower to hit the lever. What you need to do is hit the lever to drop the stone block then jump down off the tower and climb ontop of the stone block before it raises back up.
On the ledge that the stone block takes you to you'll find two chests with Red Orbs along with a hallway that leads you to a rope you can grab onto. Shimmy over to the right while holding this rope and you'll get a tutorial message about how to jump to the adjacent rope. Jump to the adjacent rope then jump down into the building with a hole in its ceiling/wall.
When you land inside of this building a few Medusa enemies will spawn to attack you. Defeat them and then continue down the hallway to grab the Red Orbs chest. To the left of where you find this chest will be a large room with a pool of water. In the back of the pool you'll see that there is some blood mixed with the water - off to the right in this area there will be an unmarked chest with a Minotaur Horn inside of it.
Jump in the pool and use your water-dash ability to smash through the rock blockade; grab the chest with Red Orbs that's underwater in this area then jump onto the shore. There will be a door for you to open after which there will be a cutscene involving Kratos and a dying soldier. In the next room you'll have a tough fight against Undead Legionnaire enemies that use shields. The only way to break their shields is by using Thera's Bane.
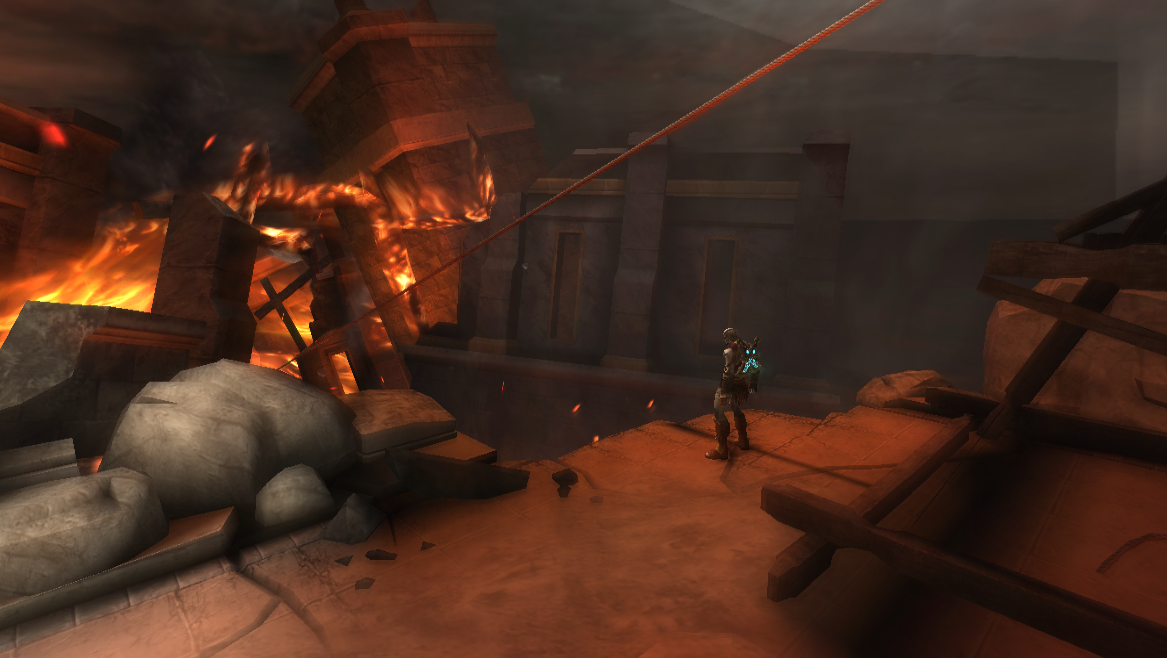

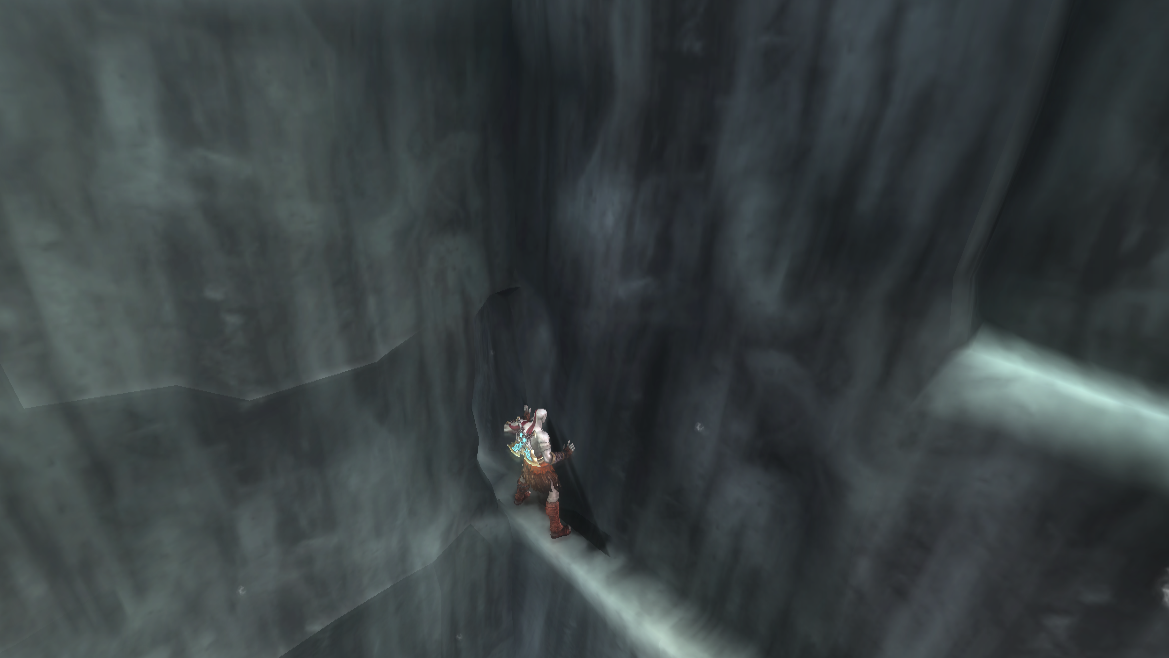
After beating all of the Undead Legionnaire enemies you'll get a brief scene showing you a keyhole appearing in front of the big door. We can't do anything with this just yet so go up the stairs to the left and swing down the rope (pictured above). Kratos will land in an area with a Red Orbs chest and a Magic or Health chest. Continue up the linear road until you hit a dead end with some ledges that you can climb up.
Jump up the ledges then navigate across the wooden beams in the next area to reach the platform with the save point. Before going through the door next to the save point run around to the other side of the wall and climb the ladder to find a chest with a Phoenix Feather inside of it. Once you've got this item climb the stairs next to the save point and smash through the wooden barricade to get to a new room.
When you enter a Cyclops enemy will come rampaging through the wall and attack you. This guy is covered in armor so you'll have to use Thera's Bane in order to knock off his armor so that you can deal damage to him. Once the Cyclops is defeated open the lava door the same way we did previously in the volcano areas.
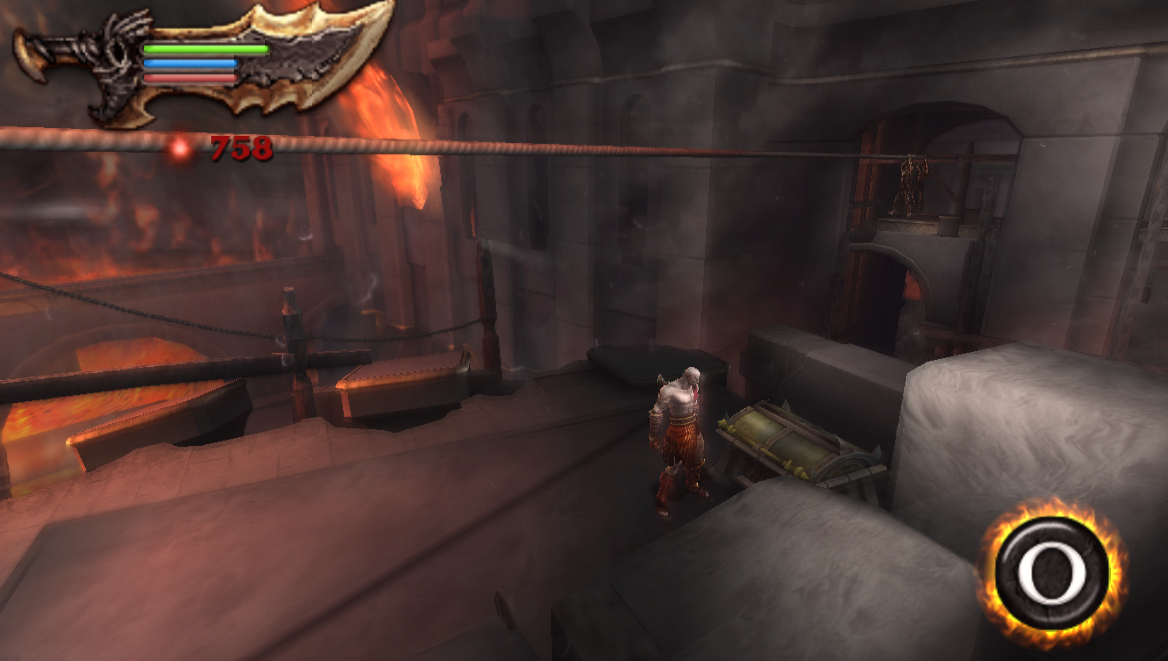
Follow the linear path, destroy the wooden blockade that is in your way and you'll eventually come out to a room with some Undead Archers and a rope that you can shimmy across. Before going across the rope fall down into the area with the Undead Archer enemies, defeat them then grab the two chests near the bottom of the screen (pictured below).
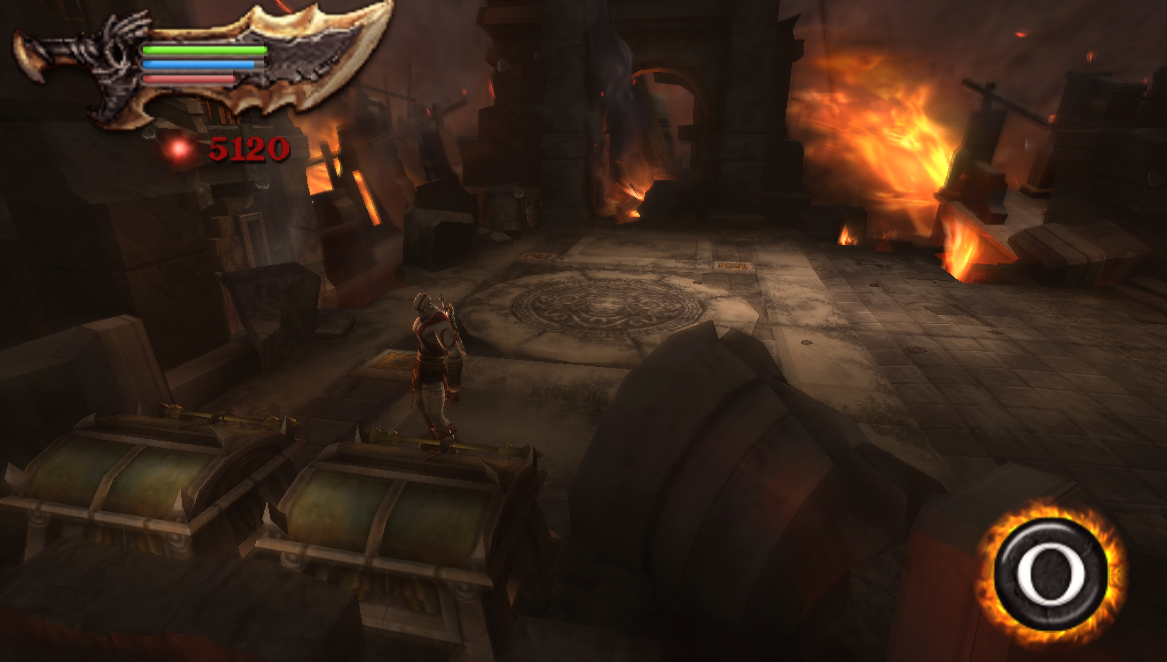
One of these chests has a Gorgon Eye inside of it and the other has a Minotaur Horn - after grabbing both of these return to the rope and shimmy across the gap. You will pass through a building on fire then have to jump across a lava river to grapple to a location on the opposite wall. When successful Kratos will smash through a stone wall and land in a new area.
Defeat the enemies that spawn then open the door and continue through the next few linear rooms. Eventually you'll run into a room where there is one of those lava doors for us to destroy - but first enemies will spawn and attack you. Smash down the door after you eliminate all of the enemies and continue up the ladder in the next hallway.
Climb up the ladder and grab the Red Orbs chest on the right hand side - continue down the hallway until you come to the room shown in my screenshot below.
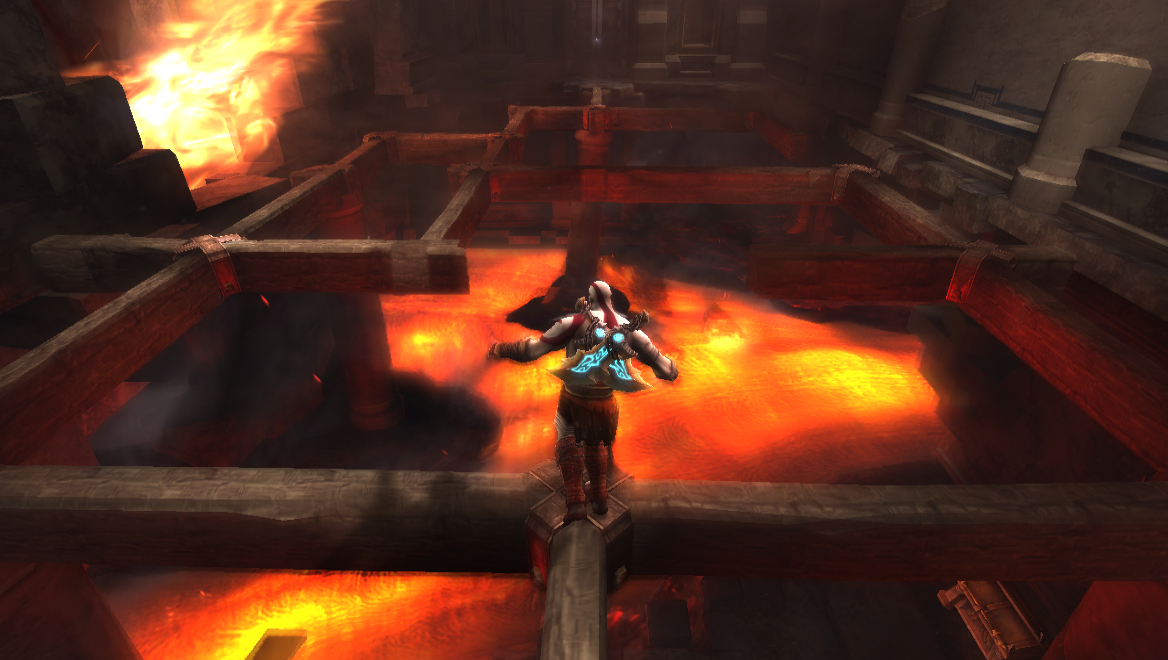
Before you start navigating across these wooden beams you'll want to drop down into the bottom right area shown in my picture above. If you look closely at the picture you can see an unmarked chest which contains a Minotaur Horn inside of it. There will also be a chest with Red Orbs in this area; once you've gotten both you can navigate across these wooden beams to the other side.
Kick open the door and follow the linear path until you reach a room with a cracked floor and a broken statue on the left hand side that you can move around. Slide the statue to the northern end of this room then jump ontop of it so that you can use it to jump up to the ledge above you.
Open the door to your right and follow the hallway back down to the room we just came from. Now, what you need to do is grab the half broken statue and push it up the slope all the way to the top of this area. The first thing you will want to use this for up here is to reach two chests on the left hand side of the screen.
Position the statue in the same spot you see for my screenshot above; jump ontop of it and you'll be able to reach a new ledge with two chests on it. One chest is filled with Red Orbs and the other has a Phoenix Feather inside of it. After obtaining both of these you'll want to push the statue to the edge where we originally climbed up and spam Circle to push it off. It'll fall through the cracked floor below and clear the way to a new area.
In the next room you'll get a cutscene - once it is over grab the Key of Crete from a pile of rubble and use it to open the locked door in this area. This key will allow you to open these really big locked doors that have a keyhole on the ground in front of them. Continue through the door and follow the linear path, you'll come across an area where you do battle against a new enemy type - Skeletons!
Once the Skeletons are defeated a platform will lower nearby allowing you to jump up and grab the ledge - use this to cross the lava river. After the save point you'll find another lava river that you have to cross, for this one you'll want to grab onto the ledge on the left hand side of this room and jump across to the adjacent ledge.
Grab the chest with Red Orbs inside of it then climb up the nearby ladder. Immediately to the left of the ladder you'll find a chest with a Gorgon Eye inside of it. The next room will have a tough fight against a new type of enemy, my advice is to dodge roll a lot for these guys to avoid the long range attack they have.
Continue down the next hallway and you'll find a Red Orbs chest along with a Health or Magic chest. Prepare yourself because this next part is going to be a time based event that will require quick reflexes.

When you fall down into the next area you will have to run along a collapsing floor and perform various tasks in a quick time event style. The whole thing is linear, just pay attention to the commands and if you fail that's fine, you won't restart too far back. After this event you will land in a new area, watch the cutscene and then grab the chest with the Red Orbs and the Gorgon Eye.
Follow the path until you reach an elevator, pull the lever to ride it up to a new area. Well, this is a somewhat new area - we went through this area earlier in the game but we couldn't open up the locked door. Now that we have the Key of Crete we're able to open the door and take a different path.
The first room you come across after opening this locked door will have a new enemy inside of it. He carries a large rock on his back and uses electricity based attacks - defeat him then continue through the doorway into the next room. You'll find a Health and Magic chest followed by a room with two unmarked chests and a locked door.
One chest has a Phoenix Feather inside of it and the other one has a Minotaur Horn; once you've collected both open the door using your key and proceed. You'll have to fight some enemies in the next area - defeat them then continue along the path until you find yourself at another locked door.
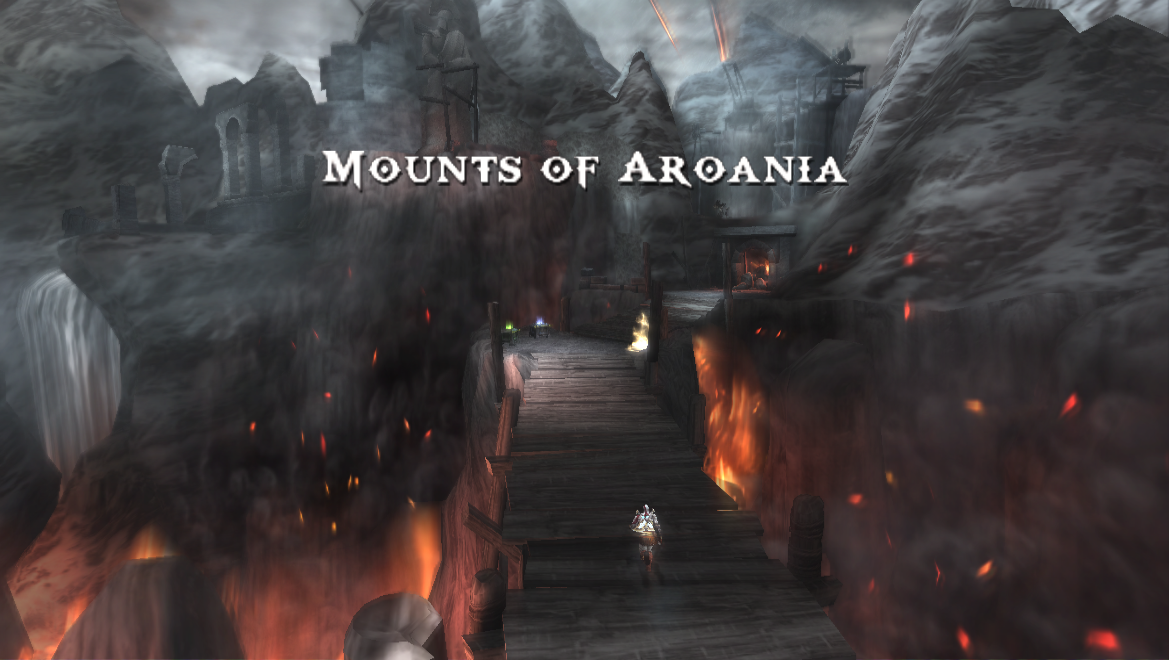
Go through this locked door to find yourself in a completely new area called the Mounts of Aroania.
If you need the Health or Magic chests grab them then continue along the only path available. You'll get a brief cutscene after which you'll want to climb up the climbable wall that's nearby. The wall will lead you to a platform where you'll find another Health or Magic chest along with some ledges that you can jump up and grab onto.
Jump up the ledges then push the large statue over the cliff during a spam-Circle-minigame. This will reveal a new path to you, sidle around the rock wall, jump up to a ledge above you and then jump down to the ground nearby to proceed. When you land enemies will spawn - defeat all of them then head into the next area.
You'll find another wall that you can climb as well as a sheet of ice that blocks your way into an adjacent room. Use your Thera's Bane skill to light your blades on fire and then attack the ice to melt it. This will reveal a small cavity with two unmarked chests inside (pictured below).
One chest has a Phoenix Feather inside of it and the other one has a Gorgon Eye. Climb up the wall once you've got these and continue down the linear hallway. You'll have to use your Thera's Bane again, this time to clear some ice blocking your route. The path will end with you jumping down into a room and having a short scene with a dying soldier.
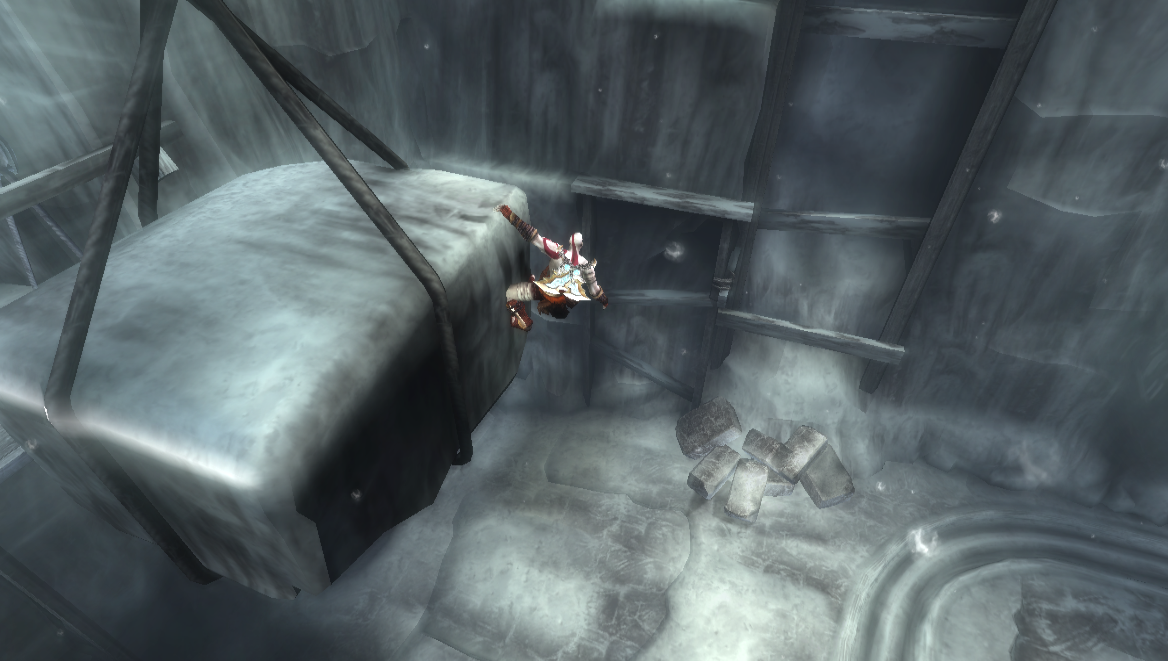
Run towards the screen in this area to find a ladder and a chest with Red Orbs. As for the puzzle, the first thing you'll want to do is climb the ladder near the chest with Red Orbs and use the wheel up top to lower the platform. Push the stone block in this room ontop of the platform you just lowered then go back up the ladder and raise the platform again.
Next, you'll need to grab the stone block and push it off the edge so that it destroys the large wooden contraption nearby. This will cause enemies to spawn in the area so jump down and deal with them.
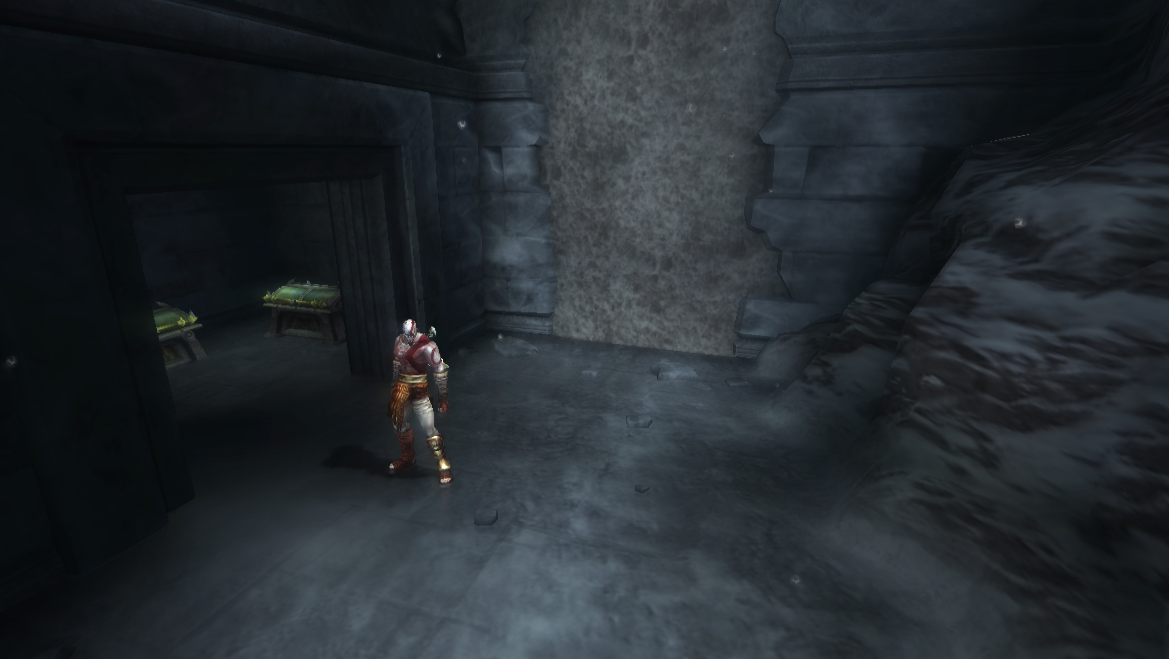
Once the enemies are defeated use the second wheel in this area to lower a platform that you'll want to ride up to the next area. When you disembark the elevator be sure to use your Thera's Bane to destroy the ice wall nearby and grab the Minotaur Horn from inside the chest.
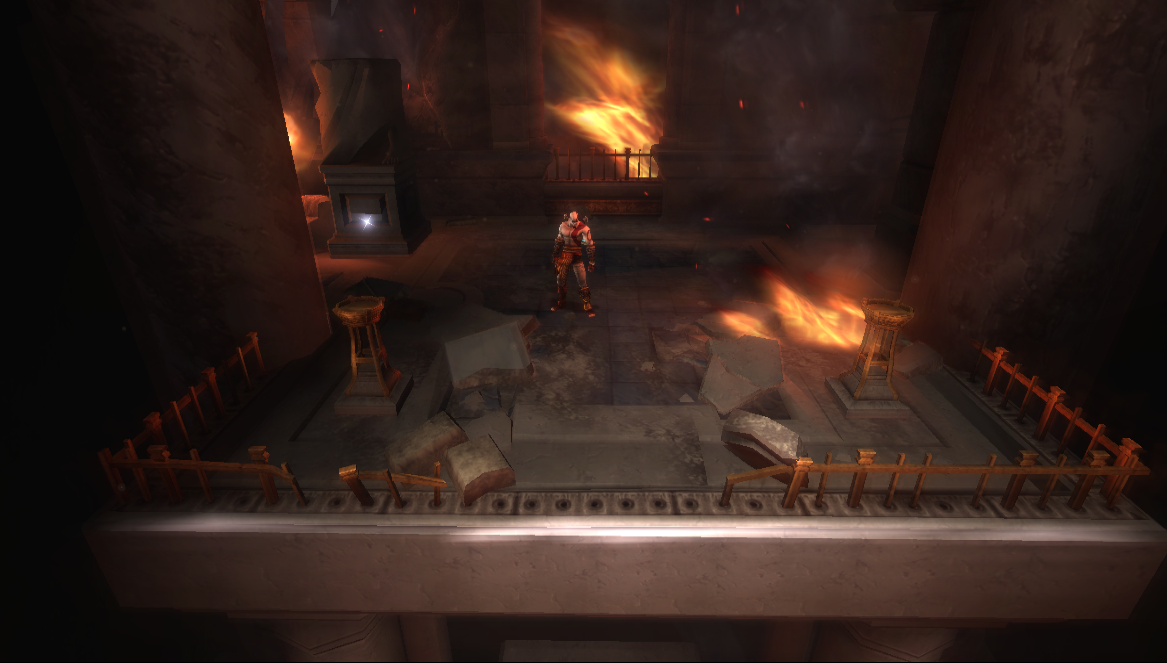
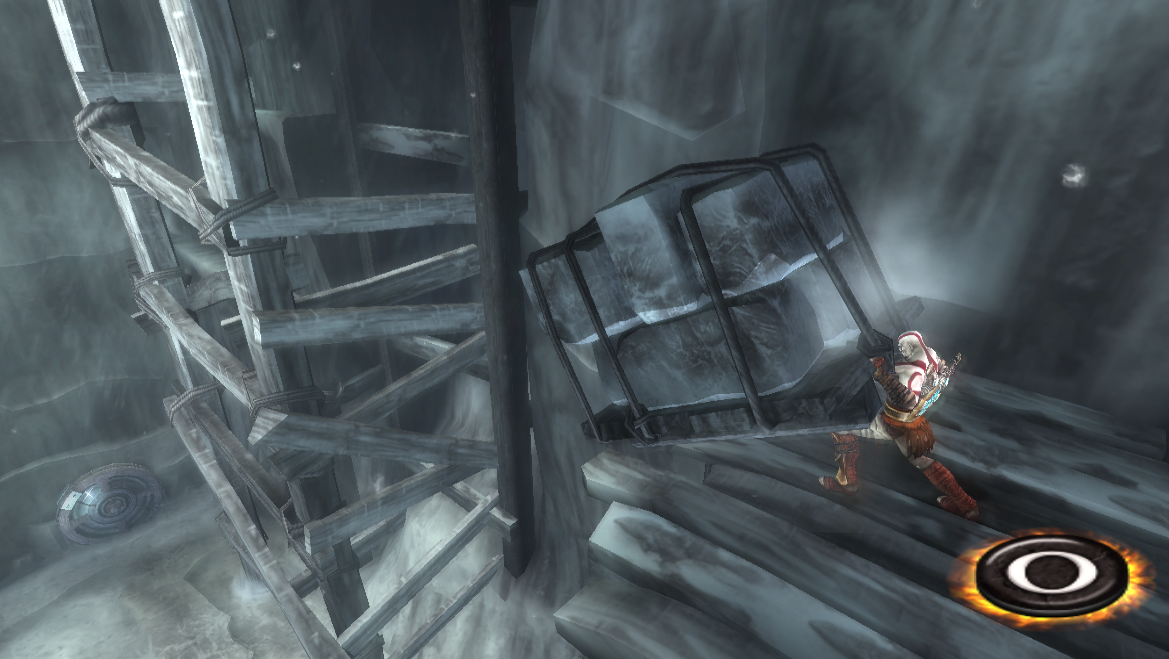
The next thing you'll want to do is walk out a little bit onto the wooden platform then jump to the stone block hanging nearby (pictured below). You'll have to shimmy around the ledge on this block until you're able to jump to another nearby ledge. If you're confused on exactly where to jump use my screenshot below - Kratos is looking right at the ledge.
After you make it to this ledge you'll want to climb up once then sidle over all the way to the left. There is a small hole in the wall that you can see in the other screenshot I have above. If you sidle through this hole you'll find a hidden room with 3 Red Orbs chests! Once you have collected these you can return to the ledge we climbed up and keep jumping up until you reach the top.
Up top you will find a Health and Magic chest as well as a save point. When you are ready to proceed you'll need to jump up and grab onto the rope then shimmy across to the other side.
Continue to Ghost of Sparta Chapter 3 Walkthrough
Return to Ghost of Sparta Chapter 1 Walkthrough