
Slayer of Shadowmoon Orc Beyond The Dark Portal Mission 1
Objectives
- Destroy all Death Knights
- Rescue Grom Hellscream
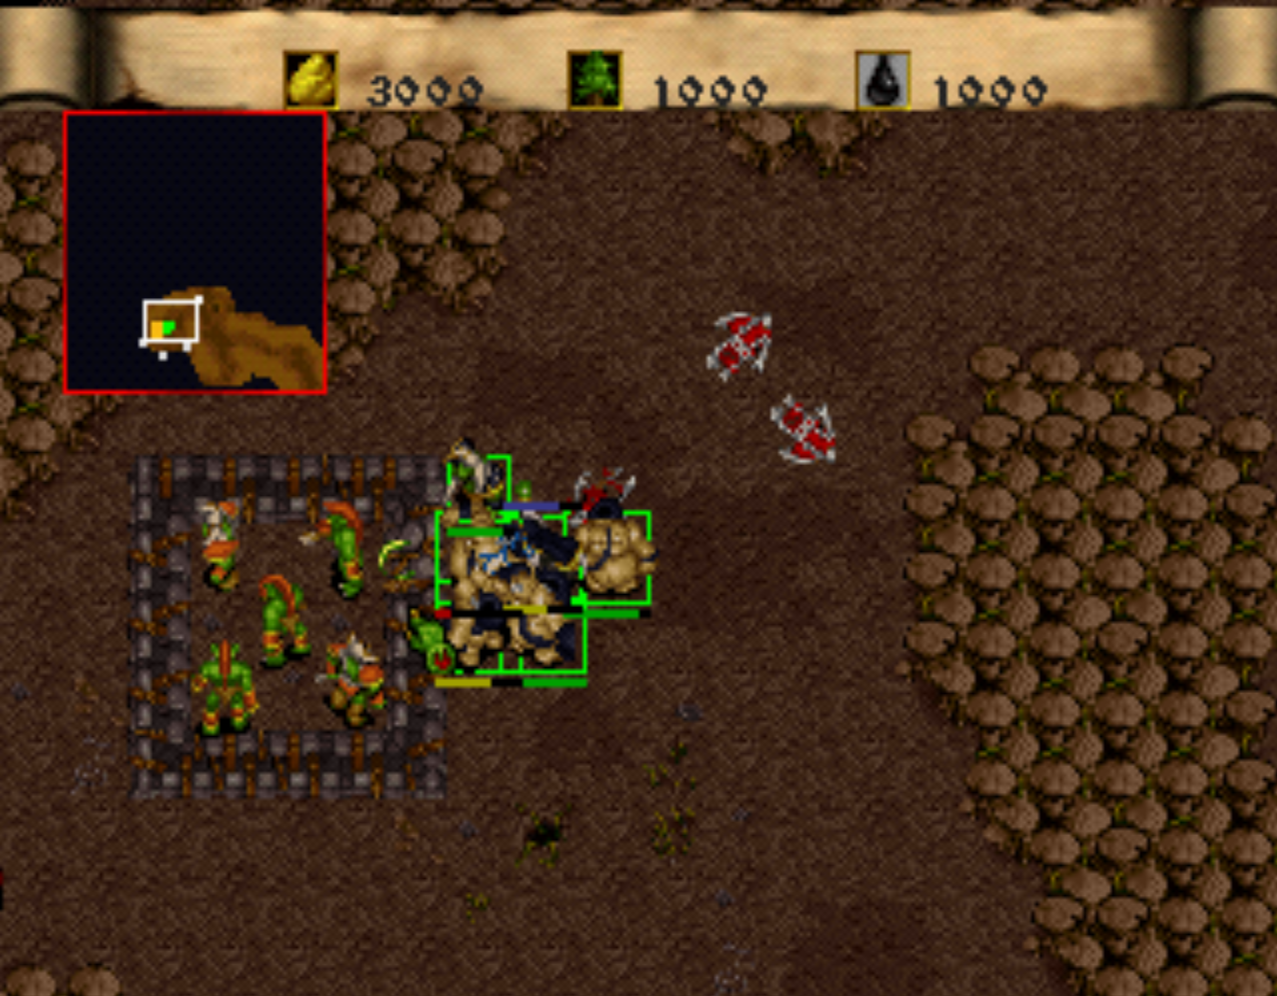
At the start of this map you will want to travel west until you come across imprisoned trolls and orcs which you'll want to free. Most likely you will need to run the start of this map multiple times so you can learn where the enemies troop placements are. If you want the most units possible to survive you will want to use your Death Knights Mortal Coil ability to defeat any living ground units. The Skeletons that are scattered around won't be hurt by Death Coil, you'll use your other troops to defeat them.
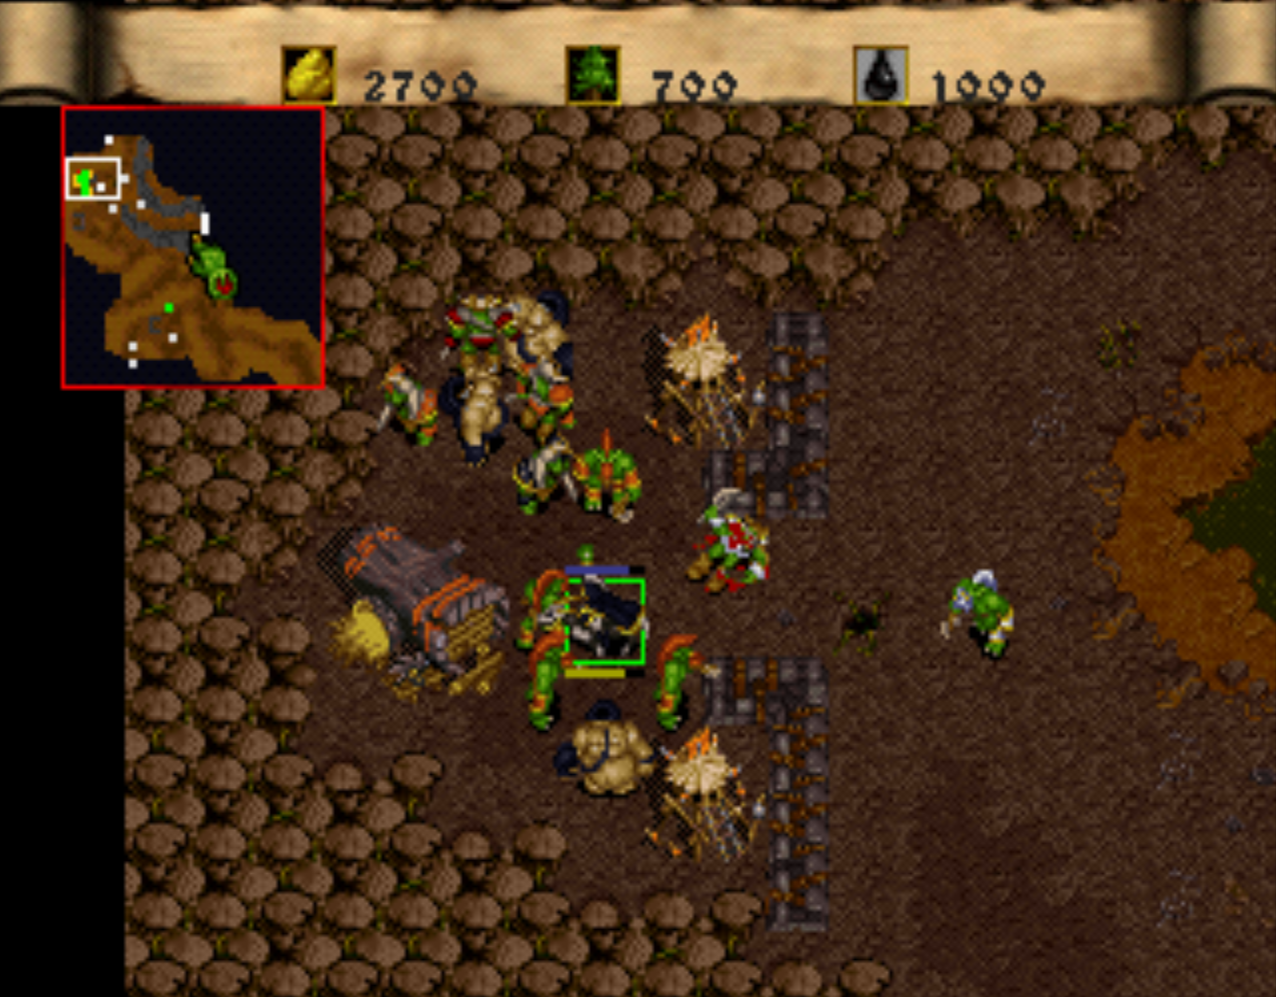
To leave the southern portion of this map and proceed to part 2 of the mission go through the exit in the northwestern part, shown in my screen shot below. On your way up north you'll find another small cage with a single Orc in it, this is Grom Hellscream - someone we need to protect. Further north you'll find a small Horde encampment with two watch towers and a Lumber Mill; also shown in my screen shot below. North of that you'll find another cage of Horde units; 3 Axethrowers and one Goblin Sapper.
East of this encampment is where the final enemies reside on this level. You don't want to run right in there though with guns blazing, what you should do instead is use your Death Knight to pull enemies back to the Horde camp so that your trolls and Guard Towers can take them out with minimal casualties. The Death Knight's Deathcoil ability also works wonders for annihilating the enemies units.
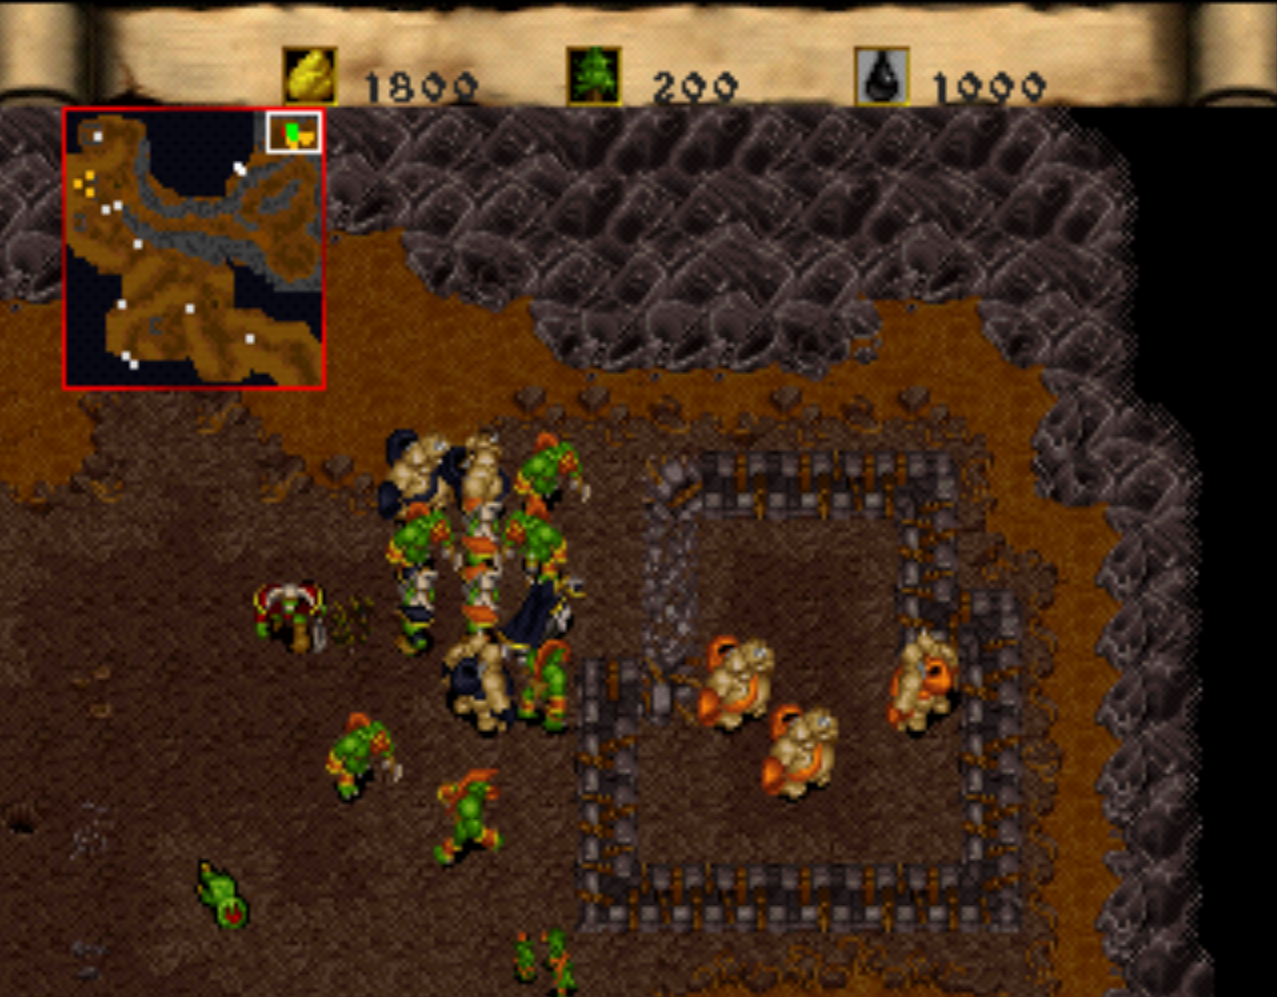
Keep saving the game incase you make a mistake and lose too many units as you inch your way forward throughout the level. Eventually you'll come across an enclosure with Ogres in the far northeastern most corner. In addition to this, around this area there'll be a Death Knight enemy which comes at you, uses Death Coil and then flees. You'll want to take this guy out with as few casualties as possible.
Once you make it to the Ogres being held in the cage you're almost done the level. To the east of this location in the darkness you'll find two more Death Knights and an Ogre inside of another enclosure - they're enemy units though. Run your troops close to the enclosure to take the Death Coil hits they throw at you then use your Goblin Sapper to blow through the wall. Send your troops in to take out the Ogre and Death Knights then destroy the building to win the level.