
Final Fantasy 1 Walkthrough - Chapter 6
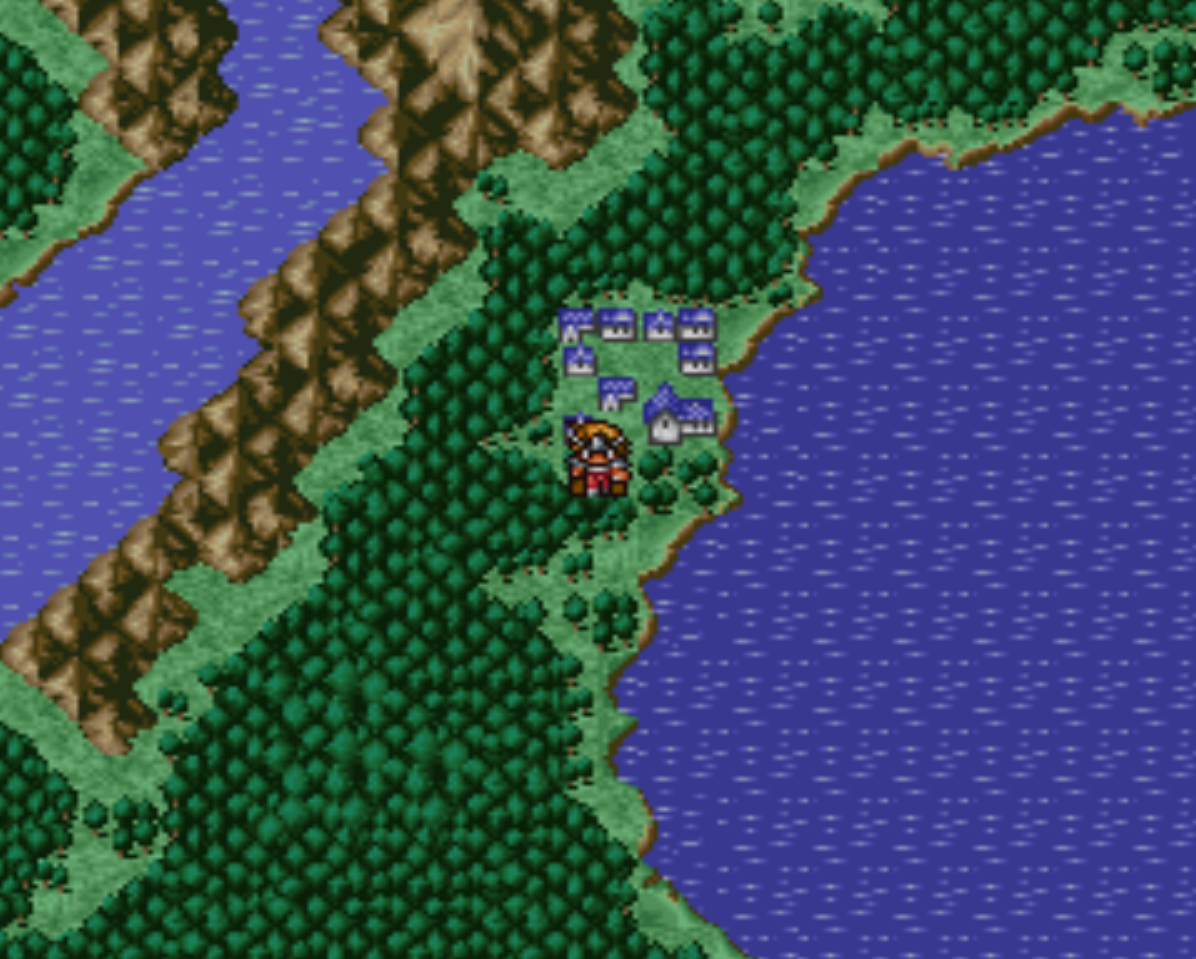
Our next stop is the town of Onlak which is surrounded by forests, the ocean and a long mountain range. You will have to park your Airship on a small piece of land nearby then hoof it to this town. There isn't any Armor or Weapon vendors in this town, but you can buy the other Level 8 White and Black Magic Spells.
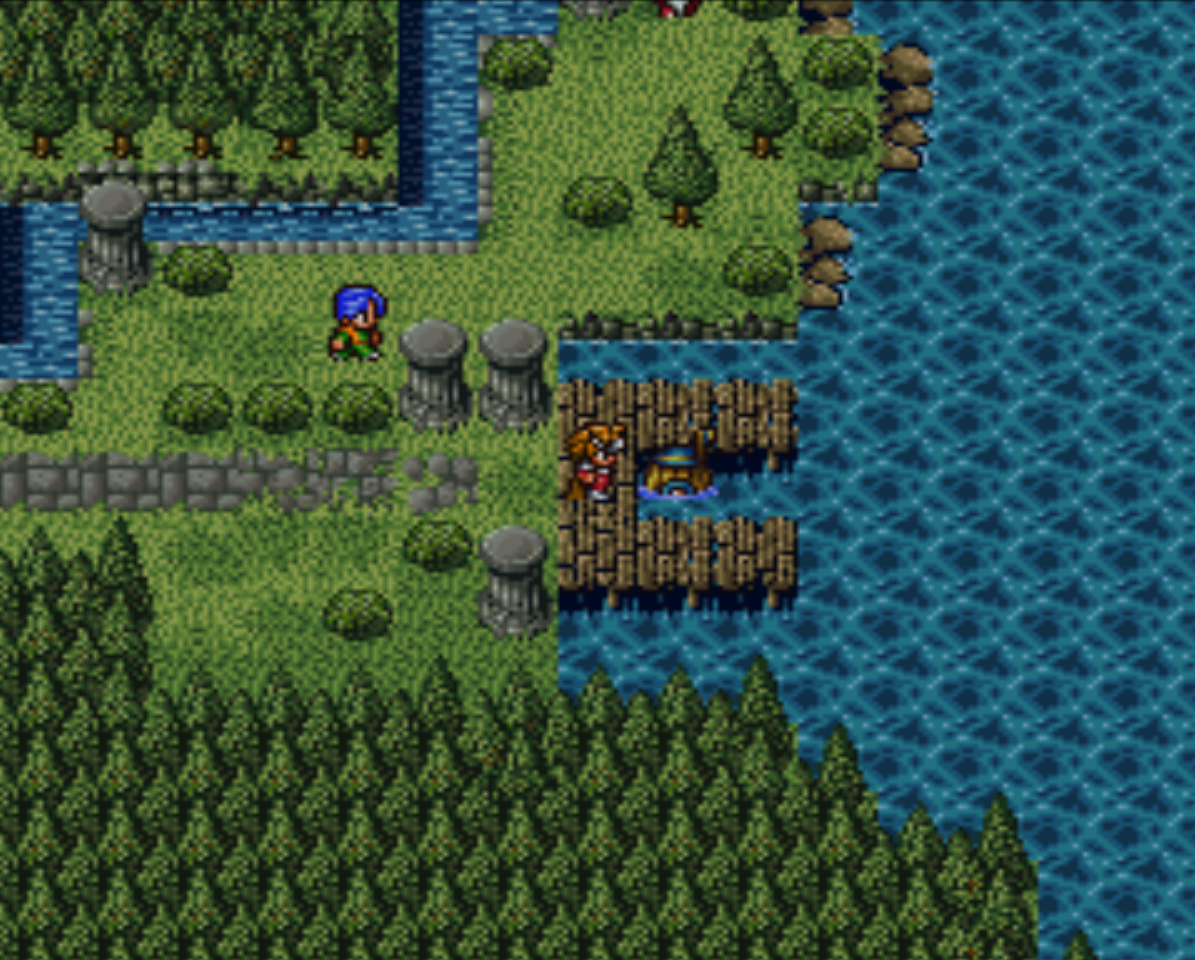
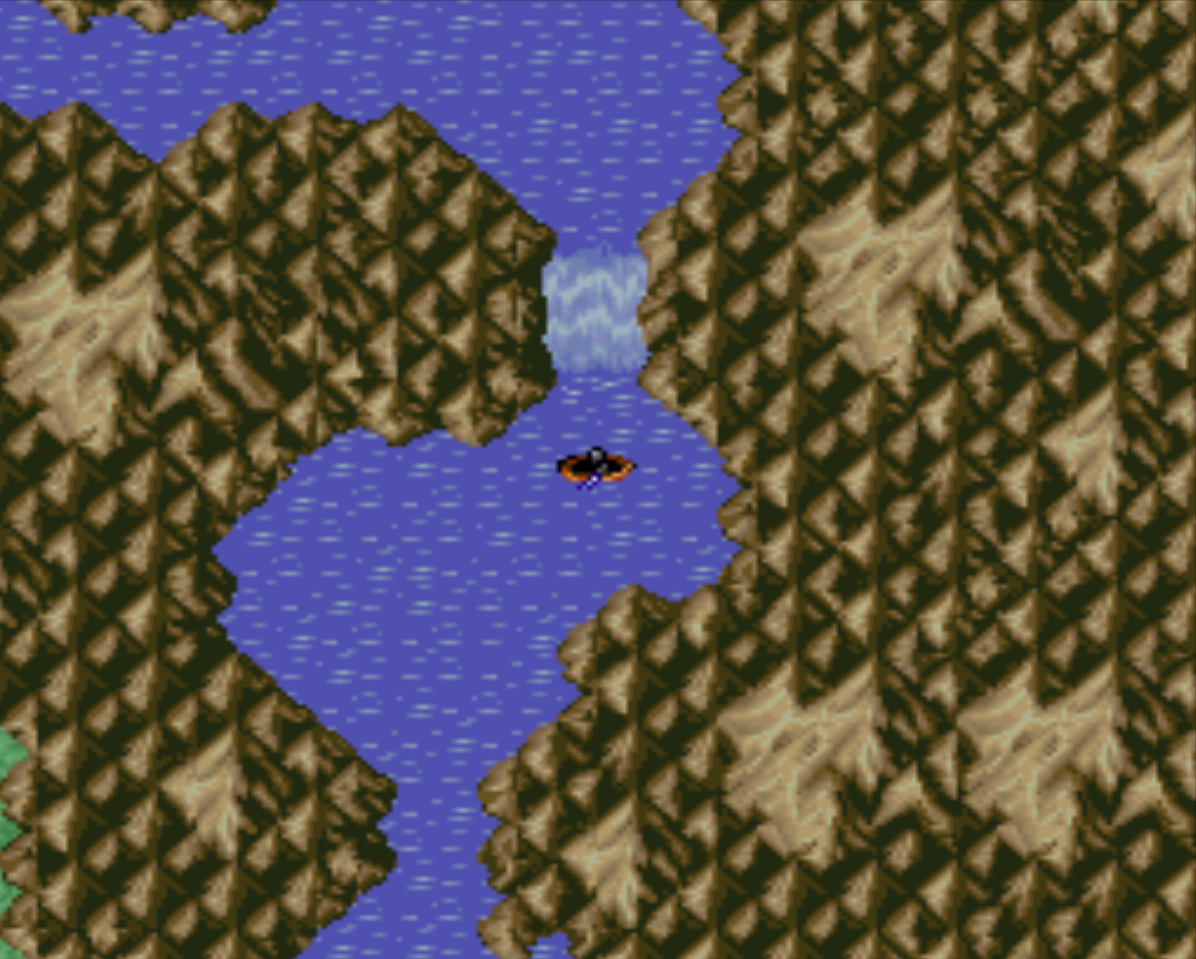
In the eastern portion of the town you'll find a submarine which will take you to the next dungeon, Sunken Shrine. Before we go there though you'll want to leave Onlak and take your Canoe up the nearby river until you make it to the Waterfall. Go inside the Waterfall and you'll find yourself in the Waterfall Cavern.
Onlak Level 8 White Magic to Purchase: Heal3 (White Wizard), NulMgc (White Wizard)
Onlak Level 8 Black Magic to Purchase: Blind (Black Wizard); Saber (Black Wizard)
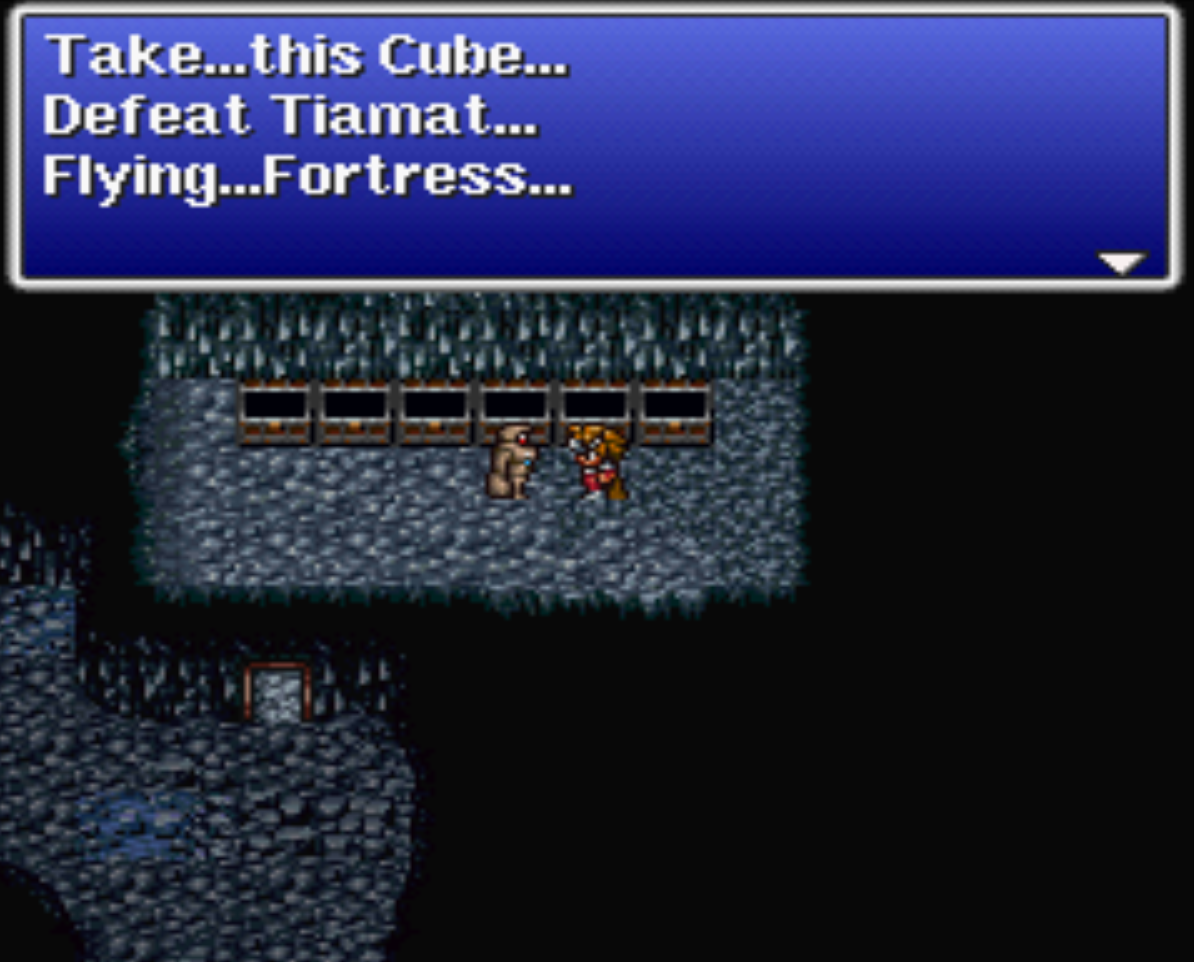
The Waterfall Cavern is a huge dungeon without much in it at all. The important part of this dungeon is the Robot in the room with 6 Treasure Chests who gives you the Warp Cube. Once you have that you can leave this dungeon and head on over to the Sunken Shrine.
Waterfall Cavern Treasure Chests: Spellbinder, Ribbon, Defender, 24850 Gil, Warp Cube*
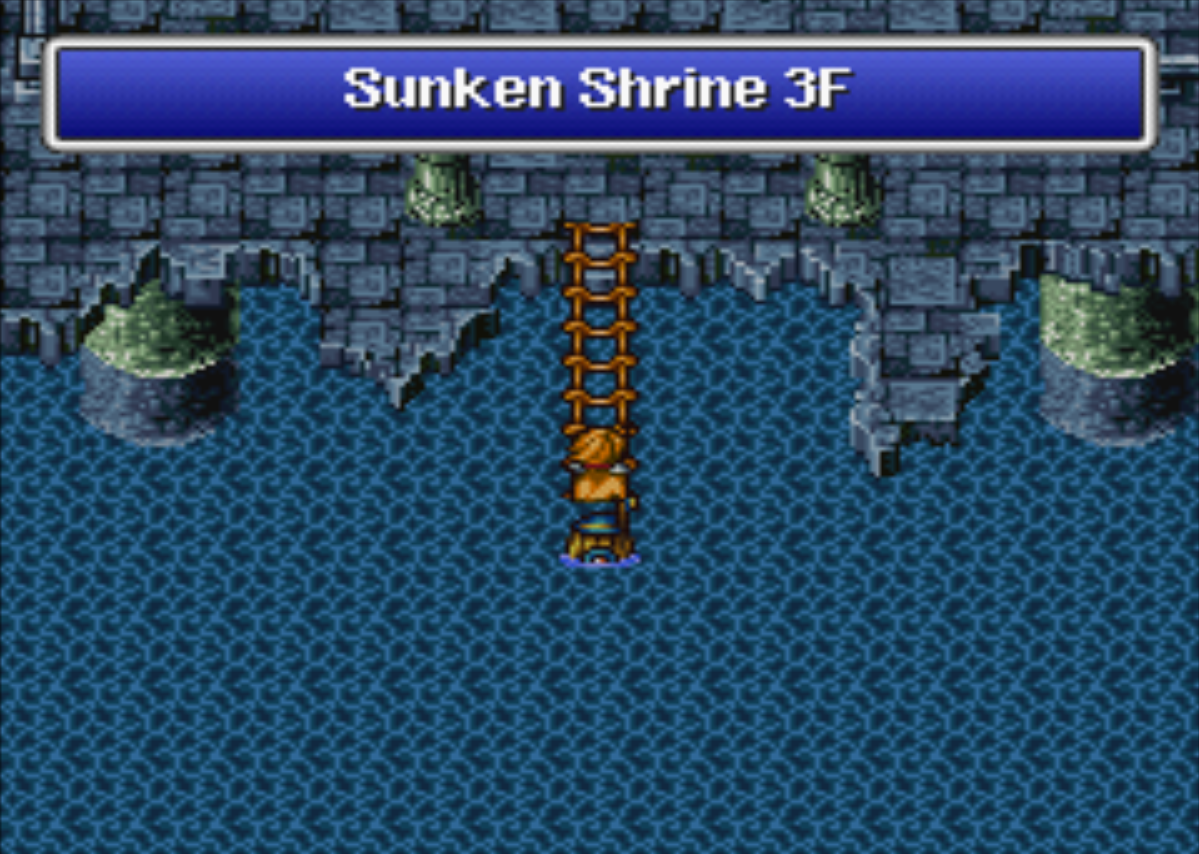
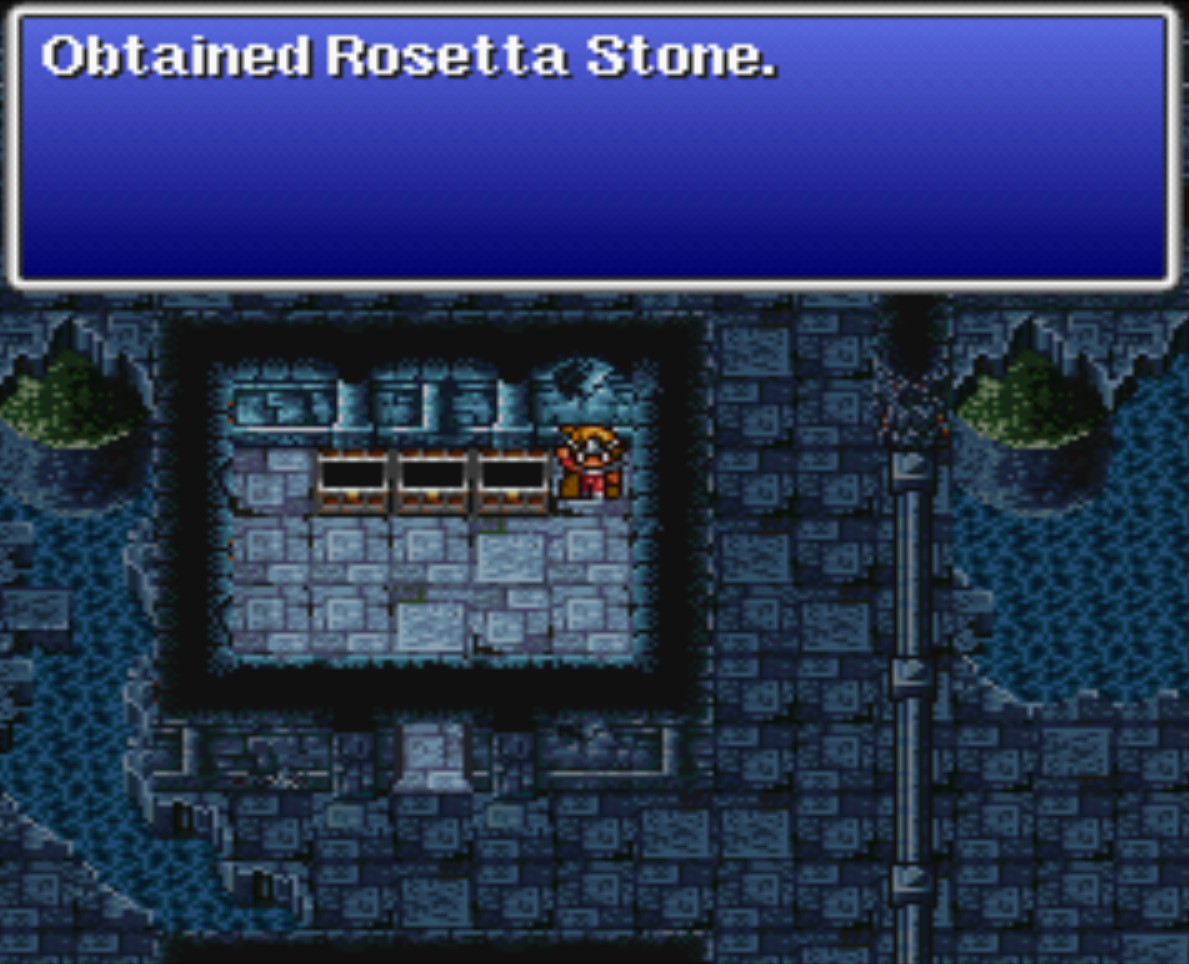
When you first arrive at the Sunken Shrine you'll want to take the stairs up to the 4th and 5th floors. On the fifth floor you'll find Mermaids in some rooms, this is also where you'll find the Rosetta Stone which is one of the most important things for you to pick up in this dungeon.
Sunken Shrine North Route (4F, 5F): Diamond Armor, Light Axe, Mage's Staff, 12350 Gil, Diamond Armlet, 10760 Gil, 21910 Gil, Antidote, Diamond Shield, Diamond Helm, Diamond Gloves, Rosetta Stone*
Sunken Shrine West Route (2F, 1F): 560 Gil, 15825 Gil, Giant's Gloves, 5835 Gil, Light Axe, 19990 Gil, Ribbon
After you collect all of the Treasure Chests on the 4th and 5th floors you'll want to travel to the 1st and 2nd floors of the dungeon which is where you'll find a little bit more treasure as well as the Water Crystal. The Water Crystal is guarded by a pretty tough boss, Kraken.
It's also worth noting that this whole dungeon, the Sunken Shrine, is one of the best places for you to grind towards the end of the game. In the next dungeons that we go to the enemies Petrify and Poison which makes things much harder than they need to be when it comes to grinding EXP. I personally stayed in the Sunken Shrine until Level 30 on all my characters.
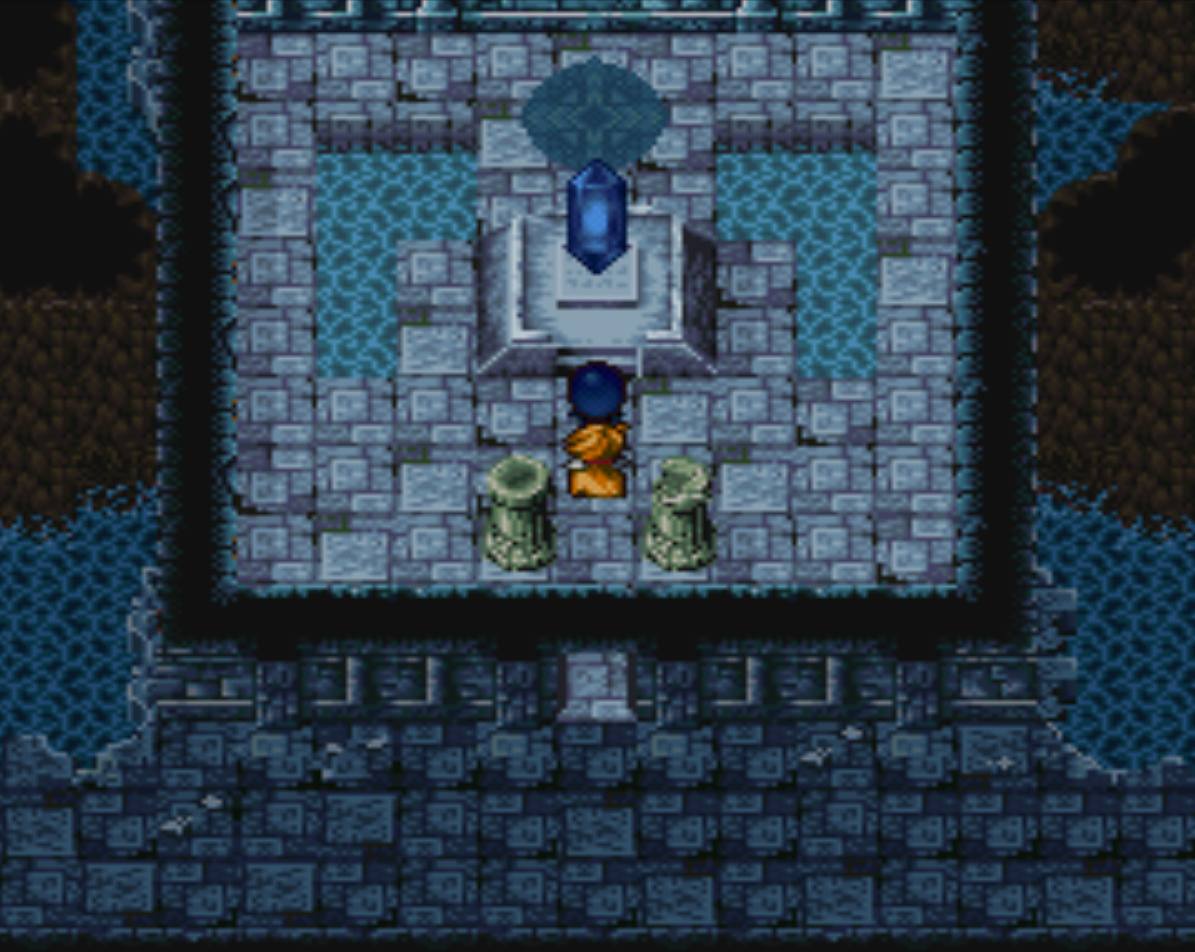
When you're ready to face the Kraken, approach the blue bubble in front of the crystal and inspect it - like always. First thing you should do after the battle starts is cast Shld2 twice; the Kraken can hit for well over 100 without Shld2 active which can take out your healer in just two combat rounds.
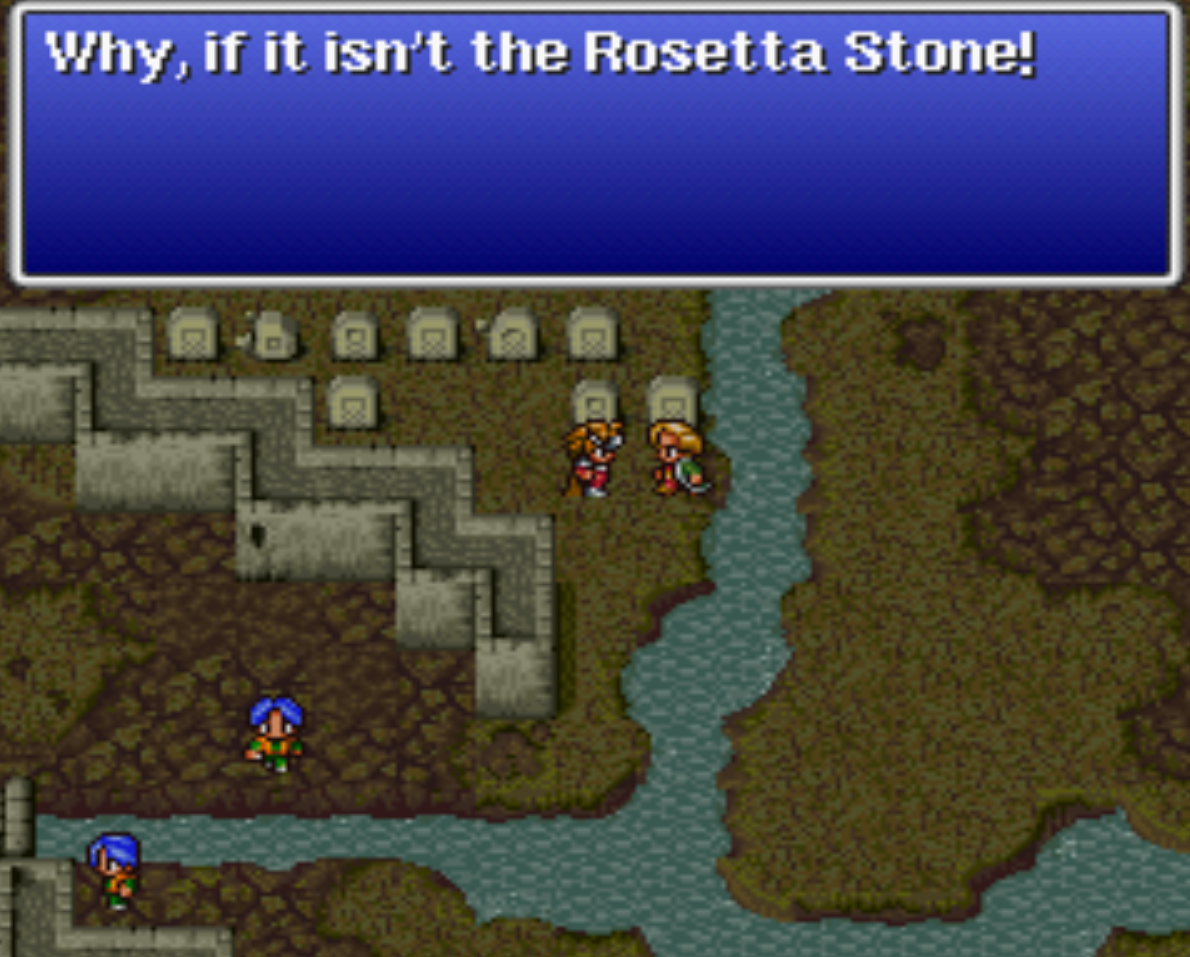
Once the Kraken is out of the way, inspect the Water Crystal to complete the dungeon and then take the portal out. Hop in your Airship and fly over to Melmond. Talk to the doctor in the northern part of town and give him the Rosetta Stone. He'll teach you the Lufenia language which will let you talk to the towns people there.
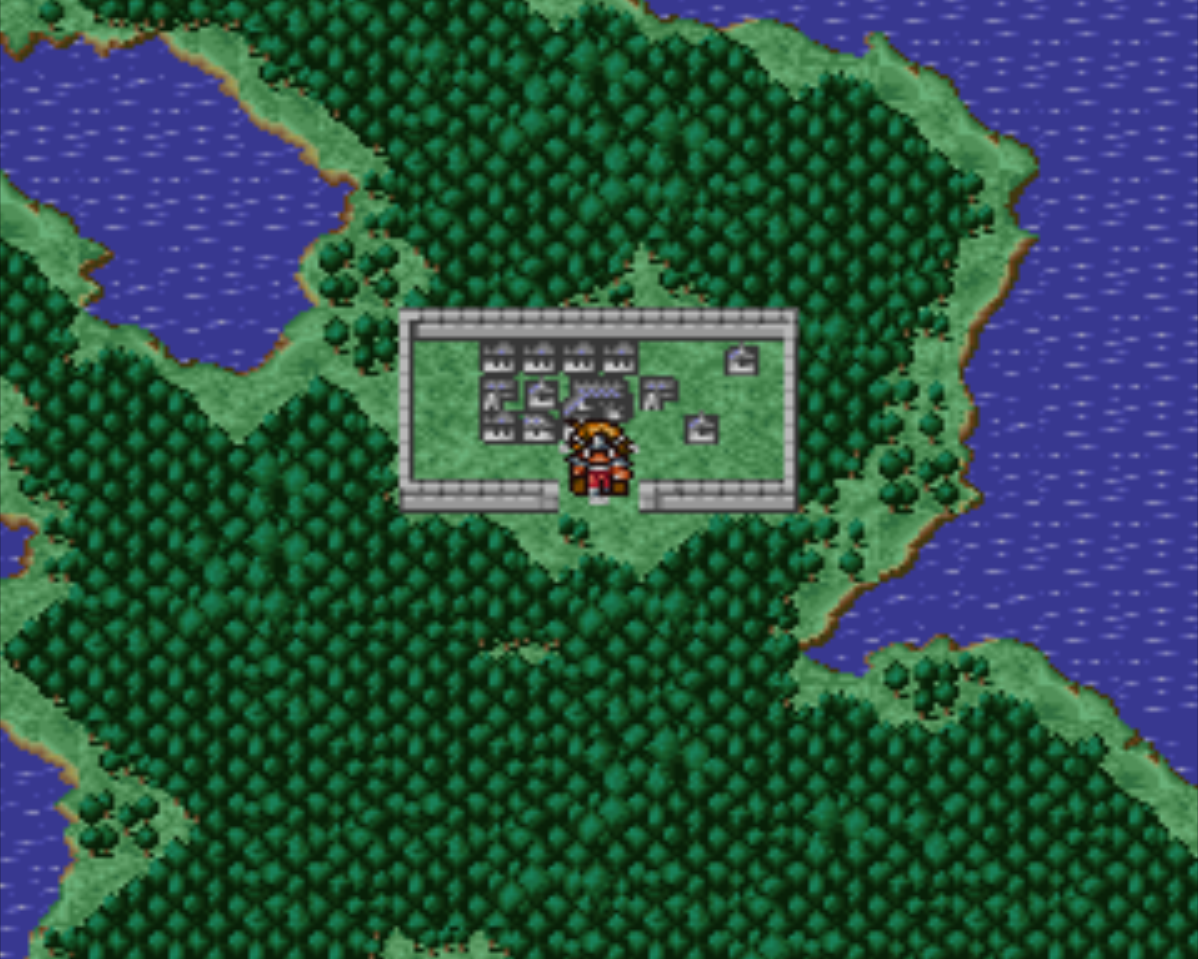
If you haven't already been to Lufenia it's a small town surrounded by forests and water. You'll have to pick a small sliver of grass to land on and hoof it to the town. The screen shot on the right above is a picture of Lufenia. As always just fly around looking for it until you find it.
Lufenia sells the last two Level 8 White and Black Magic spells in the game but the Magic Shop is kind of hidden out of view. When you're in town, go up to the northeastern portion of it and you'll find a hole in the wall. Go out of this hole and continue east - you'd assume that it would take you back to the World Map but it doesn't, there's a Magic Shop over here!
Lufenia Level 8 White Magic For Sale: Life2 White Wizard only
Lufenia Level 8 White Magic For Sale: Flare Black Wizard only
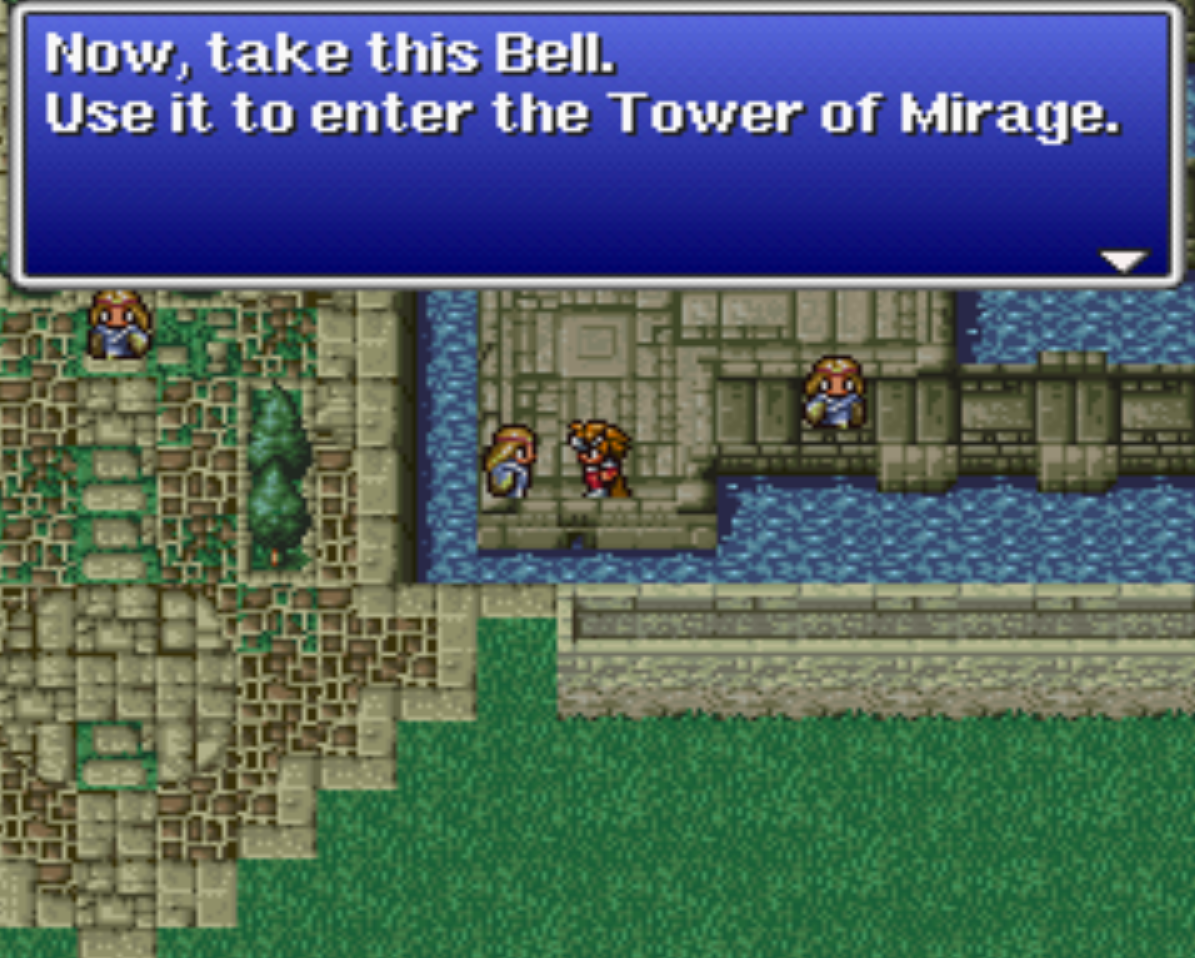
Most importantly the thing we want in Lufenia is the Bell which is required to enter the Tower of Mirage. Talk to the same NPC you see me talking to in the screen shot below to acquire the Bell. The Tower of Mirage is one of the last dungeons in the game and it's located at the center of the desert nearby Lufenia. Much like for getting to Lufenia, you'll need to land far away from the Tower of Mirage then run up to it.
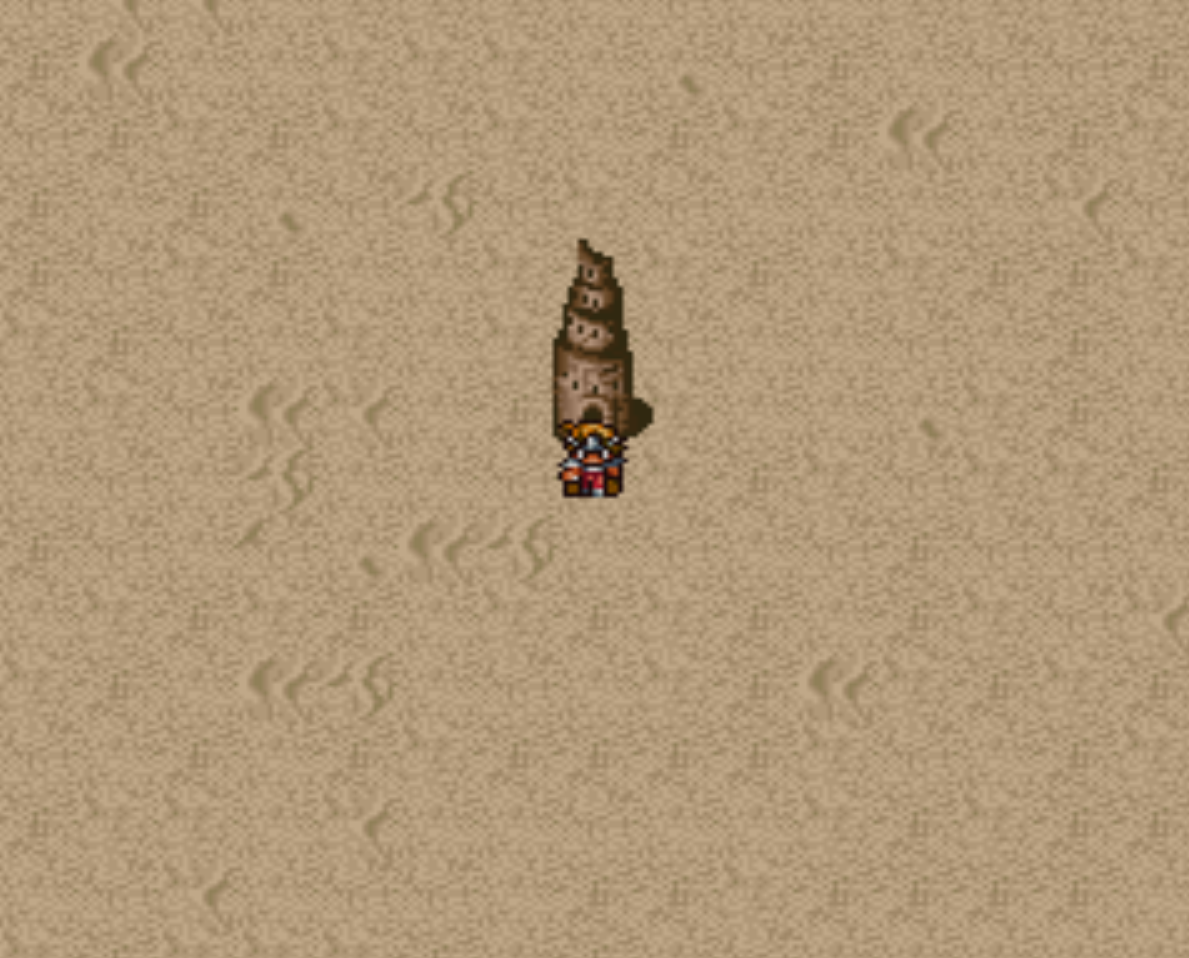
If you're confused about where the Tower of Mirage is or what you're looking for... Despite it not being much help there's an image of the entrance below. Be prepared before you move forward! After you clear the Tower of Mirage you're teleported immediately to another dungeon where you'll face off against the most difficult boss yet.
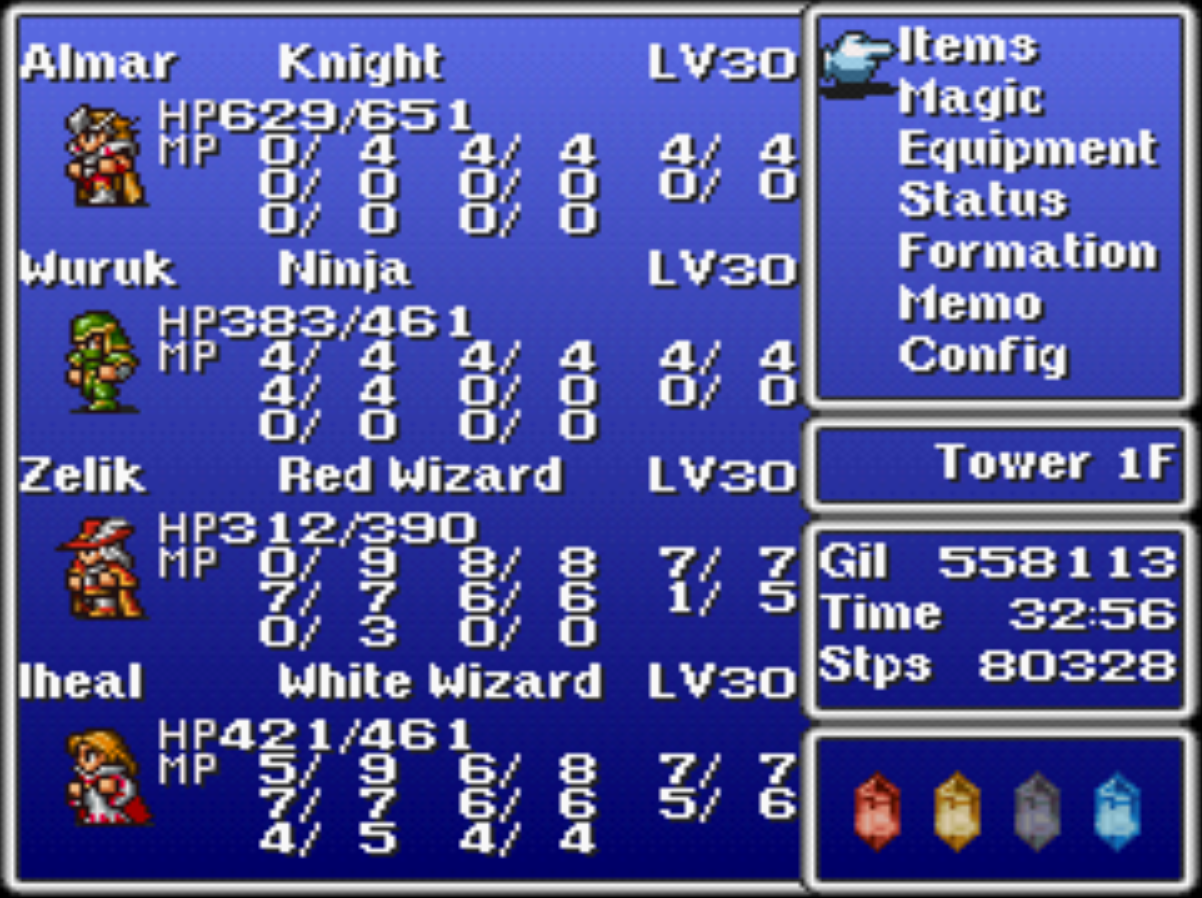
My party end of Chapter 6.