
Final Fantasy 1 Walkthrough - Chapter 4
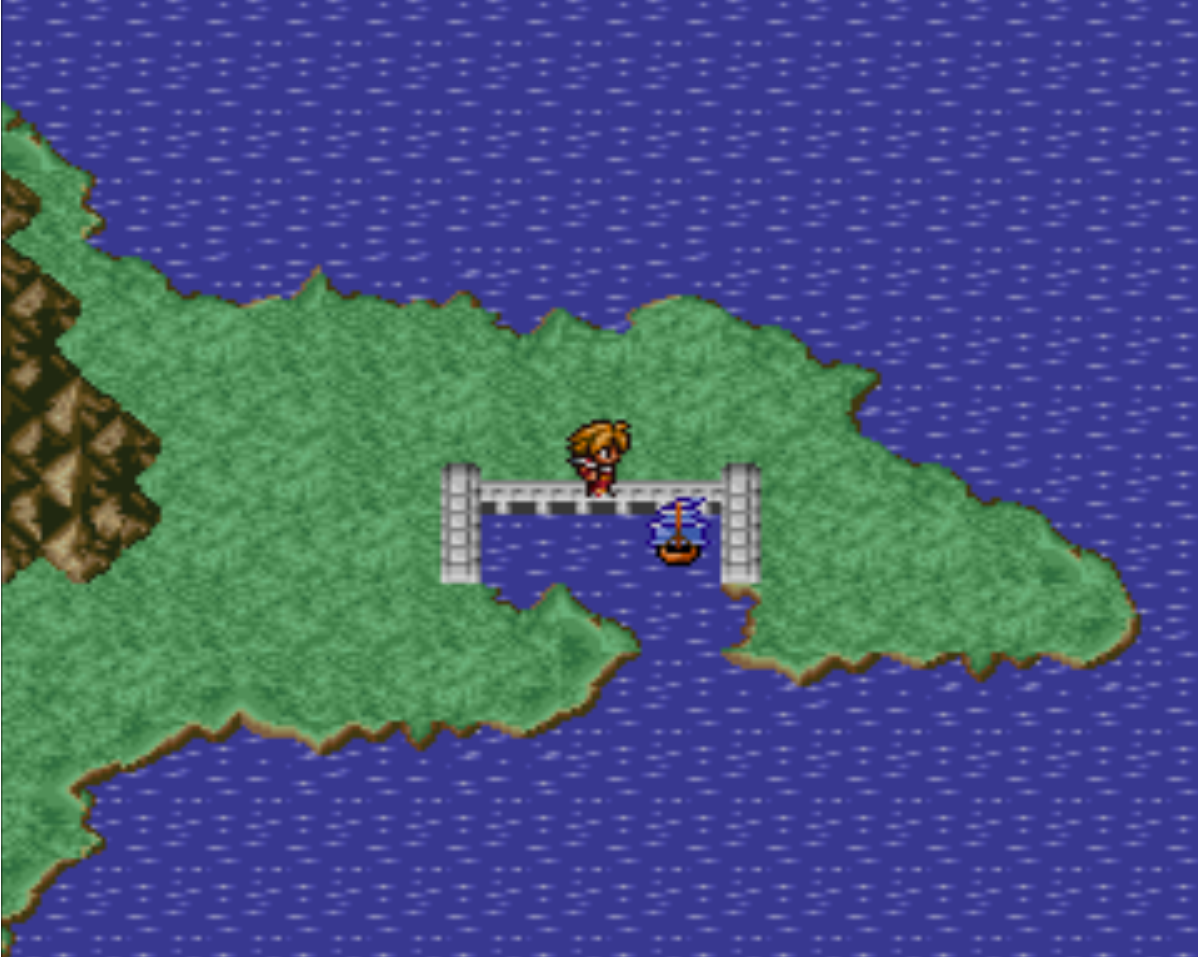
The next town that you'll be visiting is called Crescent Lake and it's south(ish) of Melmond. I recommend you sail around for a bit and get accustomed to the world - you're going to be going to all different parts of it in the next few chapters after all. When you're ready to go to Crescent Lake find the area to Dock that you see in my screen shot above on the left.
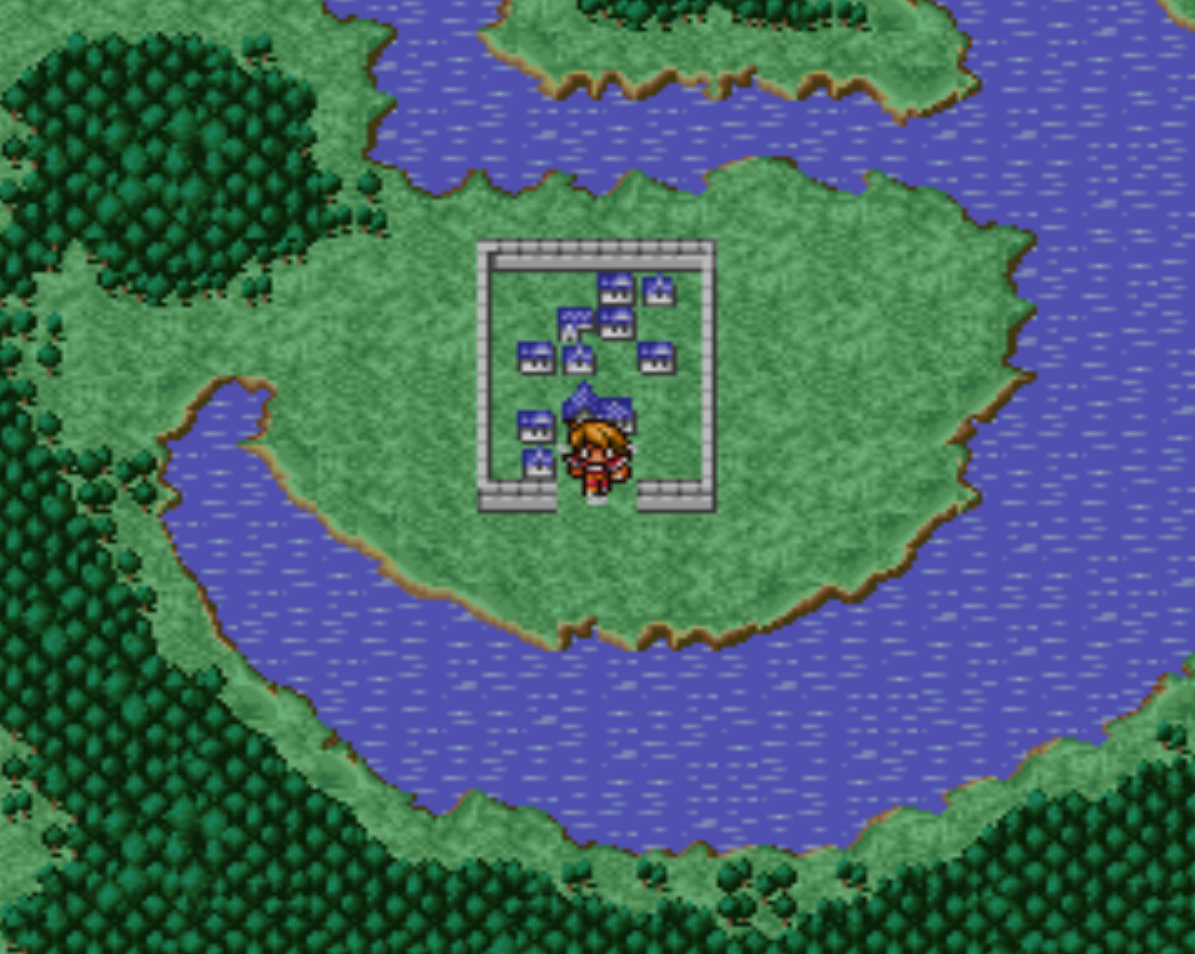
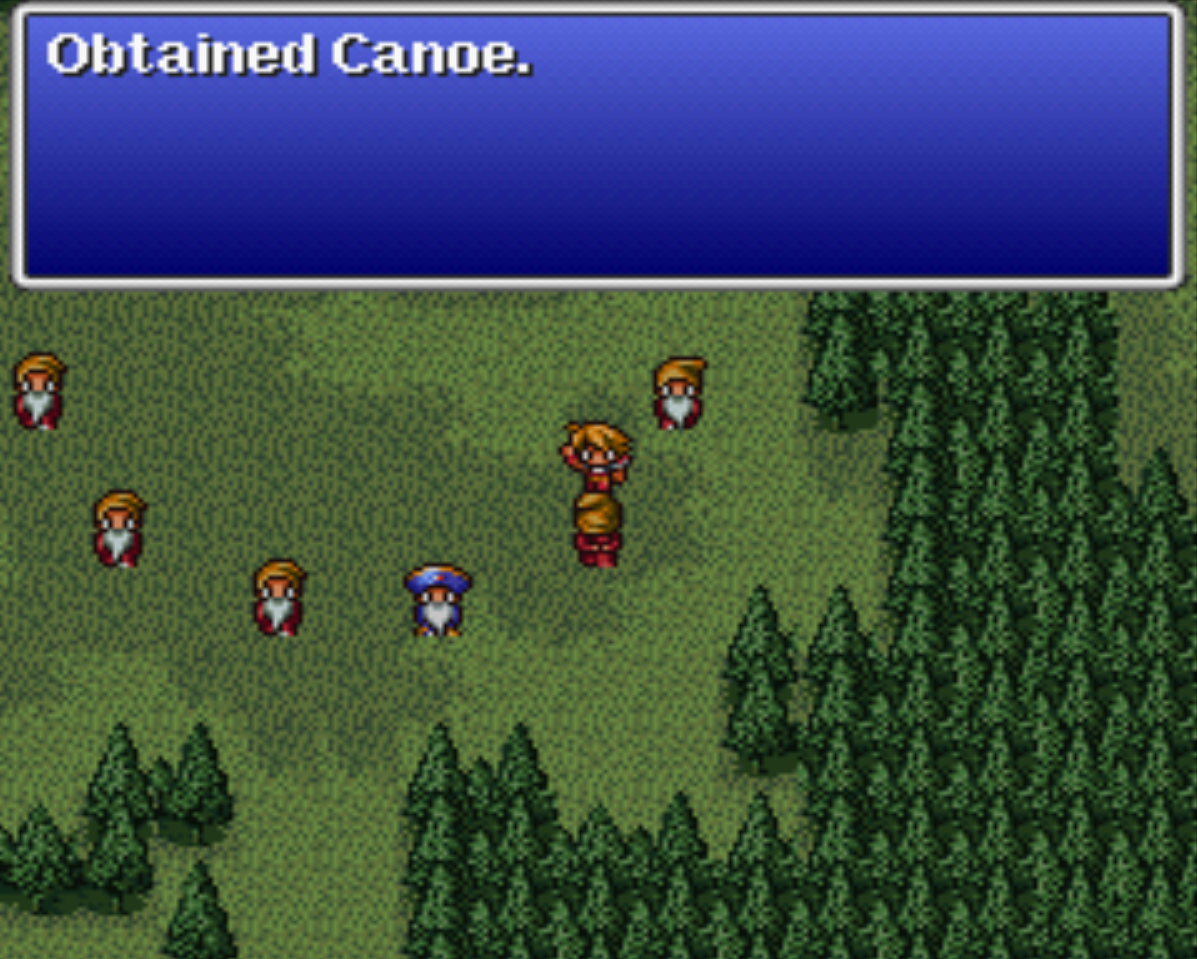
From where you dock head inland until you come across the town in the center of the lake. Head inside and go on a shopping spree! After you shopping spree head over to the eastern portion of the town - through the forested area. You'll notice there's 12 old dudes standing around, speak to each of them and one of them will give you the Canoe, a very important item.
Armor Shop Purchases: Anything that's an upgrade; this town sells shields that non Warriors can use for the first time as well as other goodies. It's worth browsing unlike the last few towns.
Weapon Shop Purchases: Anything that's an upgrade; Mythril weapons that are upgrades can be found here.
Black Magic Shop Purchases: Bolt3, Quake
White Magic Shop Purchases: Shld2 (Defense boost for whole group); Stona (Cures Stone); Invis2 (Evasion up by 40 for whole party)
Take the Canoe and leave Crescent Lake. Sail through the mountains northeast until you come to the area you see in the screen shot below. There's multiple different paths you can take with the Canoe, one leads to Mt Gulg, one to Pravoca from earlier in the game; it may take you a few tries to find the right way.
Before you go into Mt. Gulg it's highly recommended you buy a few Cottages from Crescent Lake. I've recommended this a few times already but it's going to come in handy for this next dungeon. Typically what I do is go into a dungeon and grab all the treasure, leave and rest up with a Cottage then go back in and defeat the boss. Not having a Cottage adds 5 - 10 min to things since you have to find an inn.
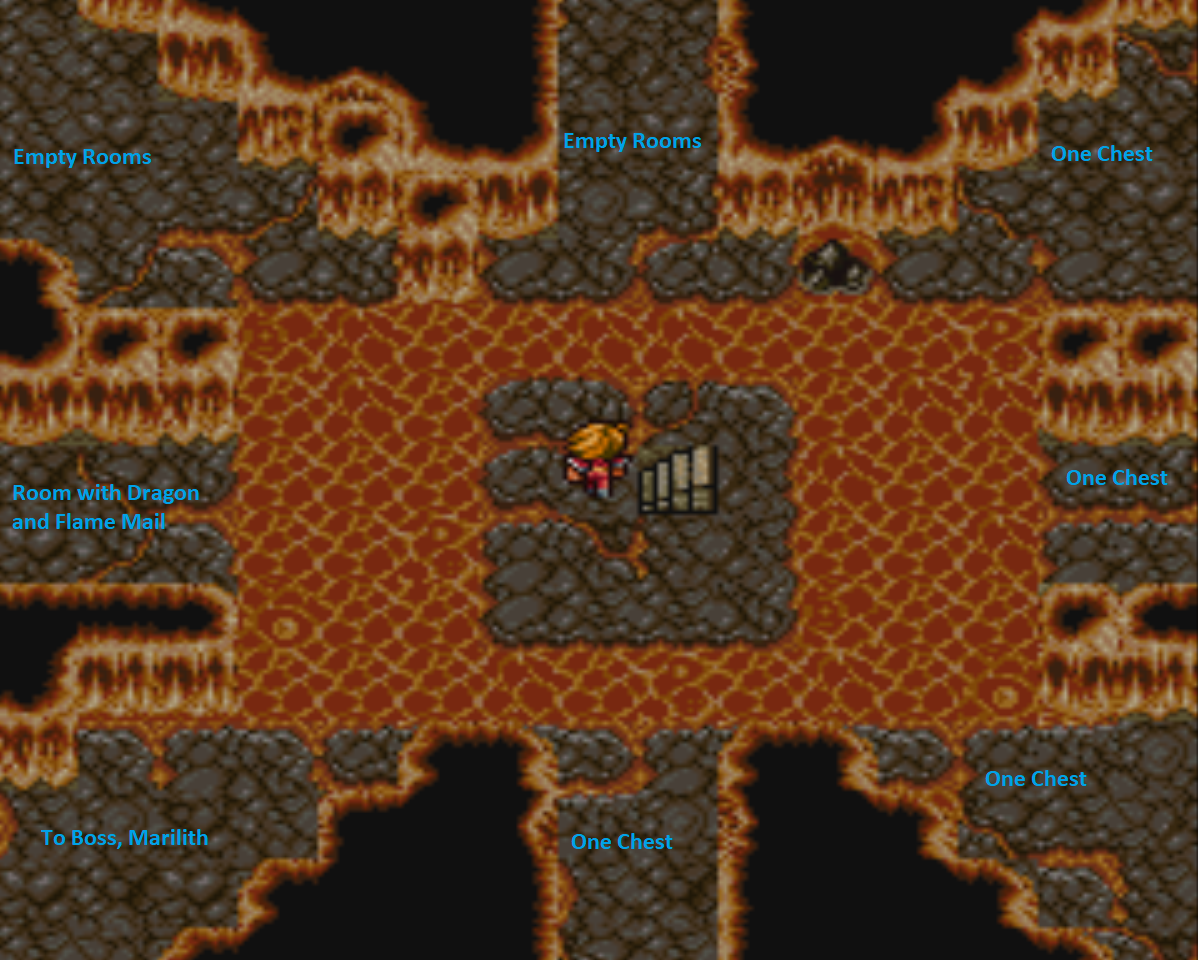
This place is your first real big pain in the butt dungeon. I recommend tackling it in waves, head down to B2 and get all the Treasure Chests then return to the surface and rest up. Next time you enter the dungeon go all the way to the bottom floor and defeat the boss, take the portal out and rest up again, then go back to the bottom floor and grab the Treasure Chests. That's what I did anyway.
Doing things this way allows you to take advantage of the portal behind the Fire Crystal twice; saving you from having to back track through the whole dungeon.
Mt Gulg B3 Staircase Location: East of the location you enter from B2 Staircase.
Mt Gulg B4 Staircase Location: The Staircase to B5 is found in the southeast portion of this floor.
Mt Gulg B3 (2) Staircase Location: Go south when you can to find the linear path which leads to B3.
Mt Gulg B4 (2) Staircase Location: South when you can, lots of rooms with treasure along the way.
Mt Gulg Treasure Chests B2: Mythril Helm, Mythril Gloves, Potion x2, Antidote, Tent, Mythril Axe, Mythril Shield, Claymore and 13925 Gil in total
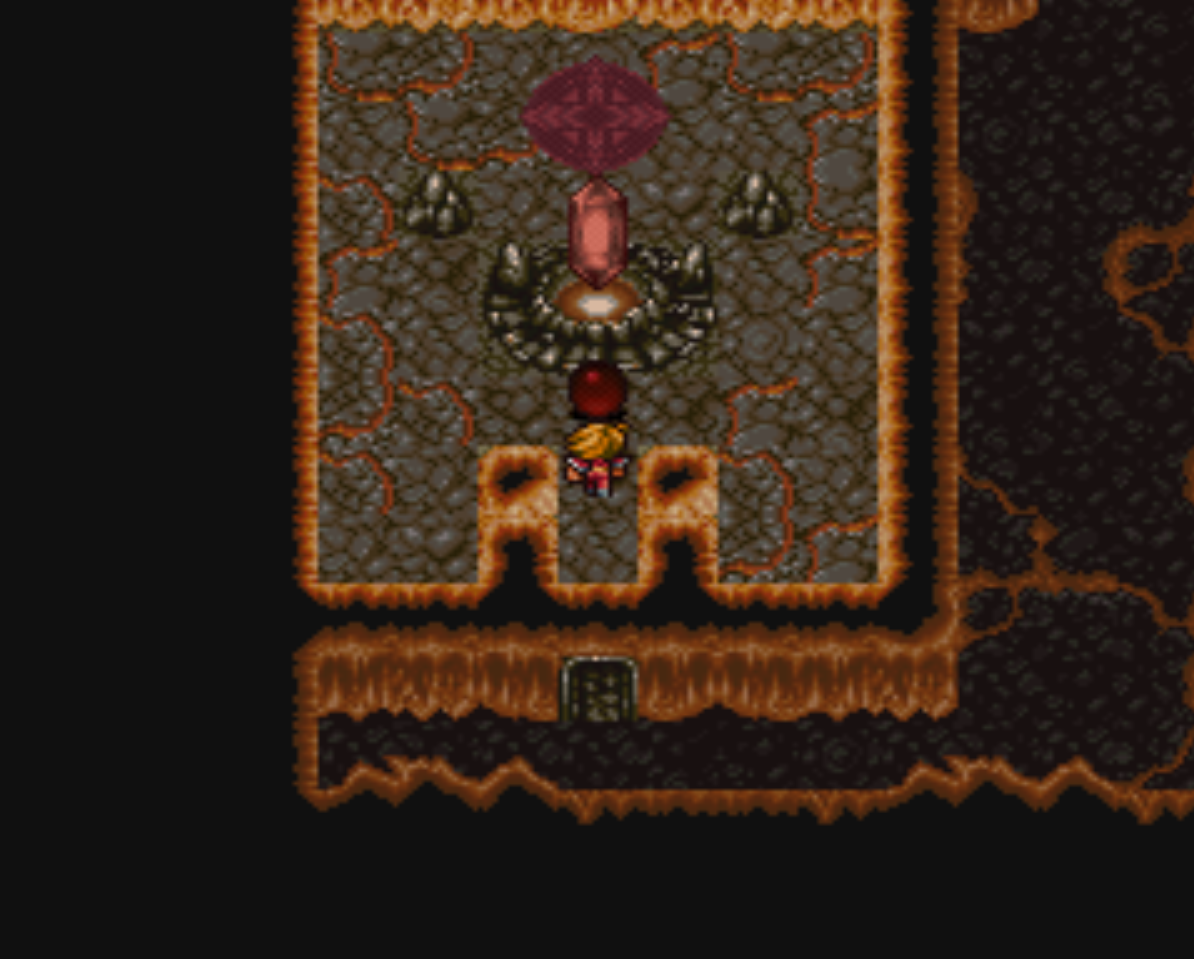
Mt Gulg Treasure Chests B5 (Boss floor): Gold Needle, Ice Brand, Flame Shield, Cottage, Staff, Flame Mail and 16145 Gil in total
Marilith is a real pain in the butt of a boss fight. She can melee non Warriors in your team for over 200 points of damage and, maybe even worse, she can use Fire 2 which will hit everyone in your party for around 100 damage too. I recommend starting the fight by casting Shld2 one or two times which will at least soften her melee attacks. Then all you need to do is heal through the spell casts.
Unless your party is Level 20 or above it's likely you'll have to give this fight a few attempts.
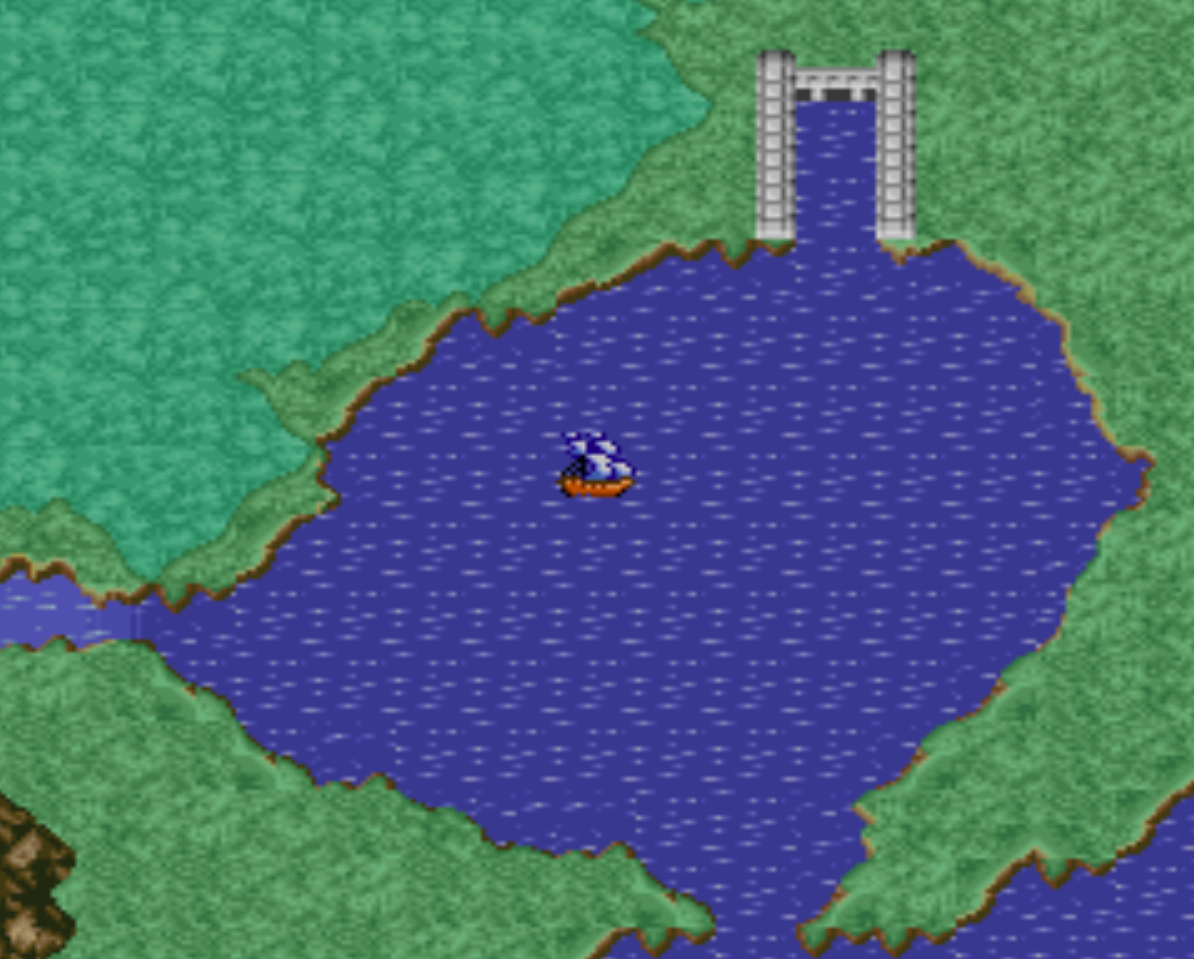
After defeating Marilith head back to Crescent Lake town and heal up, resupply, then head back to your ship. Sail to the north until you find another dock, it's a dock that's to the south of Pravoca but on the opposite side of the mountains. When you dock in this area you'll want to sail up the river with your Canoe until you find the Ice Cavern.
The area that you want to dock your ship at as well as the entrance to the Ice Cavern are shown in my screen shots below.

The Ice Cavern is a pretty straight forward dungeon, the first room that throws a curve ball at you is the room with two treasure chests, the Levistone between them and some cracks on the floor. This is the same location shown in my screen shot below. The chest on the left has a Flame Sword in it and isn't guarded by the worst enemies ever.
On the right you have a chest with a Shirt in it but it's guarded by three or four enemies which open the battle by casting Fire 3 repeatedly on your entire team. I'd recommend just avoiding the chest and falling through the cracks, continuing on through the dungeon.
Ice Cavern B2 Treasure Chests: Flame Sword, Shirt (Guarded by very dangerous enemies)
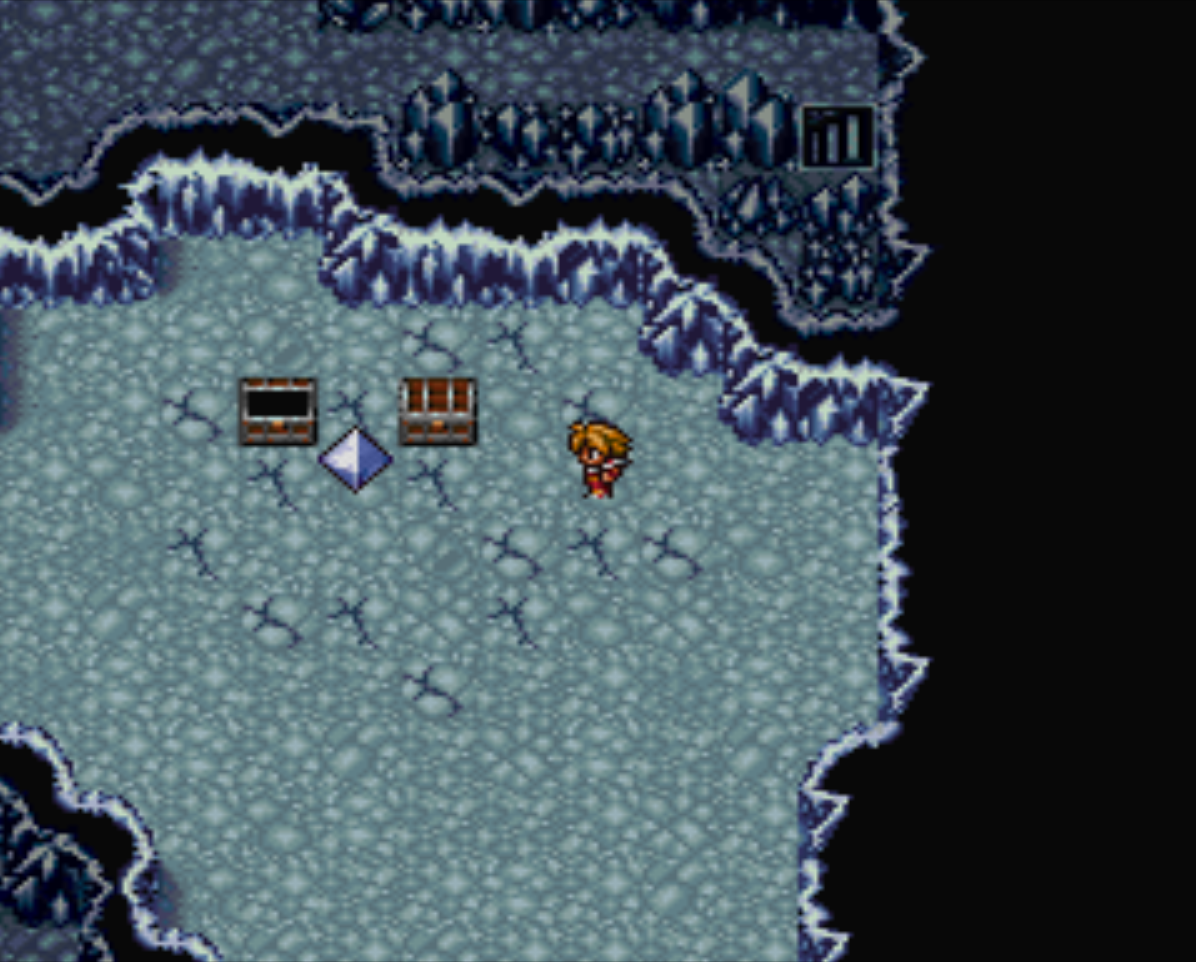
The floor below this area has a few treasures scattered throughout it. When you find the room with three Treasure Chests in it and a single crack in the floor, you'll almost be at the end of the dungeon. Fall through that crack and you'll find yourself, again, in the room that's in my screen shot above. This time though you'll be inside the area where the Levistone is. When you approach the white crystal (aka the Levistone) you'll fight an Evil Eye which is the 'boss' of this dungeon.
After you collect the Levistone fall through the cracks in the floor yet again, back track to the area where the three Treasure Chests were and above this room you'll notice that there's a staircase. This staircase leads out of the dungeon.
Ice Cavern Treasure Chests: Ice Armor, Mythril Gloves, Potion, Sleeping Bag, Ice Shield, 43000 Gil
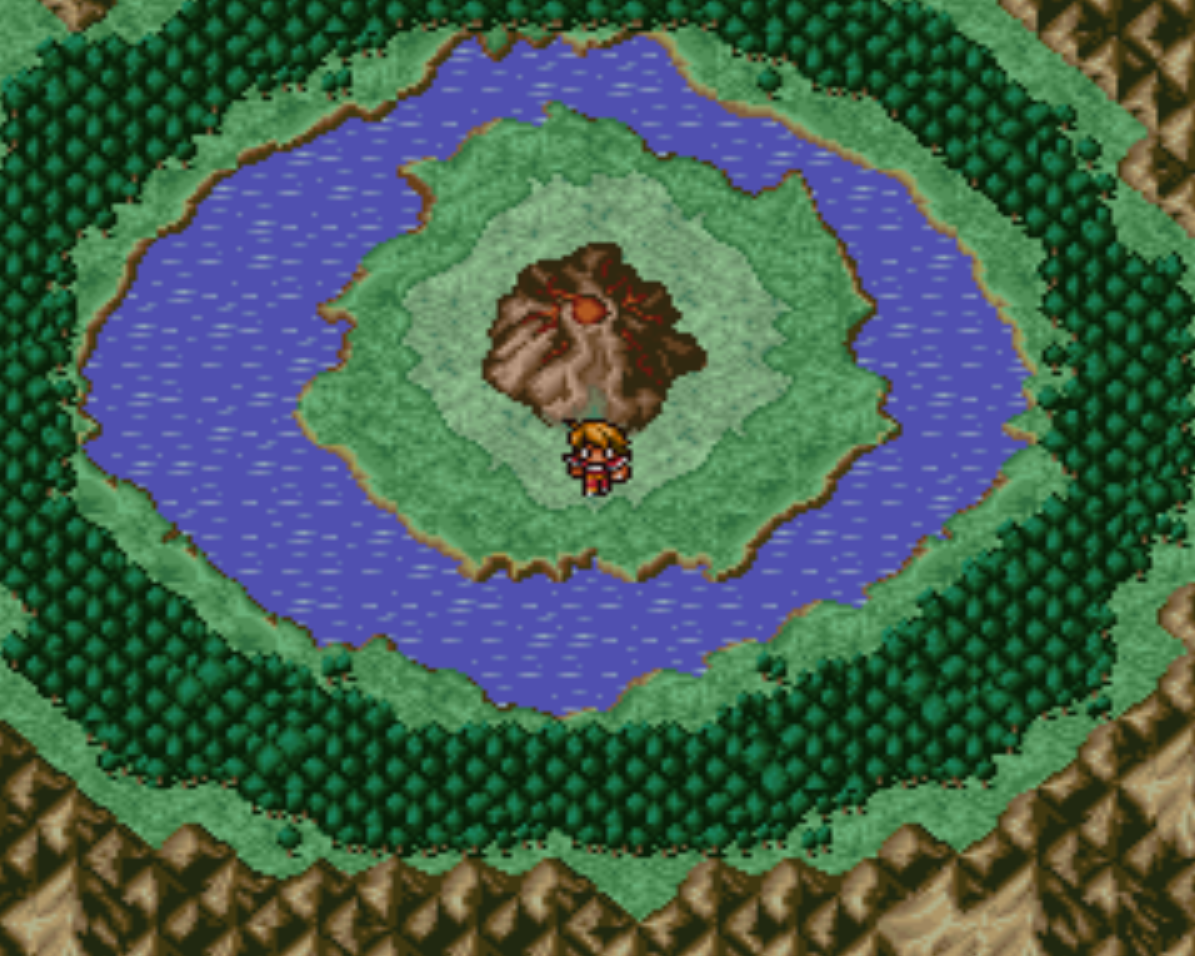
Sail back to Crescent Lake and take your Canoe south to the desert area. Use the Levistone Key Item in the center of the desert and you'll summon forth the Airship! There's a few things to do now that you have the Airship but that's the end of this chapter!

Continue to Final Fantasy 1 Walkthrough - Chapter 5 (Citadel of Trials, Changing Classes, Gaia)
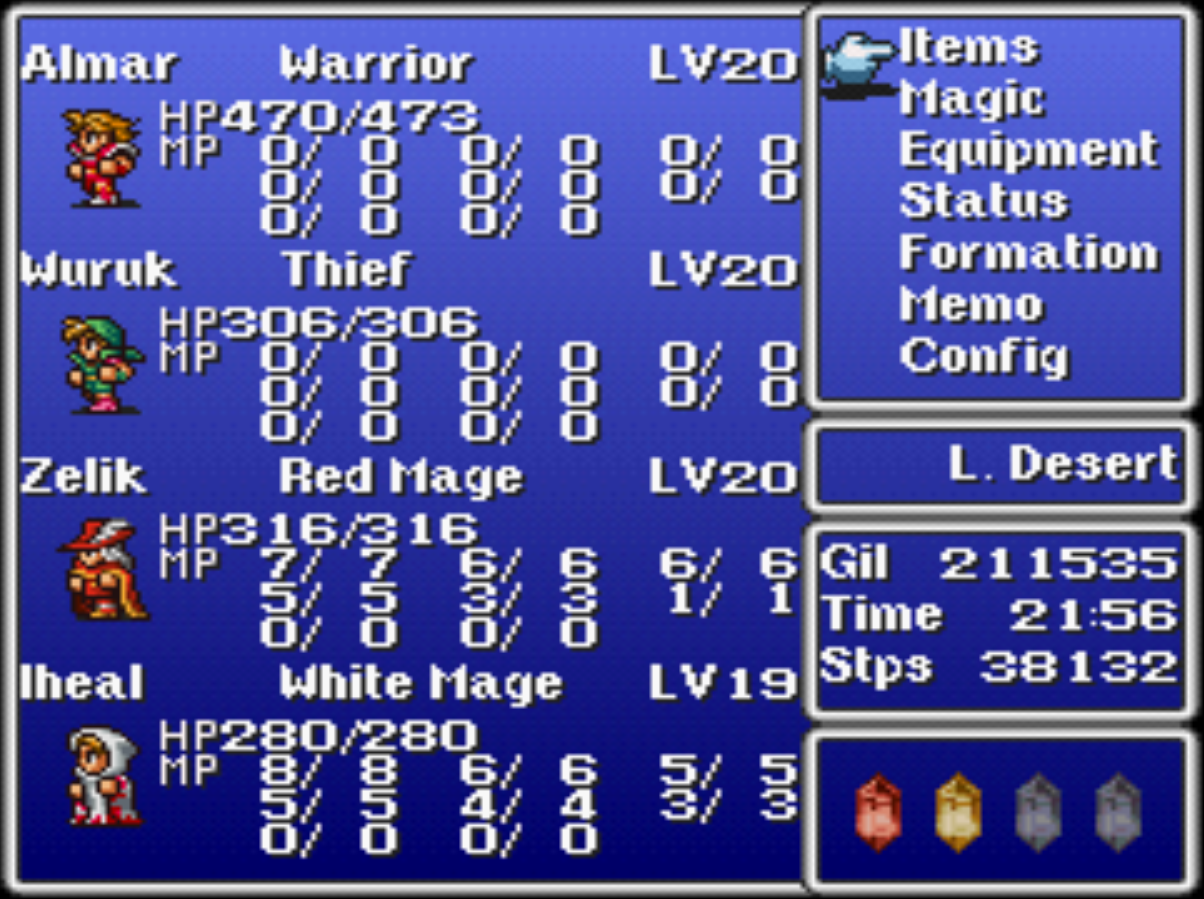
My party at end of Chapter 4.