
Final Fantasy IV Walkthrough - Chapter 13 (Lunar Subterrane & Final Boss)
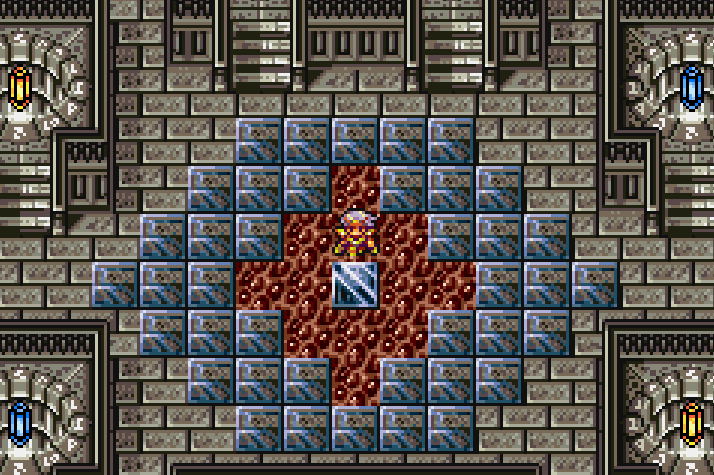
To proceed to the Lunar Subterrane, the final dungeon, you'll need to return to the Crystal Palace. In the northern portion of the room you met FuSoYa you'll find a stairwell that leads to a room with all 8 crystals and a shiny panel in the center (pictured above). Step on the panel to be teleported to the final dungeon.
As you could probably imagine, this dungeon will be difficult and quite confusing. Sometimes in order to get a treasure chest in this dungeon you'll have to go down to the next floor and take an alternate path up to a treasure chest, which is not only hard to document in this guide but confusing for you.
In addition to this, you should expect the majority of chests in this dungeon to be guarded by monsters. Be sure to be healed up and prepared before opening every single chest.
Lunar Subterrane B1 Treasure Chests:
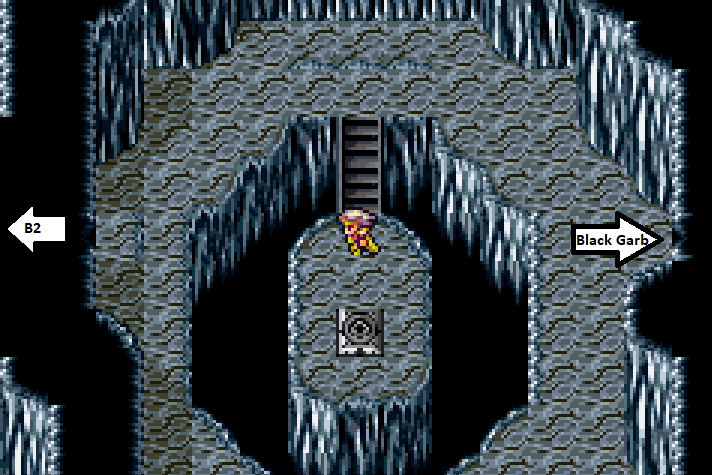
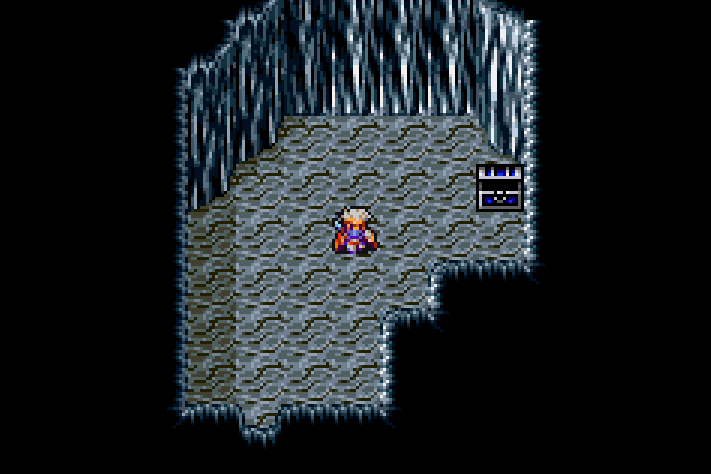
Black Garb (Hidden passage east of where we zone in)
After you get the Black Garb take the teleporter to the west marked with B2 in my screen shot above. This will lead you to the next few mentioned treasures and a dead end.
Lunar Subterrane B2 Treasure Chests:
Sage's Staff (Teleporter to the west from where you zone in on B1)
Murasame (Guarded by a White Dragon)
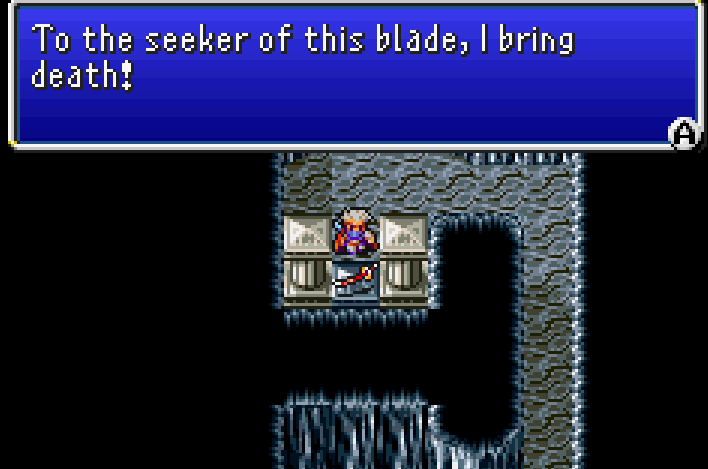
The White Dragon is a pretty easy fight if you play it safe. Most of the dragon's attacks are pretty weak, the only one you have to watch out for is Maelstrom which will bring your entire party's HP down to a critical level. Every other time the White Dragon attacks you, it will be in response to one of your attacks. Here is a quick list of all the moves the White Dragon uses to counter you:
Summon: Earthquake
Magic: Glare
Physical: Slow
If you really wanted to you could cheese this fight pretty easily by using Float on your entire team before it began then spamming Bahamut on the White Dragon while also using physical attacks from time to time. That would be the easiest way to defeat it. Alternatively, just use mostly physical damage to take out the White Dragon. Slow isn't that big of a deal and is easily managable.
Once the fight is over you'll want to use an Emergency Exit or Teleport to leave the dungeon. Our next route through the dungeon is going to start over from the entrance.
Next Route
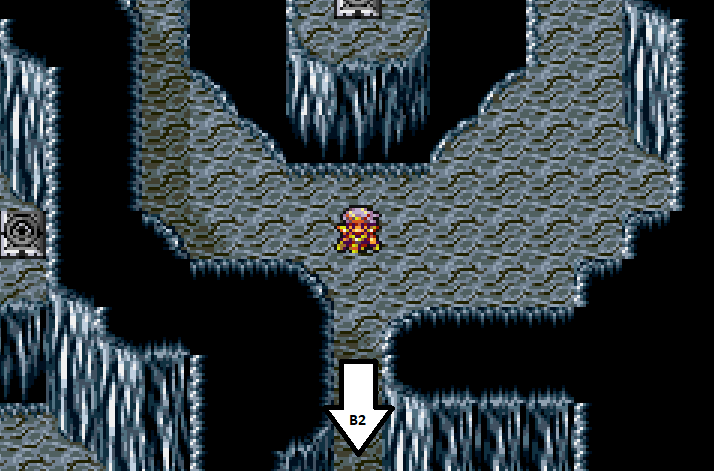
This time from the entrance of the dungeon we're going to be heading directly south, as shown in the screen shot above.
Lunar Subterrane B2 Treasure Chests:
Fire Whip (Chest in the hidden passage)
Dragon Shield
Lunar Subterrane B3 Treasure Chests:
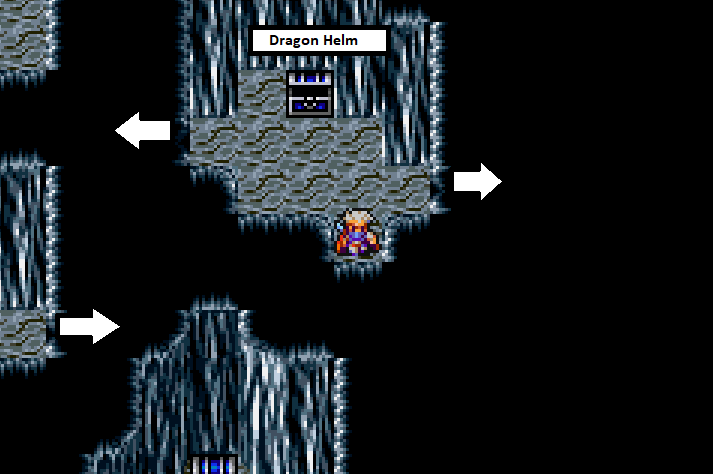
Dragon Helm (Hidden passage)
Dragon Gloves (Hidden passage near Dragon Helm)
Dragon Mail
(Hidden passage near Dragon Helm)
Lunar Subterrane B4 Treasure Chests:
Artemis Arrow (northeastern most platform)
Elixir (Western room)
White Fang (Southeastern most room)
X-Potion (Southeastern most room)
Stardust Rod (Southwestern most platform; before B5)
Lunar Subterrane B5 Treasure Chests:
Crystal Shield
Protect Ring
Crystal Mail (Southern exit from Protect Ring)
Crystal Gloves
White Robe
Crystal Helm
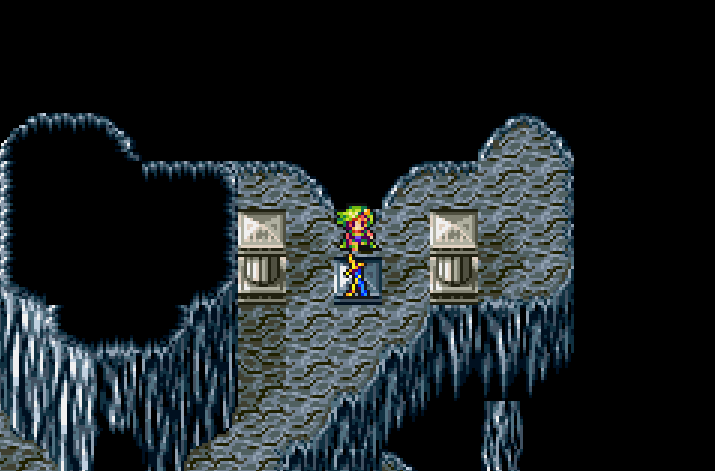
Red Fang (Room east of stairs to B6 - You can farm Flan Princess in this room using Siren)
The room shown in the screen shot above is the one you'll want to use the Siren item in to farm Flan Princess.
Lunar Subterrane B6 Treasure Chests:
Artemis Arrow
Fuma Shuriken
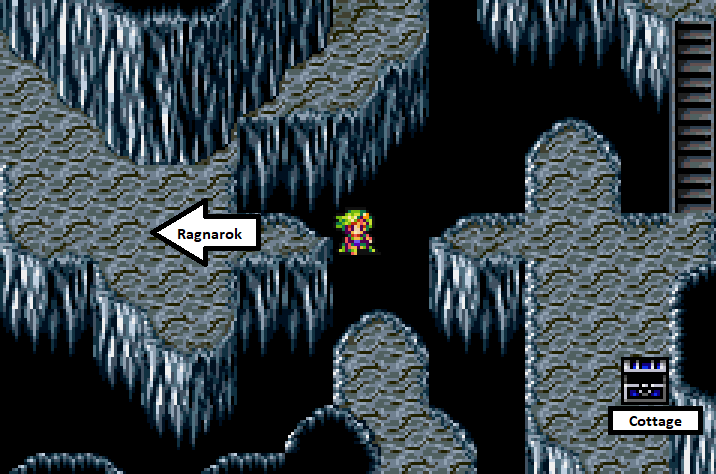
Cottage (Left stairwell)
Minerva's Plate (Right stairwell; near stairs down to B7)
Golden Apple (en route to Ragnarok)
Protect Ring (en route to Ragnarok)
Ragnarok (Hidden passage east of Cottage)
The enemy that's guarding Ragnarok is Dark Bahamut. He casts Reflect on himself during the battle so make sure the majority of your damage is physical towards him. Use the Asura Summon if you need help with heals, otherwise use Rosa or whatever White Mage you have with you to keep your party alive.
Lunar Subterrane B7 Treasure Chests:
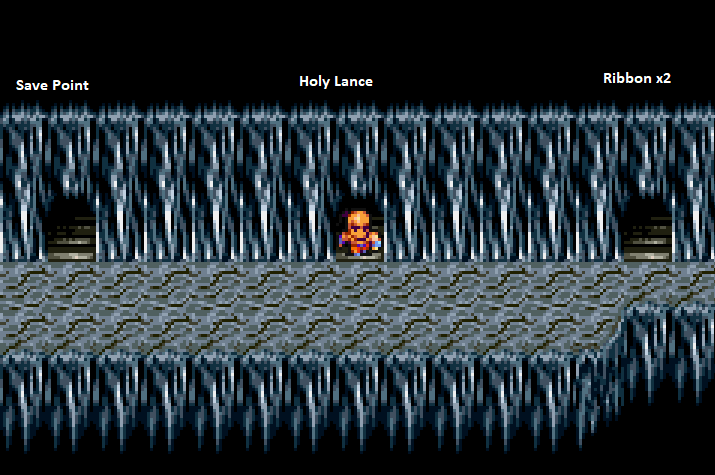
Holy Lance (Central door; guarded by Plague)
Ribbon (Eastern door; guarded by Lunasaur)
Ribbon (Eastern door; guarded by Lunasaur)
Lunar Subterrane B8 Treasure Chests:
Fuma Shuriken
Masamune
Lunar Subterrane B9 Treasure Chests:
Elixir
Gyshal Whistle
Lunar Subterrane B10 Treasure Chests:
Fuma Shuriken
Fuma Shuriken
Past B10 there are no treasure chests, you'll encounter the final boss on the 12th floor. You enter the 12th floor, but if you go too far north you'll trigger the encounter with the final boss - keep that in mind. At this point in time if you want to, port out of the dungeon and save outside. Typically what I recommend is for people to collect all of the treasures then save before coming back for the end boss.
When you're finally ready to fight Zeromus, enter the 12th floor and proceed north. The battle will begin with all of your attacks missing Zeromus. You'll need to use the Crystal in your inventory on Cecil in order to reveal his true form and begin the actual battle against Zeromus.
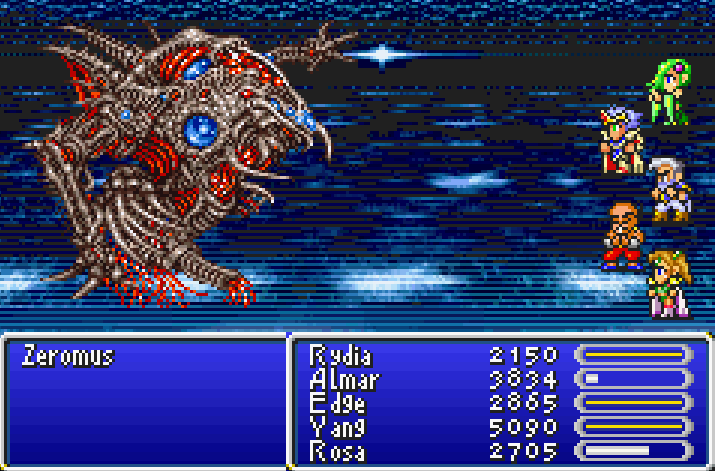
The battle against Zeromus is pretty challenging, as it should be considering it is the final boss. You can beat him with a party in the 50s but usually you'll end up fighting him with everyone in the 70s or 80s which makes it significantly easier. Two of the main abilities that Zeromus will use throughout the fight are Big Bang, which will hit everyone for 1500 - 2000 damage and Black Hole which removes all buff magic that you've casted.
Zeromus mostly deals damage to your party through the Big Bang ability but also through his numerous counterattack abilities. He'll use most of the abilities mentioned below outside of being counter attacked too, but much more rarely. Here is a list of all the different ways that you should expect this boss to counter you:
Summon: Bio on the whole team (deals about 600 damage to everyone and can DoT them)
Black Magic: Flare (about 2200 damage single target)
Holy: Whirl (similar to tornado)
I'd recommend avoiding Flare and only using Bahamut or Asura on Rydia throughout the fight. Bahamut if Rosa has healing under control and Asura if you need help healing. Rosa should basically be using Curaja every single round on the entire group and an Elixir or Megalixir of you run out of mana. Everyone else focuses on physical damage.
When Zeromus is low on HP he will start casting Meteor on your group which has a moderate-high chance of missing most of your characters and only hits for a fraction of the amount Big Bang does. Keep dealing damage to him and eventually you'll win the battle.
Once you've beaten Zeromus you'll be treated to the final cutscene of the game. For those of you playing on the GBA version or later, after the ending cutscene you'll see another scene with the Lunar Ruins appearing on the Moon.
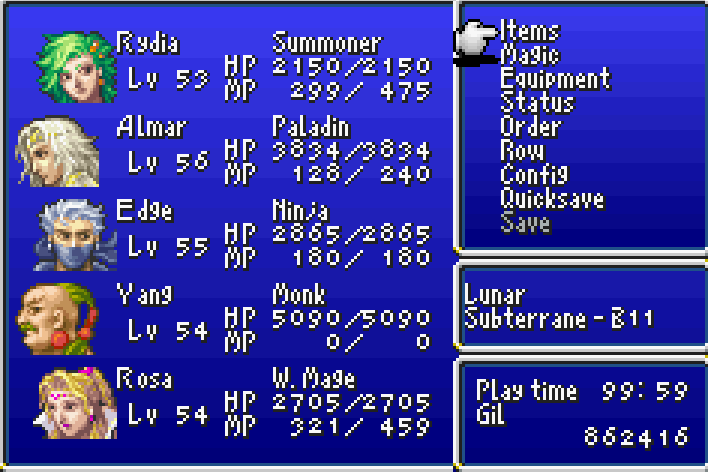
Level of my characters before Zeromus boss fight.