
DemiKids: Light Version Walkthrough - Chapter 1
You start this game in a video arcade in a battle against two demons. This fight is a tutorial of sorts of how the battle system will work in the game. When you finally gain control of your character you will find yourself in the Rem Elementary School. Try to enter the class room north of where you start and there will be a scene involving you and your gang of friends.
DemiKids: Light Version will follow the main character Jin whereas DemiKids: Light Version will follow the main character Akira. These two protagonists will cross paths during the game multiple times; they also have a group of friends that will be part of this game's narrative. After meeting the gang you'll want to visit the library which is in the northeastern portion of the area.
Inside the Library you'll want to speak with Lena and Amy in the top right of the area. After talking with them search the shelf to the north to trigger another scene. When that's done you'll want to speak with Akira (the blue haired boy) and he will obtain the book that we need.
There will be another long scene during which you'll obtain the Demiloc and Vinecom items, these are both key items which we'll be using a lot during our adventure. When you use the Demiloc item you'll summon a demon of your own named Rand (pictured below).
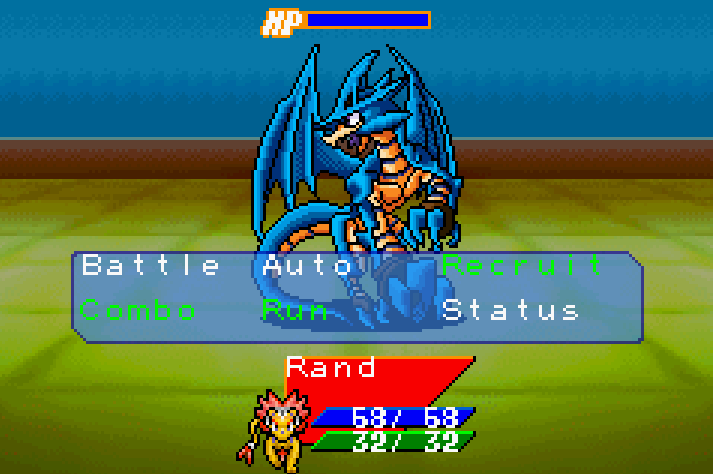
Beat the Gargoyle and there will be another long scene that lays out the story. Your demon companion will invite a few friends to join your group too, these are lower level demons which we'll be replacing soon. When you regain control of your character I recommend you explore the first floor of Rem Elementary and inspect all of the bookshelves, lockers and planters to find hidden items.
When you're ready to advance the story try to exit out of the southern portion of school and you'll find a time rift. There will be another scene here during which your friends will touch the time rift and be thrown back into time. After the scene plays out and you regain control of your character you'll want to go up the stairs and visit the roof.
On your way up to the roof I recommend you stop for a bit and get into some random encounters so that you can use Recruit on the demons. In this game EXP won't level up your demons, only fusion can. This means that in order to make your battle party stronger you will need to recruit a ton of demons and fuse them together into more powerful ones. I'll explain this in more detail in a bit, for now head up to the roof to continue the story.
You'll find your friend Lena on the roof standing next to a door, speak with her for another scene. Agree to enter into the room and watch the scene play out, when you regain control of your character you'll have traveled through the time portal and to a new area called Time Tower (pictured below).
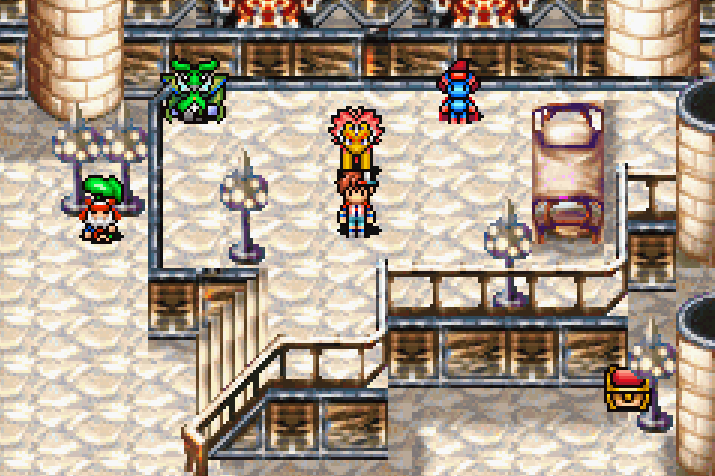
The demon standing near the beds in this area will let your demons rest for free (this will fully heal them & restore their MP). The big green demon is named Wartak and he will give you a reward if you complete his quiz and when you get 50 demons in your Demonary. Left of Wartak and down the stairs you'll find a green haired demon, this one acts as the Clinic. He'll resurrect any demons that have been defeated.
Grab the treasure chests and exit this area to the south for another scene with your friends. When that's finished you can explore the outside area here or continue south and leave via the exit to continue with the story. The first thing you'll notice is that the demons in this area will absolutely destroy the demons you have on your team. This means you'll have to play very conservatively until we reach the next town which is where we can actually address this problem.
From Time Tower you'll want to go south until you can't go anymore then go west over one map to a new one. Just north of where we enter this new map you can find a small island that we can jump to if you're riding Rand (pictured below). To ride Rand you'll want to press the R button while you're in an area with random encounters.
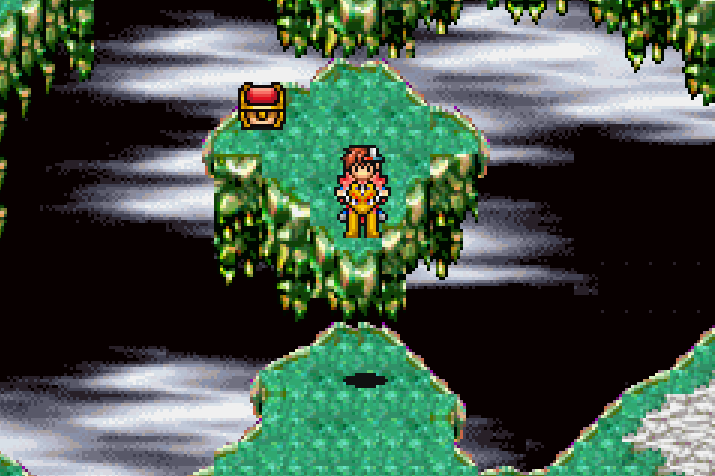
Ride on the back of Rand using R and jump across gaps you find to reach treasures
Once you're riding Rand all you need to do is approach the gap between the two land masses and he will automatically jump across, as shown above. Keep this trick in mind because there are many areas in the game that we can use it to reach optional treasures. Continue along the linear route to reach our first town, Hermit.
Hermit is a small town but it has all of the shops and buildings that we need right now. Above each shop you'll see a letter or symbol that lets you know what type of shop it is. I recommend you first visit the Item Shop (marked S) and purchase the Valhalla Map, this will let us see where we are as well as the surrounding area. Everytime you visit a new town you should buy the map first.
While you're at the item shop I recommend you also purchase some Angel Wing items. These will let you teleport to various locations so that we don't have to travel on foot everywhere. That's all the money we will have to spend for the time being. Our next stop will be the Demon Lab (marked with a star), this building will let us fuse together demons to make more powerful demons.
The Grind
The Demon Lab is the most important building in this town since it's the only way to make our party stronger. At the Demon Lab you can fuse together any of the demons that you have recruited during battle. This is why I gave you the advice previously to recruit every single demon you find, even duplicates.
I recommend you spend some time getting into random encounters outside of town and recruiting every single demon you come across. What you'll want to do is fuse together the demons you recruit to create a new stronger demon. If the demons you're trying to fuse together don't create something new then it is a waste of a fusion and you shouldn't do it.
When you create a new demon it will always be one tier above the demons you fused together. This will give you the edge that you need for beating the random encounters in our current area. Our guardian demon, Rand, works differently from the other demons. Rand can never be turned into a new demon through fusion, he will evolve as we progress the story.
Despite this, we'll still want to do fusions on Rand. In fact, Rand is the most important demon for us to fuse since he is our main demon and he stays with us for the entire game. For Rand my advice is to fuse 20 - 50 demons into him right now. Every time you fuse a demon into Rand you'll increase one of his stats, after a couple demons he'll also level up increasing his HP/MP and most of his stats.
Rand is our most important demon and I try to keep him as overpowered as possible throughout the game since we can lean on him moreso than our other demons. To boil down all of my advice into two lines, fuse 20 - 50 demons into Rand to buff him up and create at least two new demons through fusions that we can use in our battle party.
Continue With The Story
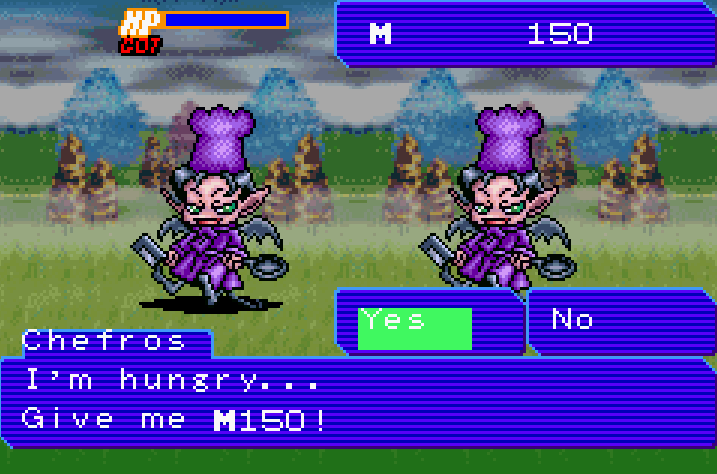
Once you're done with all of the fusing and leveling up it's time to continue with the game's story. Inside of Hermit you'll want to go east of the Item Shop as far as you can and speak with the demon in red with a halo next to the rock. She'll tell you that Judy needs your help and that you must save her.
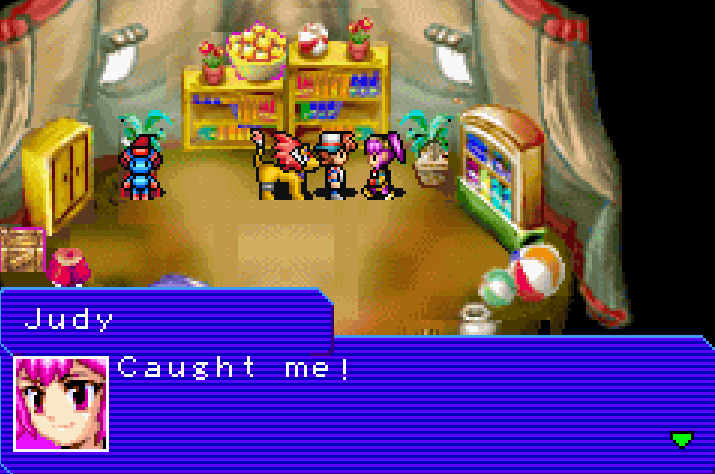
Go west of this demon just a bit and enter the building with no sign out front. Inspect the planter next to the bookshelf to reveal Judy (pictured below). There will be a short scene, after it's finished talk with Judy again to trigger another scene during which she'll be captured by some guards. Before you leave search the bookshelves in this room for a Speed Gum.
Exit the building and talk with the guards west of our location that have Judy; tell them to let her go and you'll trigger a boss battle with them. This battle is a very difficult one, although I guess that depends on how much fusing you've done up to this point. If you didn't take the advice I gave above then you'll likely be obliterated by these enemies.
After defeating these demons you'll now be able to leave Hermit through the west exit which leads to a new area called Foggy Marsh. This map is quite linear, you'll find the exit we need in the southern portion of the area. Explore the other directions if you'd like to collect all of the optional treasures.
On the second Foggy Marsh map you'll find the path we need in the southwestern corner, this exit will take you to the next area, Rebel Base. Enter the doorway under the waterfall here and collect all of the goodies inside the Rebel Base. If you need to heal or rez any demons you can do so here as well as any fusions you need to do too.
To continue with the story enter the doorway in the northeastern portion of the Rebel Base, this will take you to a room with your comrades. Speak with Lena and Amy in this room for a scene, when it's over you'll want to continue north to the next room for another scene. When the scene is over open all the chests in here and search the barrels/crates for some hidden goodies.
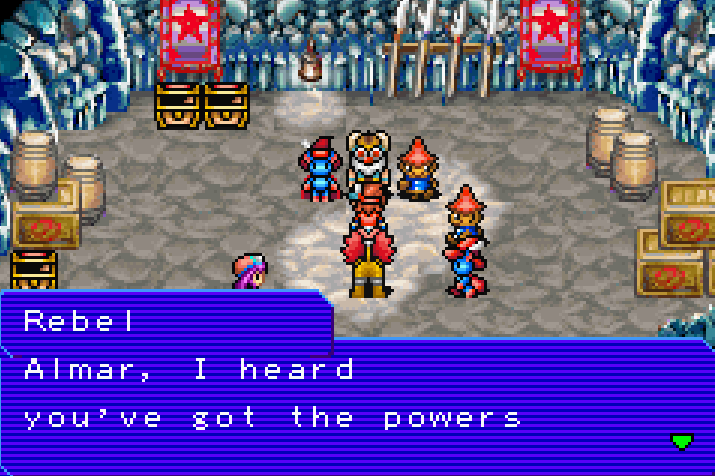
Speak with the Rebel in the middle of the room (pictured below) to have a mock battle against him. This is required for advancing the story.
Beating the Rebels will earn you the Kingloc item which is another Key Item like the Demiloc. This lets us hold King class demons and gives us another slot for demons during battle. In addition to the Kingloc item, you'll also learn our next destination during the scene, Hydraville! Grab whatever goodies you still want/need from the Rebel Base and then travel back to Hermit.
Tip: If you don't already know you can use an Angel Wing item or a demon's Teleport skill to fast travel back to Hermit.
Do some fusion in Hermit if you haven't already and exit town to the north. You'll find yourself in a new map called Duvegs Trail. To the east is a zone we can't do much in right now, there will be an NPC blocking the route forward... However, you can get into random encounters in that new map and get access to some higher level demons. If you fuse those higher level demons together into new ones then you can have truly powerful demons for where we're at right now in the game.
To advance the story you'll want to travel northwest through Duvegs Trail until you reach the town of Hydraville. Search town for any hidden goodies that you'd like and hit up the item shop/vendors. In the northeastern portion of town you will find two buildings (pictured below), this is where you need to go to advance the story.
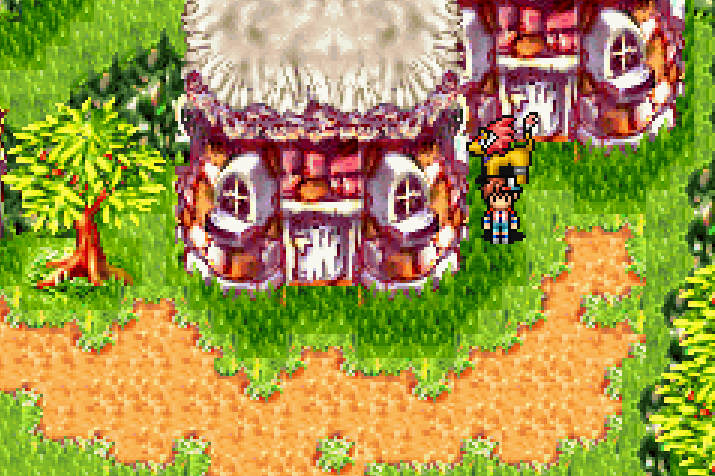
Enter both of these buildings to advance the story
Enter the building on the right first and you'll meet Drail, he'll tell you to visit the building to the left (the bar) and talk to Naomi. You'll find Naomi playing the piano, when you talk with her you'll get a scene. After you regain control of your character you'll want to revisit the building that you met Drail in. This will trigger another scene. When the scene is over talk with Drail again to advance the story.
That's all we need to do in Hydraville, you can leave these two buildings and head a tiny bit west to the Hydra Mine entrance. The entrance to this mine is quite literally right next to these buildings, head inside to start the next dungeon. At first glance this dungeon appears to be complicated but it really isn't. Go down the first tunnel you pass on the left for a Magic Gum, Guard Gum and a Fist Relic.
Return to the previous tunnel and continue north, there will be a fork in the road that goes multiple directions. Many directions lead to a dead end, they'll have some loot there and you'll have to backtrack to this fork when you're done. One route of course leads to the end of this dungeon as well. Use my screenshot below for some guidance.
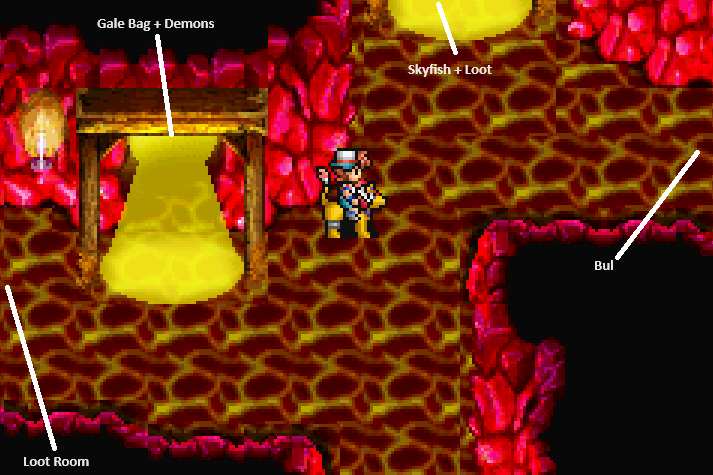
Loot Room: Search the jars in this room for a Blast Box, Revive Gem and a Hex Relic. Search the chests for a Revive Orb and a Resist Gum.
Gale Bag + Demons: As the name says, one chest will have a Gale Bag and the other has demons.
Skyfish + Loot: This room will have a chest with a Mana Shake and if you search the back wall on the left hand side you'll discover a hidden demon named Skyfish.
Bul: This is the route that will lead you to the end of the dungeon. There's a catch, however and you'll see what it is when you get there.
After talking with Bul at the end of the dungeon you'll have to backtrack all the way to Hydraville because we have to talk with someone there. The building in Hydraville that we need is in the northwestern portion of town, it's the shop marked MH. In the top right hand corner of this shop you'll find a staircase that goes down, talk with the demon near the bed and you'll get the Limbo Key as well as a scene.
Before we return to Bul at the end of Hydra Mine, we're first going to visit the Inferno Pit. Exit Hydraville and Teleport to Hermit, if you don't have the Teleport skill on a demon use an Angel Wing item instead. Leave Hermit to the north and travel east to the Inferno Pit. This area was previously blocked off but we're able to enter now and explore.
Follow the linear path through Inferno Pit and you'll run into one of our friends, Judy. Talk with here for a quick scene after which you'll want to continue through this area.
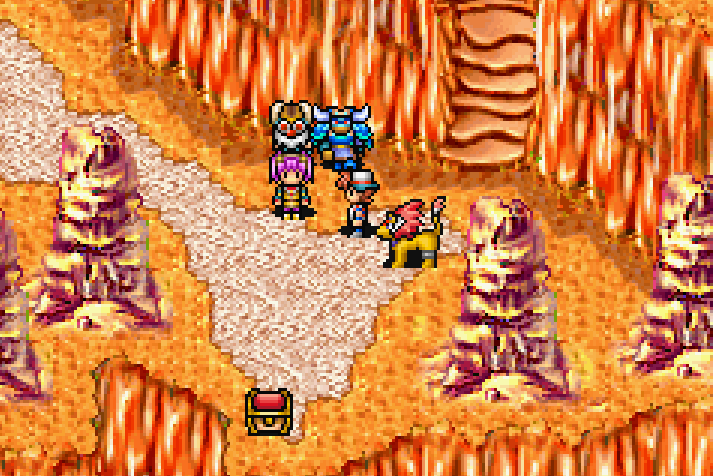
For this next part you'll want to follow the path through Inferno Pit and talk with all of the Imperium Soldiers you encounter along the way. If you'd like to collect all of the optional treaures you'll want to search off the main path, don't forget to press R and ride on the back of Rand if you want to jump to the islands to get the chests you see! You'll change maps a few times before you finally reach Limbo; just keep traveling northeast and you'll get there.
You'll know when you finally get to Limbo because Rand will stop you and tell you that you've reached Limbo. Go north just a tad bit more and you'll have another battle against the enemy forces, defeat them and you'll finally be captured and sent to prison. Thankfully, we have the key!
Before you leave your prison cell search the jars for a Revive Orb and a Smoke Bomb. You can also heal and/or rez any demons in this room too. As you go to exit this room your main demon Rand will tell you that he is changing.
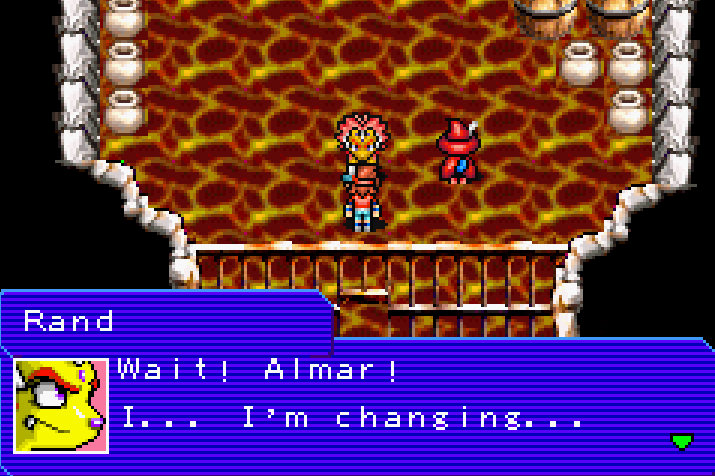
This will happen a few more times throughout the game, when Rand starts changing he'll let you know and you will be given two options. Normally one option is to ignore him and the other is to inspect him. Depending on the option you choose Rand will evolve into something different. This first evolution will have one geared more towards spell casting and another geared more towards melee damage. Choose the one that best suits your play style.
Continue to DemiKids: Light Version Walkthrough (Chapter 2)
Return to DemiKids: Light Version Guides Index