
Breath of Fire Walkthrough - Chapter 1
You start the game inside of a burning building, follow the old guy downstairs and talk to everyone to trigger a scene and proceed. Once the long scene is over you'll regain control of the main character (Ryu is his name), open the chest that is now in the room for 300 GP and talk to the old guy just below the chest that you followed downstairs originally.
The old guy will let you know that if you ever need to 'Rest' to return and talk with him. Rest will restore all of your HP/MP from fighting - as with most older RPGs you'll want to leave town and get into a couple of encounters to level up your character before we start our journey in earnest.
How much you'd like to do at this point in the game is entirely up to you. The town you start in has two vendors too - one sells items and the other armor/weapons. If you'd like you can buy some upgraded equipment here and/or some restorative items to give you some more security for the journey ahead.
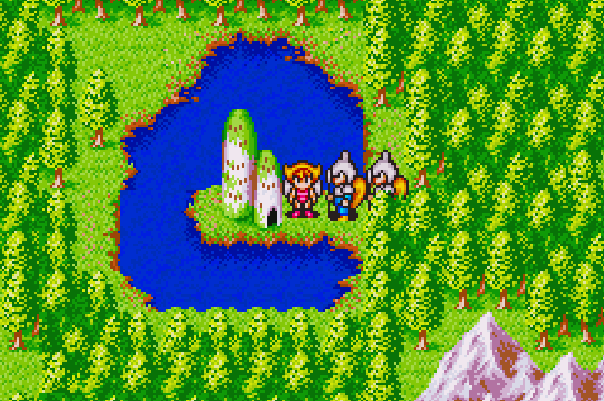
When you're done leveling and ready to continue head north of our town to the next town, Camlon. A picture of what you're looking for is shown in the screenshot below.

Town of Camlon on the Overworld
In the town of Camlon you'll find destroyed buildings just like what we saw in Drogen before it. You'll also find a group of villagers standing outside the castle and looking at the entrance. Speak to whomever you want and explore the town as much as you want, when you're ready to proceed enter into the castle as that will be the first official dungeon of the game.
Occasionally you will find pools of water inside of this dungeon, drink from them to fully restore your HP. This makes the dungeon a fantastic leveling location - which you should take full advantage of. I like to get to at least level 8 before I complete this dungeon. Once you get to 7 and 8 it starts to slow down a lot in terms of EXP. Basically, just take your time and explore, there are lots of upgrades to find in treasure chests and the route through is pretty linear so you won't get lost.
The final boss of this dungeon is Frog, a big giant frog, as you might imagine. Attack him until he croaks and you'll win the fight. Exit the castle via the same route you came and you'll get a new scene with the villagers. During the scene you'll be told where to go next, Nanai.
Exit to the World Map and continue northeast until you reach the town of Nanai. Wait until night and the people guarding the entrance will be asleep and you'll be able to sneak inside.
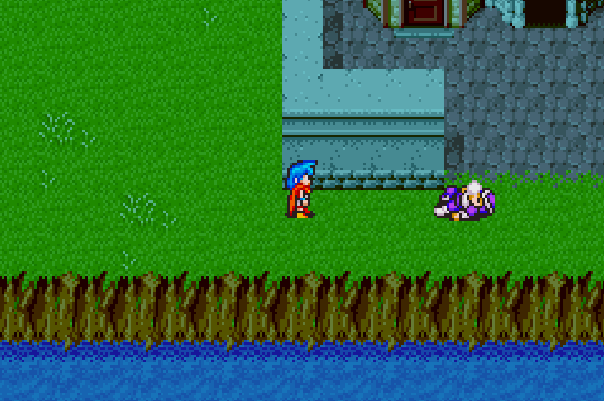
Nanai at night time (guard is sleeping)
There are a few buildings you can go inside of when you're in Nanai but I recommend you go straight to the castle since that's where we continue with the story. You can find the castle in the top right portion of Nanai, you'll have to zig zag to get there but it's pretty easy to figure out.
Inside the palace you'll want to go through the doors and down stairs into the basement - this is a dungeon called Gaia Temple. The path is linear just like the previous dungeon, there will be a few treasures to grab in the first big lava room after which you'll continue down some more to another big lava room with more treasure.
Search the second big lava room for a large set of stairs that go down further, they're found in the middle of the room. This set of stairs will lead to the boss of the dungeon which is named Knight. You'll find this boss slightly harder than the previous one, the secret to winning is to use an Herb during the fight to heal yourself. Other than that you basically just exchange hits back and forth until you win.
Once the fight is over interact with the machine that the Knight was standing next to and take the key/use it on the machine. The screen will start shaking once you've done this - step into the black circle on the right side of the screen to be teleported outside and trigger a scene. After all of the dialogue you'll want to stock up on items (if needed) and then head east to Winlan!
Exit to the World Map and return to the location of Nanai - the entire town will be gone now and you can walk through this area to continue east. Travel a tad bit east of where Nanai was then go directly north until you reach the town of Winlan (pictured below).
The town of Winlan
When you arrive in Winlan you should explore a bit and check out the various shops and buildings available to you. Save your game, rest, purchase upgrades and then head to the Winlan Castle when you're ready to proceed with your story. You'll find the castle at the northern most portion of town, inside you'll want to interact with the lady who is standing between the two guards.
This will trigger a scene after which you will be in control of Princess Nina. Head downstairs and loot all of the chests you find on the same floor as your mother (there are some to the left and right of her). If you'd like you can also talk to Ryu who is sleeping in the bed and see what he has to say. Equip the items you get from the treasure chests and head out into the town.
If you'd like to, purchase a new weapon for Nina (she has all of Ryu's money magically) and some Herbs for the next dungeon. Once you're done in town exit and head west to the nearby cave, it's a dungeon called Aura Cave. Go inside of it just a little bit and you will be met by two guards from Winlan that will accompany Nina for this dungeon. You should recruit these two before you decide to grind and level Nina up any - they will make everything much easier. Don't equip these guards with anything since they are just temporary party members.
Before I talk about the dungeon, let me mention that Nina is a spell caster and she comes with healing spells like Cura1 (which heals 50 damage). Use her to heal up when you're outside of fights and if things get hairy while you're in combat. In the first big room of the dungeon you will find an armor piece called SuedeGN which is an upgrade for Nina. Equip this immediately as Nina is wearing something that is not very good.
Now, as far as this dungeon goes we have two goals - the first is to find an item called I.Ore which we need to progress the story later. This is an easy item to miss and it will result in a lot of backtracking if you do! I created a video of where exactly to find this item yo help anyone who missed it - check out my Where to find I.Ore in Aura Cave Youtube Video.
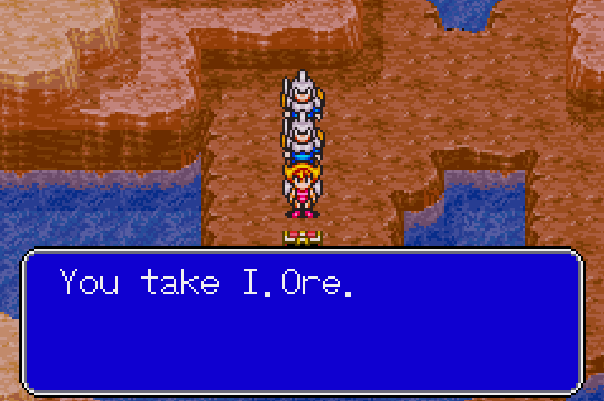
Make sure you get the I.Ore in Aura Cave!
The second thing we need from this cave is to find the exit. Instead of having a boss this cave connects us to another area of the world. The cave itself is pretty linear - make your way through until you reach an area with a new town called Romero. Purchase whatever you want from the shops, sleep at the Inn and/or save your game like we normally do in each town. There are some items hidden in this town too but only one is good enough to mention - the Map!
As you may imagine the Map is the item we need to view the World Map as we're out and about exploring the world. This item is actually missable which is a bit unique as far as older JRPGs go. You can find the map in a building in the eastern portion of town - right above the Inn.
You will see two buildings above the Inn, the yellow-ish one with the chimney on the top is the one we need to enter. Inside of this building you'll find a hole in the floor which will let you drop down into the basement. Once in the basement you'll need to move a few jars to reach a room with a single barrel in the top left of the area (pictured below).
Once you move the barrel out of the way inspect the ground where it once was to find the Map. If you need help seeing where this area is use the screenshot below.
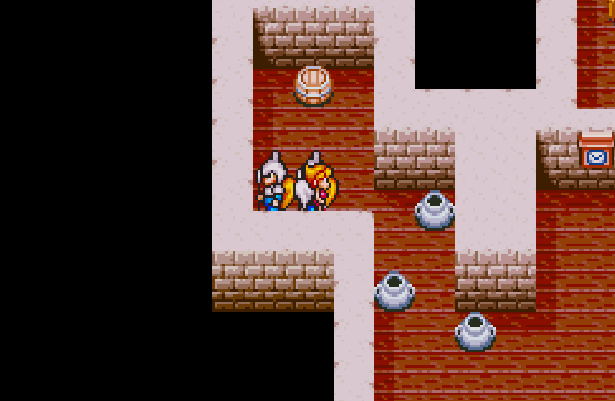
Move the Jars out of the way so you can get the Map that's under the barrel!
Now that we have the Map, we're done with everything in Romero and we're free to leave out of the town's western exit. Continue west across the World Map to reach a new area called Ramui Woods - some people call it Karma Woods though too. This dungeon is the first one we've visited that is designed to be confusing - although it still ends up being quite linear in the end.
Note: Throughout this forest you will find Red and Yellow Mushrooms. If you stand on the Red Mushrooms you'll be healed - if you stand on the Yellow Mushrooms you'll take damage.
To make your way through the Ramui Woods easily - from the entrance of the forest continue west and you will reach the exit.. That's all there is to it. As you are traveling west there will be numerous paths that branch off and go north, these paths will lead to the treasures.
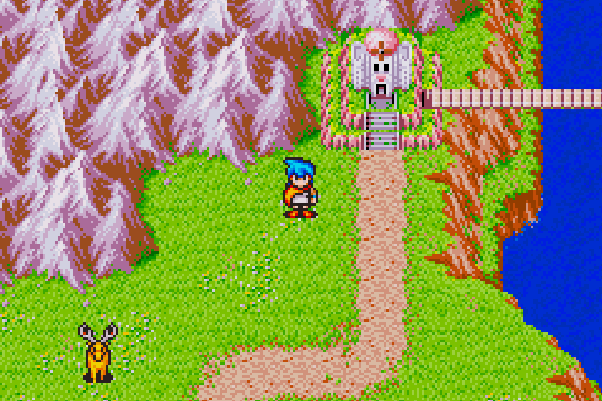
When you make it through the woods and come out on the other side of the World Map you'll find a large mossy cylindrical building which is known as Karma or Karma Tower (pictured below).
Karma Tower, our next dungeon.
Near the entrance in Karma Tower you'll find two springs that fully restore HP (similar to what we found in the first dungeon we did with Ryu). I recommend you explore a bit, grab the treasures and then hit up the spring to restore your HP before challenging the boss on the first floor of the dungeon.
The blue specter looking sprite on the first floor is a boss named Morte, the fight itself is very easy. Just attack him repeatedly and use Cura1 on Nina when needed. Once Morte has been defeated you can proceed up the stairs to the second floor. You'll want to keep going up the tower to progress the story.
As you go up the tower you'll eventually come across some holes in the ground, at first you'll only find two of them side by side - the left one will drop you down into the basement where you'll find two treasure chests and the right one will take you to the next boss. Near these holes is a staircase that will lead to four more holes, these all take you to the same location(s) as the previous two.
Use the hole on the right to fall into a new area and then go up the stairs & follow the linear path to the next boss, Mortea. She will be a harder fight than her brother, she has a bunch more HP and hits harder. A good strategy for this fight is to keep everyone healed and buffed on Nina as you whack at the boss and lower her HP.
Once you've defeated Mortea continue up the stairs she was guarding to reach the roof of this tower. Step onto the tiles on the left hand side of the roof and you will extend a bridge across to the next tower, cross and the bridge will disappear. There is an HP spring up here along with a save dragon for you. To proceed with the story open the pink door and step on the left tile to make one of the 3 girls move, now go downstairs until you reach a large open room where you will trigger a scene with the 'Wizard'.
You'll face off against the Wizard in a battle that you can't win and there will be a few more scenes after which you'll gain control of Ryu again.
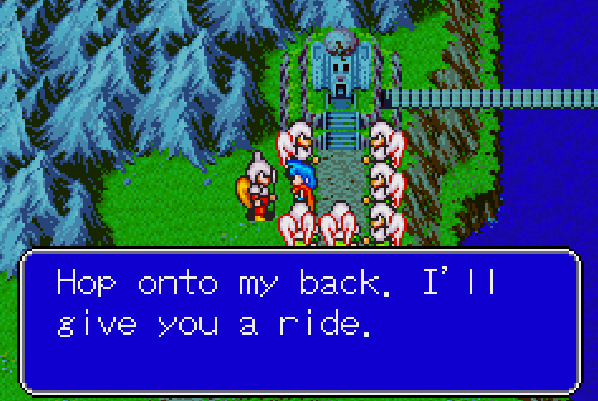
Talk to the guard to fly back to Karma Tower.
After you're back in control of Ryu visit any shops that you'd like to and then exit the town when you're ready to proceed. Talk with the guy who has brown wings (pictured above) and he will fly you back to Karma so that we can save Nina. When you arrive at Karma one of the guards will join you and fight with you much like they did with Nina (not for long though). Head downstairs into the tower and back down into the Wizard's room - the guard following you will leave you when you arrive here.
On the far side of the Wizard's room you'll find a chest with a Foil inside, a weapon for Ryu. Equip it on him immediately - not only does this weapon do more damage but it also lets you hit multiple enemies at one time. When you're ready to fight the boss, head down the middle path and you'll run into the Wizard.
This fight is a piece of cake with your new weapon, just keep hitting him until he's defeated and you'll be given the Remedy as a reward. When you regain control of Ryu you'll be back at Winlan Castle - head upstairs and speak with Nina who is standing next to the King's bed. This will trigger a scene during which Nina will join your party - we now have a healer!
During the dialogue with the King - Ryu will ask to use the tunnel as a reward for saving Nina. This is our next destination, you can find the entrance to the tunnel inside of the castle's basement (pictured below).

To continue go through the tunnel in the Winlan Castle basement
Talk to either of the two guards that are standing at the tunnel's entrance and they will move out of your way. Going through this tunnel will put you on a new part of the World Map - I recommend you explore a bit while leveling up, but that's up to you. Our destination is the town of Tantar which is southeast from the tunnel, there is a picture of it below.
If you're struggling to find Tantar you can always open the Map we got earlier - that will make exploration on the World Map significantly easier. Scroll up on this page if you skipped the World Map portion in Romero, I covered it a little bit further up this page. Press Start to open the Map while you're on the World Map.
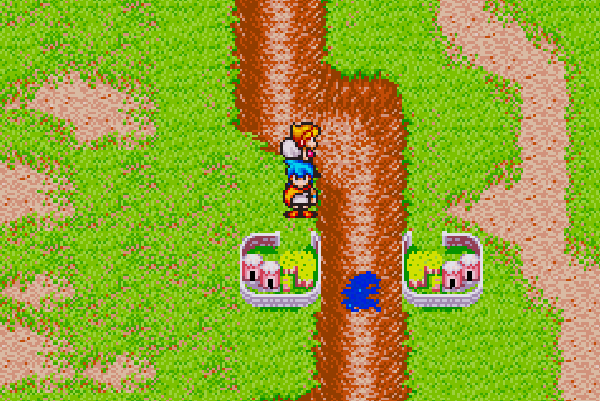
Tantar on the World Map.
We only have one story objective inside of Tantar - the building in the bottom right portion of town with a chimney will have an old man Blacksmith who we need to visit. Talk to him and he will offer to make you a Saw if you trade some I.Ore to him... hopefully you listened to me earlier in this guide and picked up the I.Ore while we were in the cave near Winlan... If not you'll have to back track all of the way there for it.
You can use the Saw to cut down a tree that's blocking our path to the next area. Before we get to that though now is your chance to do some shopping and save your game. It's up to you if you'd like to upgrade Ryu's weapon or not (I don't recommend it). The weapon for sale for Ryu is a single target one but it does more damage, so you give up AoE damage for more single target damage if you swap to it.
Once you're done in this town leave and continue back towards the tunnel we originally came out of (the tunnel is northwest of Tantar). As you make your way to the tunnel you'll pass a unique looking forest (pictured below). If you tried to enter this area previously you'll have gotten a message about a tree blocking your way... now you know what the Saw is for!
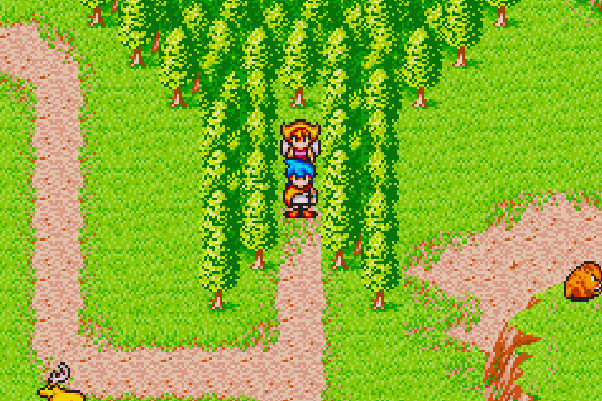
The entrance to the Forest of Despair
Use the Saw to cut down the tree that is blocking your way into the Forest of Despair and head inside.
Continue to Breath of Fire Walkthrough (Chapter 2)
Return to Breath of Fire Walkthrough & Guides Index