
Chapter 1 Walkthrough - Baldur's Gate 2
You start the second Baldur's Gate game inside of a dungeon after being taken hostage by an unknown assailant. Imoen will talk to your character and give you some background details on everything happening after which you'll be free to explore the area. Unless you chose otherwise at the start of the game you'll begin with a single character; you'll notice from the screenshots on this page I started with 2 custom characters. I wanted my own Thief since I don't like any of the Thief companions you get early on in this game.
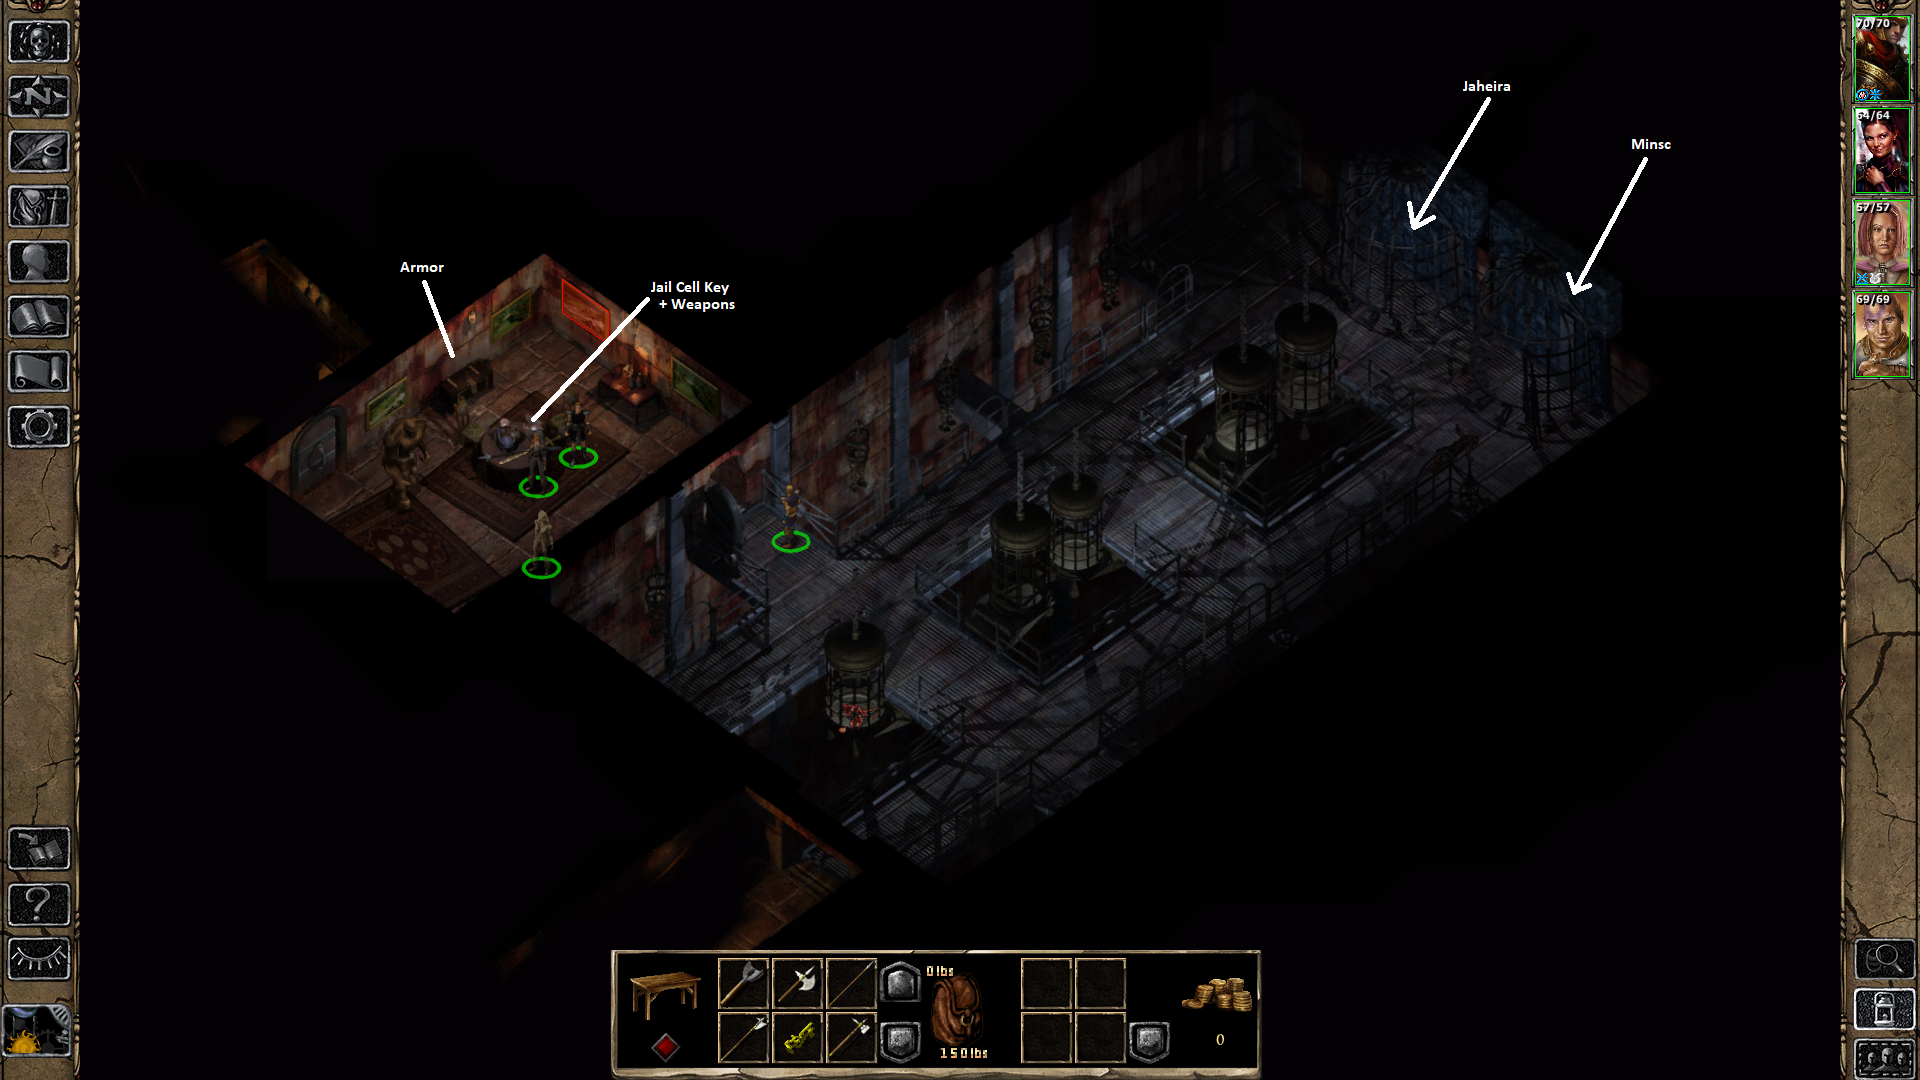
The first thing you'll want to do is visit Minsc in the cage behind where you start out and talk to him. Choose dialogue options that will make Minsc very upset and he'll break free of the cage on his own giving you another party member. Once you've got Minsc you'll want to visit the room northwest of where you began (pictured above) and investigate the nearby table for the Jail Cell Key. This is the item we need to free Jaheira.
Tip: If you need help finding things when exploring dungeons in this game hold down TAB and it will highlight all objects that you can open for loot. The only objects it doesn't highlight are ones that you can interact with in the environment.
Before going anywhere else in this dungeon I recommend you visit the room where we got the Jail Cell Key and outfit your characters with the available armor and weapons. Make sure you check who specializes in what weapon so you give everyone the appropriate equipment.
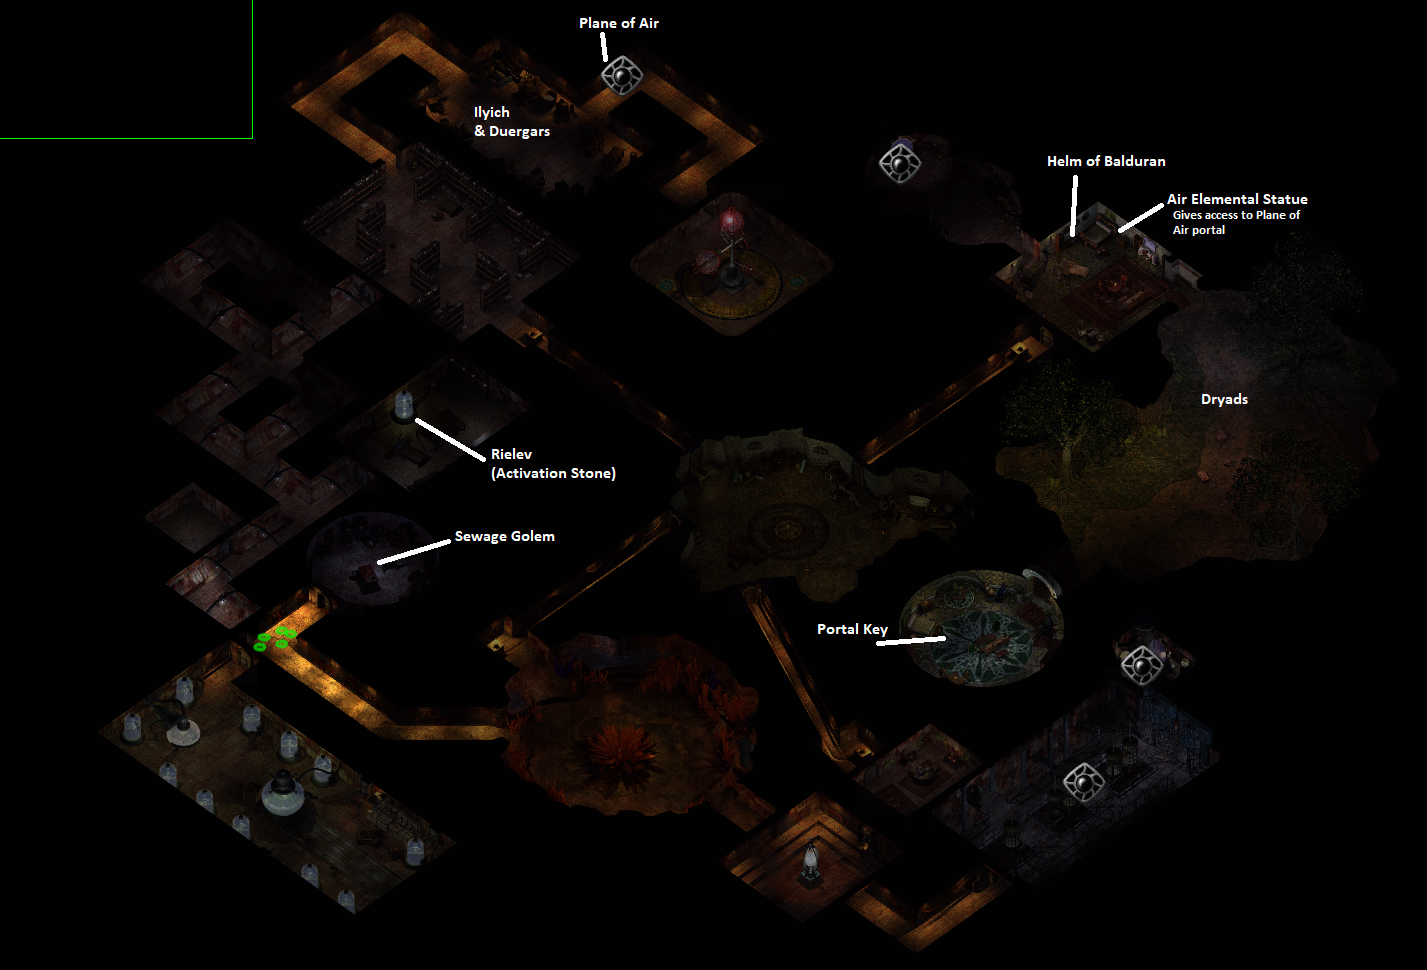
In order to progress to the second level of this dungeon you will need to complete the following tasks on the 1st floor. Use my map screenshot below if you need help locating any of these objectives.
To Advance Story at on Level 1:
1. Obtain the Activation Stone from Rielev
2. Use the Activation Stone on the Sewage Golem to open doors
3. Visit the Mistress' Bedroom and loot the Portal Key
4. Use one of the portals to travel to Level 2
Throughout level 1 of this dungeon you'll find various magical weapons and armor with +1 or +2 on them that will change depending on the character you're playing. Imported Characters from BG1 will get an item they were wearing at the time of the import, if they had one of the items that can be imported. If no item is available for import then you'll find a default item at the location (or in the case of the Sewage Golem Room you'll find an item for your class).
Below is a list of all the imported items you'll find throughout Level 1 and where they can be found.
(Weapon Import) Sewage Golem Room: The Burning Earth (Flame Tongue +1), Ashideena +2, Wizard Slayer (Bala's Axe), Suryris's Blade +2, The Grave Binder (Longtooth +2), Staff Spear +2, Staff Mace +2, Sling +3, Varscona +2, Krotan's Skullcrusher +2, Kiel's Morning Star +3
(Armor Import) Ilyich/Duergar Room: Protector of the Second +2, Mail of the Dead +2, Fallorain's Plate +1, Chain Mail +3
(Helm Import) Master's Bedroom: Helm of Balduran, The Claw of Kazgaroth, The Horn of Kazgaroth, Koveras's Ring of Protection
As far as optional content goes on the first floor you'll want to take out Ilyich and his Duergar buddies not only for the armor they drop but also for the Acorns. You'll want to give these Acorns to the Dryads in the eastern side of the area to start the Helping Irenicus's Captive Dryads Side Quest. Also, in the northern portion of the first floor you'll find a locked door that leads to the Plane of Air.
To open this door you'll have to loot the Air Elemental Statue from the Master's Bedroom. You'll meet a Djinni inside the Plane of Air who will start the Freeing the Djinni Side Quest; to complete this side quest all you need to do is speak to the Dryads and get the flask from them then return to the Djinni. For this quest (if you're playing the Enhanced Edition) you'll be rewarded with a magical weapon for your class.
When you are ready to proceed to the next floor of the dungeon you can use either the Portal in the Master's Bedroom or the Portal nearby the jail cells where we first woke up. Both of them will take you to the next level. Immediately upon arrival you'll meet Yoshimo who is a potential companion and plot point later in the story.
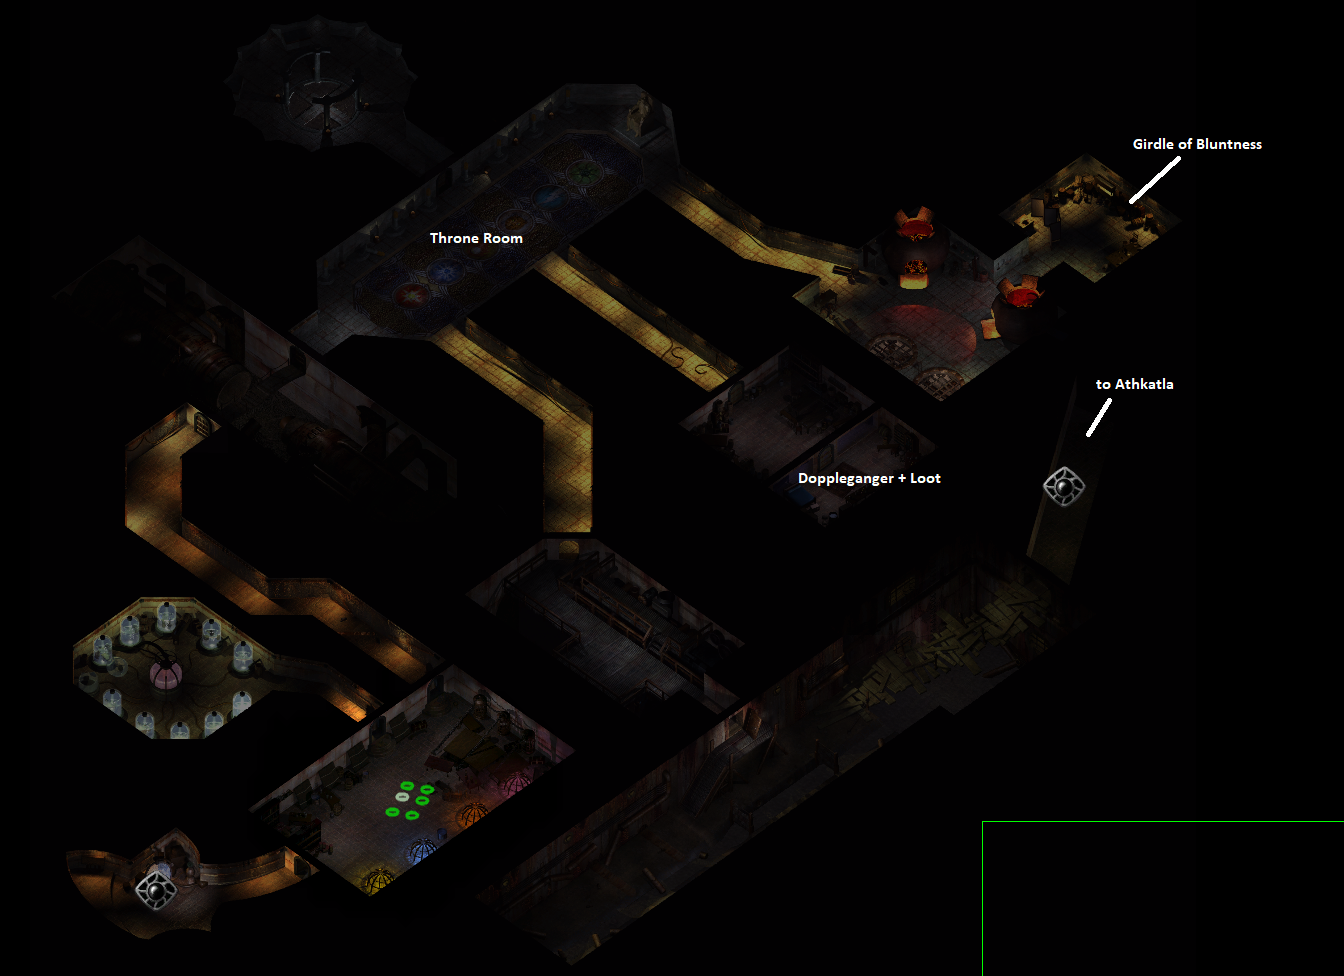
The biggest obstacle in your path on the 2nd floor will be the traps in the Throne Room; I have the location of this room marked in my screenshot above. In order to disarm these traps you'll need keys that can be found in various places around this dungeon -- once you have the appropriate key you'll want to click the pillar along the northern wall above each trap to disarm it.
You can pass these traps if you're careful without disarming them by hugging the northern or southern walls so I kind of consider disarming them to be optional. There are a few other magical items on this floor for you to find but nothing is very notable. When you're ready to leave this dungeon and continue with the story take the exit in the eastern part of the area.
Warning: Once you leave this dungeon you will never be able to return so make sure you're done with everything in here before going through the exit to Athkatla.
When you zone out of Irenicus' dungeon there will be a scene involving him and some guards after which Irenicus as well as Imoen will be taken away by a group known as the Cowled Wizards. This puts into motion the next chapter of the game which involves us collecting enough gold to free Imoen from her servitude.
Now that we have access to vendors I would recommend you take some time selling the loot we have that you don't want and also finding a place to rest before moving on. When you're ready to start with the next chapter of this game all you need to do is visit the Athkatla Slums.
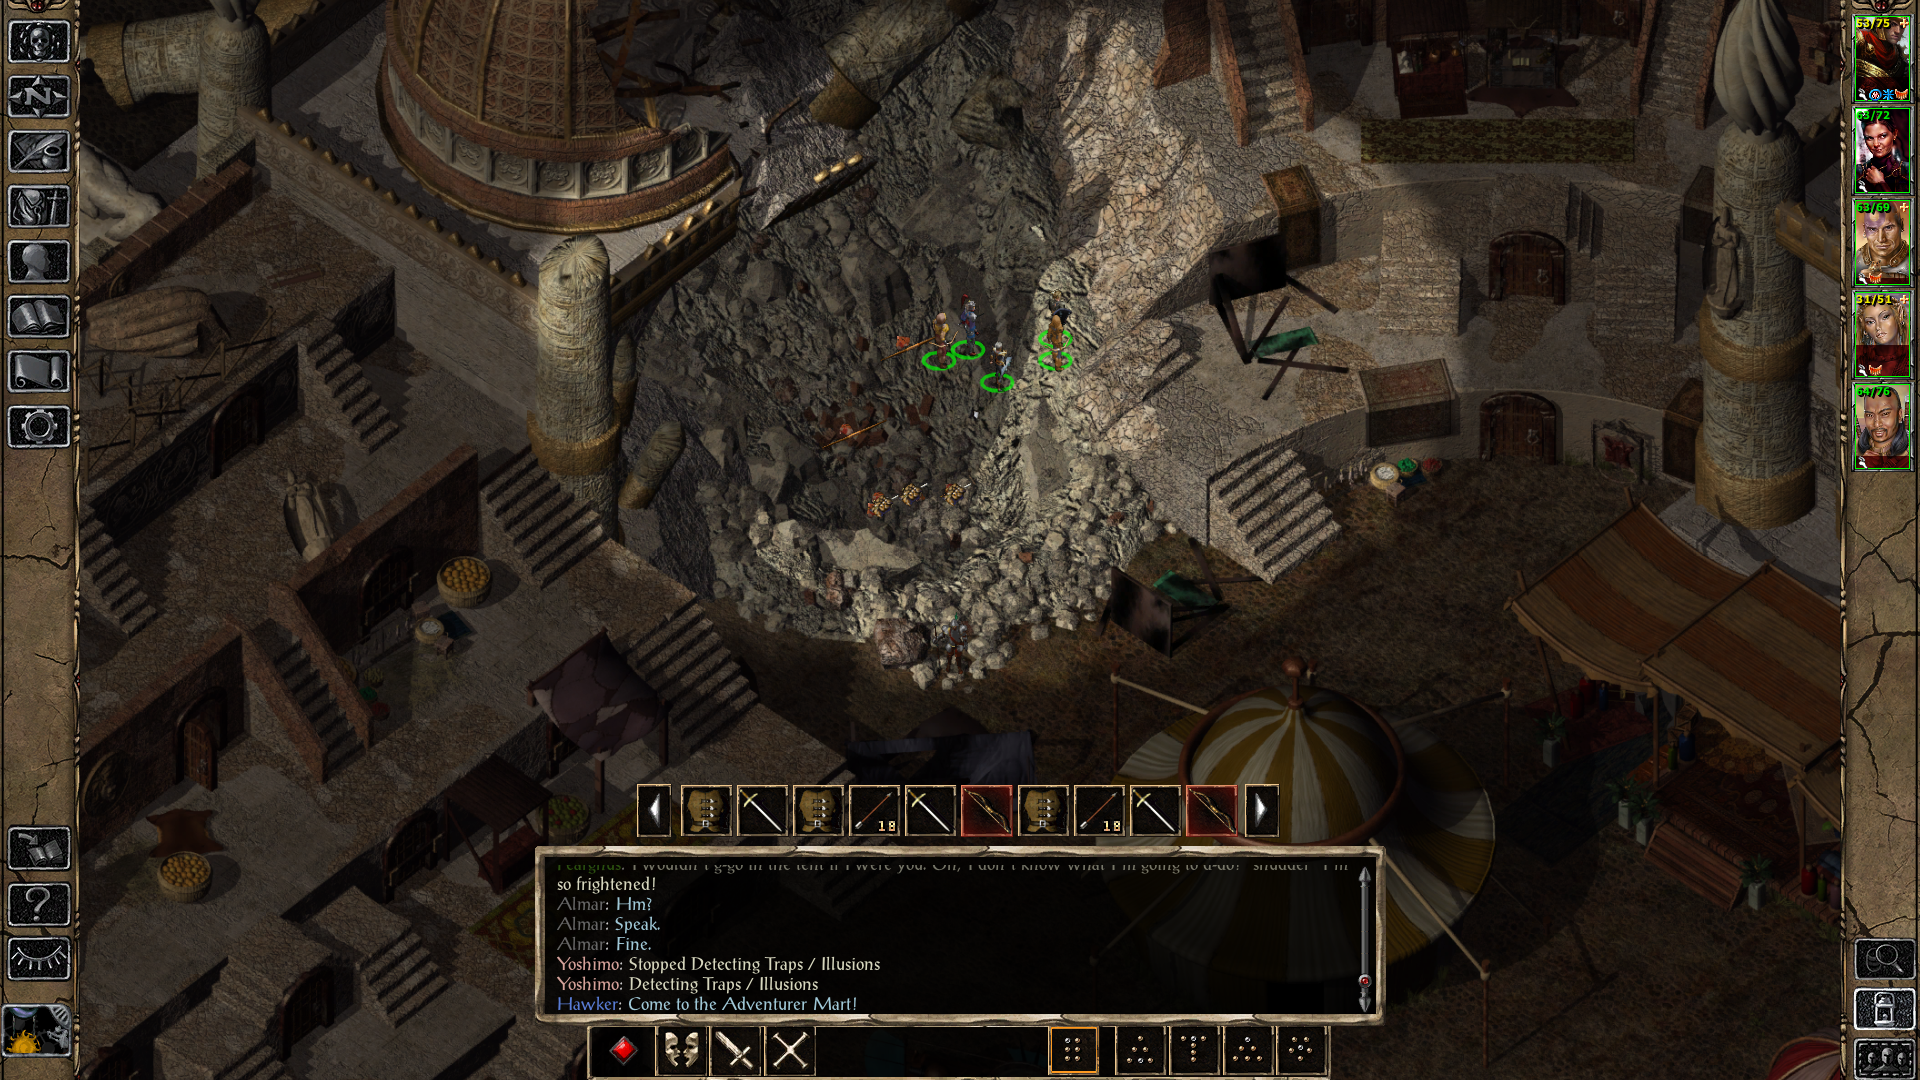
The Adventurer Mart in Waukeen's Promenade has the largest amount of magical items and various goods that you may be interested in. This includes the Gem Bag item which you may want to purchase if you plan to loot in this game and not cheat for money.
Continue to Walkthrough Chapter 2