
Baldur's Gate 1 - Chapter 3 Walkthrough
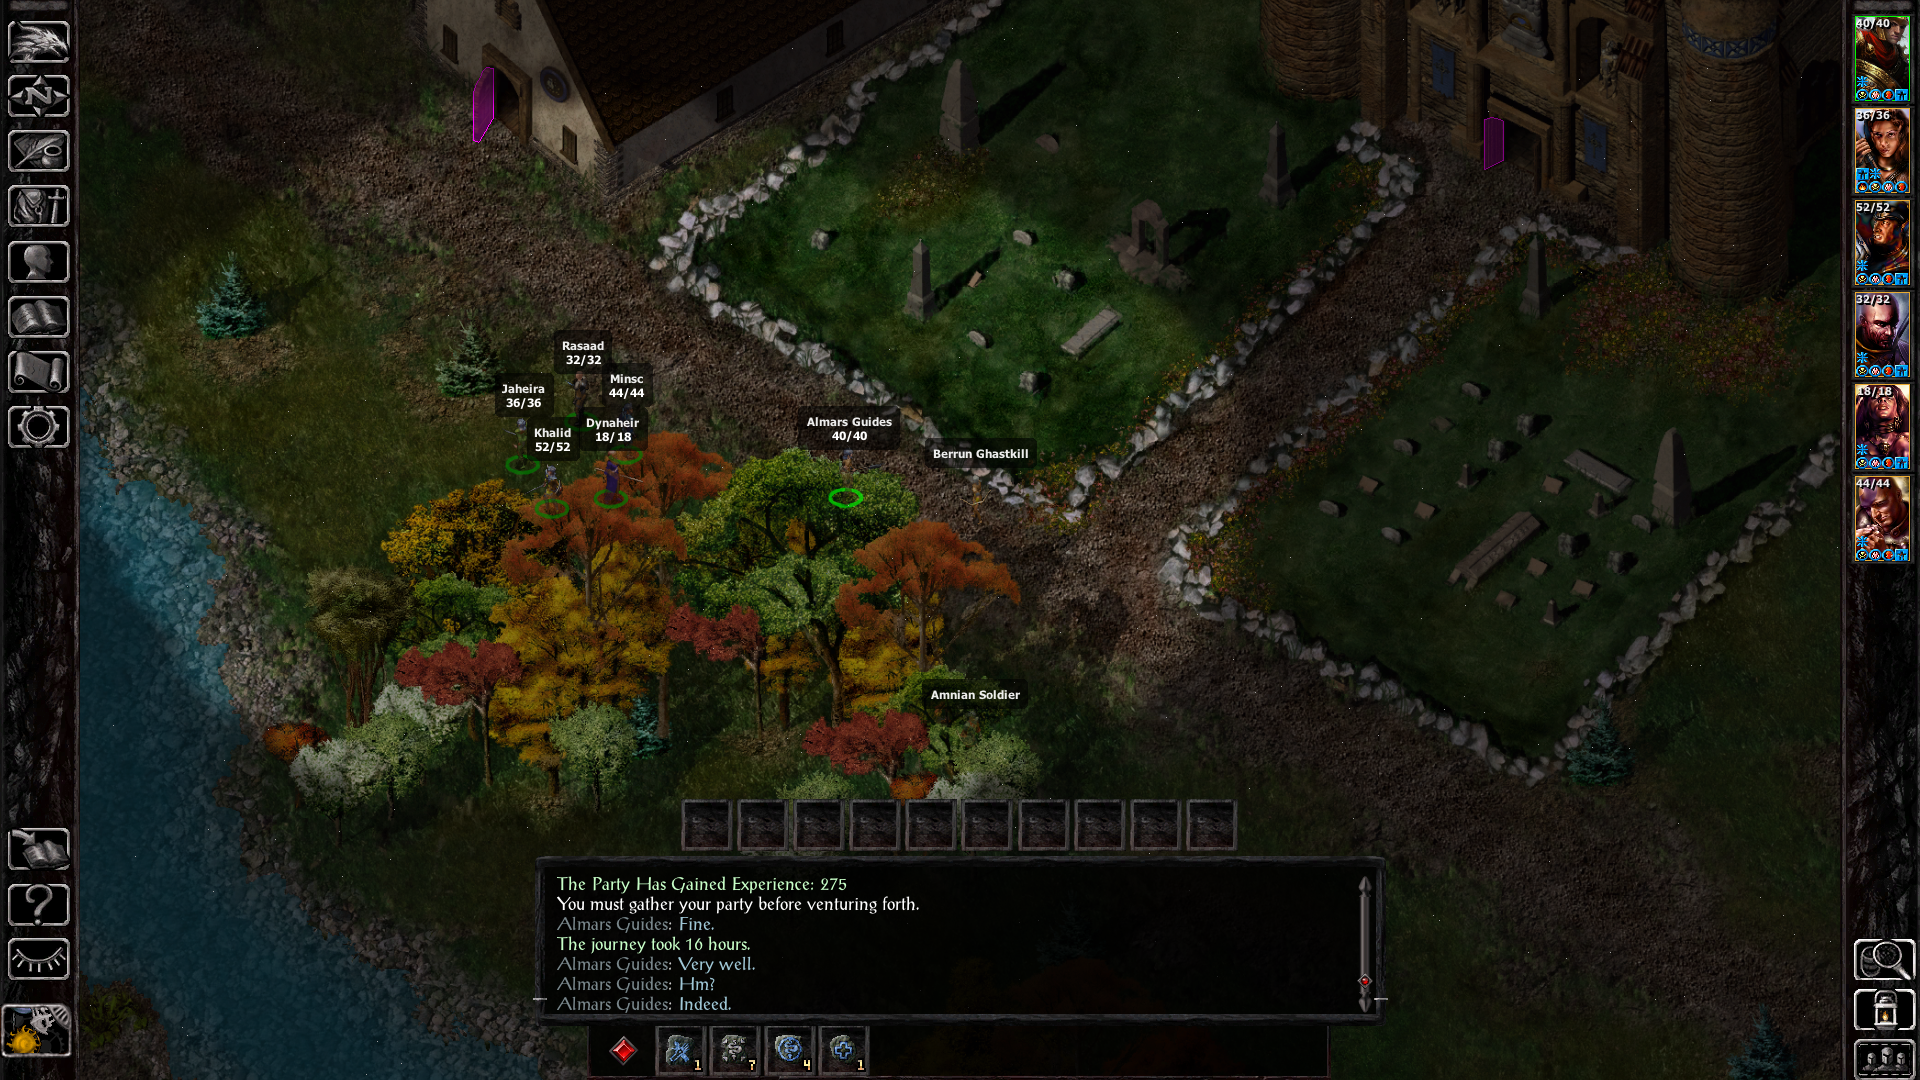
At the start of Chapter 3 the very first thing you should do is return to Nashkel and speak with Berrun Ghastkill to turn in Mulahey's Holy Symbol for some EXP and Gold. Our next destination is Feldepost's Inn in the town of Beregost to the north where we will confront Tranzig on the second floor. You can kill him or make him surrender and tell you the location of the Bandit Camp that we need. If Branwen is in your party you will have to fight him as these 2 have a history.
To learn the location of the Bandit Camp if you kill him simply read the Letter that he drops. At this point in time you technically have a few methods of reaching the Bandit Camp available. In Larswood you can find a bandit named Teven and in Peldvale there will be a bandit named Raiken; you can talk to both of these people and either let them capture you or convince them you want to join them. Depending on what dialogue options you choose they will either take you to the bandit camp or attack you.
If you're successful in joining the bandits then you'll be friendly to all the bandits at the camp except 4 of Tazok's men inside of his tent. All you need to do is defeat them, disarm the trap on the chest and then loot it. The Letter inside will tell you the next destination and this will be the end of Chapter 3.
Those of you like myself that already cleared Larswood and Peldvale earlier in the game and killed both Raiken and Teven will have to visit the Bandit Camp the old fashion way. Go to Peldvale and exit this zone to the north to unlock travel to the Bandit Camp on your map.
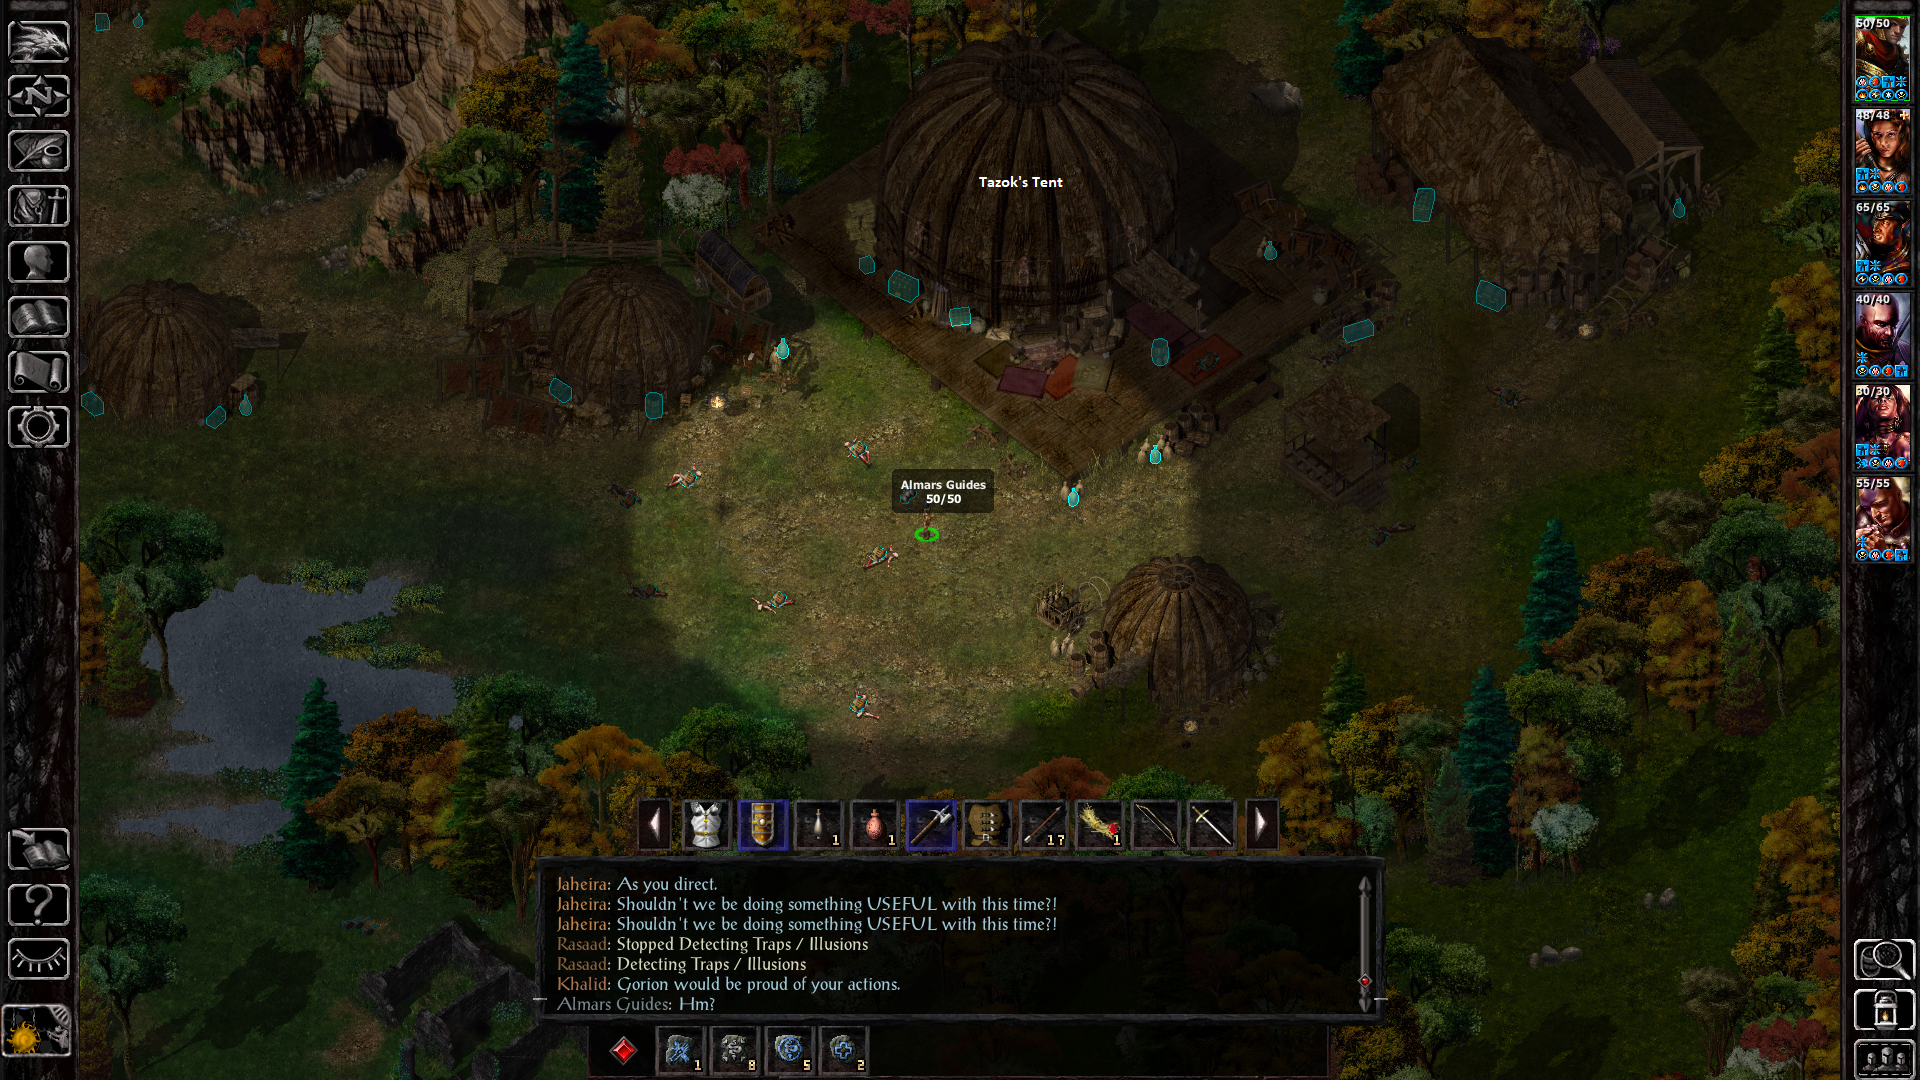
Once you've arrived at the Bandit Camp zone you'll want to head to the northern most portion of the area which is where their actual camp is. There are about a half dozen tents you can investigate that will contain various items along with a couple of different events that you can initiate for EXP like the cave full of Gnolls that is here. If you came to this camp peacefully I recommend you turn it hostile at some point because you'll be able to collect more loot and EXP this way.
As far as loot in this area goes... There is a bandit by the name of Taurgosz Khosann whose found in the northeastern portion of the bandit camp outside of Tazok's Tent who will drop a couple of good magical items for you and your party. You'll also find a couple of good items in the containers surrounding Tazok's Tent. Inside Tazok's Tent you'll find even more loot, his four henchmen will drop some items for you and there's more goodies inside a chest that we open for a Letter to progress the story.
Taurgosz Khosann: Medium Shield +1, War Hammer +1 and Full Plate Armor
Containers Near Tazok's Tent: Medium Shield +1, Short Sword +1 and Wand of Fear
Four Guards In Tazok's Tent: Longbow of Marksmanship, Mage Robe of Fire Resistance
Chest in Tazok's Tent: Letter* (Quest Item) and Gauntlets of Weapon Expertise
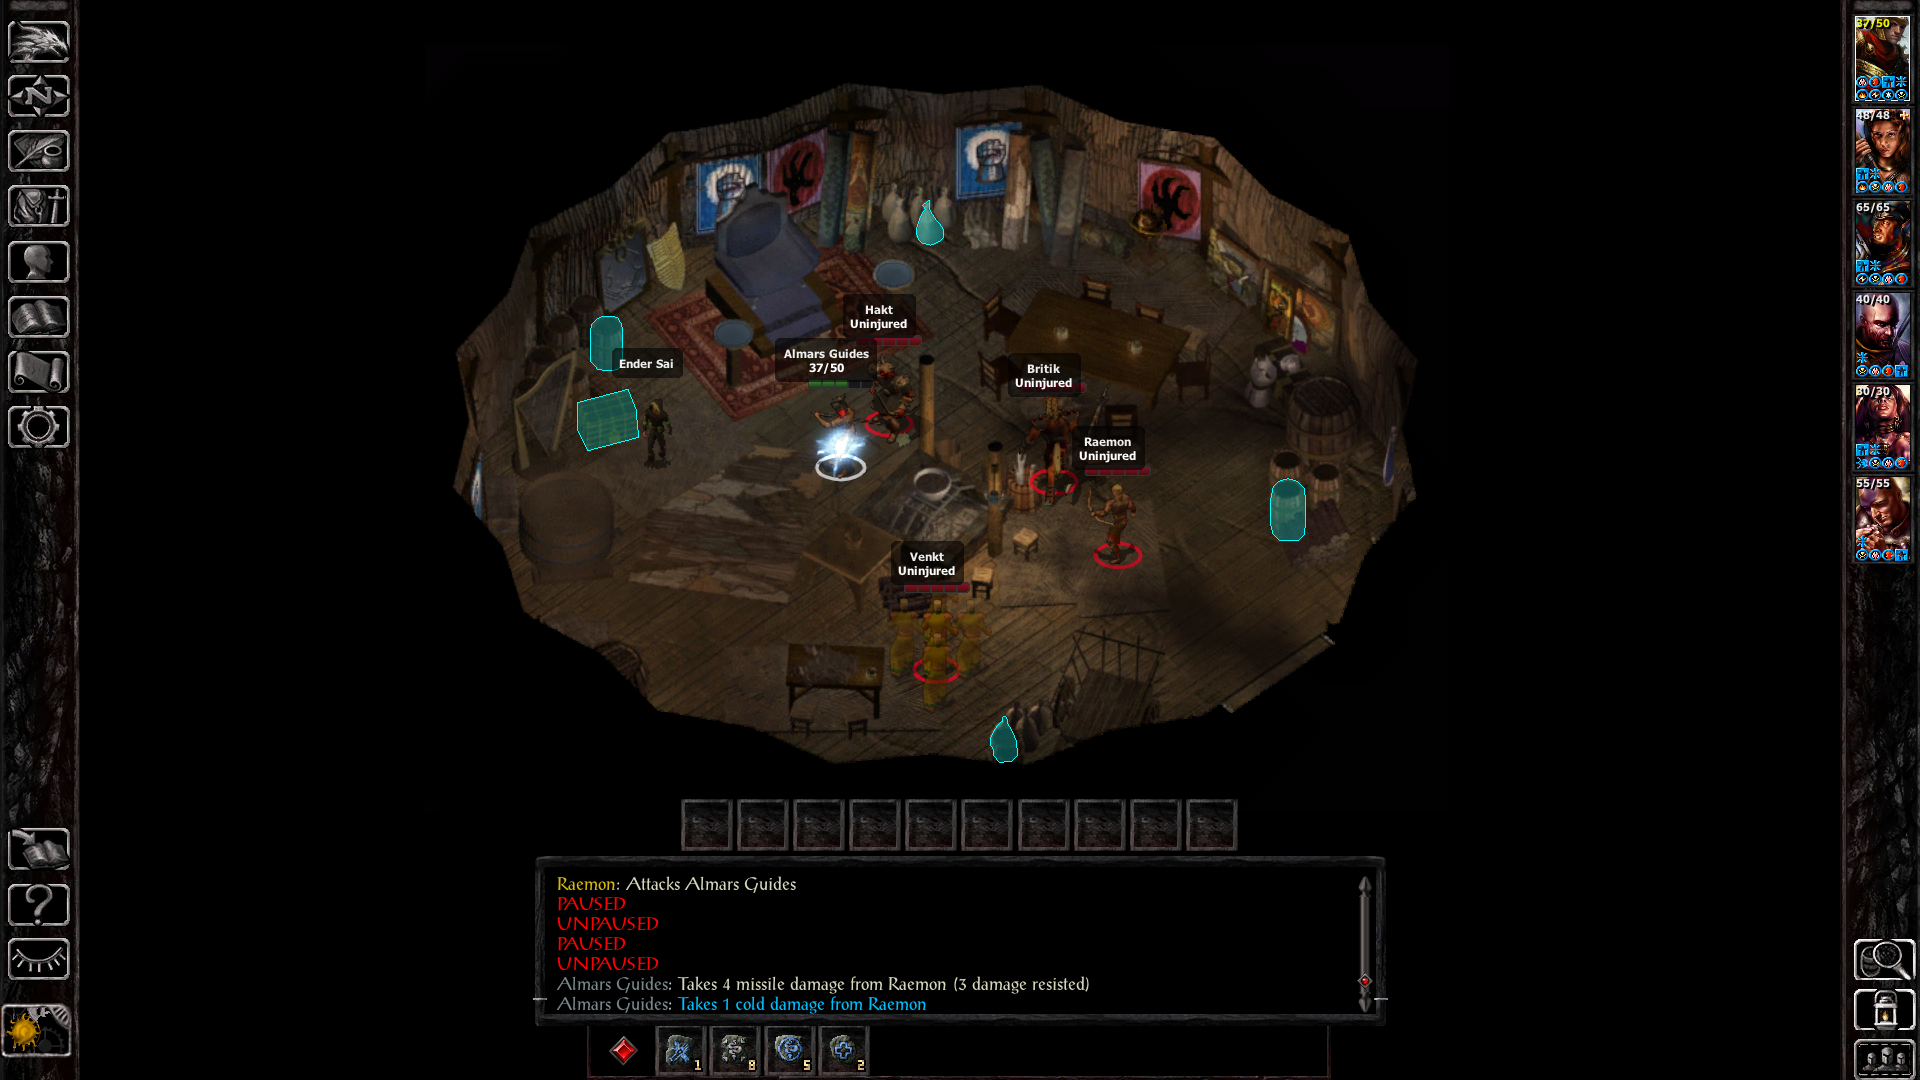
Inside Tazok's Tent you'll have a pretty tough boss fight - focus the mage first and you should be fine. Before touching the chest near Ender Sai you should disarm the trap otherwise the Lightning Bolt that shoots out will instantly kill Ender Sai. As far as I am aware there is no penalty for getting him killed though, it happens often with me. You need to loot the Letters inside of the chest and read them to update your primary quest.
A cutscene will play after you've read them and you will be done with Chapter 3! This was a short one, if you want to do some exploring before moving onto the next chapter I recommend you follow one of my links below. Both of these guides break the world map up into a top and bottom and explains what you should expect to find in every Wilderness Zone in that portion of the map.
World Overview for Wilderness Zones on the Bottom of the Map
World Overview for Wilderness Zones on the Top of the Map
Once you're finished with exploring and ready to move onto the next chapter of the game and this walkthrough follow the link below.