
Mission 4: Attack on the Impenetrable Fort Schmerzen - Medal of Honor Walkthrough
Medal of Honor has 7 missions in total and each mission will have 3 to 4 unique levels. This mission has three levels for you to complete and introduces a few new challenges, you'll be dealing with gun nests more often now and even enemies on tree platforms. My advice for dealing with the gun nests is to step forward enough to spawn the enemy in and see where they are then back up until they stop shooting. From here, shoot into the darkness where the gunner is to take him out.
Mission 4 Walkthrough Youtube Video (Levels 1, 2 and 3)
Level 1: The Siegfried Forest
Objective 1: Destroy Stuka Dive Bomber
Objective 2: Locate Crowbar
Objective 3: Open Hatch to Enter Fort
Objective 4: Find Entrance To Sub Level 1
You'll have a new annoyance to deal with on this mission, enemies will be in tree stands now! Keep an eye out on the trees above you, it's sometimes easy to miss some Germans up there. Our first objective of this mission is found deep into the level, you'll be lead to a large open area with a plane (pictured below). All it takes is one grenade to destroy this plane but there's one catch... Across from the plane is a gun nest with a pesky enemy inside.
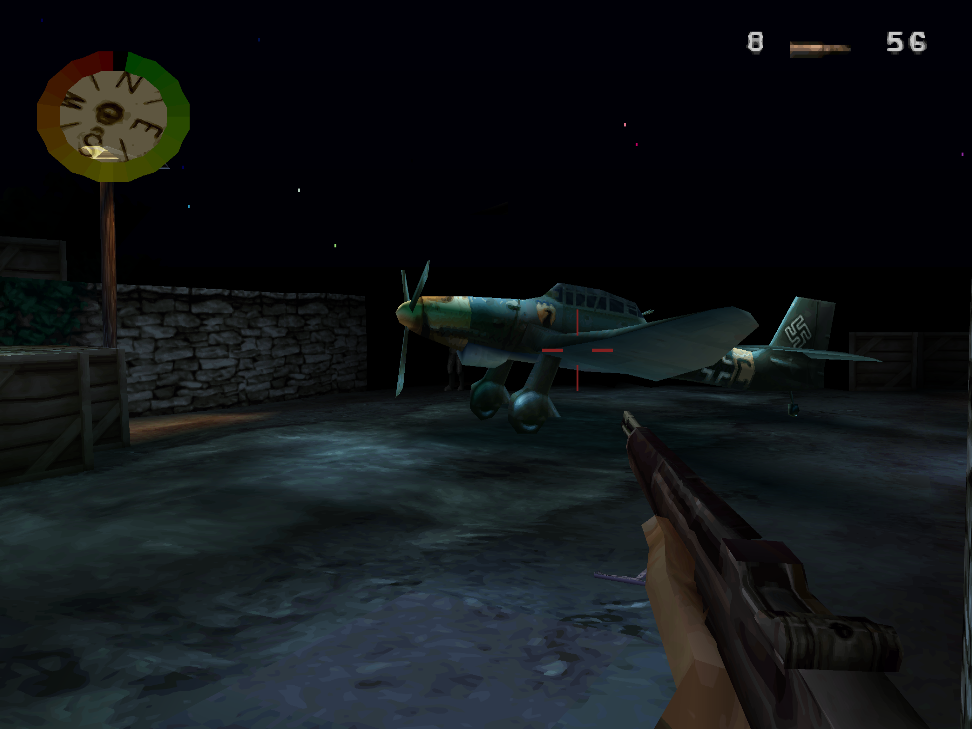
We have two options for dealing with the gun nest, use a rifle and try to hit him from a distance or try to lob grenades at him. I prefer the rifle approach since trying to throw a grenade in this game is... an experience.. One tip I can give you is to edge up close enough to see the gun nest and for him to start firing. Back up and remember the location he shoots you from, shoot in this area with your rifle to take him out.
Across from the plane is a gate, open it and continue into the next area. You will find a Crowbar (Objective #2) in this area, it's placed against the wall near two gun nests (pictured below). Just like with the other gun nest, I recommend you shoot at it from a distance using your rifle. Nearby where you found the Crowbar there will be a sign and a path you can go down next to it, follow this.
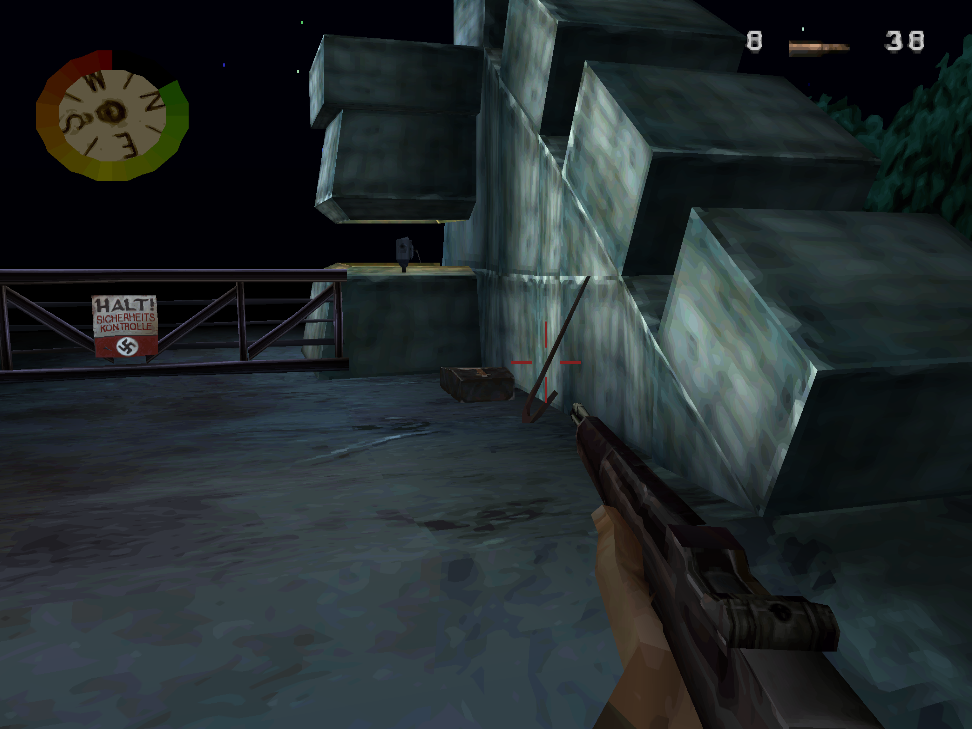
There will be a few more gun nests for you to deal with, just like before shoot at them from ranged with your rifle. Eventually you will come to a large building with a lot of pyramid shaped rocks in the courtyard that you can use for cover. This building will also have multiple gun nests, inside of here is where you'll find the hatch for objective #3. Go down the hatch and follow the linear route to the final objective and the end of the mission. There's just a few more enemies and another gun nest in your way.
Level 2: Officer's Quarters
Objective 1: Send False SOS
Objective 2: Find Orders From Col Muller
Objective 3: Acquire Key to Lower Levels
Objective 4: Find Gas Mask
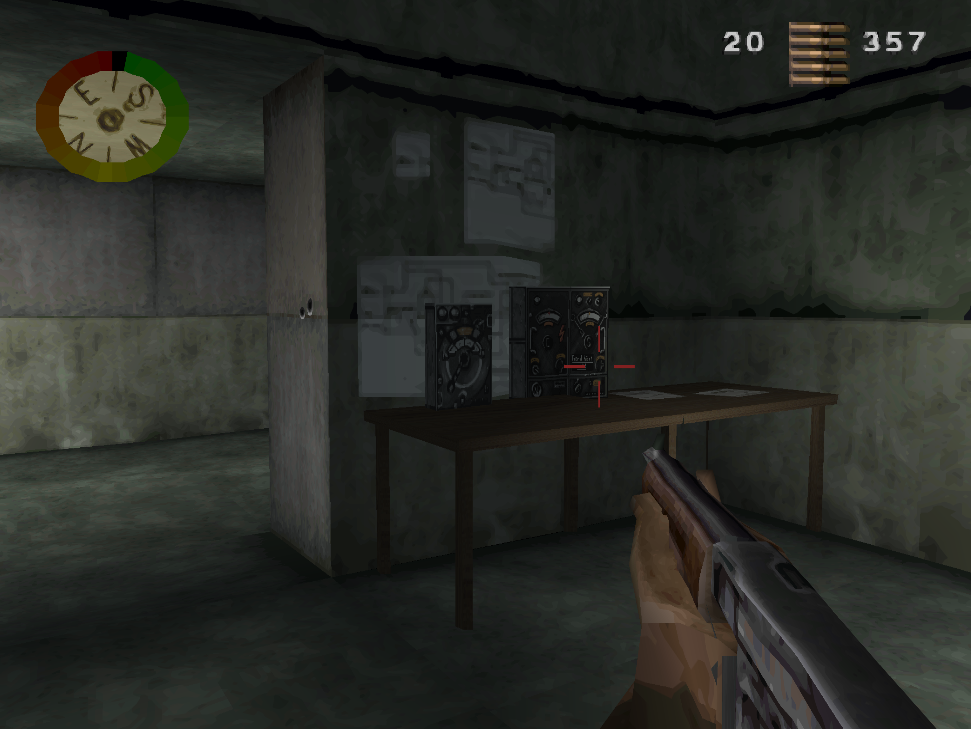
The first objective is found in a side room near the start of the mission (pictured below). It can be easy to miss if you're in a rush, so remember to check your corners!
After the room you send the false SOS in you'll start to come across many ladders which lead to gun nests and ordinance left on the floor (including boxes). Start shooting all of these to blow them up and potentially get you some items. Eventually you will hit a dead end with a large (what appears to be a flak cannon); near this area there will be a box on the ground which you can explode to clear the path to a ladder.
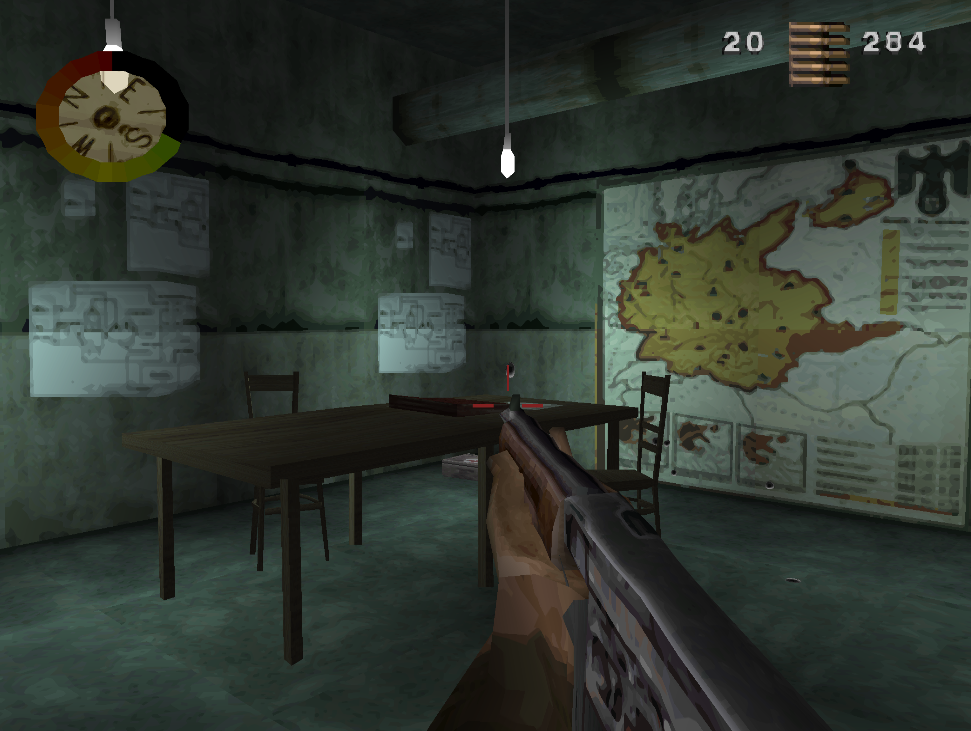
Keep following this path and you will run into the room pictured below. You'll find Col Mullers Orders ontop of the table in this room.
Things start to get a little more confusing after you get the orders, exit the room and instead of going up the ladder or dropping down--follow the hallway to your left of the ladder. You will find a tunnel that is partially destroyed and a ladder you can climb to reach a new area. Go up the ladder and follow the path until you reach a blue door.
For right now the blue door is locked, but once we complete the last two objectives you'll need to return to this door to finish the mission. The last two objectives are found in the same hallway, you'll find the Gas Mask on a table in the first room and in the second room you'll find a soldier taking a leak (pictured below).

The Key to Lower Levels is found here
My first time through this mission I got stuck on this part because I could not find the key. Once the soldier dies you'll need to run over and pick up the key which is inside the toilet in that room, it's a pretty uncommon location for a key... Return to the blue door I mentioned earlier and open it, inside you'll find a ladder down which ends the level.
Level 3: Mustard Gas Production
Objective 1: Activate Gas Valve 1
Objective 2: Activate Gas Valve 2
Objective 3: Exit Fort
Use your Shotgun throughout this level, it's all close combat and there are tons of enemies. Also, don't push forward too quickly when clearing areas or you will get enemy spawns behind you. Enemies will spawn into areas you've already cleared which is kind of annoying.
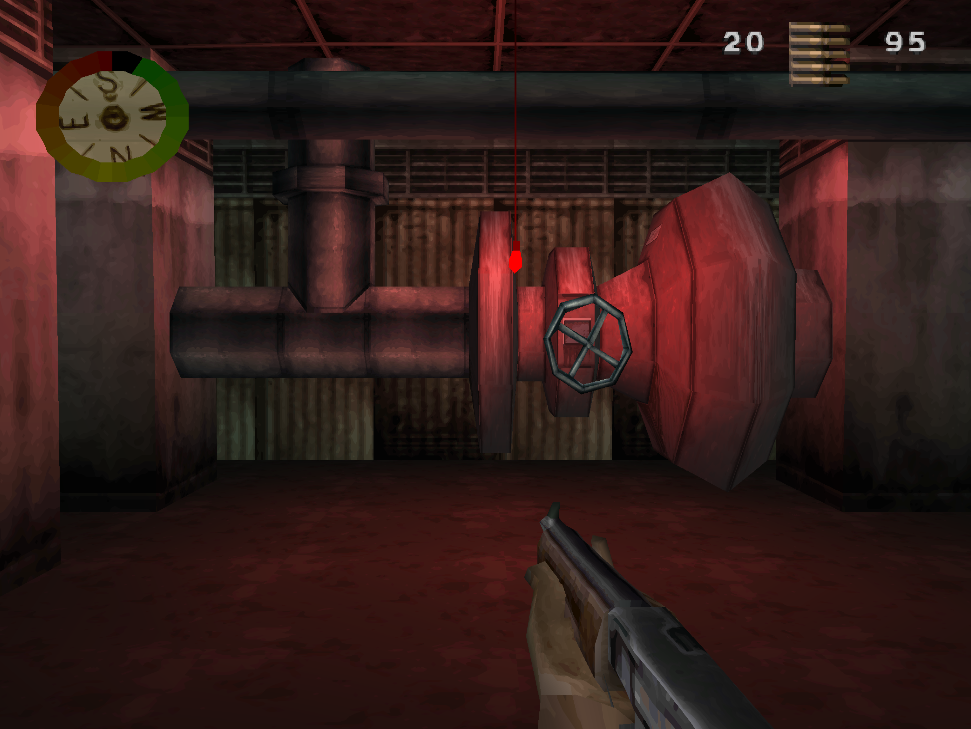
Both Objective 1 and 2 are found in adjacent rooms towards the end of the mission, a picture of what you're looking for is shown below. You won't have any issue finding these objectives or the end of the mission, the whole level is pretty linear.
At the end of the level you'll have to jump over some pipes and climb a ladder to reach an air duct. Jump into the duct to finish the mission.
Continue to Mission 5 Walkthrough
Return to Mission 3 Walkthrough