
Facilities Guide - State of Decay 2
Facilities in State of Decay 2 are buildings that you create that give your base unique and interesting benefits. This guide will go over all of the best Facilities in State of Decay 2 and what makes them superior to the other ones in the game.
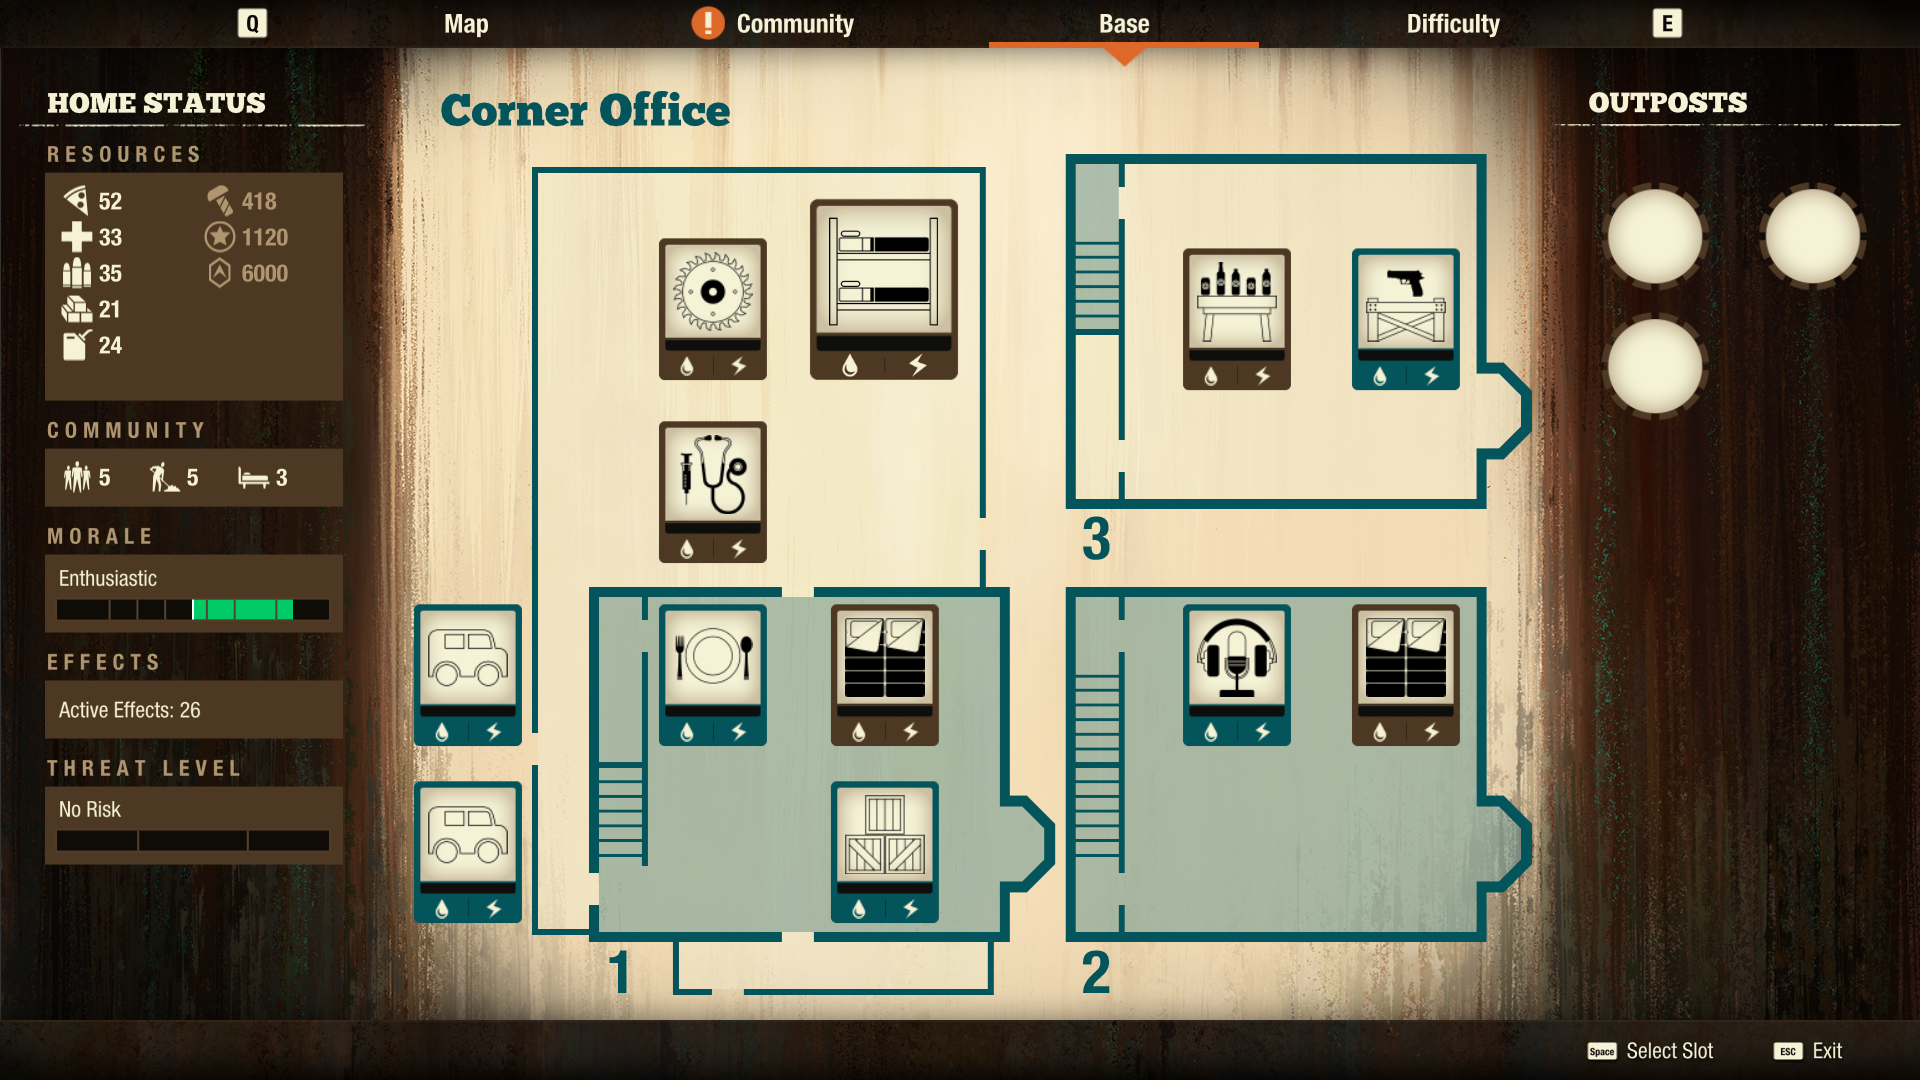
In State of Decay 2 (for the most part) the only Facilities that are actually required are an Infirmary, Beds and a Workshop. The Infirmary (when upgraded to level 2) will heal injuries and trauma on your inactive characters which is extremely important. As for the Workshop, it allows you to repair weapons and also create Molotovs which are one of the best items to use when it comes to destroying Plague Hearts.
Almost every other Facility that you can make in State of Decay 2 only offers you quality of life improvements. For example, two of the better Facilities not listed here are Garden/Farm which provide you with a steady source of daily Food for your Community. The Auto Shop is another Facility worth mentioning as the higher difficulty level you play on the more useful it becomes; it allows you to craft repair kits for your vehicles as well as upgrade kits.
Let's start with a list of the Facilities in SoD 2 that let you craft difference resources for your base. These provide you with alternatives for gathering resources instead of having to scavenge each time you need something. (Note: Keep in mind that some bases, like the Lumber Yard on Providence Ridge map, allows you to craft Materials in the base as well).
Facilities That Let You Craft Resources:
Food: Kitchen Level 1 (6 Boxes of Seeds, 6 Jugs of Ethanol and 1 Labor for 12min)
Medicine: Infirmary Level 2 (5 Cases of Chemicals, 5 Jugs of Ethanol, 15 Parts and 1 Labor for 6min)
Ammo: Workshop Level 2 (3 Cases of Chemicals, 15 Parts)
Materials: Forge Level 1 (240 Parts, 1 Fuel and 1 Labor for 5min)
Fuel: Still Level 1 (3 Food into 2 Fuel)
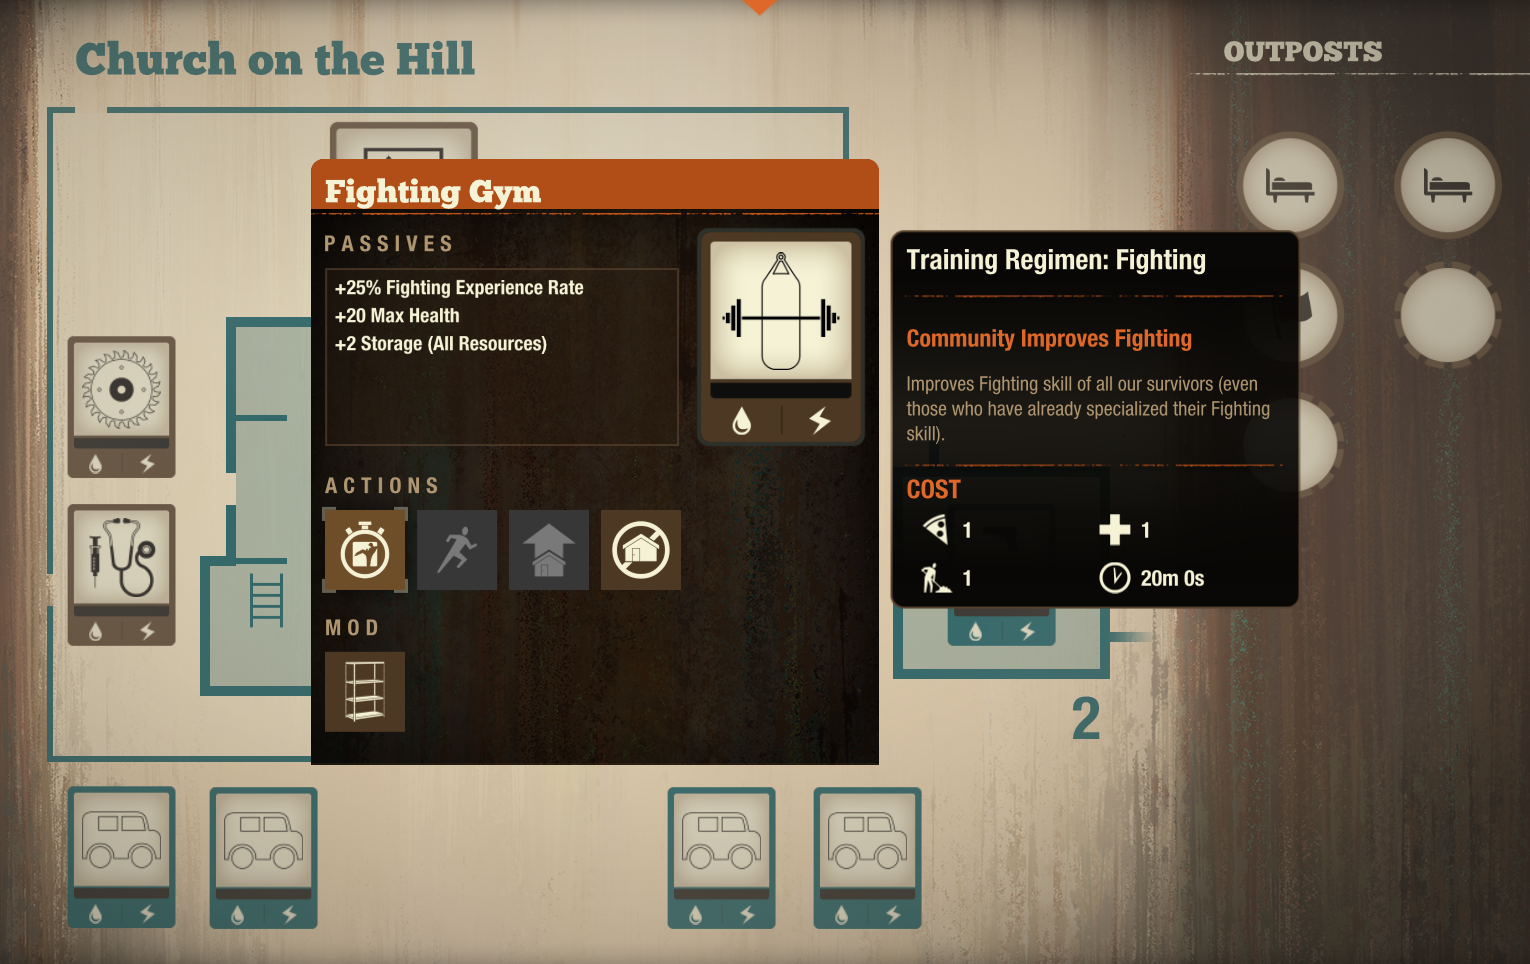
Along with the ability to craft resources, there are other Facilities that provide you with extremely useful benefits as well such as the Fighting Gym and Shooting Range. At the Fighting Gym you'll be able to train Fighting for your entire Community at the cost of 1 Food, 1 Medicine and 1 Labor for 20minutes. If you choose a Warlord Leader for your Community you'll be able to train Cardio in addition to Fighting.
With the Shooting Range you're able to train Shooting on all members of your Community for 2 Ammo and 1 Labor for 20 minutes. Additionally, you're able to upgrade the Shooting Range to level 2 if you choose a Sheriff as your Community leader which will allow you to train the Wits ability as well as increasing your earned Wits experience.
Having a Fighting Gym as part of your Community grants you a passive benefit that increases all Survivors Health by +20 and all Fighting EXP earned by 25%. Having a Shooting Range as part of your Community grants you a passive benefit that increases all Survivors Stamina by +20 and all earned Shooting EXP by 25%.
From my personal experience, what determines the most useful Facilities for you personally will be what difficulty you are playing on. When you play on anything but Nightmare/Dread zone you probably won't ever need an Auto Shop because you won't need massive amounts of toolkits. Also, on Nightmare and Dread Zone it makes a lot more sense to do a Fighting Gym and a Shooting Range as EXP is harder to get and the added passive benefits help a lot more.
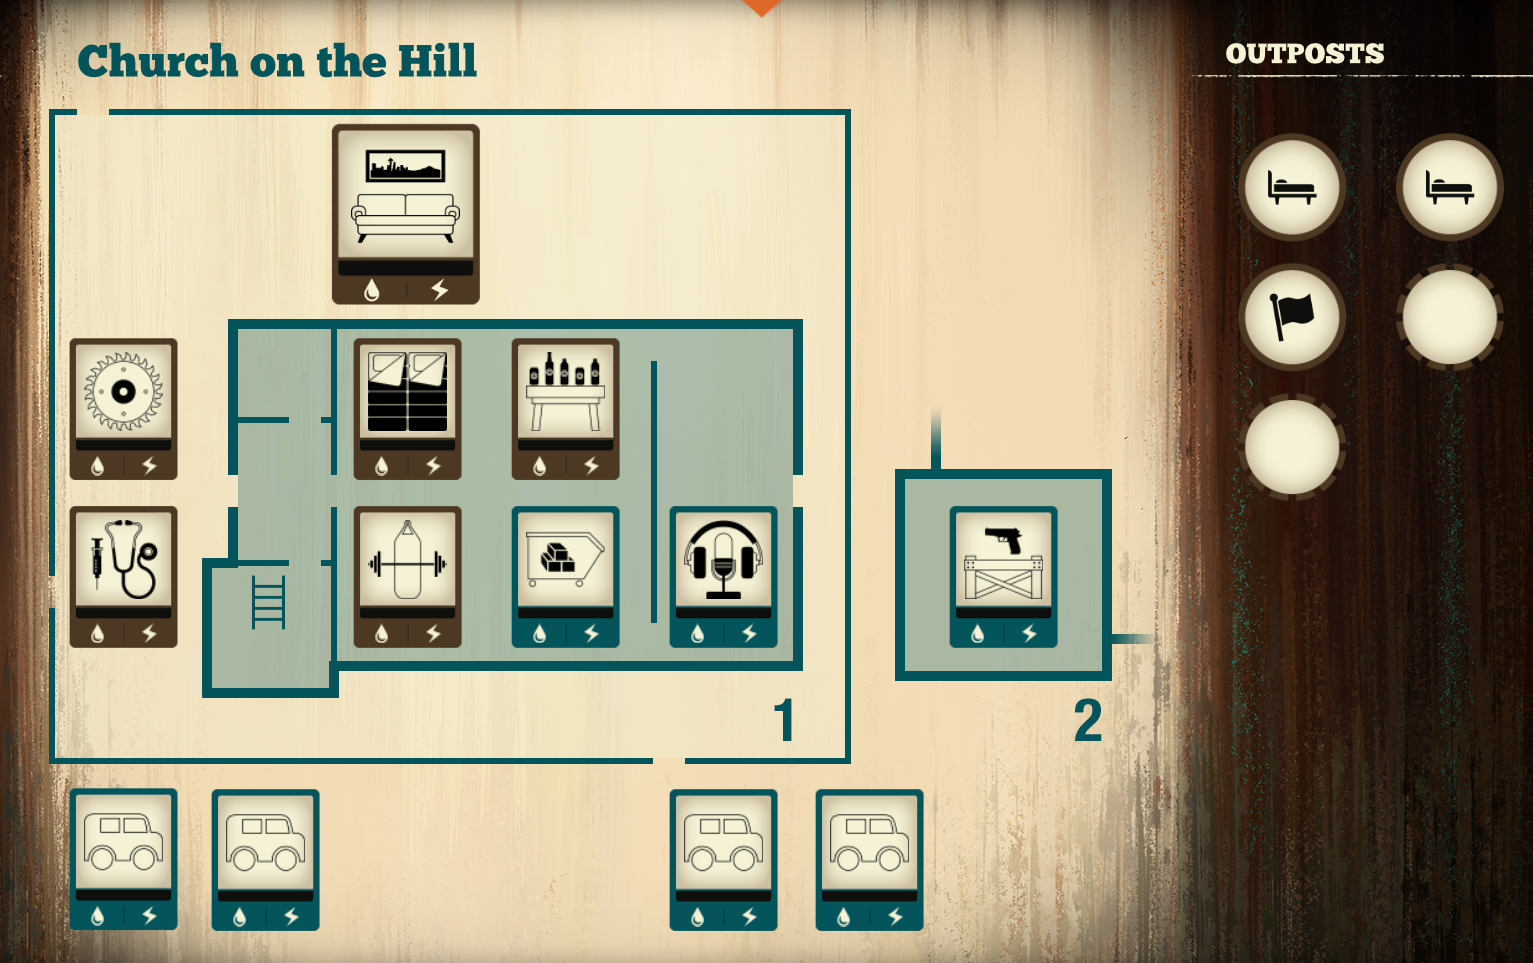
My base setup in Nightmare Zone.
In the screenshot above you can see my base setup for Nightmare Zone. For the most part I use Outposts for beds that way I can get a lot more passive benefits from my base in terms of the Fighting Gym and Shooting Range. I also try to keep my Community as small as possible, in this case I only have 5 members.
Last but not least the only other Facilities we have not gone over are the Leadership Facilities which require your Community to have a specific leader to create. These consist of an Armory, a Sniper Tower, a Field Hospital and a Trade Depot. I'm only going to go over two of these, the Armory and the Trade Depot.
Armory: Lets you craft almost any time of Ammunition you can think of
Trade Depot: Lets you call in resource traders for any resource that you want
The Armory is in my opinion the best Facility you can make for your base unless you have a Rifle Ammo Press or some way to craft the best ammo in the game. Keep in mind too that you can promote a Warlord leader, make an Armory/upgrade your Fighting Gym then demote the Warlord leader and keep your buildings. This works for every leader, not just Warlords.
Standard Zone Facility Recommendations:
1. Workshop, Infirmary
2. Experiment with different ones
Dread/Nightmare Zone Facility Recommendations:
1. Workshop, Infirmary
2. Fighting Gym & Shooting Range
3. Armory (Warlord Leader)
Return to State of Decay 2 Walkthrough
Return to State of Decay 2 Guides Index