
Walkthrough Act 3 - Baldur's Gate Dark Alliance
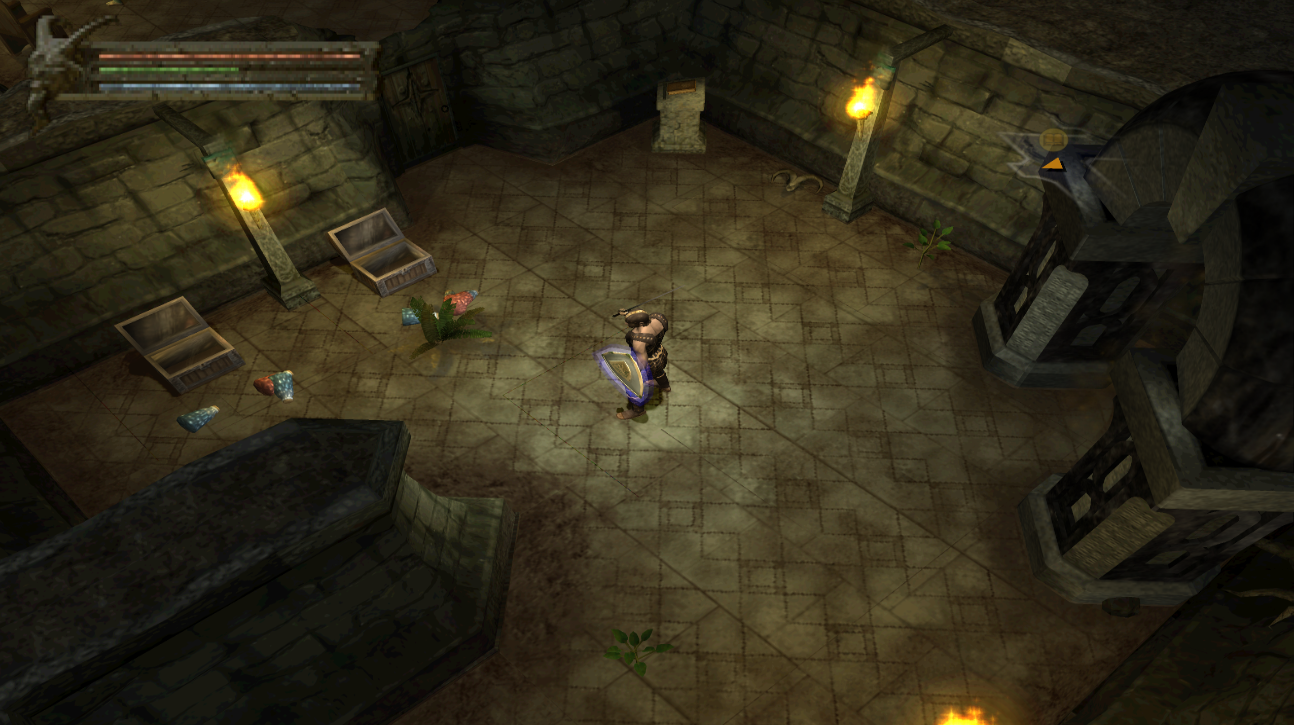
You will start Act 3 inside of a crypt and much like at the start of the previous Act you will be unable to use Recall at first until we reach the vendor. For this reason I recommend you go slow, make sure to collect all of the Health and Mana Potions that you can because you're probably going to need all you can get.
The crypt that you start in is quite linear which is good because the map of this crypt is nonexistent. Exit the crypt and you'll find yourself in Adderspine Road (West), this is a bit of a wonky zone since you have to run by the exit to another zone to get where we're going. You'll want to explore all of this map while you're here and keep an eye out for Sleyvas, the Act 3 vendor.
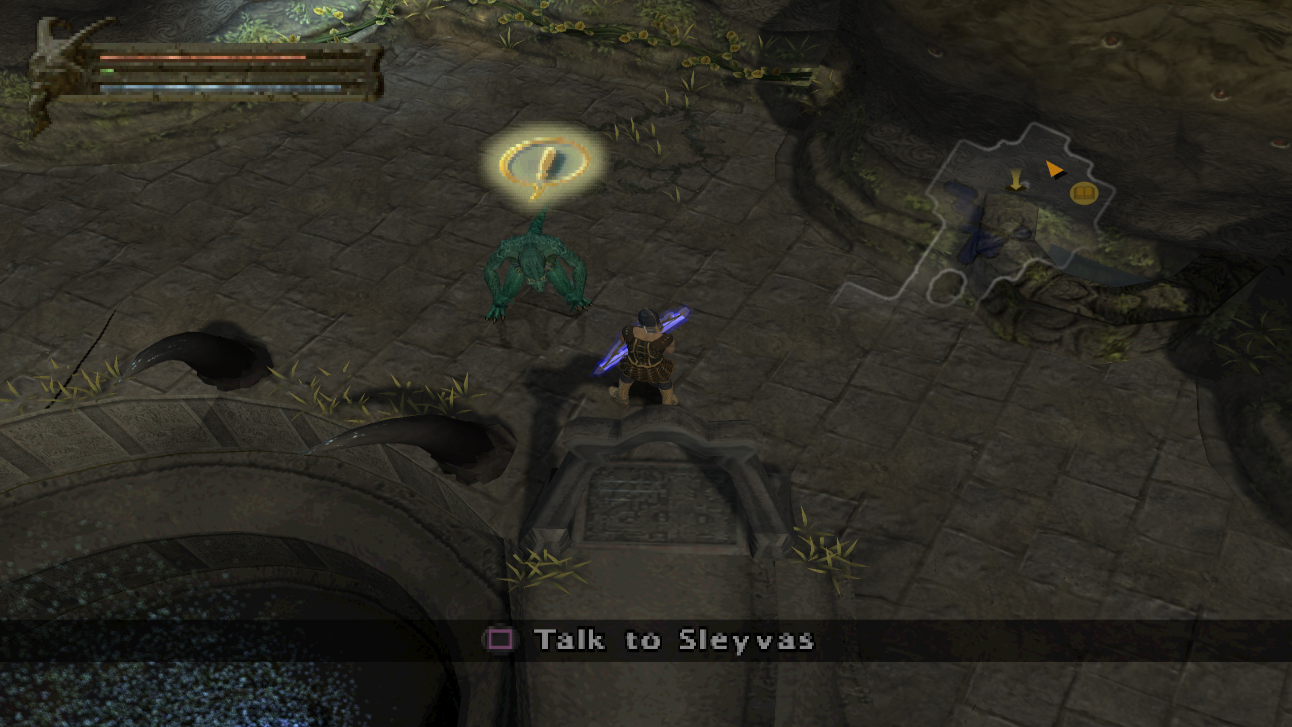
Sleyvas is found on the other end of the zone from where you entered at, you'll have to pass by Adderspine Road (East) to find him. A picture of what you're looking for is shown below.
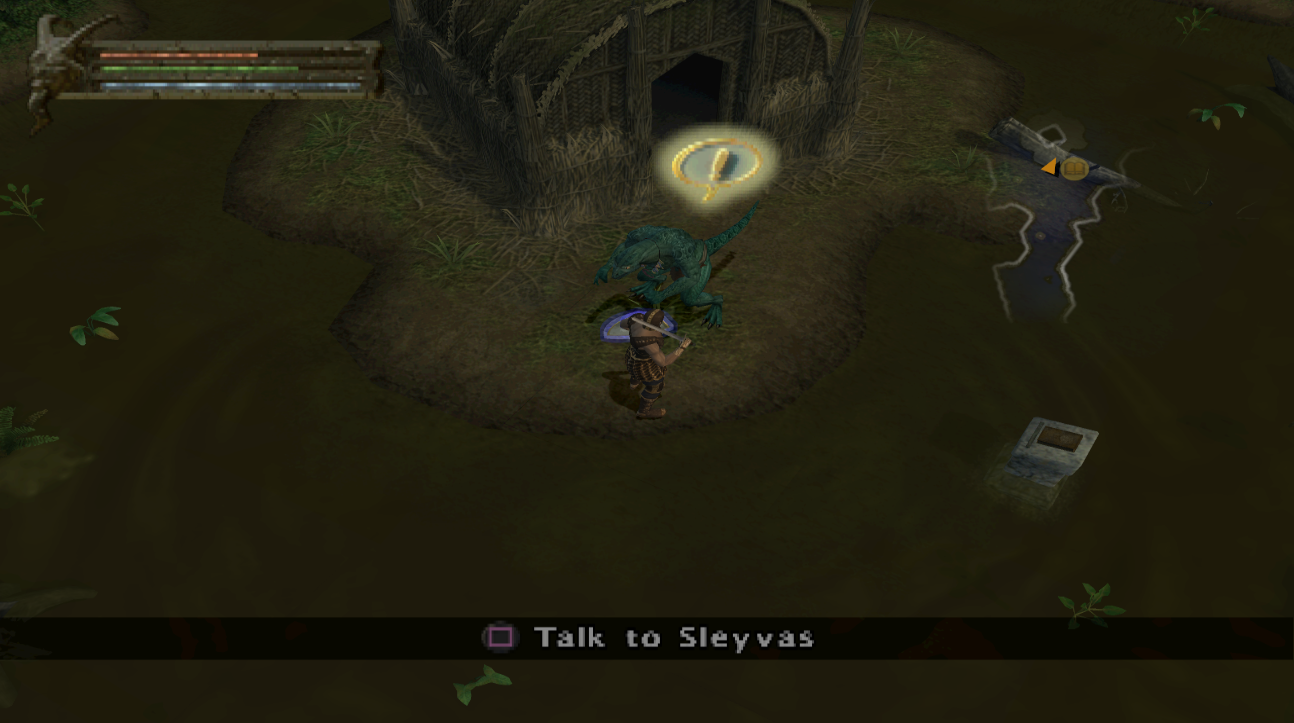
When you talk to Sleyvas you'll update your main quest, unlock the Recall point, unlock the vendor and you'll get a cutscene too. Spend time buying whatever you need from Sleyvas as far as Health and Mana Potions go along with whatever Arrows you need. Another thing you may want to browse is the gear that he has available - especially if you have some extra gold at this time (you should).
You can purchase good Rings, Amulets, Armor and Weapons from Sleyvas at this time. He actually has some amazing items available at this time and it's not like we can keep our gold once we beat Act 3! When we finish this Act it's the end of the game so you should spend your surplus of gold now and outfit yourself with what you can.
Once you're done with Sleyvas return to the Adderspine Road (East) zone line that you passed and continue into that new area. Adderspine Road (East) is an extremely open zone with a lot of ground to cover - my advice to you is work your way through the middle and make sure to grab as much EXP and treasure as you can. I got about 1/4 of the a level from all the enemies in this zone.
The best way to find the exit for this zone is to find one of the walls and then follow it. In the top right portion of this map you will find a few bridges that lead you to another area by the name of Chelimber's Crown.
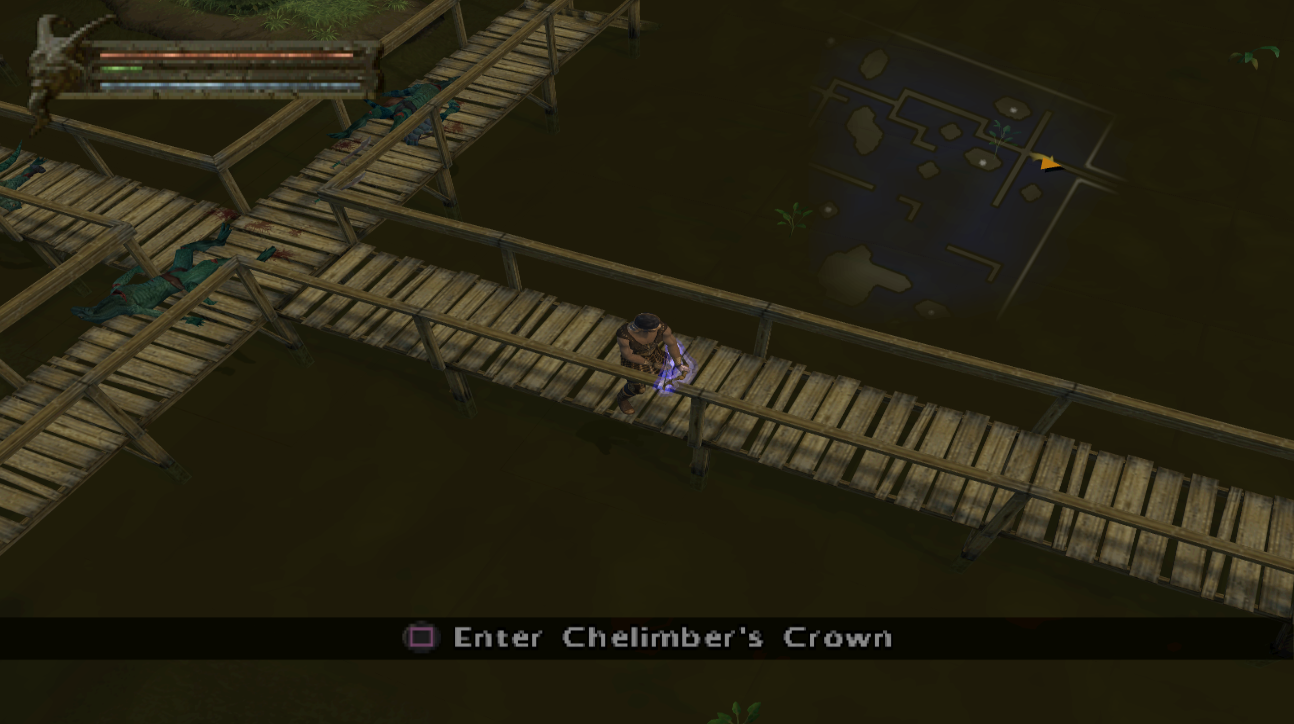
Chelimber's Crown is another big and open zone with a lot of lizard men to grind for some EXP and loot. I recommend you explore the entire zone since there is so much here and then when you're done proceed to the next area, Outer Keep. You can find the exit to Outer Keep in the northern portion of Chelimber's Crown, it shouldn't be hard to find considering how linear the zone is.
Outer Keep is just as linear as Chelimber's Crown, you're going to be fighting a bunch of lizard men and returning to Sleyvas to sell/restock when needed. Just like the previous zone there are a few routes for you to follow but they all lead you to the same place, Inner Keep. For the most part Inner Keep is the same as Outer Keep in the sense that it's linear and you should have no issue figuring out where to go.
My advice to you is to spend enough time in both Outer Keep and Inner Keep to defeat all the enemies and collect all the treasures. We're getting very close to the end of the game and you won't have many opportunities to grind EXP and money from here on out. To advance the story you'll need to defeat Sess'sth inside of the Inner Keep. You can find him at the northern most portion of this area.
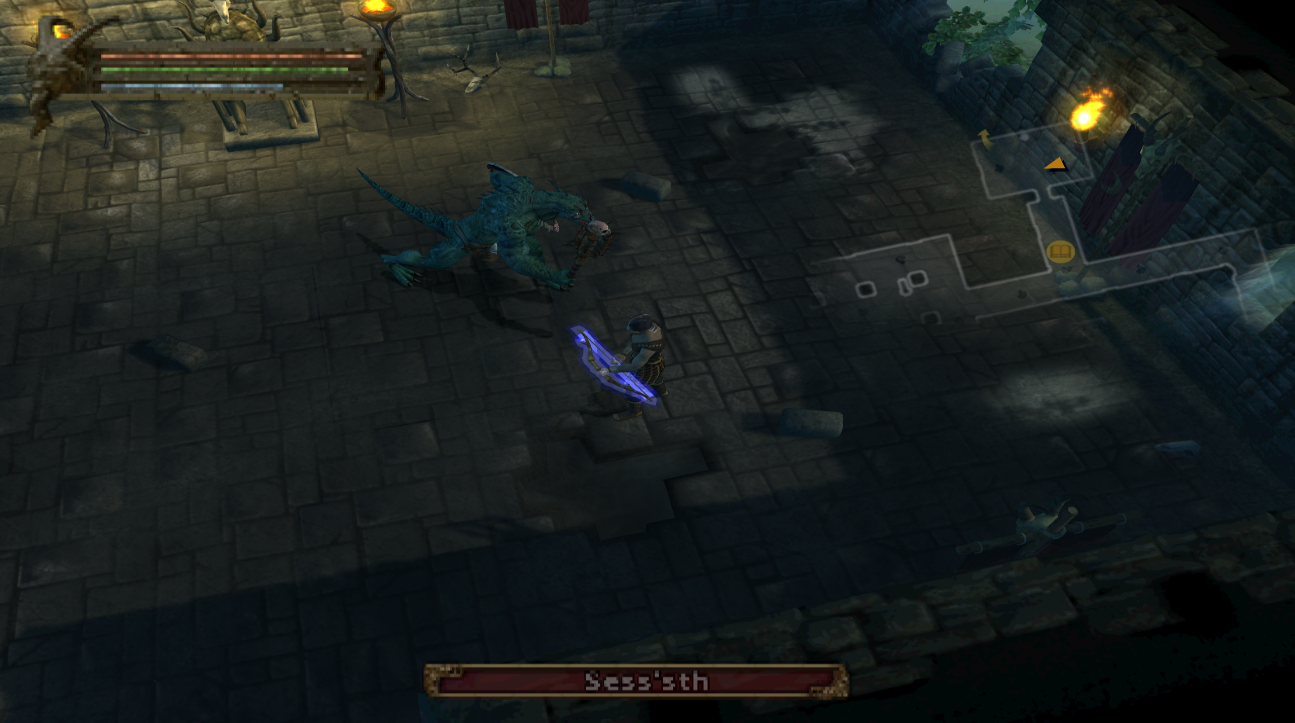
There is not much I can say about Sess'sth in terms of strategy. He has two melee attacks and they both look exactly the same, one is a normal melee attack that hurts quite a bit and the other will knock you back a short distance. Occasionally when you hit him with an attack he will wince which will give you an opportunity to either get away or score more attacks on him before he is able to counter.
Unless you've got really good gear at this point in the game you'll very likely have to adopt a hit-and-run strategy to defeat this boss. Tap him a few times then run away until your Health Potions heal you to full, return and tap him a few times and then run again. You can stay in melee range for a few seconds if you guzzle a few Health Potions.
Once you've defeated Sess'sth head down the stairs in his throne room and out to the Rotting Bog map. This map is rather straight forward as well, it has a few twists and turns but they're all short. At the end of this map you'll have to fight a giant reptile mini boss who is guarding the entrance to the Sinking Temple, our next zone.
You're probably growing tired of hearing me say this by now but - this zone is quite linear. There are a few side hallways and rooms that you can clear for some extra EXP and loot but there's only one main path that leads you to where you have to go. Just before the entrance to the Onyx Tower you'll find our good friend Sleyvas the vendor.
This is the point of no return! Once you enter inside of the Onyx Tower you will never be able to access Sleyvas or any other vendor for the rest of this game. Thankfully the Onyx Tower gives a lot of Health Potions, Mana Potions and Arrows - however all of the Gold that you've banked until now is about to become very quickly useless... So... It's shopping spree time!
Go through Sleyvas' equipment and purchase whatever you need most. I'd recommend holding off on buying new weapons because you'll get very powerful weapons in the Onyx Tower. Also, the final boss of this game can only be defeated with a sword that drops inside the tower so buying a super OP weapon right now won't do you as much good.
Whatever your choice at Sleyvas, make sure you spend all of your gold and restock on the essentials. When you're ready to proceed into the final arc of the game - enter the Onyx Tower via the Water Stair entrance next to Sleyvas.
The Onyx Tower map has multiple floors and they all more or less work the same way. Usually there will be two or three different ways for you to reach the exit that leads to the next floor and there will be numerous traps throughout each of the floors for you to dodge. The enemies throughout this dungeon are pretty easy to defeat, although the gold giants can mess you up if you're not careful.
Remember that we aren't going to be allowed to use Recall for this entire dungeon so instead whenever you need Health Potions, Mana Potions or Arrows you'll want to smash the jars/crates/boxes/vases etc. Throughout the Onyx Tower you'll find a lot of crates and you will likely be shocked with how many potions and Arrows you can find inside of them when you destroy them.
Smashing crates is going to be our only method of replenishing our supplies from here on out so get used to farming them when you need supplies! Another thing to keep in mind is there is no point for you to carry around vendor trash either since there will be no vendors for the rest of the game. Anything you loot that you don't plan to use can get immediately dropped!
After you travel through 3 floors of the Onyx Tower you'll finally reach the Black Forge which is going to be the second to last part of this dungeon. In the Black Forge you'll want to defeat a giant enemy guarding the staircase that leads to the Hall of Remembrance (pictured below). This enemy will drop the Onyx Sword which is the best 1h weapon in the game and also an item you're required to use to defeat the final boss.
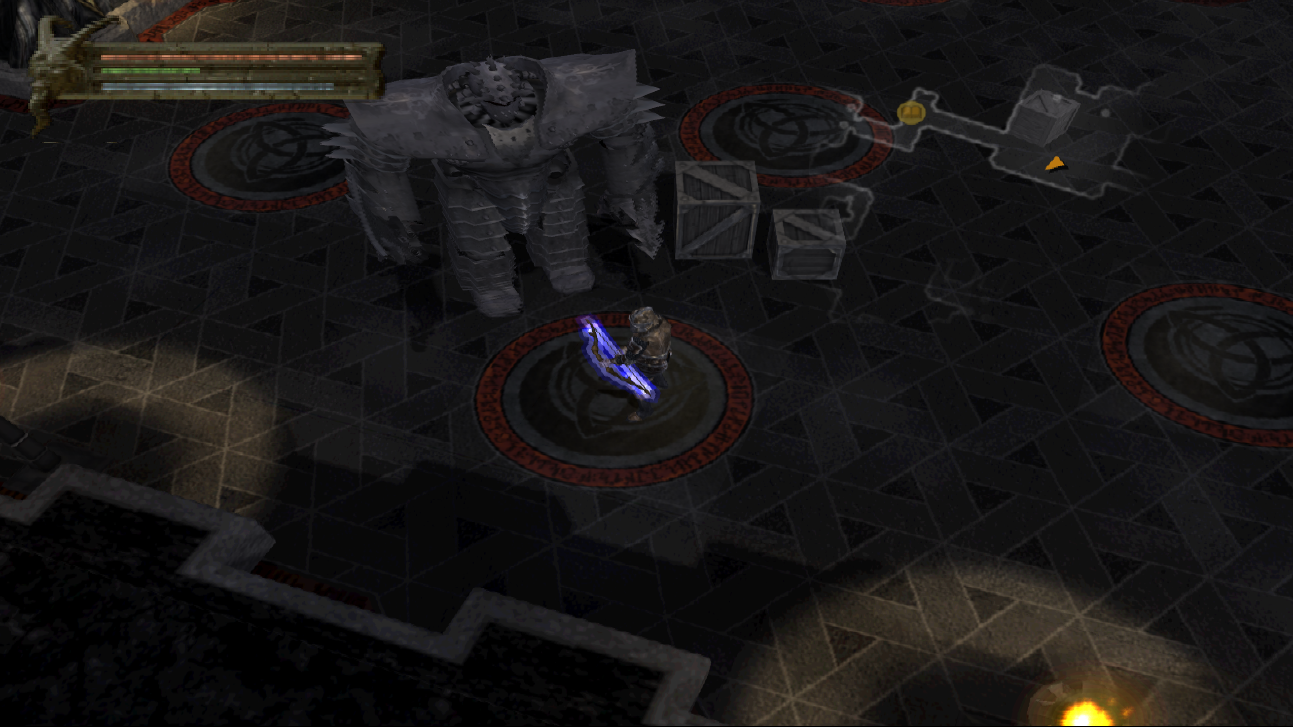
The enemy that carries the Onyx Sword (pictured above)

Keledon in the Hall of Remembrance
In the Hall of Remembrance you'll meet an undead named Keledon who has a lot to say. He's essentially here to give you an entire exposé about the final boss, her motives and all of that fun stuff. You know, since they haven't given almost any back story about this final boss until right now.
Talk with Keledon as much as you'd like, before fighting the boss I recommend you run around this area and smash all of the crates/urns to collect as many Health Potions as you can. You'll only be able to hurt this boss with the Onyx Sword so Mana Potions and Arrows will likely be useless for you.
Before you face off against the final boss you'll want to save your game (obviously). You may be attempting this fight a few times, especially if you go in without your Onyx Sword equipped and can't deal any damage to the final boss.
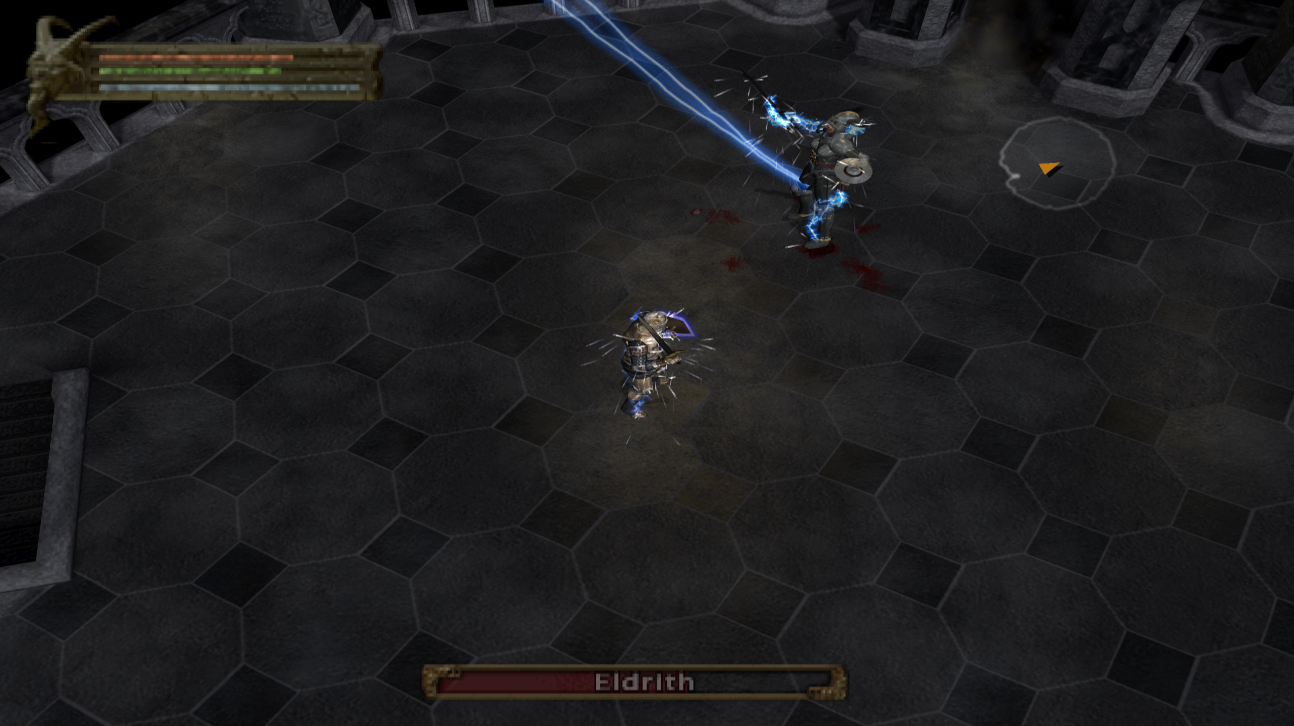
Eldrith is the name of the final boss and she is going to be a complete push over so long as you have the Onyx Sword equipped. The Onyx Sword chunks off her health with every swing which means all you need to focus on doing is avoiding her attacks and having your health chunked off.
For the most part Eldrith has pretty standard attacks, the only thing I feel that I should mention is each time you lower her health by about a quarter she'll become surrounding in electricity. This makes invulnerable along with grow larger and deal more damage (I think?), If you get close to her while she is being zapped you'll get zapped too.
When Eldrith surrounds herself in the electricity simply run away for a few seconds until she is done then get back to swinging. All in all this should be a pretty easy fight - if you're struggling equip a few Strength +5 rings that you most likely got from the Onyx Tower dungeon. That should speed things up a bit.
Once Eldrith has been defeated all you have left to do is go through the nearby portal to complete the game and witness the final cutscene.