
Dragon Quest 6 Walkthrough - Chapter 8
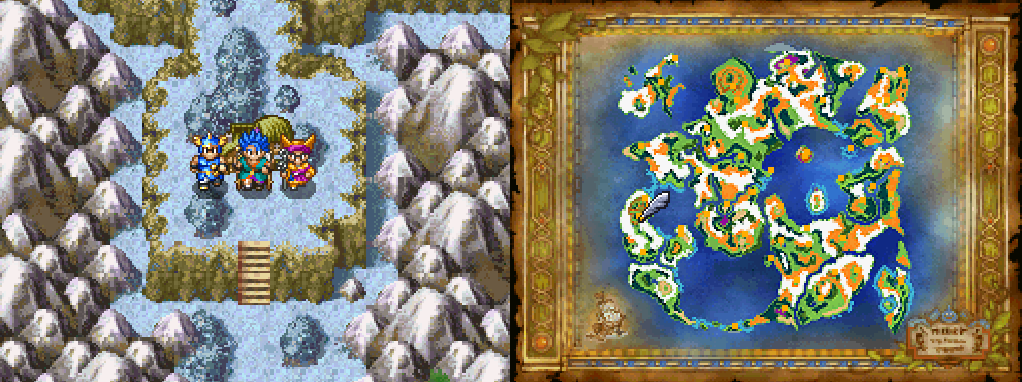
After obtaining Lorelei's Harp when you're ready to continue with the story you'll want to head over to Mt Snowhere in the Real World (pictured above). Technically you can do the next few parts of the story in any order you want but I like to start here with Mt Snowhere.
Upon entering this town you'll notice that everyone is frozen except for in the basement of the northern most house. In this building you'll find an old man who tells you to piss off and to definitely not, under any circumstances, go to the shrine northeast of town. So... Know what we're going to do now?
Head over to the shrine northeast of town and speak with the lady inside. Tip: Instead of solving the slidey ice puzzle twice just Zoom out of the area once you speak to the lady here. Return to Mt Snowhere and speak with the old man one more time before returning to the same shrine and speaking with the lady here once again.
Now that the spell has been lifted in town you can go there and speak with the residents. The person you want to speak to in order to advance the story is Ali Kazam whom is in the church. He'll teach you the password that we need to know in order to open the door in the dungeon to the north.

In order to open the door to Everfrost Grotto you'll need to say 3 phrases...
1. I come possessing a heart of truth.
2. The blade that bears untold power...
3. Unleash it from the Icy depths!
This dungeon is pretty straight forward, on the second floor go down the set of stairs near the treasure chest with 1900G in it to find a treasure chest with a Mini Medal. When you come to the room pictured in the screenshot below what you need to do is step on the switches in the right order. This puzzle is very easy but if you need help figuring it out my screenshot below.
Button Order: North, West, East, South

Take the Rusted Sword from the pedestal in the next room and then Evac out of the dungeon. Show this sword to Ali Kazam in the Mt Snowhere church and he'll give you the Turnscote Pendant which is required for entry into the town of Turnscote. We're now done in the town of Mt Snowhere.
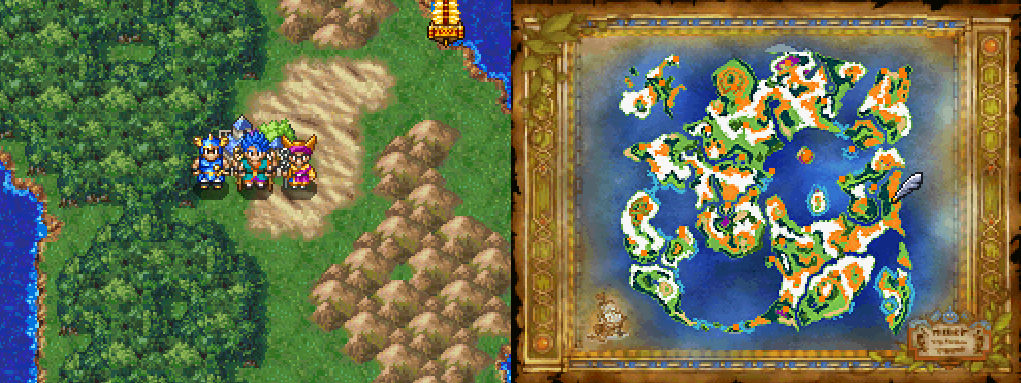
If you've been following my guide up until this point you probably already have the Turnscote Zoom point. For those of you who don't, Zoom over to Port Haven and get in your boat before heading south. There is a river that splits the continent in half that you can traverse with Lorelei's Harp. You'll find the town of Turnscote to the east of Port Haven on the other side of the same continent (pictured below).

Spend some time cleaning out Turnscote and collecting all of the goodies. Make sure you use the L and R buttons to spin your camera around which will help you find all of the hidden doors and areas throughout this town. When you are ready to advance the story forward in this town what you'll have to do is find Mo (pictured below) and speak with him ontop the roof of the building.
Go inside and speak with Mo again to learn about his offer. How the next part of this works is pretty straight forward, Mo will disguise himself as 3 different people and if you can see through his disguise all 3 times he'll sell you the information you're looking for. Below is a list of all the different locations you can find Mo and what he looks like in each location...
1. Church; disguised as a priest
2. Casino; pay to enter and go down the stairs to the bottom floor. He's disguised as a bunny girl
3. Pub; go into the side entrance and speak with the Bartender. Answer "No" twice and "Yes" once then listen to the conversation at the bar between the two people

Mo is who you have to speak to next and he's found inside the Well of Turnscote; he's got a nice house here and even a flower garden! Once you've spoken to him our next destination will be a shrine to the north of Turnscote. In this shrine you'll find a young red haired girl whom you'll want to approach to trigger a scene. Show her the Rusted Sword when she asks and tell her that you are looking for her services.
If you didn't pick it up earlier in the game you can find a Mini Medal in this shrine before leaving. As you may have guessed we're not going to listen to Welda and we're going to go pester her some more back in Turnscote. Her house is the northeastern most building in town, the one just north of where we first found Mo.
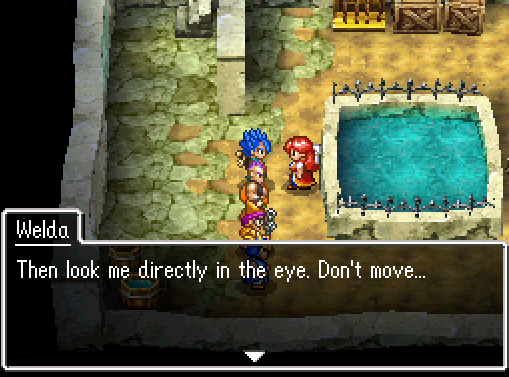
Speak with Welda and when she asks to stare into your eyes don't move, she'll agree to repair the Rusty Sword after. Welda will suggest you go find the other pieces of legendary equipment while she works on the sword for you. Prior to doing that, there's one more thing we should do first...
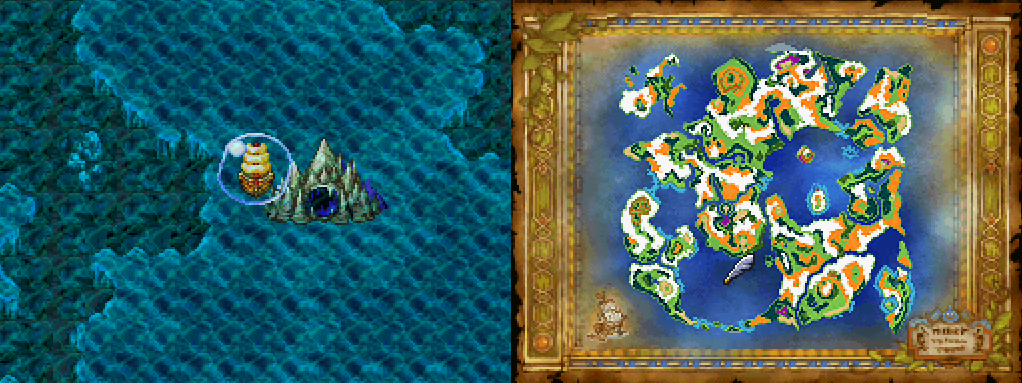
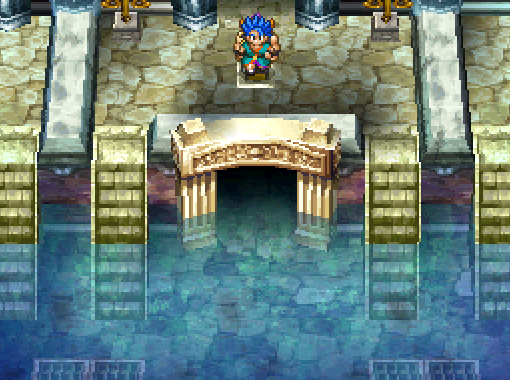
Our next destination is going to be the Seabed Shrine (pictured above), it's found in the center of the southern sea which you can only reach by using Lorelei's Harp and going underwater. The first three floors of this dungeon are all connected together and involve the same switch puzzle. In the first room you come across of the dungeon you'll see a doorway and a switch on the ground in front of it (pictured below).
In order to advance to the final room you'll need to go down to the 3rd floor of the dungeon then come back up to the 1st floor nearby this switch. It's a long walk but thankfully pretty linear. Stepping on this switch will drain the water in the room below you and allow you to pass. Tip: Make sure to grab the Mini Medal in this room in the upper right hand corner. It's sparkling on the ground.
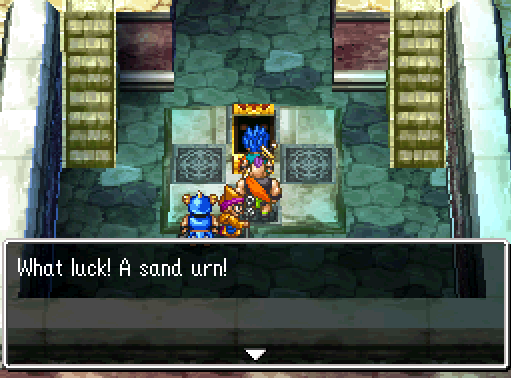
The final room of the dungeon has a couple of switch puzzles but they are all pretty easy to figure out. Each of these puzzles is designed to get you into random encounters, not challenge your brain. The only thing you need from this room is the Sand Urn which is going to be required for part of the story later. Once you have this item you can go down the stairs and challenge the boss, Gracos.
Gracos is one of those fights where it can be insanely hard if you get some bad RNG. This boss can attack you entire party with Ice, Fire and Physical attacks and his regular melee attacks hit quite hard as well. Your best party for this fight will be Hero, Carver, Amos and Goowain since they all have the most HP and can take the hard hits from this boss.
I'd recommend putting the Staff of Ghent on Carver before starting this fight because if your entire party dies, Carver can still basically solo the boss using the Staff of Ghent to heal himself. Speed runners actually use this strategy, set Carver's Tactics to "Show No Mercy" and so long as he has the Staff of Ghent he'll keep healing himself and attacking the boss.
With Gracos defeated you'll see a scene with Sorceria rising out of the ocean in the Dream World. That's going to be our next location.