
Dragon Quest 6 Walkthrough - Chapter 11
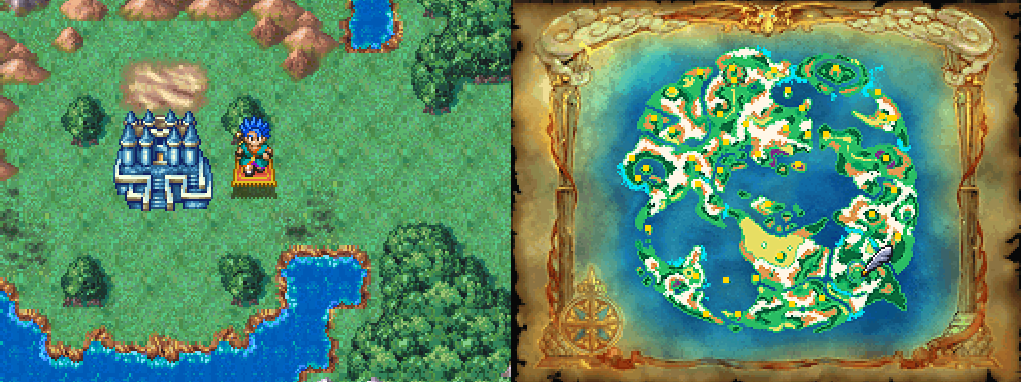
Our next destination when you're ready to continue with the story is Cloudsgate Citadel. After defeating Dhuran and exiting the castle you fought him in you'll witness a scene of this castle reappearing in the southeastern portion of the Dream World. The easiest way to reach this place is to Zoom to Clearvale and use the Flying Bed to travel most of the way until forests block your path. Go through the forest on foot then swap to the Flying Carpet for the rest of the way.
Cloudsgate Citadel has the same layout as Dhuran's castle along with many new items for us to steal throughout. When you're ready to proceed with the story speak with King Zenith in the throne room; behind his throne is a Mini Medal which is sparkling on the ground. Use L and R to rotate your camera and grab it.
The well that King Zenith refers to is found on the 1st floor of the tower (pictured below). In the room northwest of the well you'll find a young boy who gives you an item by the name of Yggdrasil Dew as well. You can only carry a single one of these items but when you use it, it'll restore your party's HP to full. You can return to this boy and collect another Yggdrasil Dew once you've consumed the first one.
When you are ready to proceed speak with the guard in front of the well then go down it; come back out and you'll be in a different location.

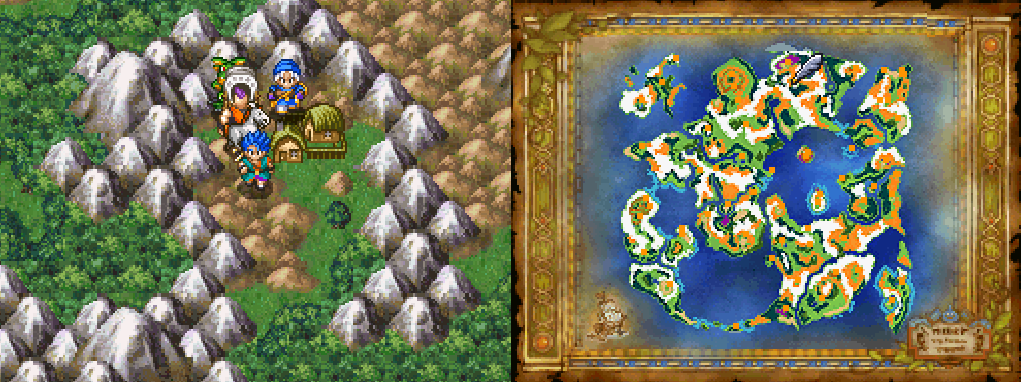
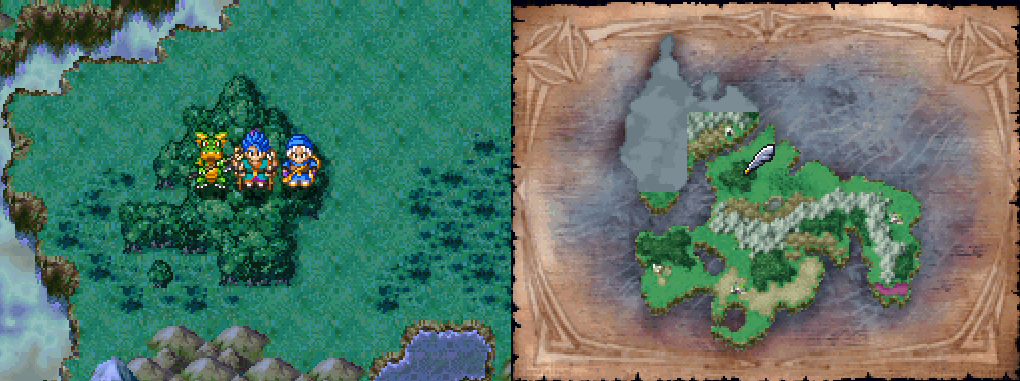
When you surface from the well you'll find yourself on the central continent in the Dream World which was previously inaccessible to you (pictured above). Aside from the shrine we arrived at the only other thing on this island is the Tower of Pegasus which is our next dungeon.
The Tower of Pegasus is a pretty straight forward dungeon and only has a single room with 3 treasure chests that I would consider to be hidden or hard to reach. On the third floor of this dungeon in the outside area you'll find a door entrance on the right (east) side of the castle. You can't spin the camera in this area and you'll only recognize the door entrance by the walkway that leads into it; the door itself will be out of line of sight.
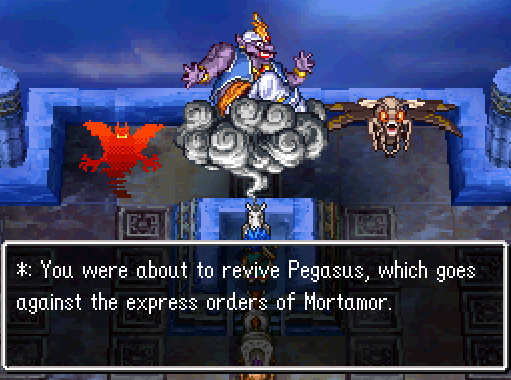
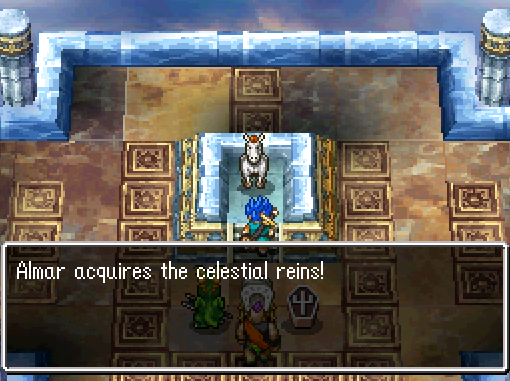
Once you're ready to complete this dungeon ride the elevator up to the top and you'll find a statue of a horse along with an extremely easy "boss" fight. After beating the 3 enemies that come out and attack you'll receive the Celestial Reins as your reward. This is essentially an upgraded version of the Flying Carpet and Flying Bed which can travel above mountains and every other obstacle as well as be used in either world.
After obtaining the Celestial Reins you'll want to return to King Zenith and speak with him to upgrade the reins. You'll now be able to press 'X' while flying to travel to the Dread Realm which is the final world in this game. When you first arrive in the Dread World your HP will be reduced to 1 and you'll lose the ability to use Magic. Your Celestial Reins will lose power too so you're stuck here.... for a few minutes.
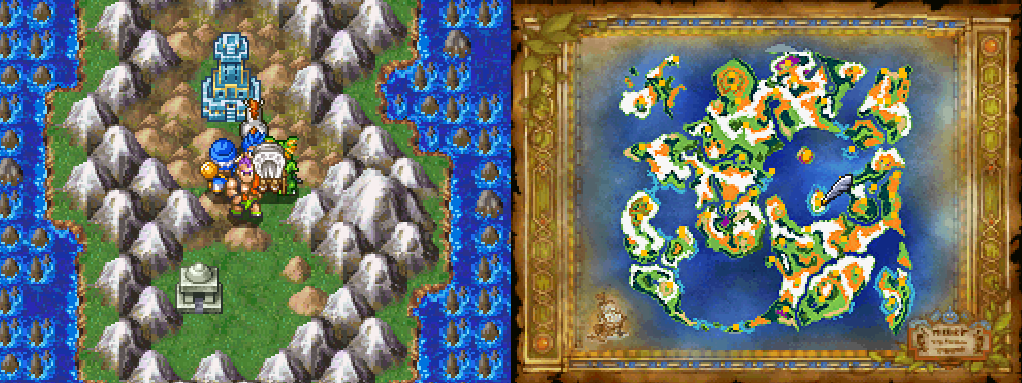
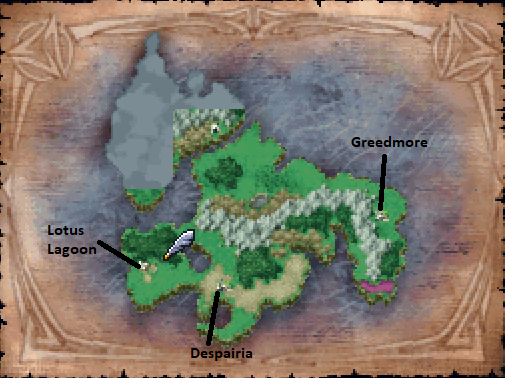
In the town of Despairia you'll want to go down the stairs in the building south of the graveyard and speak with the old man down here behind the Locked Magic Key door for the Old Pipe item. Once you've obtained this leave town and go to the west which is where you will find Lotus Lagoon. Use my map below if you are having trouble locating it.
Run from any battles you get into since you only have 1HP on each party member still.
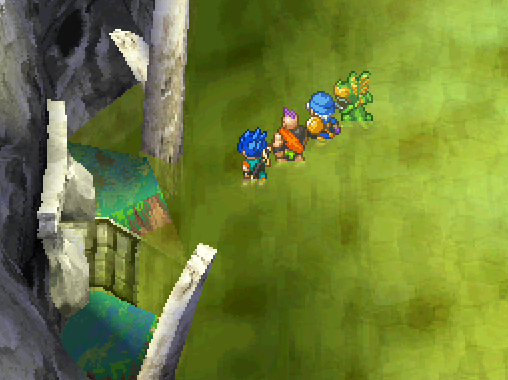
At Lotus Lagoon you'll want to go inside of the bar and speak with the Bunny Girl next to the line of people in the right portion of the building. She will ask that you wait in line, do so and there will be a scene where everyone walks off into some green mist outside. You will be able to control your character in this green mist stuff but it will be difficult. What you're aiming for is the stairwell on the right hand side of the area (pictured above).
To reach it easily, when your character circles around the top of the area and you come out on the right hand side where you can see the stone tile floor... Start running north and west. The stairs you see in the screen shot are about half way down the large rock you pass while being swept over to this side of the area. Confused? Imagine a big ass rock in the middle of this green swamp, the stairwell entrance is on the right hand side of that big ass rock; the opposite side from where you entered.
Inside the room the stairs lead to you'll find a Mini Medal along with a well that takes you back to the Real World. Dullerton is our next location if you've already forgotten, use the Celestial Reins and fly over to Dullerton which is just northwest of Scrimsley.
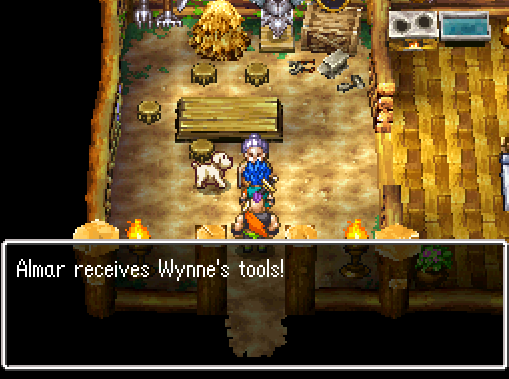
All you need in the town of Dullerton is to visit the house with the dog right out front (Silver) and speak with it. The dog will drag you inside and alert the old lady who gives you Wynne's Tools. With this item you can now return to Despairia in the Dread World and speak with Max Wynne, the old man we got the Old Pipe from.
He will offer to craft you 3 pieces of gear, choose the Helm or Shield as they're the best pieces. Once Max Wynne crafts a piece of gear for you and you exit the basement you'll have your strength restored and you wont have to worry about being stuck at 1 HP anymore.
Our next destination is to the northeast, the town of Greedmore. Everything in Greedmore is optional at this point. You'll find a few items to collect in this town and also since this is the last town we come across in the game it has the best equipment available for sale. There is a Casino here too which will have new rewards that the previous Casinos did not.
In the northern portion of town you'll find a mine which has a Seed of Life and Seed of Strength as well as has a decent spawn rate of Liquid Metal Slimes... However you can't bring your Wagon in there so it's an inferior location to grind than the spot outside of Dullerton.
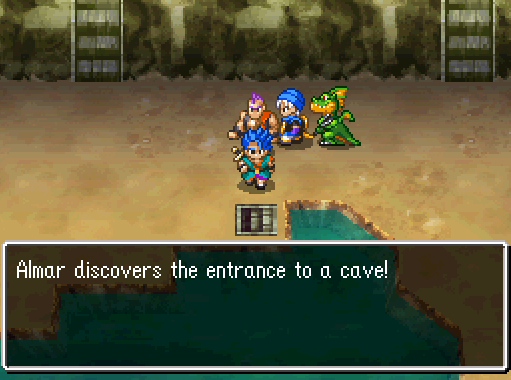
To proceed with the story our next location is to the northwest of Greedmore, walk around in the forest on the World Map and you'll enter into the next area (pictured below).
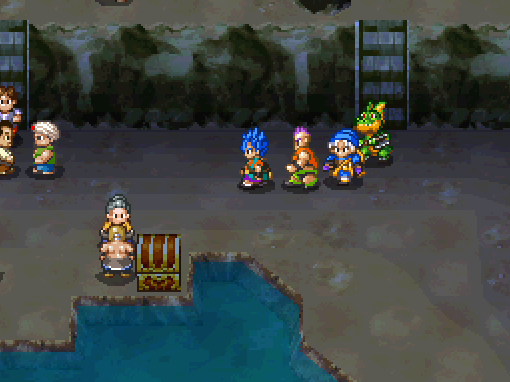
Speak with the man standing on the left in this area and agree that you would sell your soul for a shot at this treasure too. The sky will darken and the water will drain from the lake, if you fail to do this event the correct way then it will just reset on you when you finish. What you'll want to do is go down the right side of the pit so that you can come up behind the treasure chest and the people fighting for it (pictured below).
Open the treasure chest without talking to anyone and you will complete this event. Everyone learns that the true meaning of life is not to be greedy and they scurry off to live happily every after. Once the scene is over inspect the treasure chest two more times to reveal a hidden staircase.
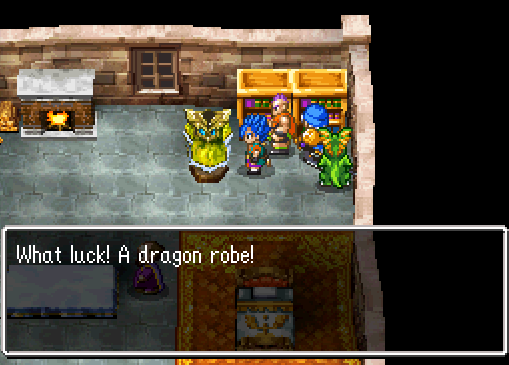
Tip: Once you complete the event in this area and send everyone back to town you'll be able to return to town and pick up the Dragon Robe from the northwestern most building (just south of the mine entrance). This is one of the most powerful pieces of equipment for a caster in the game.
Go down the hidden stairs under the treasure chest to find a rather linear tunnel that leads you to the other island in the Dread World that was previously inaccessible to us. On this side you'll find a well which has a priest and an old man that will fully heal you when you talk to him as well as a castle which is our next destination.
We have two more dungeons to go before the end boss of the game and it's usually recommended you be at least level 40 for the end boss. Although, you can do him at as low a level as 25 if you cheese it with Yggdrasil Leaves and Kerplunk Bracers.