
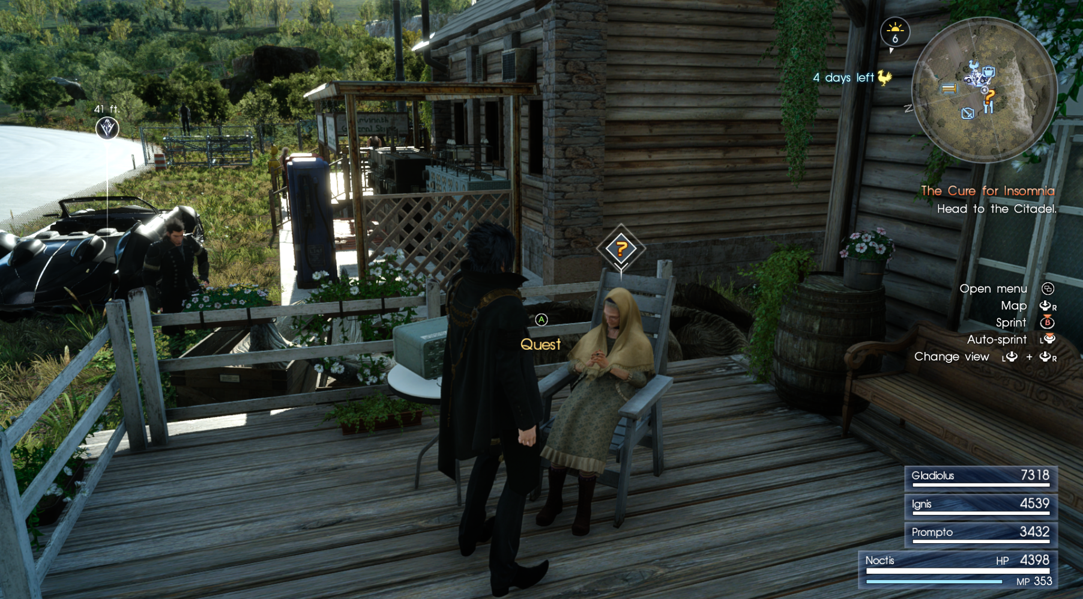
Menace Beneath Lucis - Meldacio Hunter HQ
First Available: Chapter 15
Other Requirements: Complete Costlemark Tower, Balouve Mines, Crestholm Channels and Daurell Caverns
Location: Meldacio Hunter HQ
Rewards: Sealbreaker's Key - Hunter's Medal
This quest begins by speaking with Ezma at Meldacio Hunter HQ; she will not give you the quest until you complete multiple prequests and beat the game. All of the requirements to receive the key from Ezma are listed above. Keep in mind that even if you have every Royal Arm and you've visited every Royal Tomb, it doesn't mean you've completed every required dungeon for this quest. Daurell Caverns is a totally optional dungeon that many people miss found in southern Duscae.
Note: Once you complete the quest in each dungeon you'll receive the neccessary flag. You don't have to discover every secret door in every dungeon.
For the Menace Beneath Lucis quest you'll need to complete every single "Menace Dungeon" in the game. Basically, you need to revisit every dungeon that we have already completed and open the locked door that is in them. Inside of each locked door you'll find an enemy that you need to defeat which will complete that dungeon's quest.
There are a total of 8 quests in all and each is a different level, starting at level 55 and scaling up to level 99. A big tip that I would recommend is if you haven't already completed the Hunts that are available for these dungeons, visit the local Diners near the dungeon that you plan to complete. Sometimes they will offer you a hunt which basically just has you return to the dungeon and defeat a boss in the bosses room. We typically pass right by this room anyway so this is a great way to take out two birds with one stone and save yourself some time.
The Menace Dungeon Formula: All of these dungeons work relatively the same way. Every floor is a generic duplicate of the previous floor and contains one item and a group of enemies. Each time you proceed down to the next floor the gate locks behind you, unless you go the wrong way at a fork in which case the game will let you back track to the fork in the road. There will be camp sites throughout the dungeon and at the very bottom of the dungeon you'll have to fight a boss that completes the quest.
A Menace Sleeps in Keycatrich: This is an extremely linear dungeon. The path forks a few times and you'll know you're going the right way when the door locks behind you. Sometimes you'll run into a dead end and it will let you back track to the fork in the road but no further. Once you choose the right path, the one behind you will close off again. There is a campsite midway through the dungeon and the boss is Lakhmu Flan (level 61). All in all it's very easy.
A Menace Sleeps in the Grotto: This is another extremely linear dungeon. Much like with the previous dungeon, so long as you progress through this one along the correct path doors will lock behind you. Sometimes there are forks in the road, when the door locks behind you then you know you're going the right way. There will be two campgrounds in this dungeon before you reach Kengo (level 71 Ronin enemy) the end boss of this dungeon.
A Menace Sleeps in Fociaugh: Much like Grotto and Keycatrich this is an extremely linear dungeon without much variety for me to comment on. There will be a campground midway through the dungeon for you to rest at and the end boss of the dungeon is Chandravarma (level 73 Iron Giant enemy).
A Menace Sleeps in Daurell: In order to find the Menace Dungeon in Daurell Caverns you'll need to Warp Strike to a platform early on in the dungeon while fighting an Iron Giant and some eye ball slimes. To see a video of me reaching the Menace Door in Daurell Caverns follow the link. As far as bosses go, Mahanaga (level 81 Naga enemy) is the final monster you'll be facing in this dungeon.
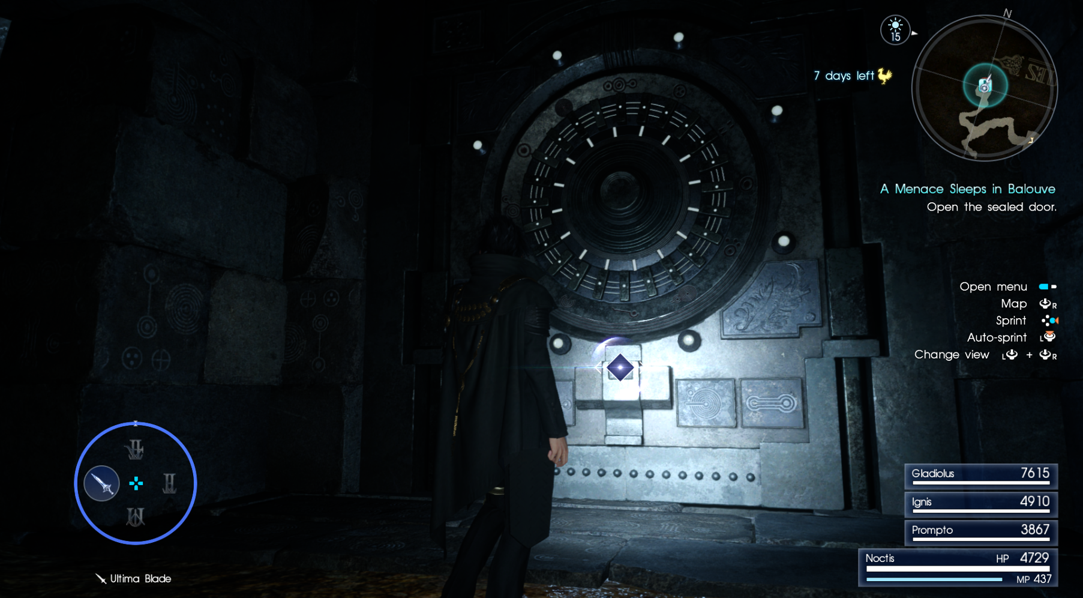
A Menace Sleeps in Balouve: The Balouve Menace Dungeon is yet another duplicate of the previous ones. The end boss is an enemy by the name of Psychomancer and is Level 82.
A Menace Sleeps in Steyliff: Out of all the Menace Dungeons, this is the first truly unique one in both layout and design. Sadly, what makes it unique is that it has 100 floors instead of the traditional 20 - 40 like the previous dungeons. Make sure you're well stocked on Curative items before coming here as you'll be using multiple on each floor and there are no vendors in the dungeon. Additionally it's worth noting that the enemies in these Menace Dungeons start to take a considerable jump in difficulty during this one. Tonberrys and Master Tonberrys become common as do Flans of all different elemental types.
The final boss of the Steyliff Menace Dungeon is Mictlantecihuatl, a level 90 Kingatrice enemy.
A Menace Sleeps in Crestholm: You'll find the entrance to this dungeon in the same room where you fight the actual boss of Crestholm Channels. If you're confused, it's in the room that opens up after you find the 4 generators. A screenshot of where you can find the ladder down to the Menace Door is posted below. Thankfully the hardest part is finding this Menance Dungeon, the dungeon works the same as all previous ones (except it has way less floors than Steyliff). At the bottom you'll find Manxom, a level 94 dragon enemy who serves as the boss of this dungeon.
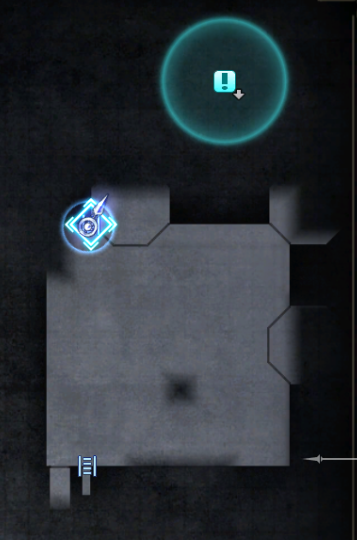
Ladder down to Crestholm Menace Door.
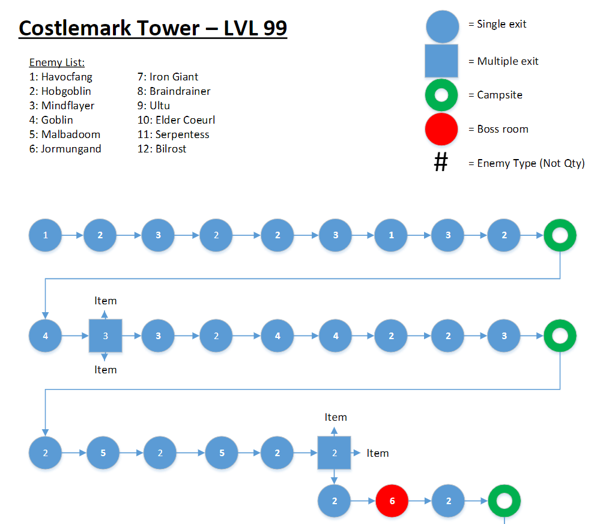
A Menace Sleeps in Costlemark: Last but not least we have Costlemark Menace Dungeon which (obviously) is the most difficult one. This dungeon has a unique feature too that makes it even tougher - you're not allowed to use any items in here! In order to complete this dungeon you'll need to very carefully plan out what spells you plan to use and when as well as what strategies you'll want to emplore for each enemy you face.
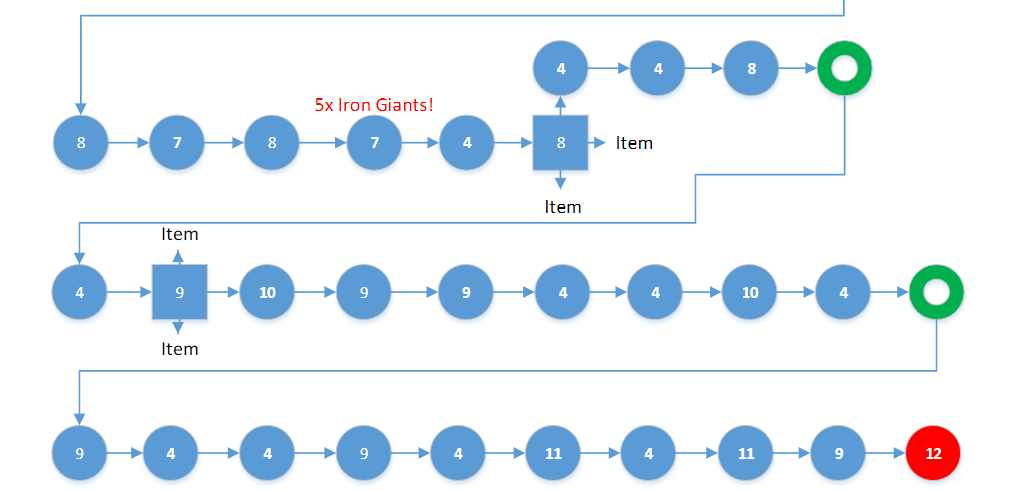
When googling for information on this dungeon I found a nifty map (pictured below) that tells you the enemies you should expect to find on every floor throughout Costlemark Tower. Full credit goes to whomever made this map, it's extremely helpful and I can tell it took more than a couple hours to put this together. Click to enlarge the map for better viewing.
General Tips: Have Ignis make Lasgna of Forno which will block Fire, Ice and Lightning. This makes you immune to almost all damage from Uttus and Elder Coeurls. Create Healcast spells (25 Hi-Potions and 99 of whatever element spell). The Healcast spells will do a good job healing you throughout the dungeon when you need it. Additionally Venomcast spells are recommended for killing the harder enemies here faster. It works on the Malboro's too.
For Costlemark in most cases the Malbadoom, Iron Giant and Elder Coeurl enemies are likely to be the hardest you face. The Malbadooms because of the status ailments they inflict, the Iron Giants because of the "pull you in" move that they have (when there are four of them at once this move can KO a party member no problem) and the Elder Coeurls because they can inflict insta death on you.
Elder Coeurl Tip: On the second floor you face the Elder Coeurl's you'll encounter two. Build Armiger on the previous floor and unleash it on this floor to defeat one Coeurl as fast as possible.
Iron Giant Tip: Use magic on the floor you face 4 Iron Giants to defeat them quickly. Also use Prompto's Piercer or any other Tech ability you can during their "pull you in" ability to prevent damage. You're immune to damage during the Tech cinematic. For the most part, everyone I have seen beat the Iron Giants uses Frost magic and typically kites them around the room avoiding them as they wait for magic to recharge.
Bilrost, a level 99 snake enemy is the final boss of the Costlemark dungeon.