
Episode Gladiolus Walkthrough
This guide covers the entirety of Episode Gladiolus, one of the DLC chapters in Final Fantasy 15. Completion of this DLC will give you more backstory into Gladiolus as well as the Genji Blade and a new Glaive Art. Both of these rewards will carry over into the actual FF15 game.
Return to Final Fantasy 15 Guides Index
Episode Gladiolus begins with a combat tutorial explaining the differences between regular Final Fantasy 15 and this DLC. You can choose to skip the combat tutorial if you wish but I recommend you do it, especially if you're not the best player to begin with.
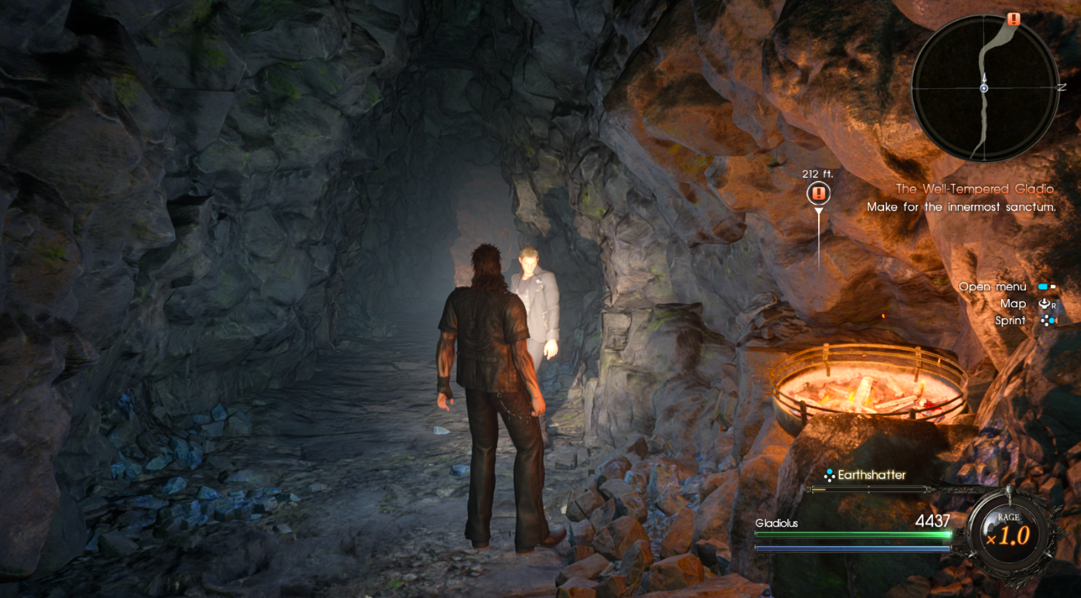
When you gain control of Gladiolus in the canyon all you can do is move forward to the quest marker. Inside the cave you'll want to immediately turn around and pick up the Phoenix Down on the ground. Continue down the hall to find a Potion right before a room with some enemies.
After defeating the group of enemies continue following the linear path to find another Potion then a waterfall. Before going down the waterfall search behind it to find another Potion - then ride it down to face off against the first boss of Episode Gladiolus, Brunnrsormr.
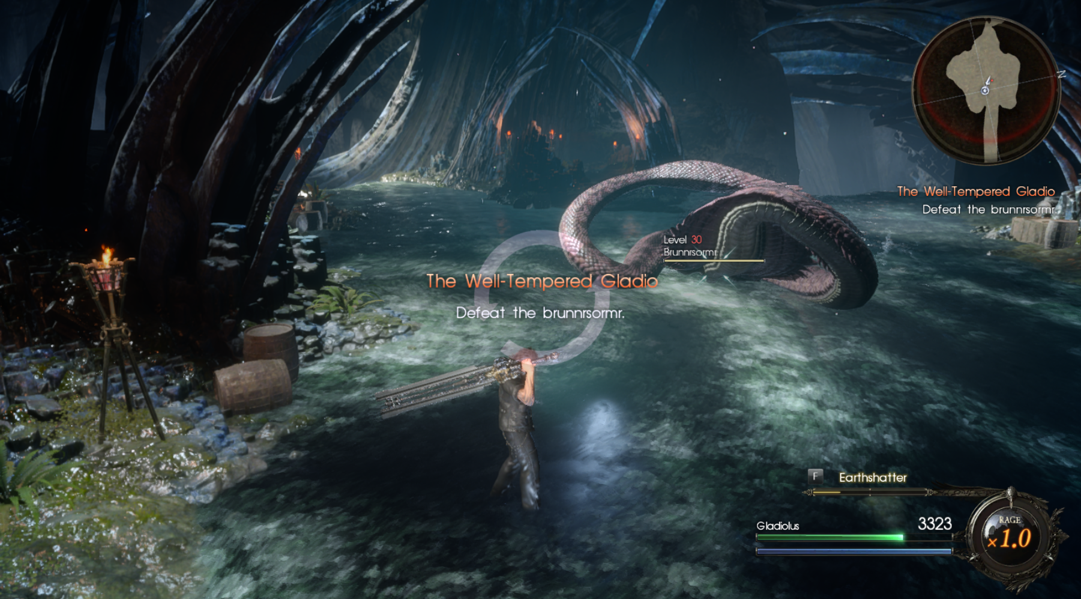
Defeating this boss is pretty simple, when it coils up it's about to attack you with an attack that you're able to block - so do so. On the other hand when the boss starts glowing red or submerges you'll want to dodge its next attack as that move is unable to be blocked.
If you end up taking too much damage during the boss fight instead of spamming your consumables I recommend falling back and letting Cor do most of the attacking. Since we only have a limited number of consumables for each of these DLC episodes I recommend saving them for when you truly need them.
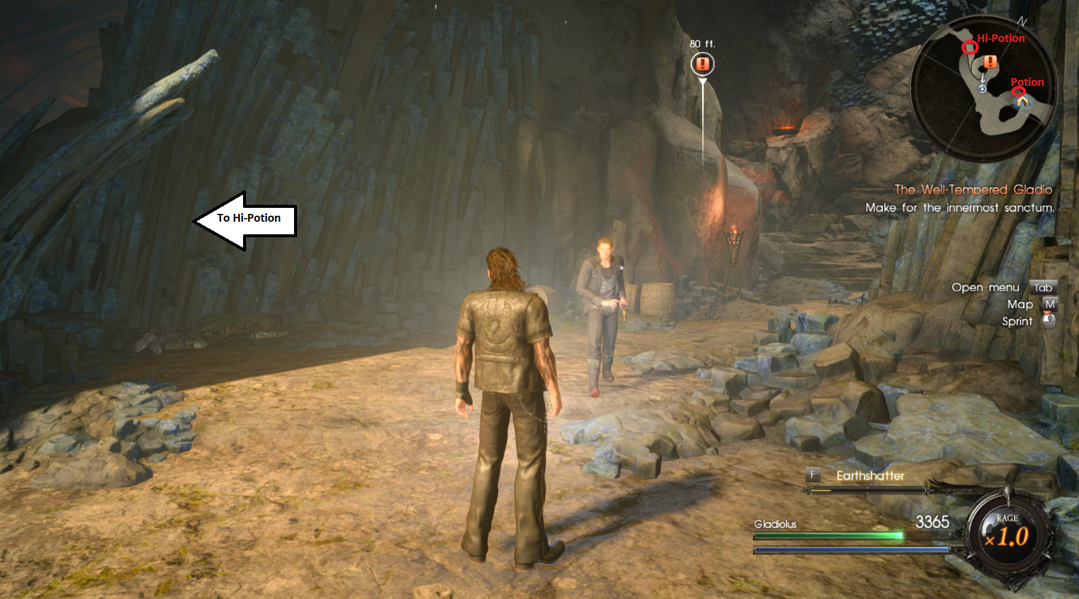
Once you take out the Brunnrsormr you'll be thrown into a one on one battle against Gilgamesh. You can't beat him so just quickly lose and don't waste any items doing so. After the fight with Gilgamesh you'll want to run around the room and collect the four Potions that are scattered about. With them in hand you can continue northwest through the dungeon, climbing up the wall and collecting the other Potion and a Hi-Potion further up.
Where the path splits up above you'll find a campsite, rest here to regen all of your lost health from our previous battles and also to save your progress so far if you'd like. There is no auto save feature while playing this DLC so I would strongly recommend you do save at every opportunity.
There are two Potions for you to find in this area too, one is located in relatively the same area you made camp and the next one you'll want to pick up after you finish your next battle. On the map there is a little alcove that wraps back around towards the camp, the Potion is found in here.
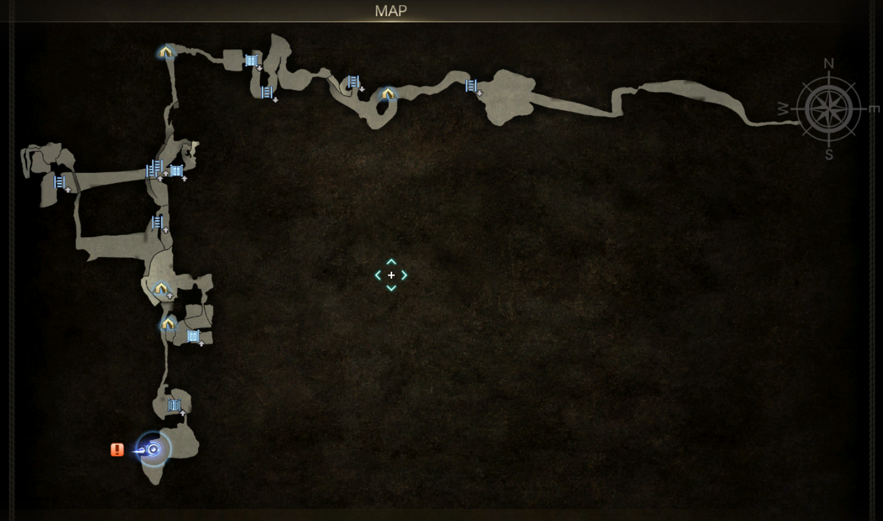
Before advancing forward to the next quest marker and going up the stairs you'll want to go left and grab the Hi-Potion hidden in the dead end area. If you need help finding the locations of these items use my screen shot below.
After you go up the stairs and update your quest marker, grab the Phoenix Down to the left of you. It's on top of a pillar that arches over the area you see me standing in the screen shot above. You'll also find a Potion a little bit up the path - heading towards the quest marker before you fight the enemies. It's next to a barrel at the cliff's edge.
There is another Potion for you to find in the same area you fight the two Reapers in, it's behind one of the Pillars on the southern edge. Further up after you drop down into the area where you fight more Reaper and Skeleton enemies you'll find two Potions and a Hi-Potion. One of the Potions is near the ledge you drop down at and the second one is at the northern most point of the area. The Hi-Potion is on the path right before the Trial Chamber.
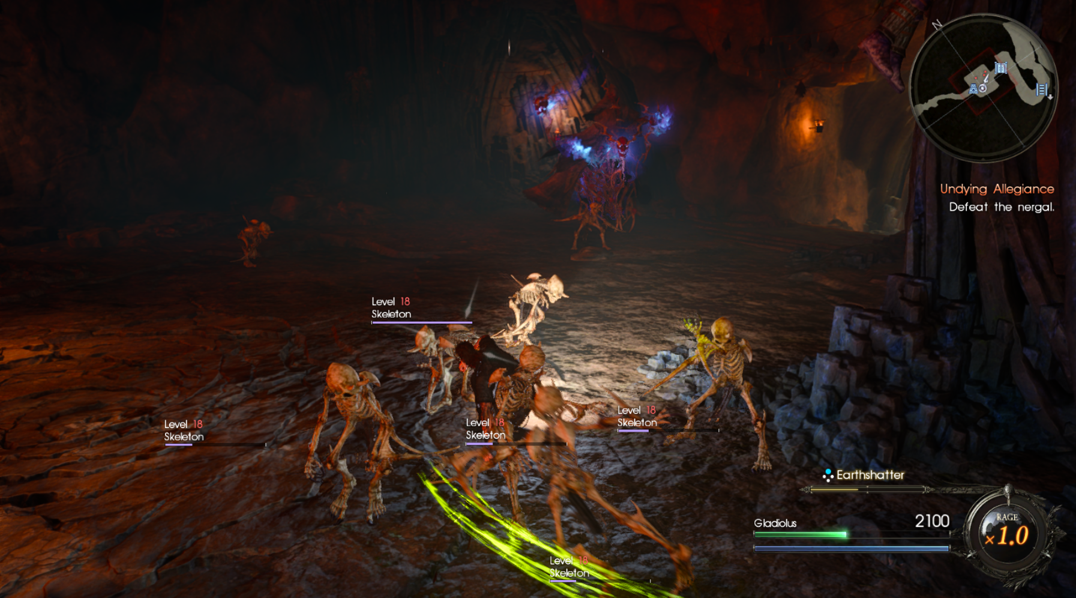
Inside of the Trial Chamber you'll be facing the second boss of this DLC, Nergal. He has a few attacks, one of which we're going to call the kikoho or tri-beam attack which, much like the kikoho is a frontal cone. Two others are a Poison Breath which is a frontal cone ability and can inflict you with a Poison DoT that lasts the entire fight (and no, you don't have any Antidotes). He also has the three flying souls that he carries around with him can be used as weapons as well, they're kind of his regular melee attacks.
Last but not least through this entire fight additional enemies will be spawning to attack you, Skeletons mostly but some Reapers too. Save your powerful attacks for these guys (for the most part) and beat up the boss with your regular melee attacks. Use consumables if you need them but so long as you use the logic "never stand in one place for more than two - maybe three swings" and you keep dodging/rolling you'll make it through this fight with nigh a scratch.
Examine the crystal after beating the boss to be transported to the next area where you'll find another camp as well as a Phoenix Down item and a Potion further up the path alongside the wooden bridge that leads to the next part. Stay at the camp to heal up then continue to the next part.
While running along the wooden path you'll find a Potion and a Hi-Potion on two of the solid pieces of land that you come across. There will be another Potion for you to find after climbing up the rock walls and running up the stairs, before you fight the Wyverns.
You will find two more Potions before reaching the next boss fight, both right out in the open before the area where you have to touch something to proceed forward.

For this boss you're going to have to DODGE. He has some really hard hitting attacks, an AoE stomp like many of the larger enemies have in FF15 as well as a Fireball/breath that seems to fire off in a straight line from the boss. Occasionally he will take flight as well and fireball you from the sky as well as dive bomb you. When he dive bombs you don't dodge it, instead block his attack and immediately parry him - you'll get on his back and...... punch... him.... before stabbing him with your sword and bringing him to the ground.
After the boss fight you'll find a Potion in the southern portion of the same room with the pedestal that you have to touch to receive the soul's power. There will be another Potion next to a torch in the stairwell leading down to the innermost sanctum as well and a Hi-Potion ontop of a rock before the door to the innermost sanctum. Before you start running across all of the wooden bridges again there will be another Potion for you to grab.
While running across the wooden bridges grab the Phoenix Down behind the two barrels and the Hi-Potion along the wall before you get to the stone bridge with more enemies. There is a Potion for you to grab in this area too, by the barrels just before the stone bridge with the Bandersnatch and all of the other enemies.
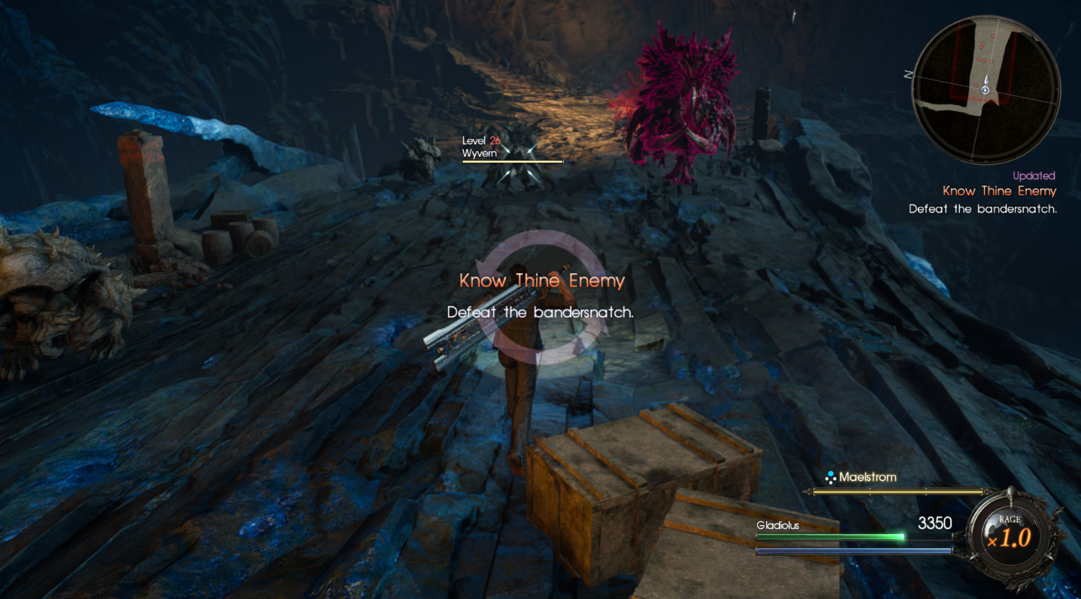
The Bandersnatch acts like a mini boss but with Cor he is a piece of cake. If you fought the Bandersnatch in Malmalam Thicket then you'll already know all of his special moves. He has a side to side swipe, a ground pound and a charge (along with his regular melee attacks). Destroy all of the adds with him first then him. Try not to use many consumables as we'll need them for later fights, if you're struggling dodge as much as possible and let Cor do the heavy lifting.
A tip for you, if you get behind the Bandersnatch you'll keep doing Blindside attacks with Cor which are a brief cinematic that makes you immune to other enemies attacking and guarantees your hit to the Bandersnatch. When the fight is over go across the stone bridge and grab the Potion in the southern-most portion of the area.
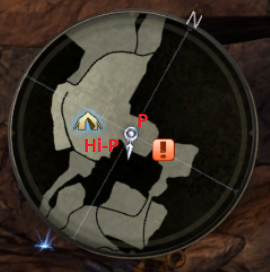
Area before you go up the wooden bridge.
You'll find two Potions in the area before you go up the wooden bridge. One behind a pillar just before the outcropping and one along the outcropping underneath the wooden bridge. When you get to the top of this area you'll find a campsite which you'll want to rest up at and Save.
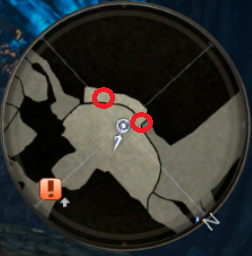
There will be two more treasures for you to grab on this upper level of this area where you make camp at as well, a Potion and a Hi-Potion. Both of these locations are marked on my compass below. You'll find the Hi-Potion by jumping over the rock next to the stairs and the Potion is found in a nook just before proceeding to the next area.
Area where you make camp at before Inannaduru.
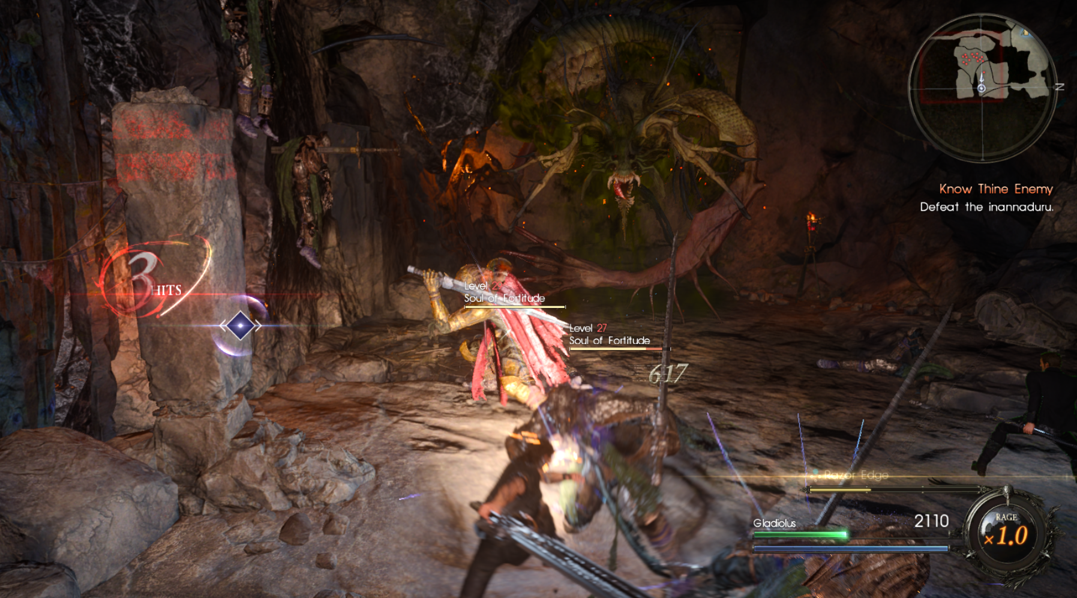
Go through two more rooms fighting the enemies in each and you'll stumble into Inannaduru, another mini boss. He works similarly to the second boss that we fought earlier, he summons adds throughout the fight and has a frontal cone poison breath ability. The main difference between these two bosses is this guy is locked into place and you get Cor for this fight too.
For me this was one of the toughest encounters since instead of dodging the majority of the bosses attacks you're required to block them. I'd recommend avoiding the adds for the most part and focusing almost entirely on the boss, stay close to him and block each time he is charging up an attack animation. Make sure to unleash your Glaive Art abilities on the boss as much as possible, you're immune to damage during those animations.
After defeating Inannaduru there is a Potion and a Hi-Potion for you to collect from the room with the crystal you have to touch to proceed further through the dungeon. You'll also find another Phoenix Down (on the stairwell), Potion (alcove before the ground floor with the quest marker/Humbaba boss) and a Hi-Potion (alcove on the ground floor at the bottom of the stairs, jump over the rock to get it).
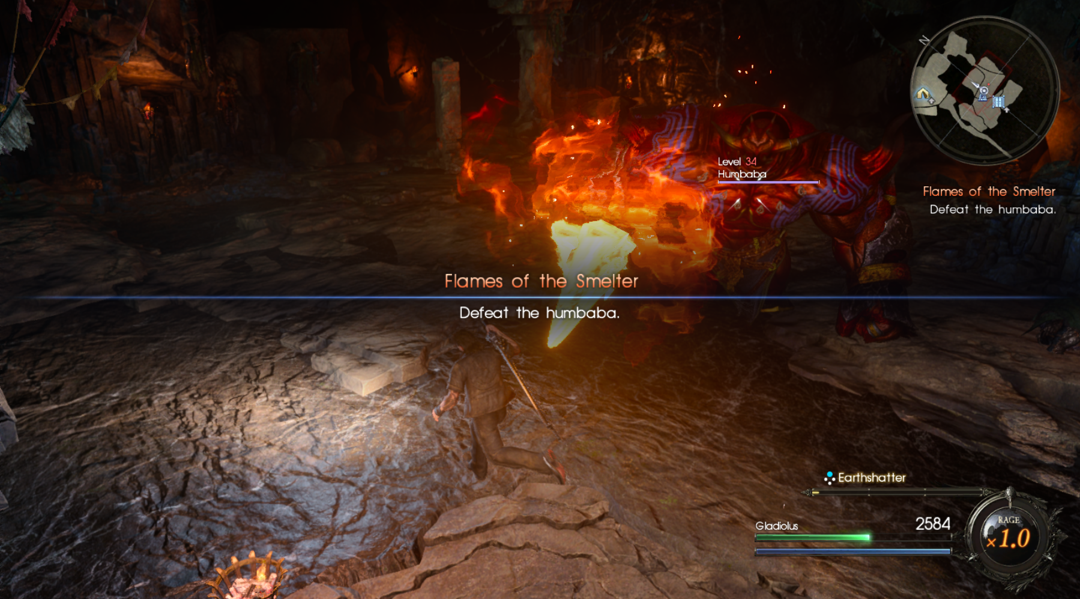
Next boss is Humbaba and he works exactly like the Flame Giant Daemon enemies from FF15. If you've never fought one of those enemies before, block their large sweeping swings and all of his regular melee attacks (or dodge them). His down ward punching attack can't be blocked and hits extremely hard so it's recommended you dodge it.
Glaive Arts are going to be your primary damage dealers against him since they make you immune to damage during their animations and typically leave the enemies vulnerable during these trials after using them. Once you beat Humbaba continue into the next room to find another campsite to rest at.
Rest at camp then continue south to find two Potions along the path to the next cutscene with Cor. He'll leave your party at this point (this time for good) and you'll be able to proceed. Grab the Phoenix Down in the first room you come across and the Potion and Hi-Potion further down the path in the room before Gilgamesh.
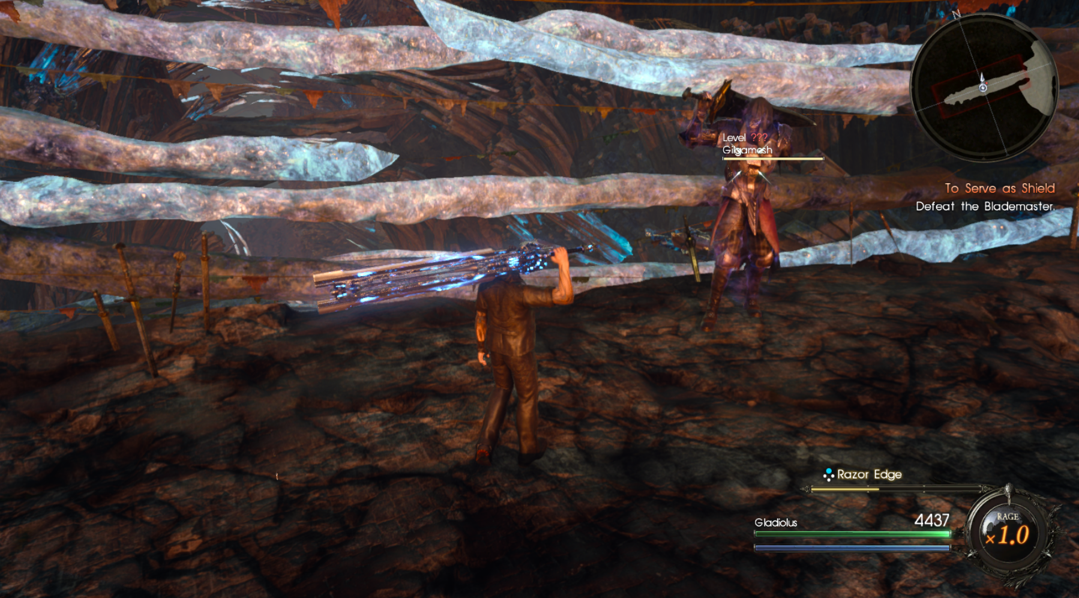
Compared to some of the previous bosses, the first fight with Gilgamesh will be surprisingly easy. The majority of his attacks you can avoid with dodge rolls instead of blocking, just use the previous logic of "don't stand in the same place for more than two melee swings - maybe three".
When you take his health down to 0 for the first time he'll summon a second arm and bust out his Katana. That's when the real fight begins. Gilgamesh can defeat you in a single hit with his powerful downward slice katana attack, which we shall call Dimension Slash. You can't block Dimension Slash so you're going to want to avoid it. Also sometimes he follows up Dimension Slash with another very powerful upper arching cut - also unblockable.
Aside from Dimension Slash there is one other extremely powerful attack you should watch out for and that's his chain of attacks. You can block Gilgamesh's chain - however if you don't block off the bat you'll get stuck in his chain of attacks and suffer a couple thousand damage - being unable to dodge, block or do anything about it.
Here is what you're going to want to do to defeat Gilgamesh in his Katana form... When you see him glow red he is charging up a Dimension Slash ability and you're going to want to dodge. Every other time Gilgamesh attacks you're going to want to block - dodging is too risky as you can easily get caught in his chain of attacks while trying to avoid them.
You'll get a brief cutscene when Gilgamesh is at about half health, showing you how Gladiolus got the new scar across his forehead. I decided to put this in here because of how stupid it his that he got this scar during the middle of the fight. If this were even remotely realistic the blood from the wound on his forehead would have run into his eyes blinding him during the fight. That wound would have without a doubt been a fatal wound despite being superficial.

Return to FF15 Walkthrough Index