
Eye of Dalaran Orc Beyond the Dark Portal Mission 11
Objectives
- Destroy all Mage Towers
- Destroy all of Dalaran
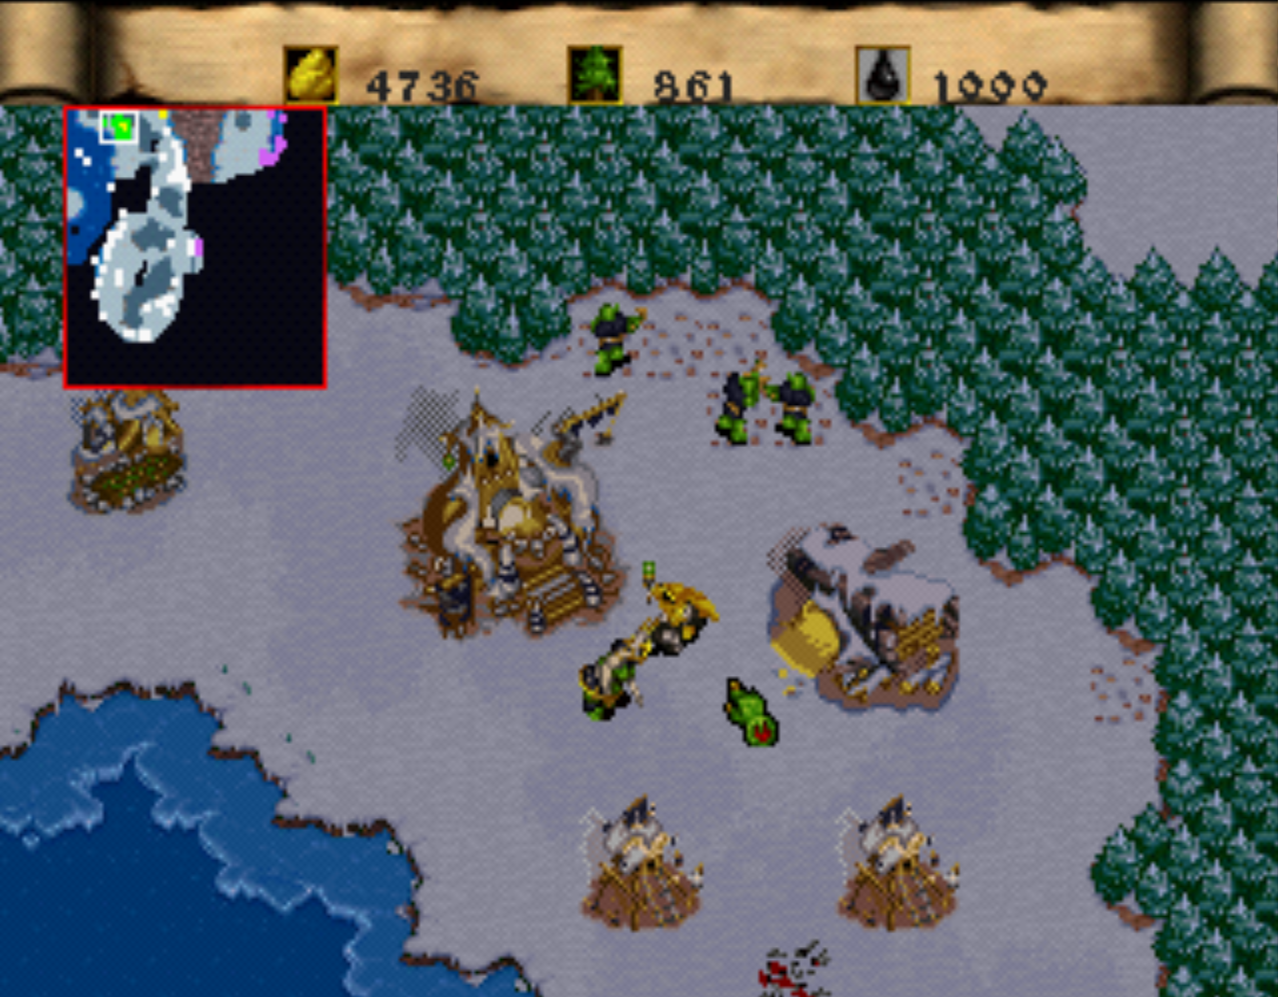
This is without a doubt the hardest map thus far of the Orc campaign. You begin this level in the northwestern portion of the map immediately under attack by enemies from the sea and air. Defeat them and quickly send your boats all the way north while simultaneously loading up your Orc Transports with units. Use your ships and remaining dragons to clear the coast of towers and then make landfall with all of your units. Try to keep your Death Knight alive at all costs, he's the best unit for getting you of out some crazy shit on this level.
Construct a Lumber Mill and two Guard Towers as quickly as possible, use your Catapults to destroy the Gryphon Aviary beyond the tree line next to the gold mine and then build a Great Hall. Now you'll need to make a Farm or two and another two Guard Towers. Try to construct more Peons as quickly as possible and any ships that you have left alive, like the Orc Transports, send them down the coastline to be destroyed by the remaining towers, we need the food space.
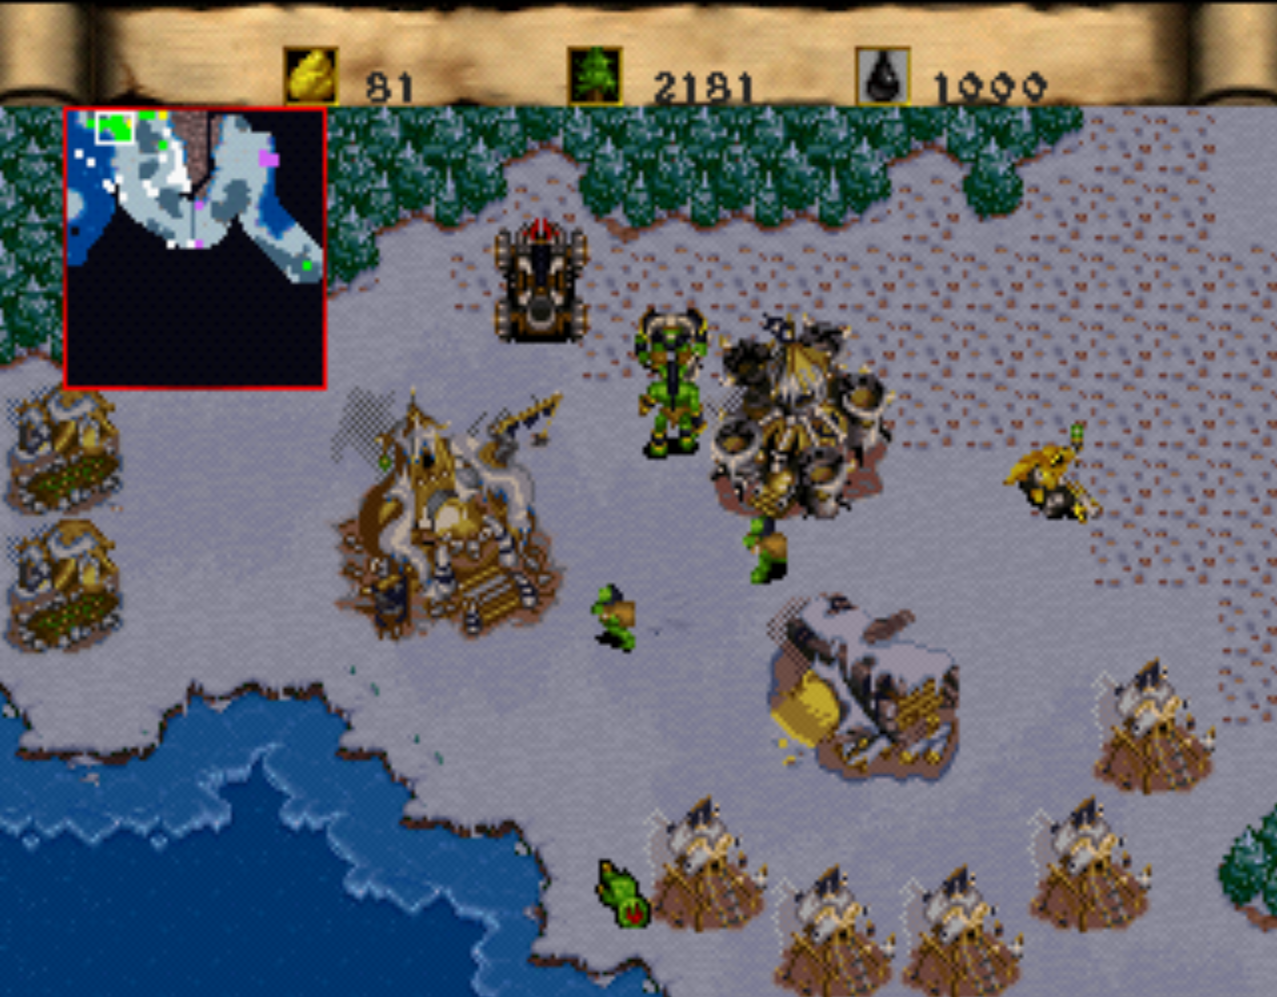
Our goal is to break through the forest so that we can reach the gold mine on the other side. Once you do reach this gold mine you're going to want to make a Barracks, 3 or 4 Grunts and then you'll want to focus almost entirely on making Peons to send to the gold mine. The Grunts are for when the enemy sends Ballistas our way, our Guard Towers won't be able to hit them so we'll need to send the Grunts in, destroy the Ballista then pull them back into base.
You're going to literally want to make a gauntlet of Guard Towers. Also, we're going to use a little trick when the enemy gets Paladins, place your Death Knight just behind your gauntlet of towers, like where you see my Lumber Mill at in the screen shot above. If you do this the enemy Paladins will run through the towers to Exorcism him not only wasting their mana but getting themselves shot down in the process by all your towers. You'll need to keep your Death Knight healed with Death Coil to use this strategy too - pay close attention to his HP because it'll be quite a few waves of enemies before we can make another one.
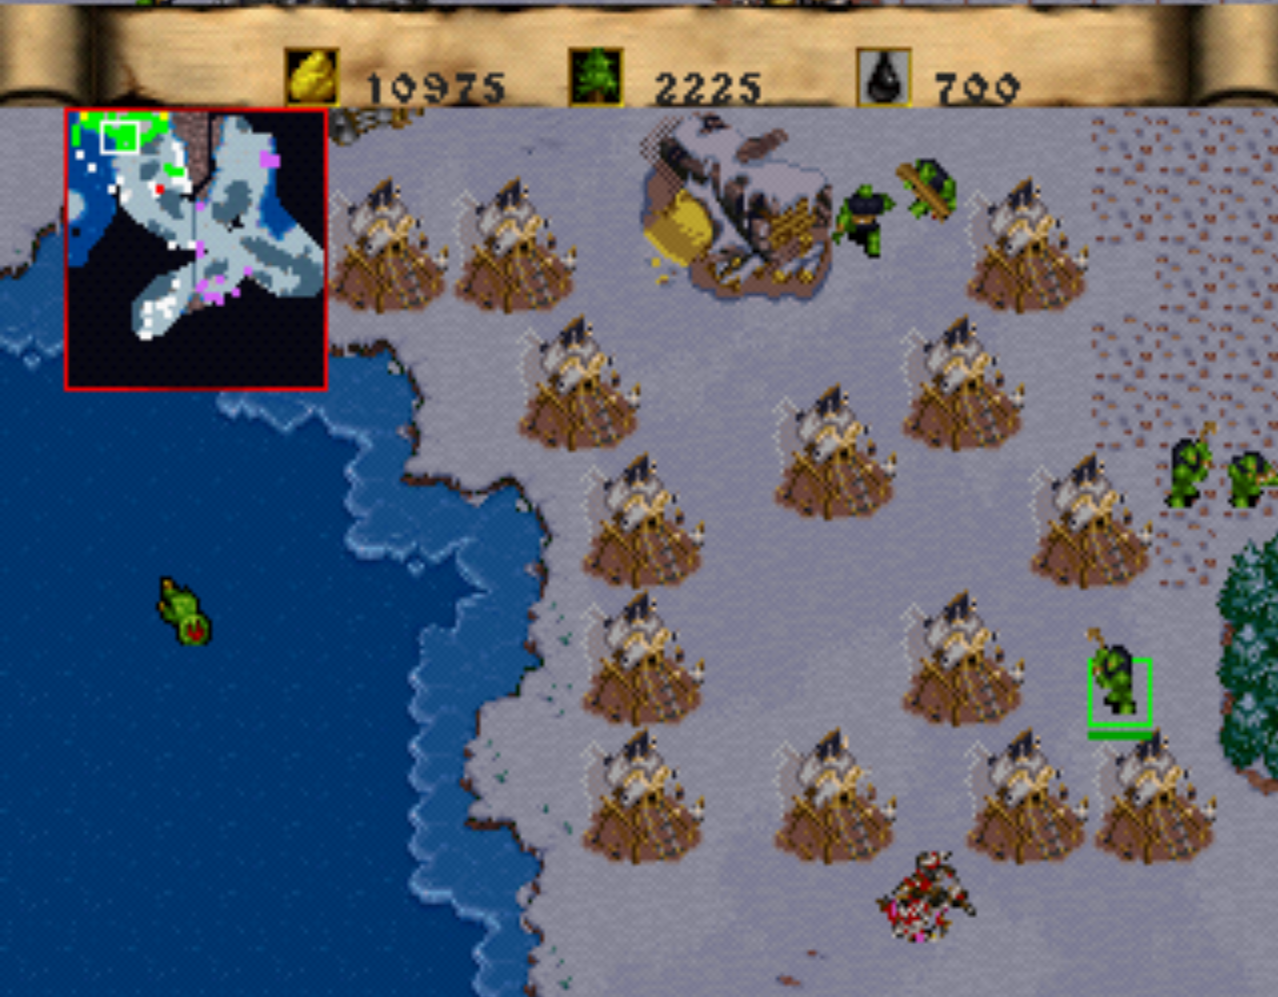
Slowly upgrade/expand your base once you've got more gold coming in than you can spend on making towers and additional Ogre units to protect for Ballistas. Once you have a nice base defense like what you see in my screen shot above you'll be able to focus on making more Death Knights and a few Ogre-Mages so we can finally go on offense.
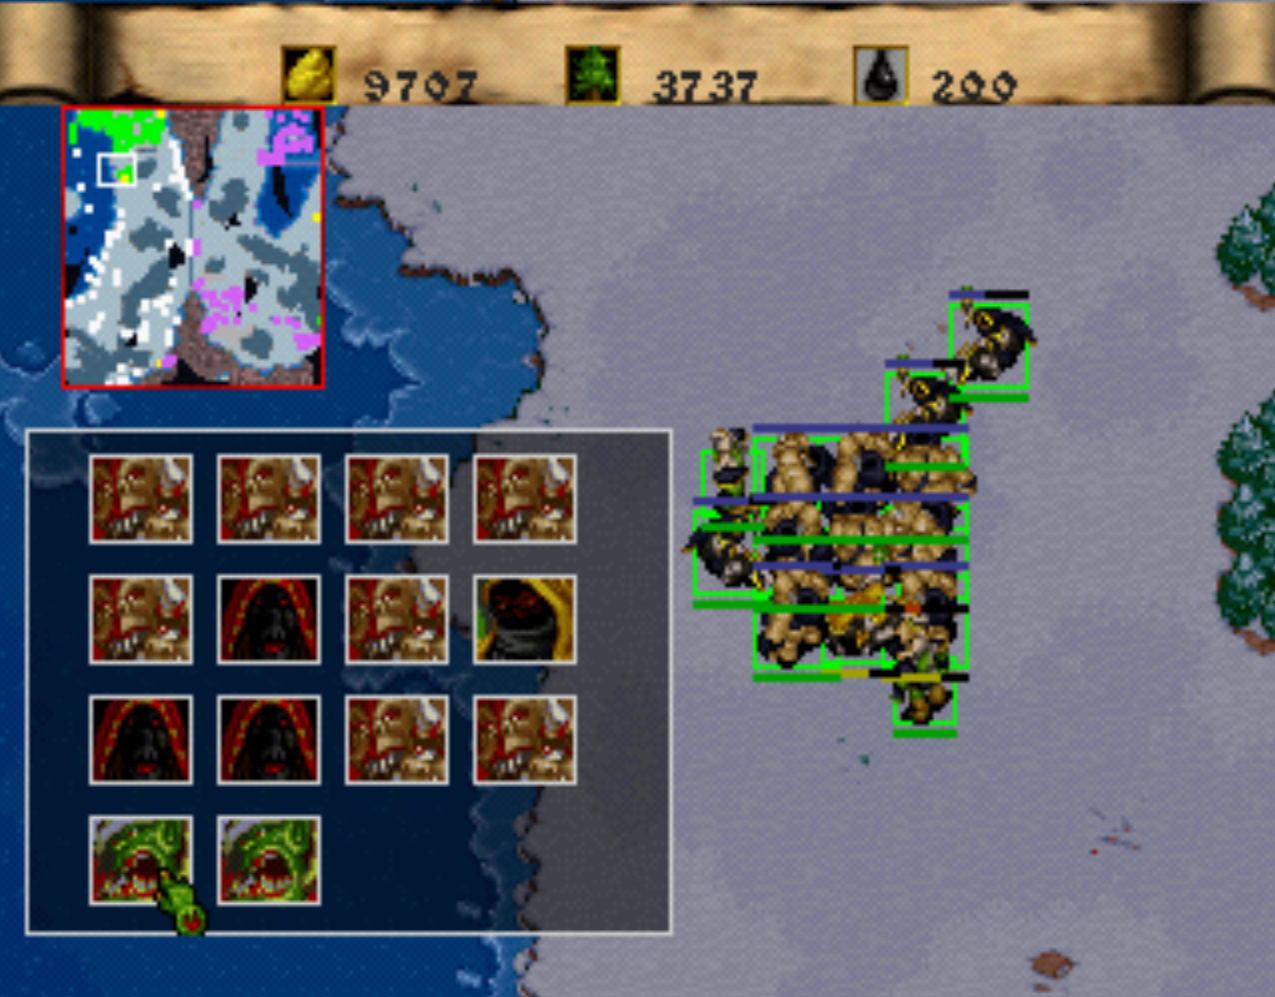
Now for the second part of the map, which is arguably just as hard as the first part since we're starved for resources. You're going to want to make 3 - 5 Death Knights and train Death and Decay. Also make at least a dozen Ogre-Magi to protect the Death Knights as they roam the map wrecking havoc as they go.
Eventually the enemy will stop attacking your base which makes things so much easier. There's a second gold mine all the way south along the mountain border that you will want to go to first. Usually purple sends a few Peasants over to the mine but they get stuck on the wall and never return. The gold mine has about 50000G in it when you arrive, assuming purple has barely touched it.
This will give you enough gold to finish the level, if not there's also a gold mine in the east that's just south of the enemy base. When it comes time to destroy the enemy base in the upper right hand corner of the map, I recommend you do it in three waves. Make 15 Dragons per wave and destroy as many Guard Towers in their base as you can with each wave of Dragons. I wouldn't recommend getting close to the base with Death Knights because they'll get Exorcised immediately. It took me 3 waves of Dragons to take out all the towers and to defeat all remaining units in that area.