
Galbadia Prison - FF8 Guide
At the top of every page of my Final Fantasy 8 Walkthrough I will have a list of the most important GF Abilities for you to learn as well as my personal preference for who to junction GFs to for this part of the story. The game's auto order for GFs learning abilities is extremely terrible so it's strongly recommended you interfere and do the abilities in the order I provide here.
Throughout the game you can also refine Cards into Items and then those Items into magic. I've provided a list of the refinements that you can do for the cards that you will most likely have in your possession at this time during the story below as well. This same information will be provided at the top of every page during the full walkthrough, keep checking it as it'll change as the story progresses.
GF Abilities to Learn:
Siren: Tool-RF, L Mag-RF, Mag-J, Mag+20%, Mag+40%, Mag Bonus, Move-Find, ST-Atk-J, ST-Def-J, ST-Def-Jx2, St Med-RF, Boost
Diablos: ST Mag-RF, Time Mag-RF, Enc-Half, Enc-None, HP-J, Mag-J, Mug, Hit-J, Mag+20%, Mag+40%, Mag Bonus
Brothers: Str-J, Elem-Atk-J, Spr-J HP+20%, HP+40%, HP Bonus, Cover, Boost
Carbuncle: Vit+20%, Vit+40%, Vit Bonus, Mag-J, HP-J, Vit-J, ST-Def-J, ST-Atk-J, Counter, Recov Med-RF
GF Junctioning:
Squall: Ifrit, Carbuncle
Zell: Shiva, Diablos
Quistis: Siren, Quezacotl, Brothers
(Or whomever you choose as your party; junction them as you see above)
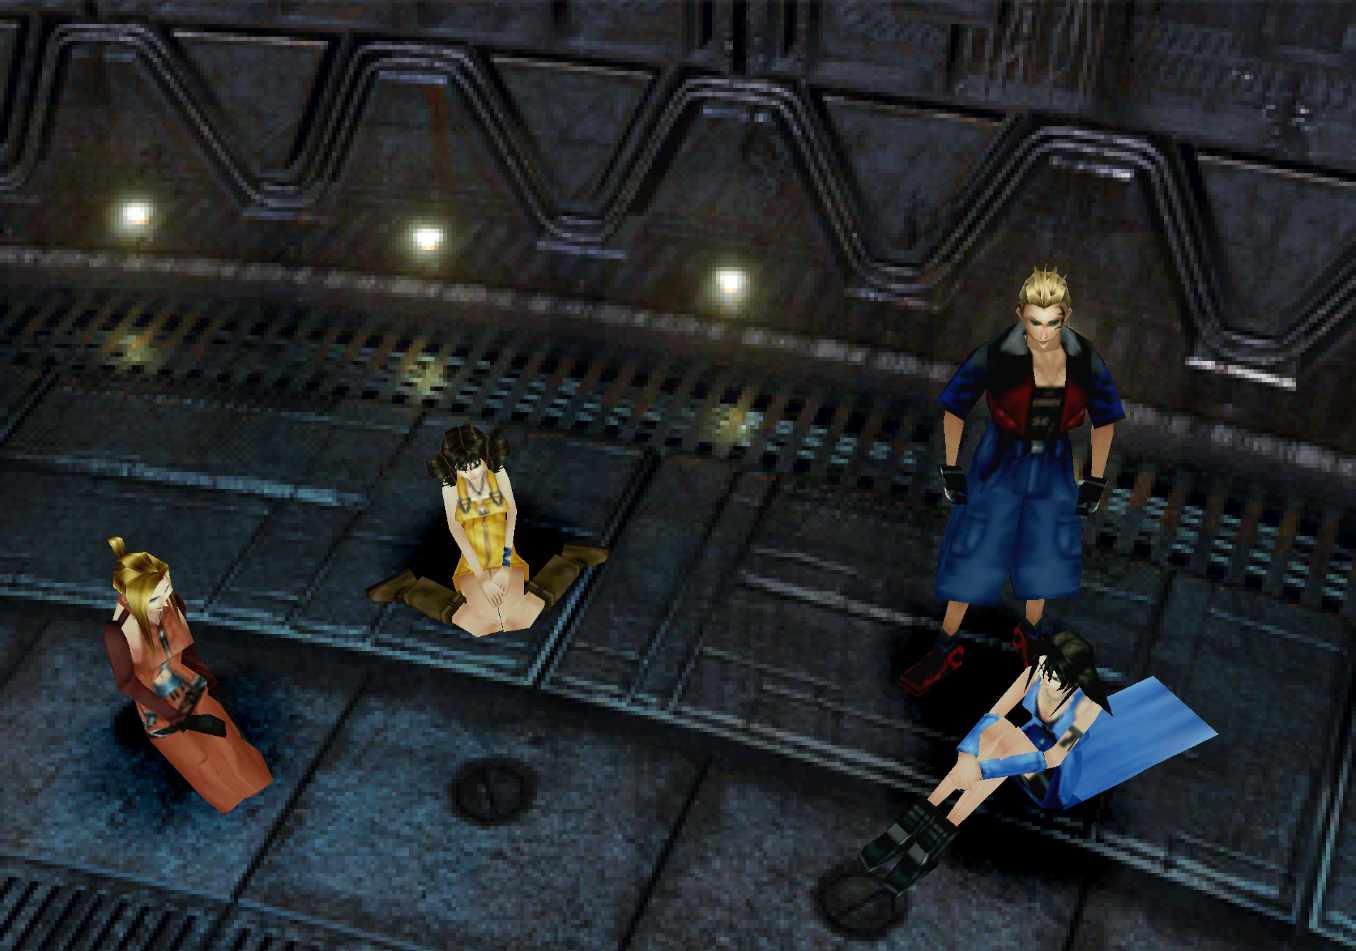
When you wake up and are in control of Zell you will want to speak with Rinoa twice to advance the story forward. Then on Squall when given the option to respond to the guard you'll want to say, "Just let me die". After even more scenes talk to Quistis on Zell then you'll finally be able to leave your prison cell.
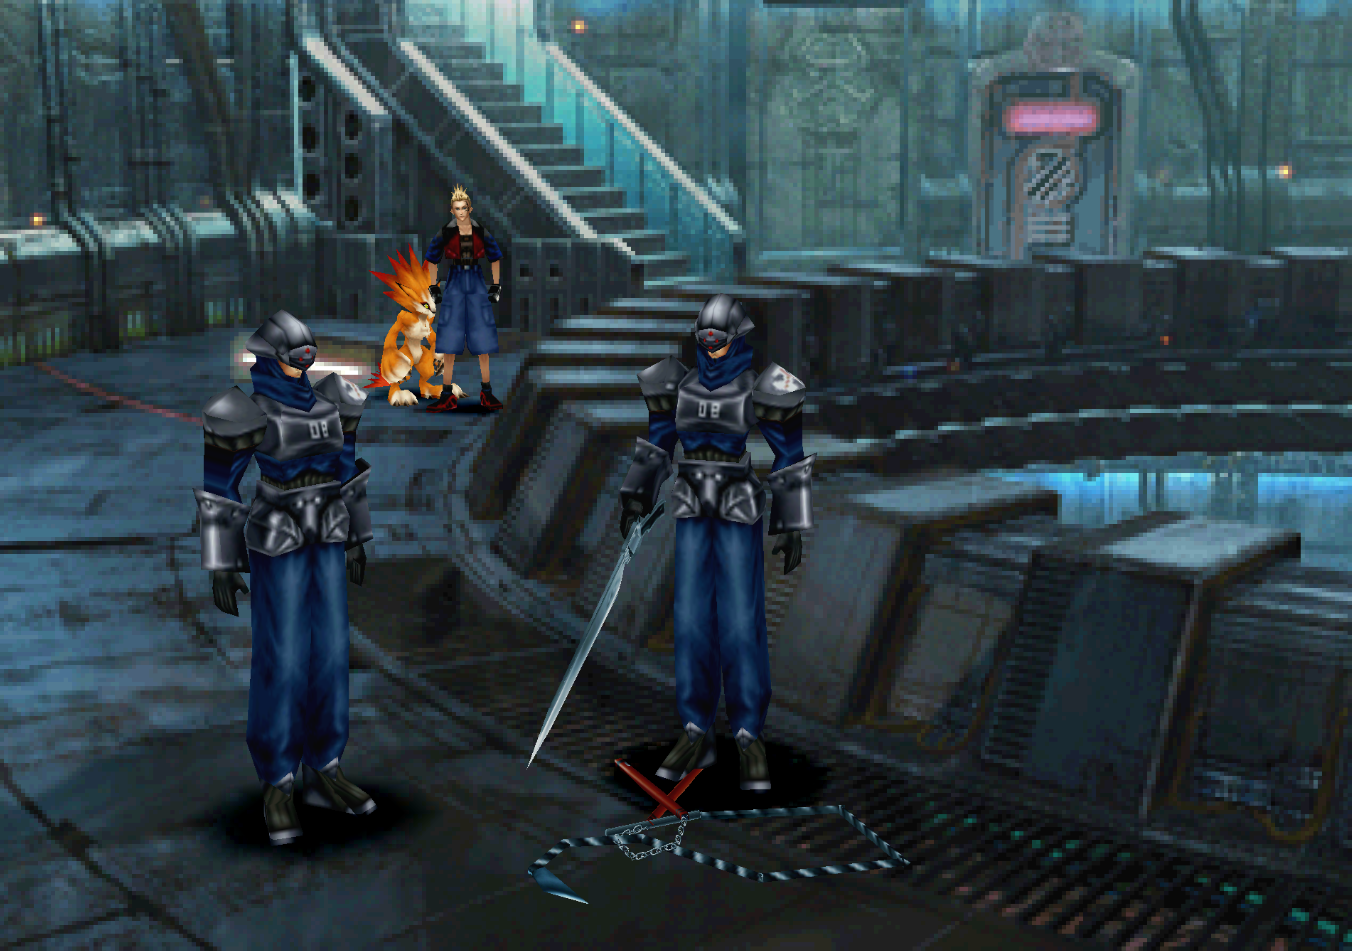
Run upstairs with Zell and speak with the two guards standing at the bottom of the screen around your weapons, the battle against them is a piece of cake, same with any random encounters. After the battle you'll be told to Junction your characters up before proceeding. Use my Junctioning advice at the top of the page if you need guidance.
Elem-Def Junctioning: Guard against Fire and Lightning
Elem-Atk Junctioning: Lightning magic
ST-Atk Junctioning: Sleep is recommended
Junction Tip: Make sure Draw is Junctioned as an Ability on each character
Exiting out of the menu will put you into combat against two familiar faces from our SeeD Mission in Dollet, Biggs and Wedge. It's strongly recommended you Junction Draw on your characters as these guys have some uncommon magic. We've seen all of the magic they have already plenty of times but you may not have it on all of your characters.
These guys are extremely weak - don't attack them at all if you plan to Draw from them because the fight will be over before it even begins. Just play defensively and Draw any magic you need then end the fight with a few attacks.
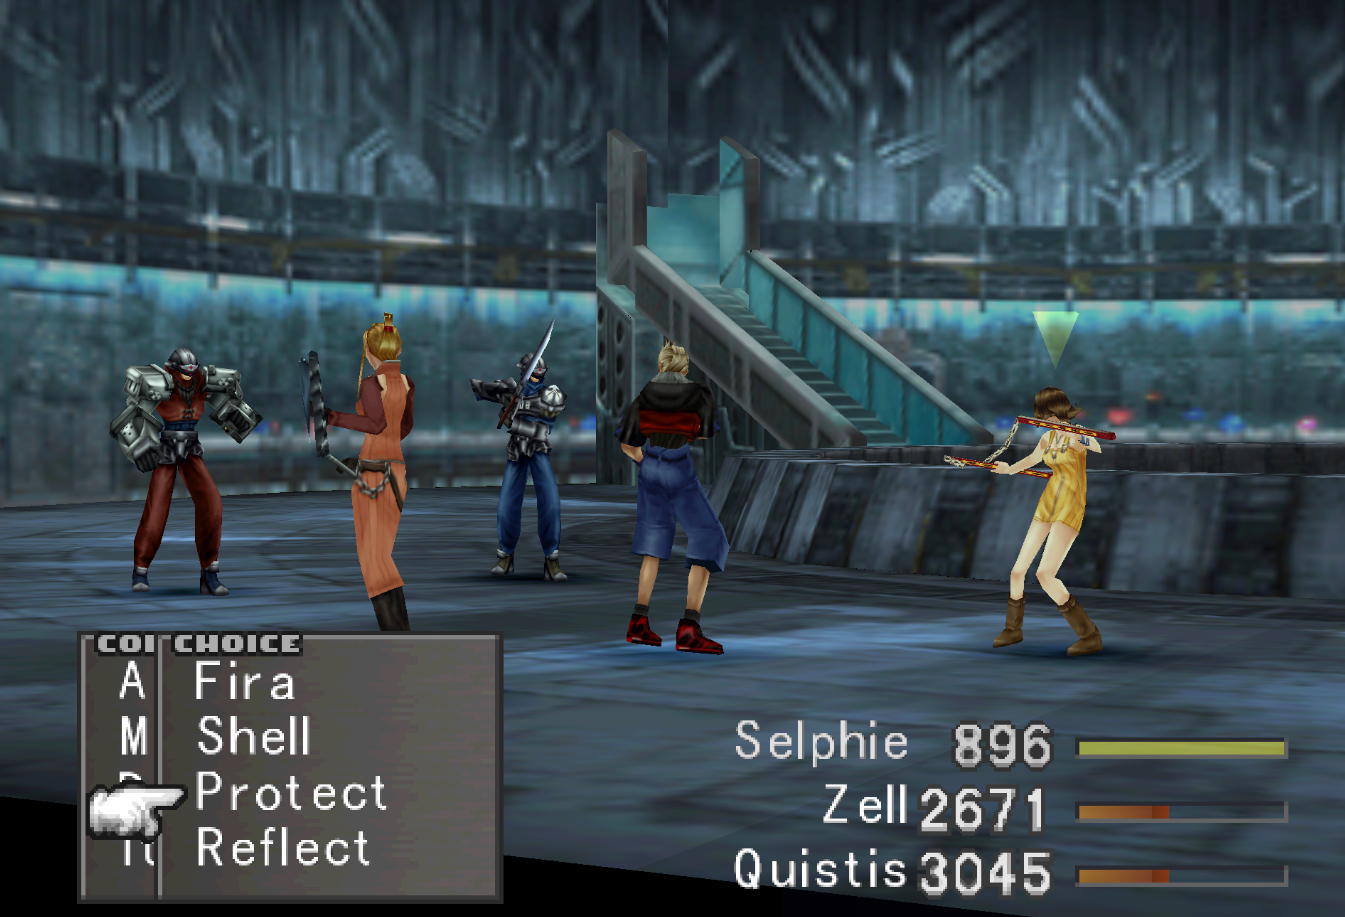
I highly recommend you Draw Regen from Biggs along with any Shell, Protect and Reflect that you need from Wedge. These four spells are all some of the most powerful magic you can Junction to your stats and you'll be using them all the way until Disc 4. For more information about the best magic to Junction I recommend following the link provided.
Biggs Draw List (Lv1-19): Cure, Haste, Slow, Regen
Biggs Draw List (Lv20-22): Cura, Haste, Slow, Regen
Wedge Draw List (Lv1-19): Fire, Shell, Protect, Reflect
Wedge Draw List (Lv20-22): Fira, Shell, Protect, Reflect
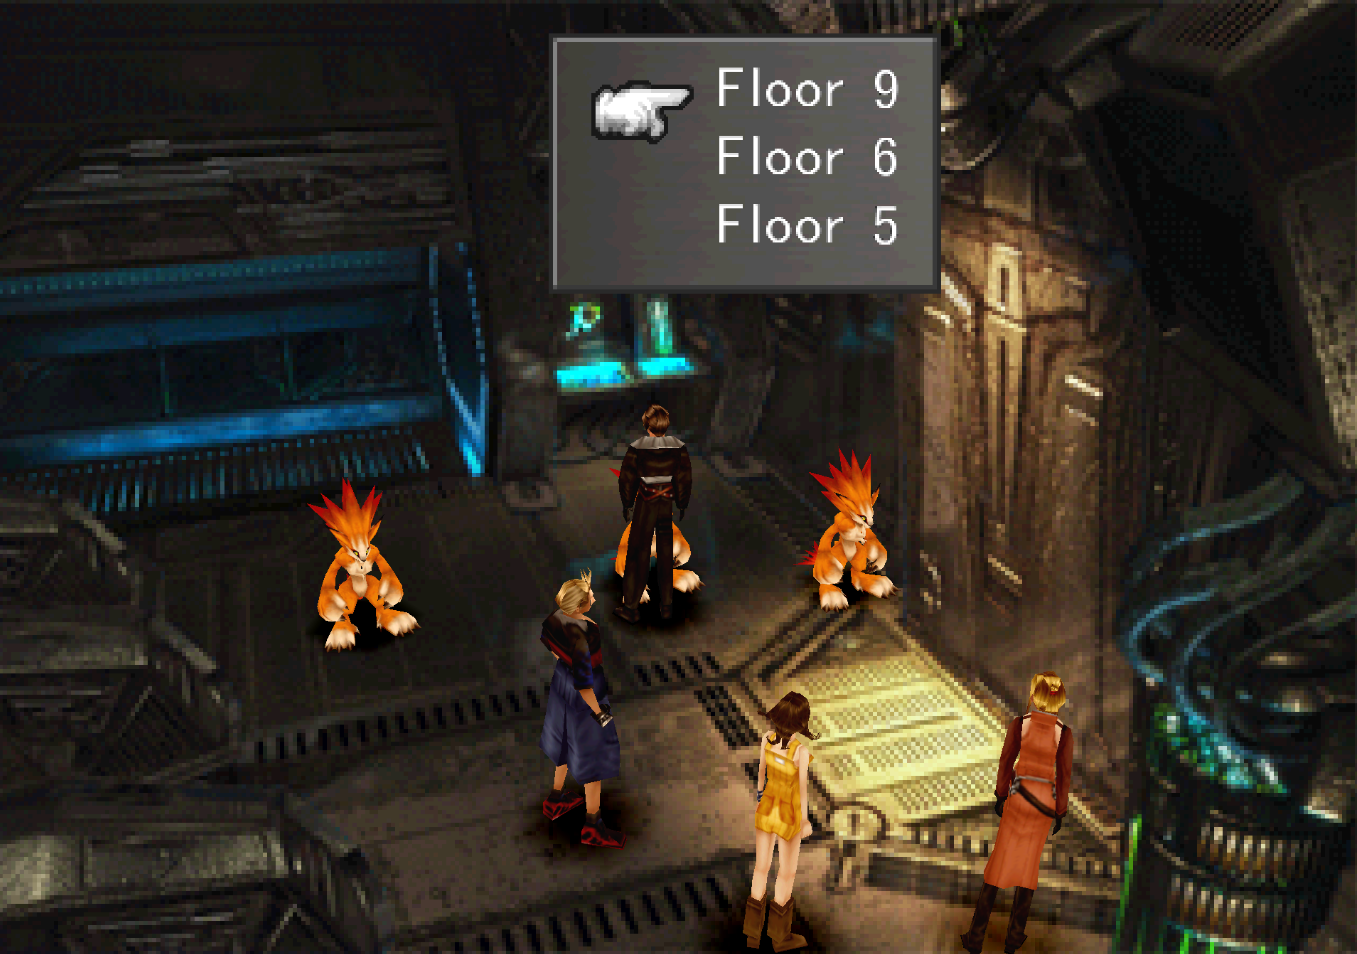
Now we finally have the opportunity to explore this entire prison. I'd highly recommend using Enc-None on Diablos as this place is going to be really annoying without it. There are a total of 15 floors and for most of them you have to run all the way around the loop to go from staircase to staircase.
Below I have provided a list of each floor of this place and what you can find on that floor.
Floor 13: Squall (Continue the story)
Floor 12: Nothing
Floor 11: Card Player (200 Gil to play) - see below for more info
Floor 10: Card Player (300 Gil to play) - Customized Battle Meter when you win
Floor 9: Berserk Draw Point
Floor 8: Item Shop
Floor 7: Where you begin
Floor 6: Save Point
Floor 5: Card Player (500 Gil to play) - see below for more info
Floor 4: Tent
Floor 3: Pet House
Floor 2: Str Up and Pet Nametag
Floor 1: Combat King 001
Floor 2 Pet Nametag: This is one of the more important treasures for you to grab as this is one of two copies of this item and you may have already missed the other copy (if you never told the aspiring journalist in Timber to not give up then you missed it). The only other way of obtaining this item is through the Chocobo World Mini Game which is tied in with FF8.
Floor 5 Card Player: When beating him in a game of cards he has a chance of giving you one of the following items... Potion, Eye Drops, Remedy, Gyshal Greens, Flare Stone, Mega-Phoenix and Luck Up. The Luck Up is the most valuable prize with a 1/64 chance of him giving it to you. This is the only prize you can also only receive once.
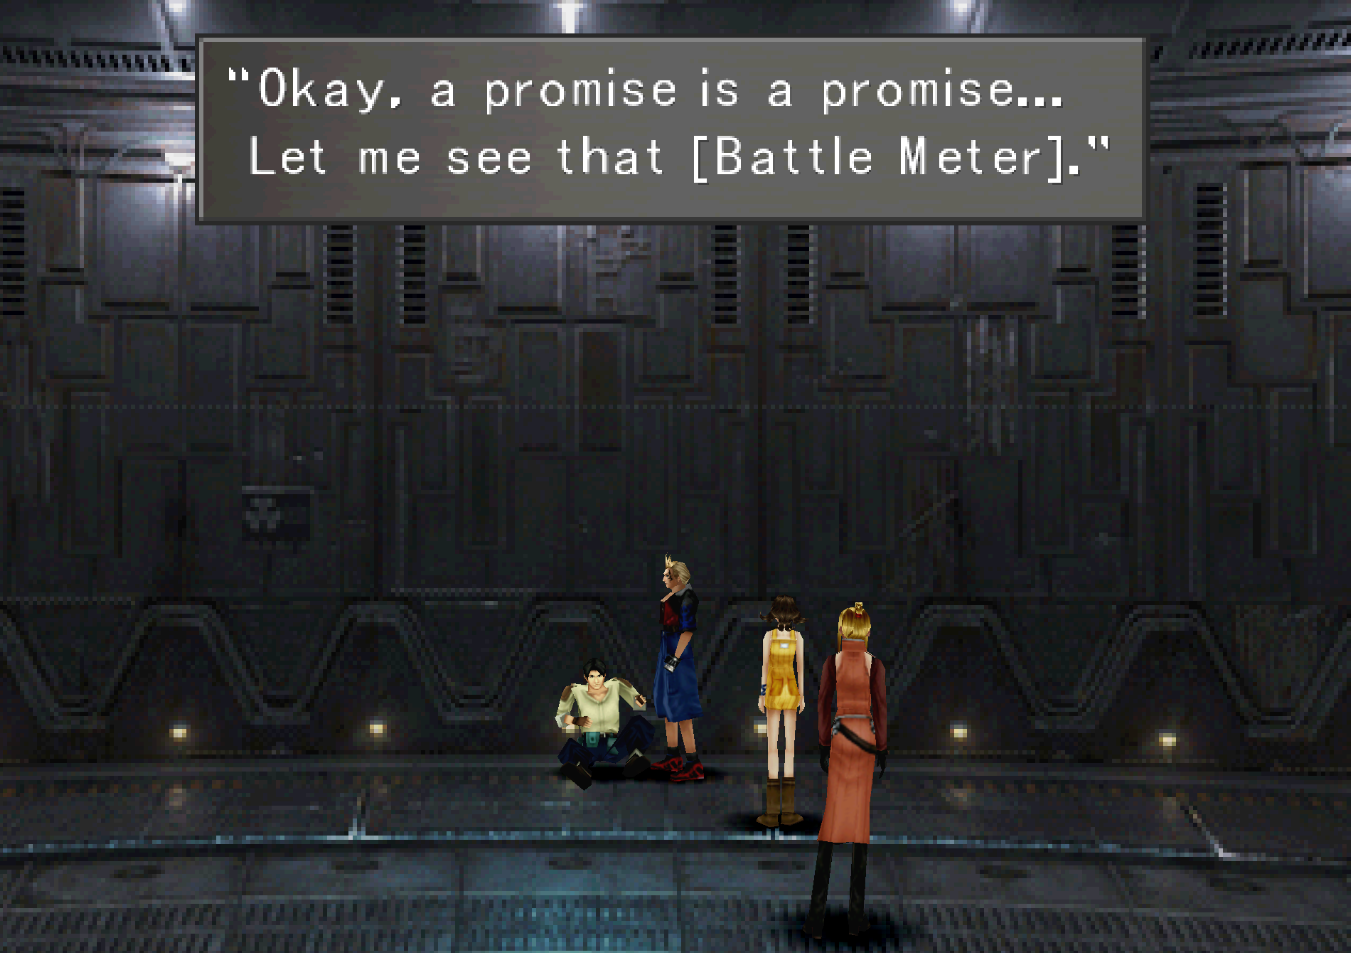
Floor 10 Card Player: If you got the Battle Meter from Cid earlier in the game then you'll be able to play this guy and win the Customized Battle Meter.
Floor 11 Card Player: When beating this person in Triple Triad he will have a chance of giving you one of the following items... Potion, Eye Drops, Remedy, Hi-Potion+, Holy Stone, Mega-Potion, Rosetta Stone and HP Up. This NPC is well known amongst people familiar with FF8 as the guy who you can farm Unlimited Rosetta Stones from.
I highly recommend you collect all of the easy to find treasures and at least try to win a Flare Stone, Holy Stone, Rosetta Stone, Hp Up or Luck Up from the Triple Triad players inside of the prison. Holy and Flare are two of the most powerful magics in the game and you'll be using them as Junctions from now until the end of the game.
Rosetta Stones teach a GF the Abilityx4 Ability, which allows you to equip up to 4 different abilities to a character. This is an insanely useful item and is the only way to get Abilityx4 this early in the game. You also won't get another opportunity to get a Rosetta Stone until much later in the game, for more information read my Galbadia Prison Rosetta Stone Guide.
When you're done with all of the treasure hunting and Triple Triad playing, head up to the 13th floor and meet back up with Squall. Speak with the Moomba (red guy) outside of the torture room then with Squall inside to proceed. The Moombas inside of this room can also remove barriers on the floors below us. Removing the barrier on the 9th floor will make the Rosetta Stone trick easier but that's about it.
There's quite a few tedious steps to do before we get out of the prison, I've decided to put them in an easier to read format since they're all kind of self explanatory anyway.
1. Exit the room and ride down the elevator with Squall; go to the end of the hallway and discover the sand
2. As Zell, run around the prison loop as if you were going downstairs
3. Choose a party member to accompany Squall & Rinoa then go up (Junction your GFs)
4. Save. If you don't have the GF Ability Move-Find this will be your only chance before the end
5. Go up until you get a scene and you switch to Irvine's party (Junction your GFs)
6. Go down while in control of Irvine's party until you switch back to Squall
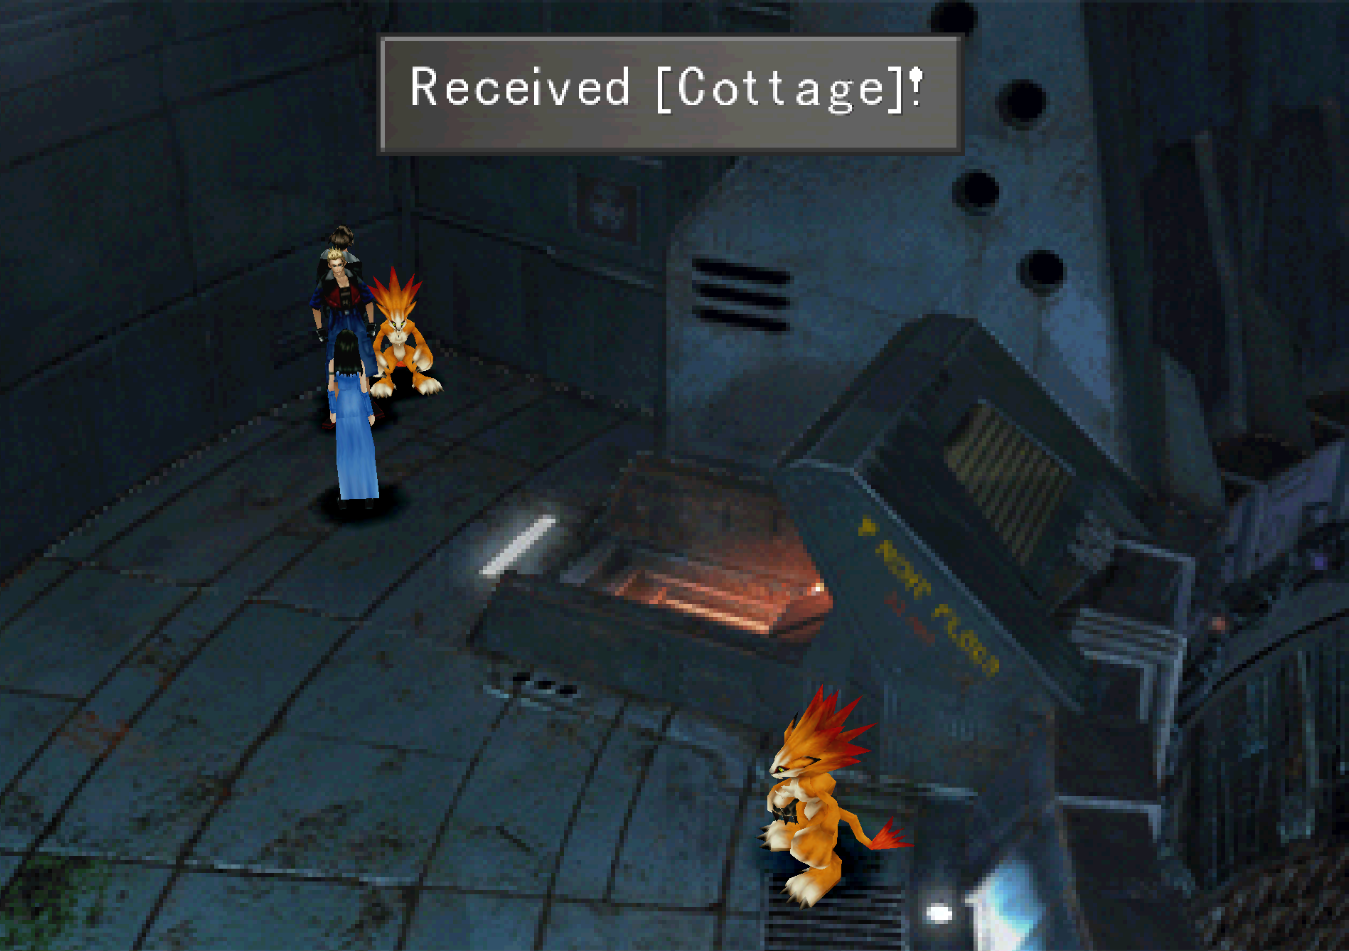
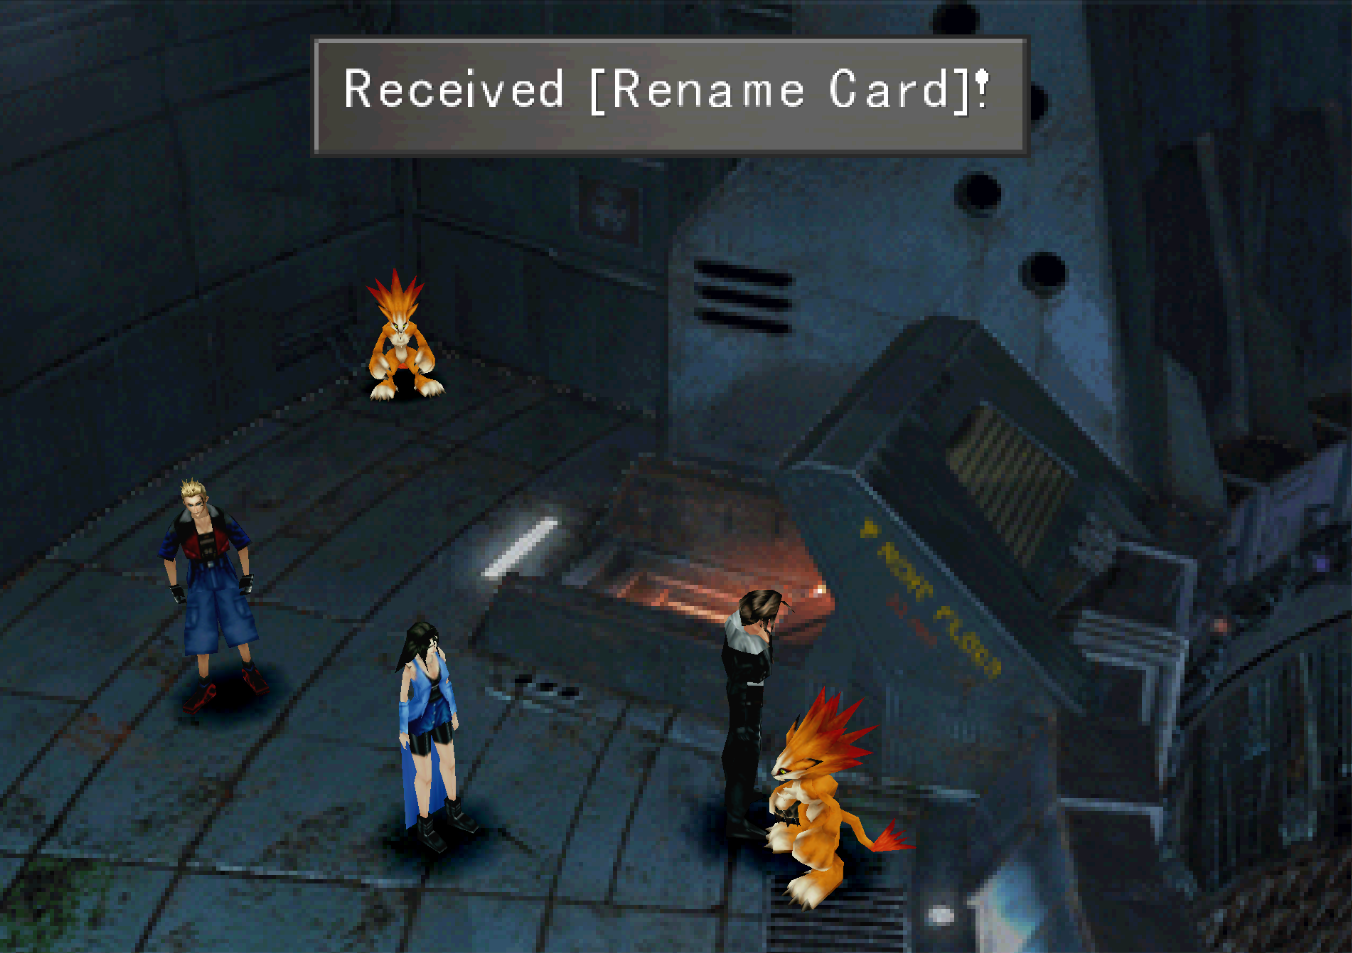
7. While in control of Squall at the top of the prison, speak with the Moombas for a Cottage and a Rename Card
8. Switch your Junctions to Squall one last time and Save at the Save Point up the stairs (Move-Find is required to see it)

Hold RIGHT during this scene so you don't get a Game Over!
For this next part if you don't hold right while you're on the bridge during the scene shown in the screenshot above you'll get a Game Over so it's important that you save earlier incase you mess up. After that scene you'll be done with the Galbadia Prison and when you regain control of your characters you'll find yourself in the area shown below.
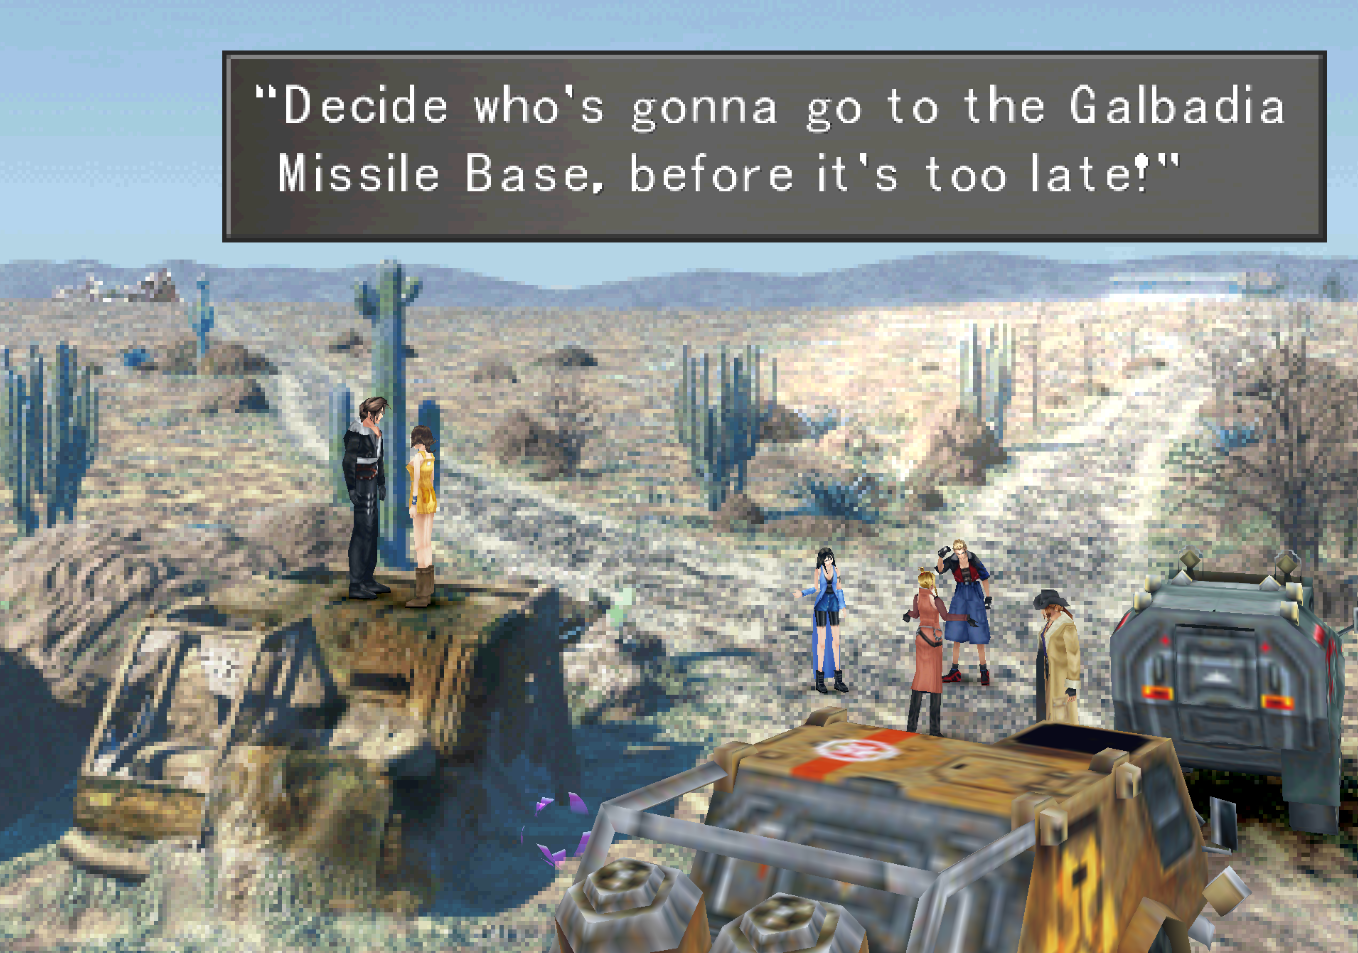
To advance the story forward in this area speak to Selphie twice. When forming parties I recommend putting Zell with Squall so he goes back to Balamb Garden. Part of Zell's Love Quest takes place there right now and he'll get you an extra reward for accompanying you if you do it.
All you have to do is board the train with Squall then you'll find yourself in control of Selphie. Before we do the Balamb Garden part with Squall's team we're going to be doing the Missile Base with Selphie's team.
Continue to Missile Base Walkthrough