
Find Proof of Mae'Var's Treachery - Baldur's Gate 2 Side Quest
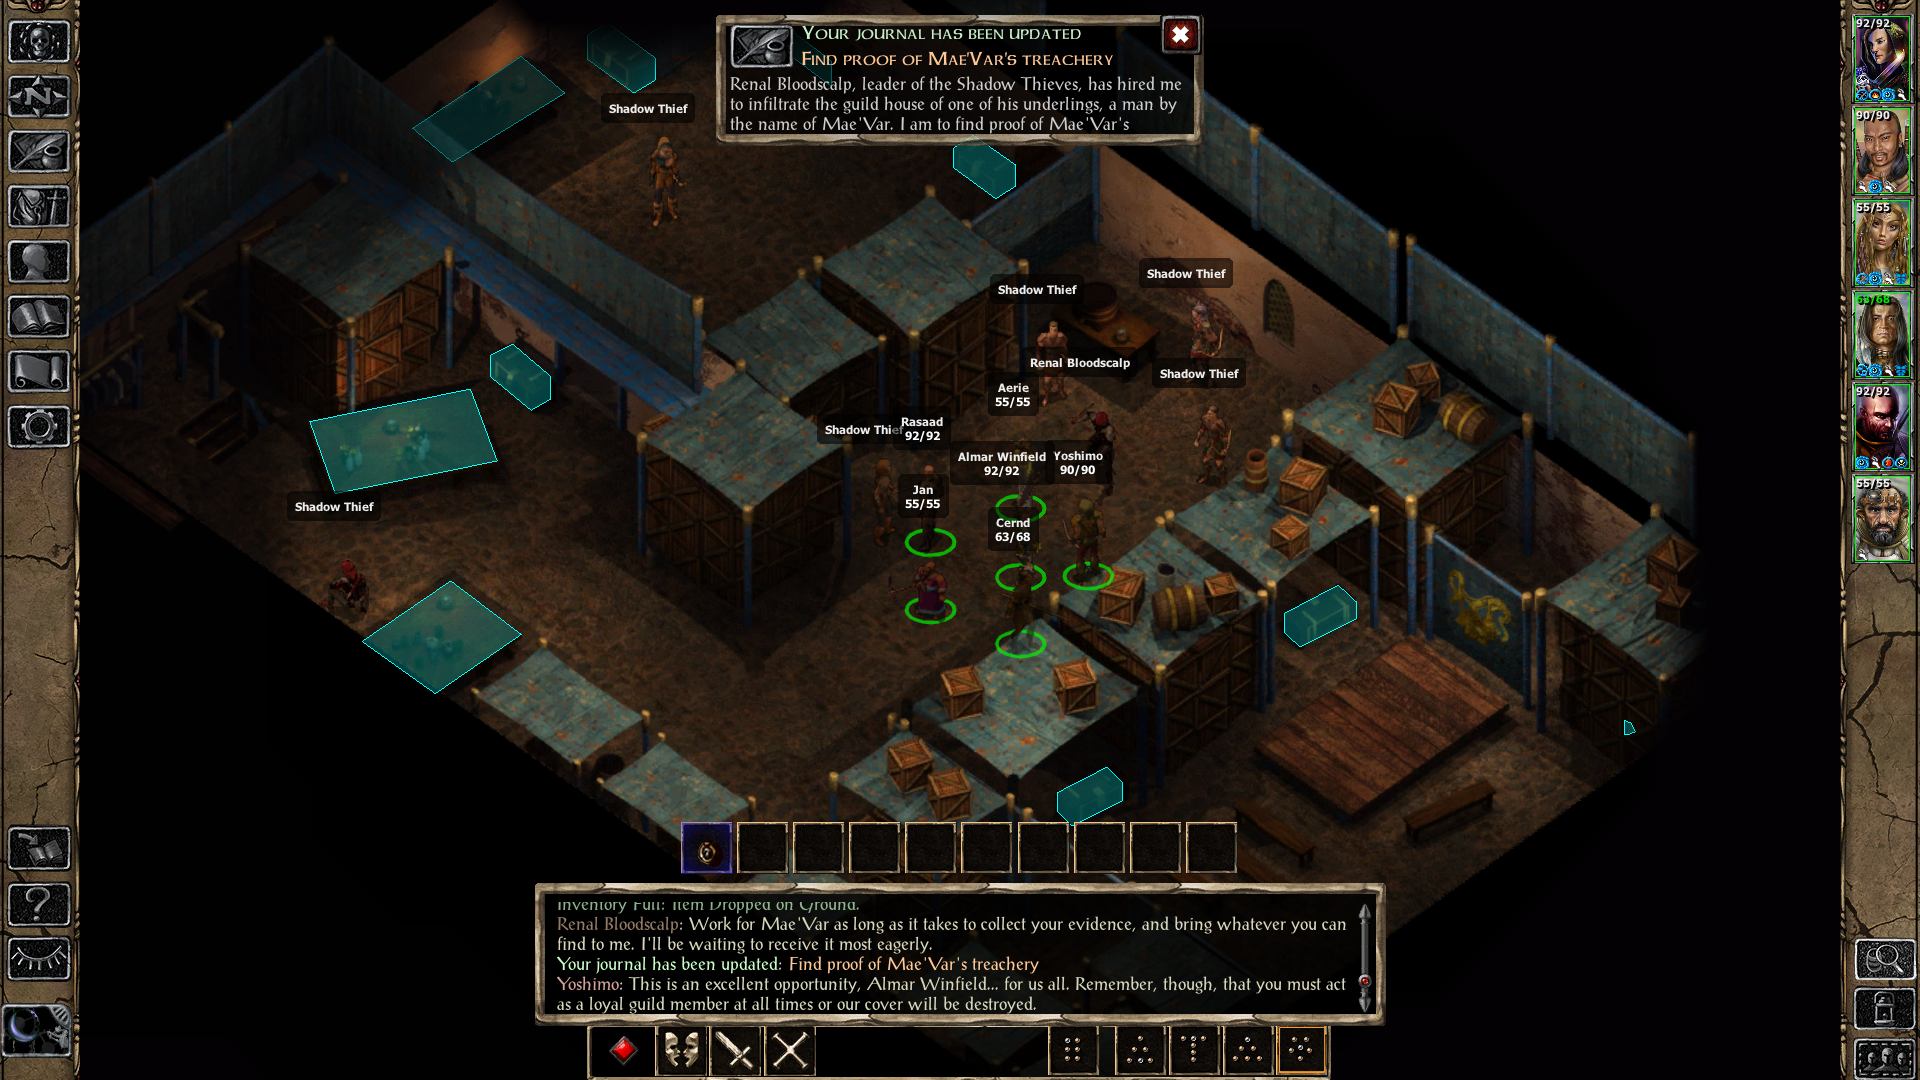
Find Proof of Mae'Var's Treachery is a side quest that begins by speaking with Renal Bloodscalp in the Shadow Thief Guildhall located in the Docks District. If you have Yoshimo in your party then the first time you enter the Docks District he'll point you towards Renal Bloodscalp as well for his companion quest, Yoshimo needs to see Renal Bloodscalp. Completion of this quest will also finish Yoshimo's Companion Quest.
This quest is a long one with multiple "mini quests" that you must complete throughout. Essentially our overall goal with this quest is to infiltrate Mae'Var's Guildhall, gain his trust by completing 4 different tasks for him and then return to Renal Bloodscalp with the evidence we've acquired to prove his treachery.
Mae'Var's Guildhall can be found in the southeastern portion of the Docks District next to Cromwell's Blacksmith. Give the Letter of Transfer that you received from Renal to Gorch who mans the front desk and you'll be given free roam of the entire guildhall. Mae'Var himself can be found in the basement.
Mae'Var Task #1 - Steal something from Temple District
Depending on what your parties' current reputation is this first quest will be slightly different. The main thing(s) that stay the same with this quest is you have to visit the Temple District and steal a valuable item from a temple. It's always going to be easier to steal this item at night as there will typically be less patrols or the target you need to steal from will be asleep.
With a reputation of 10 or more you'll be tasked with stealing a Necklace of Talos from the Temple of Talos. A reputation of 9 or less means you'll have to steal the Statue of Lathander from inside of the Temple of Lathander. Below you'll find pictures of where both items are as well as helpful tips about how you can steal them.
10+ Reputation: Steal the Necklace of Talos from Weathermistress Ada in the Temple of Talos. The easiest way to get the Necklace of Talos is to wait until night time when Weathermistress Ada is asleep. Once she goes to sleep you'll be able to find the Necklace of Talos inside of a locked chest next to her bed in the southern most room of the temple, no stealth is required.
9 Reputation or less: Steal the Statuette of Lathander from the Temple of Lathander. You'll find the Statue of Lathander inside of a locked safe in the southern portion of the Temple of Lathander. The main NPC you have to keep an eye out for is Dawnmaster Kreel since he patrols around this area frequently. Occasionally you can find a Mourning Knight patrolling through the area too but they are less frequent at night time.
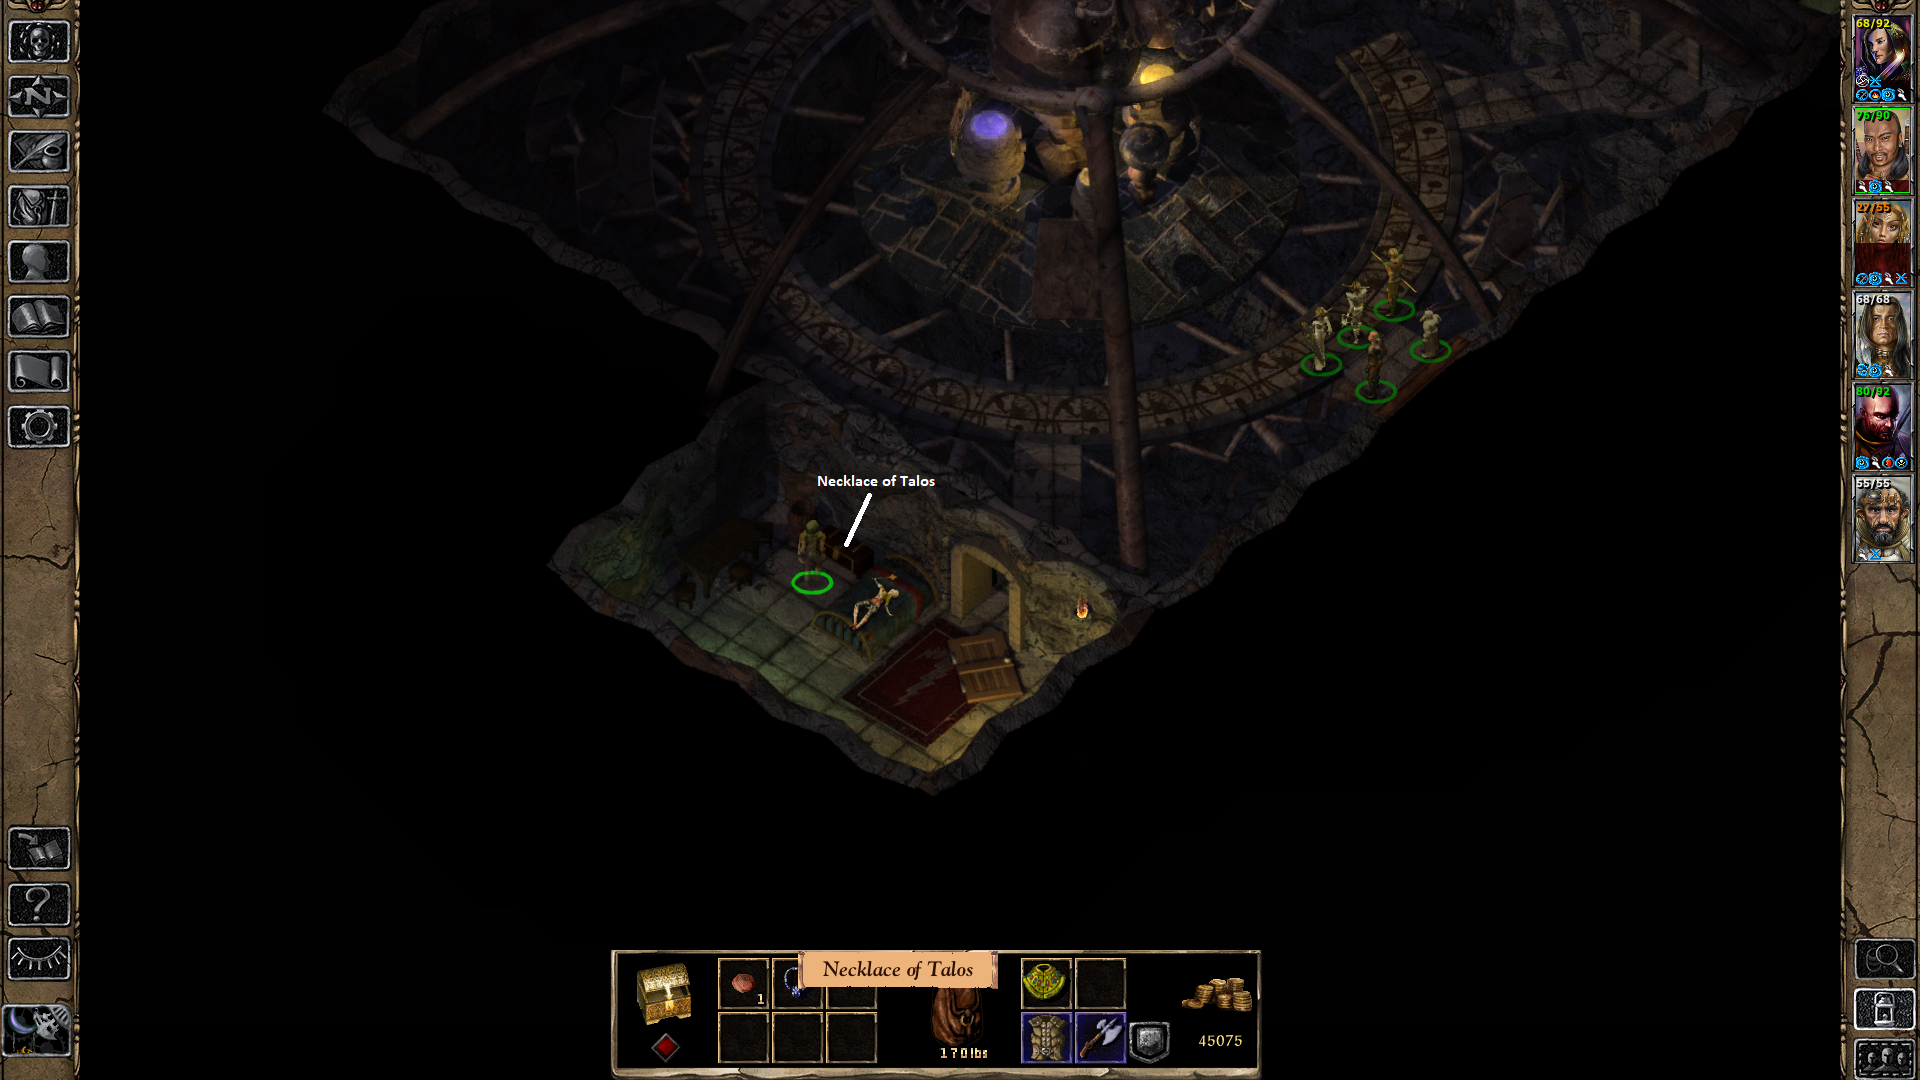
Necklace of Talos location inside the Temple of Talos
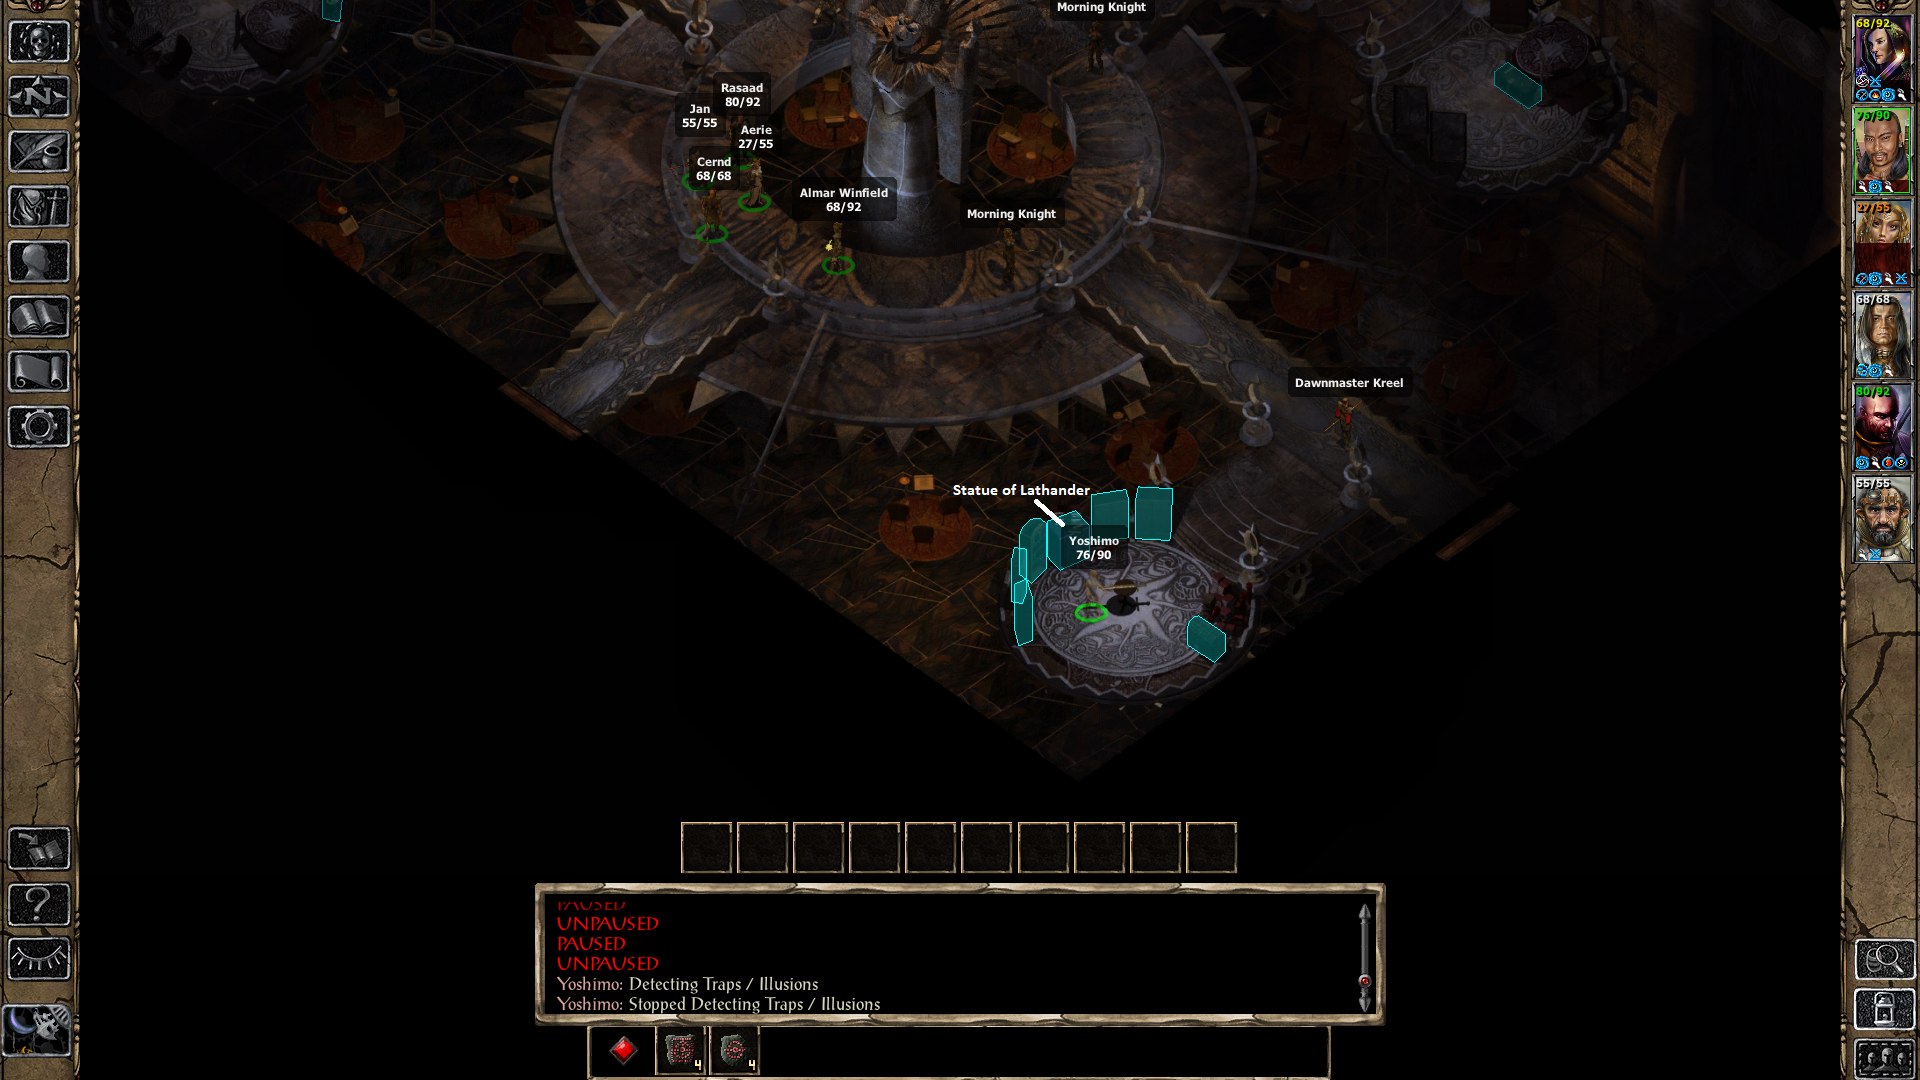
Statue of Lathander Location inside Temple of Lathander
Return to Mae'Var and tell him of your success once you've stolen the required item. He'll give you your second task.
Task #2 - Defeat Rayic Gethras' in Docks District
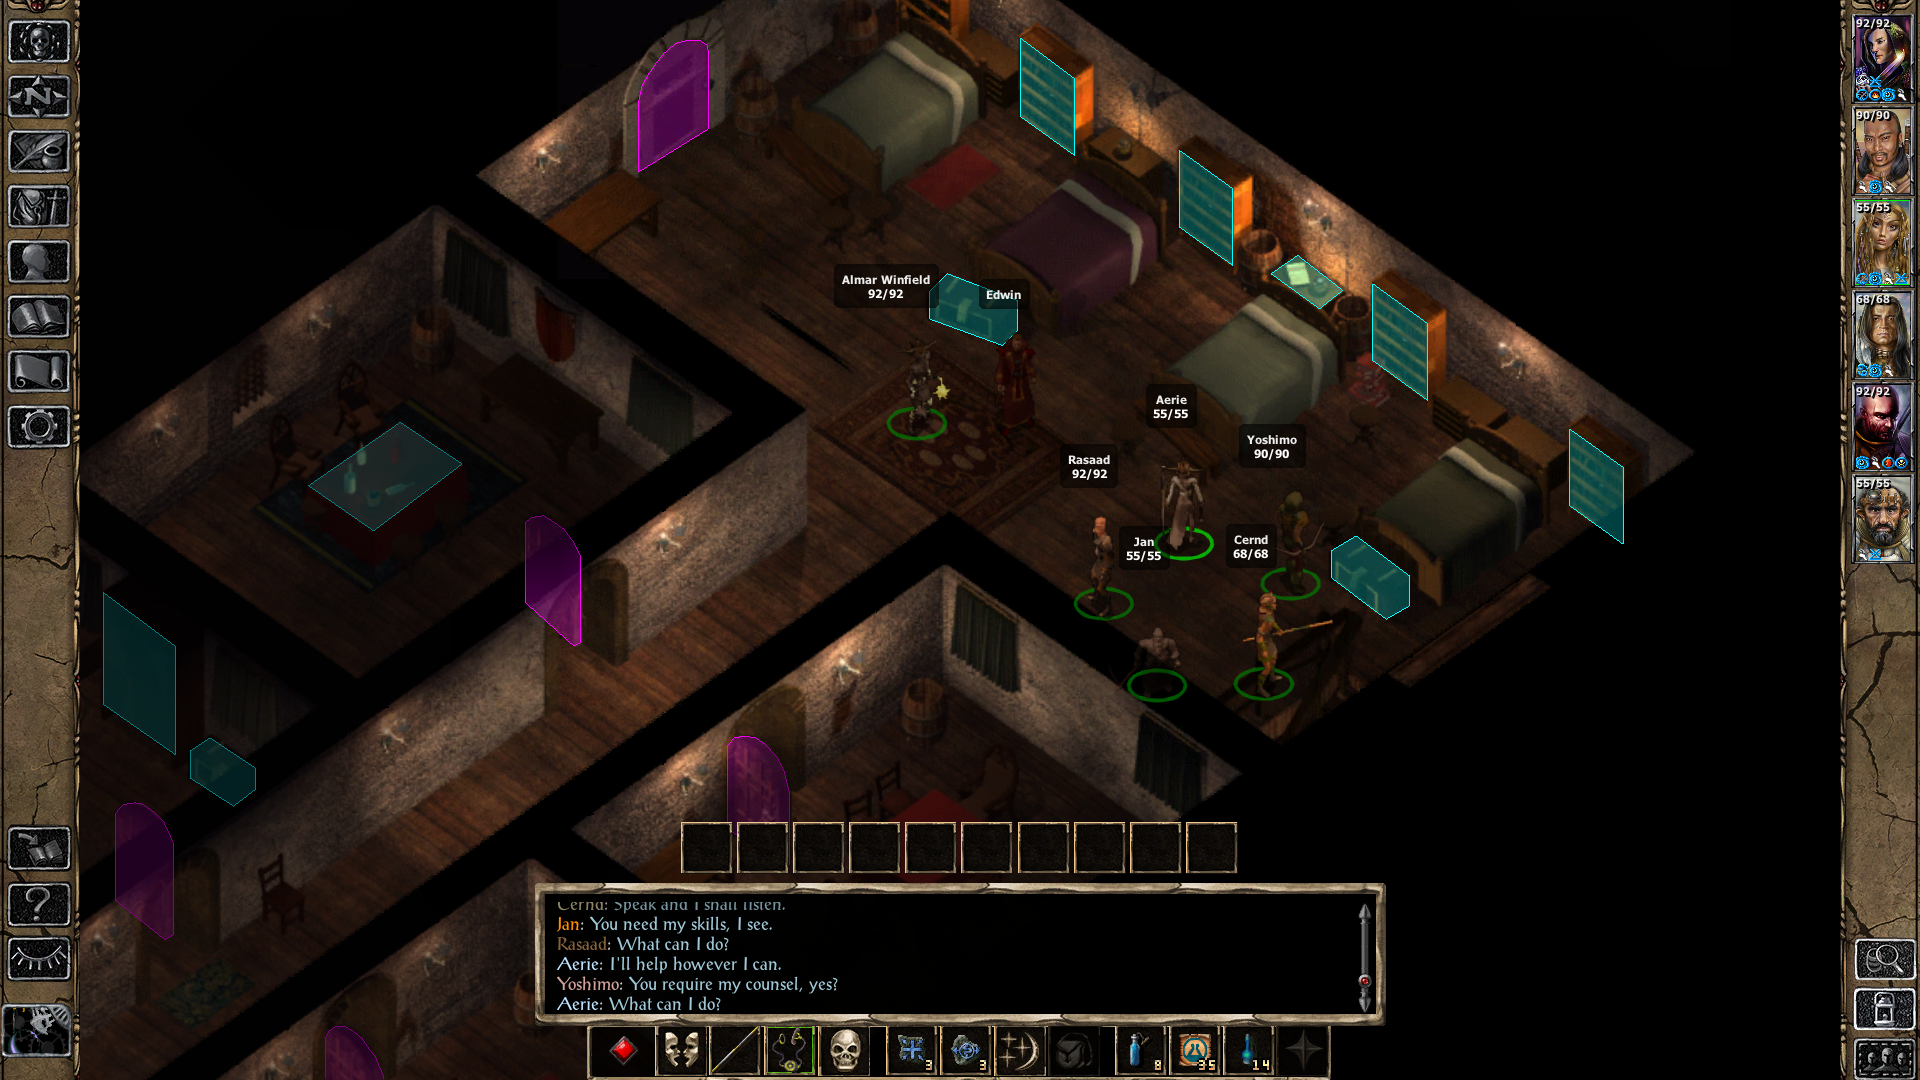
For this task Mae'Var sends you to see Edwin, a potential companion in both BG1 and BG2. You can find Edwin on the 3rd floor of the Mae'Var Guildhall (pictured above). Simply speak with him and agree to help him to be assigned your next task. What we need to do now is visit Rayic Gethras' house which is found in the southwestern portion of the Docks District and kill him.
You can find Rayic Gethras' house just below the Shadow Thief Guildhall on the western side of the zone; it's marked on your map which makes it quite difficult to miss. On the first floor of this house you'll find a bunch of Mephits that will attack you, on the 2nd floor it'll be 2 golems and on the 3rd floor you'll find Rayic himself.
All in all this should be an easy enough quest for you, Rayic may pose some difficulties since he is a mage but you will be fine if you strip away his defenses with a spell like Breach. Once defeated you'll find Bracers of Defense AC 7, Dagger +1 as well as Quarterstaff +2. I recommend you explore the house and gather all the other goodies you can find throughout as well.
Task #3 - Acquire Documents from Marcus
This task requires us to visit the Sea's Bounty Tavern in the Docks District and obtain Edwin's Documents from Marcus. You have a number of ways to accomplish this task, all of which are extremely easy. With high Strength and Charisma you can threaten him or purchase the documents from him. High Strength and Dexterity paired with an Evil Alignment will allow you to snap Marcus' neck through dialogue and take the documents as well.
If all else fails you can always just pick pocket Marcus or forcibly attack him to retrieve the documents that way. Regardless of your choice, return to Edwin once you have the documents in hand and talk to him to complete this task.
1. Pickpocket Marcus
2. Buy the documents from Marcus (10 Charisma minimum)
3. Attack Marcus
4. Snap Marcus' neck and no one will notice (Non-good Alignment, 14 Strength, 17 Dexterity required)
5. Threaten Marcus (16 Strength & 12 Charisma required)
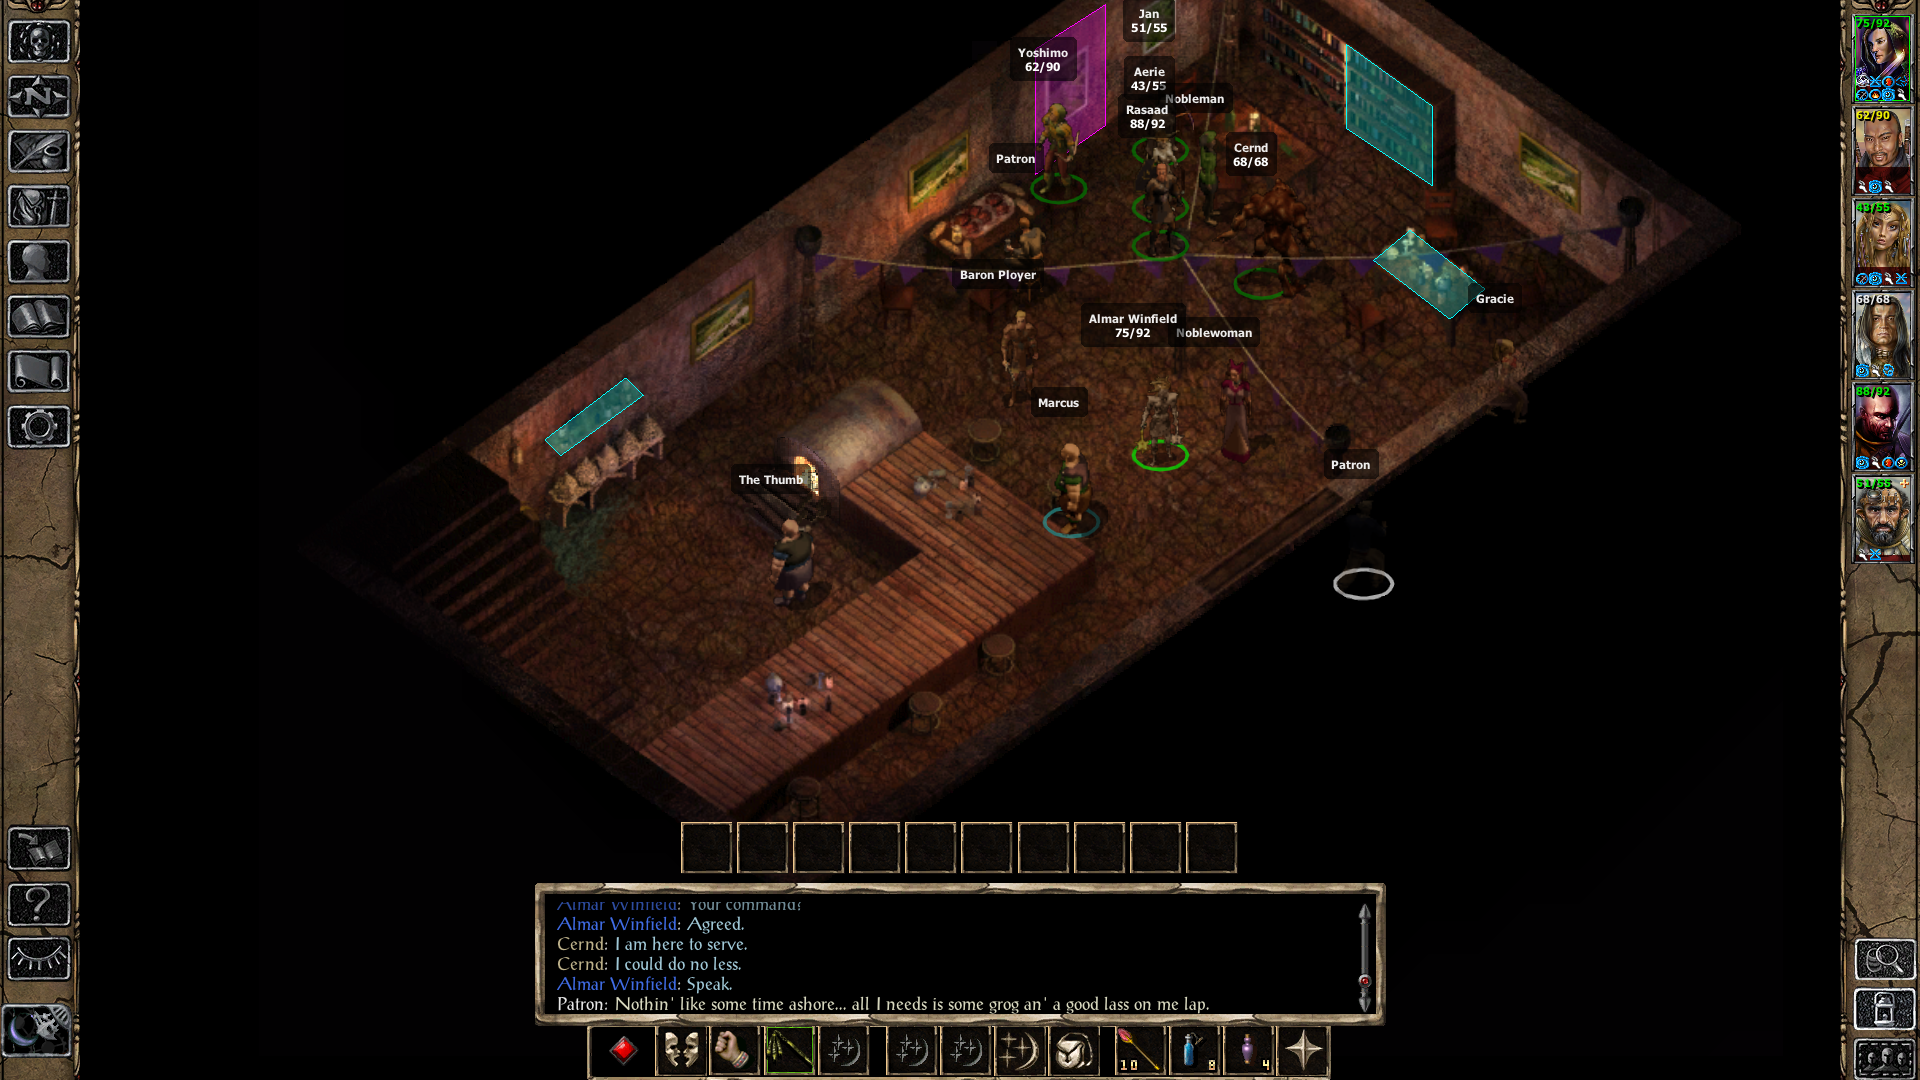
Task #4 - Defeat Embarl the traitorous Shadow Thief
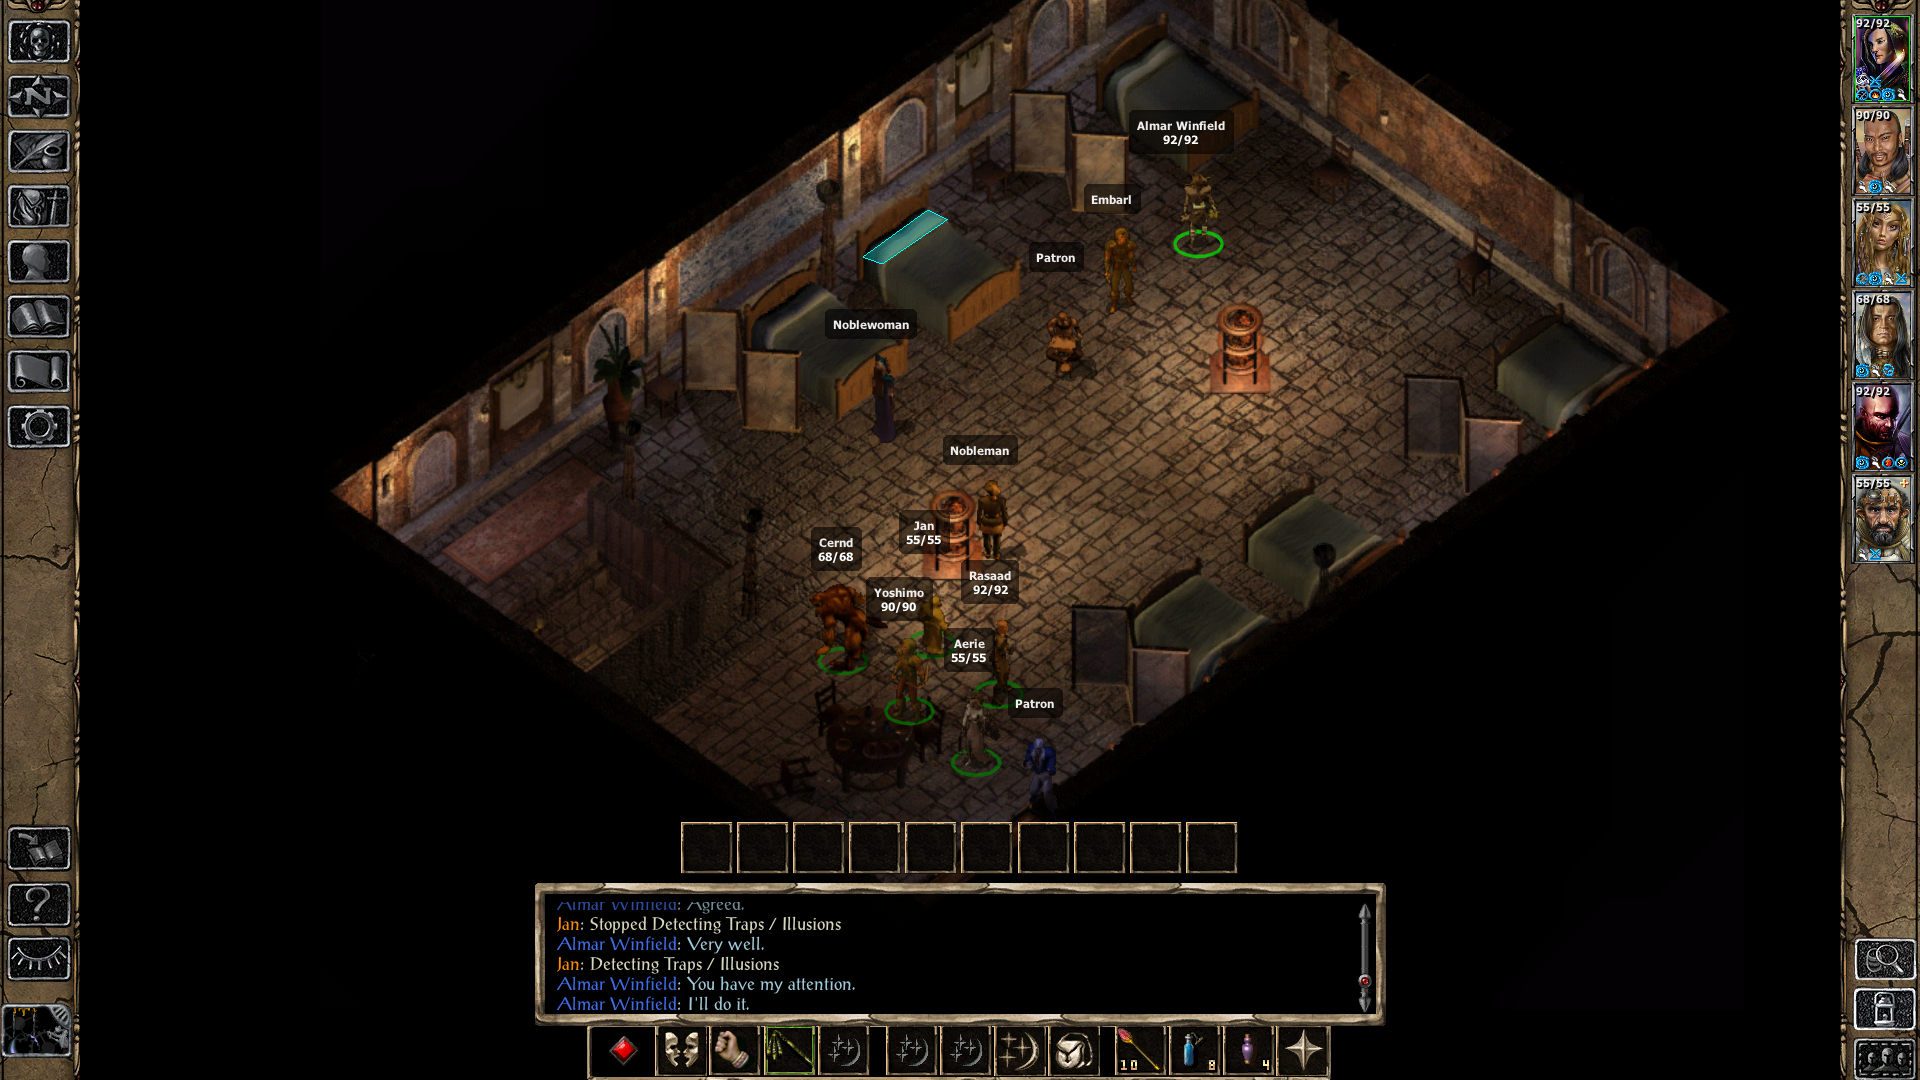
Mae'Var will give you this final task, he needs you to go to the Sea's Bounty Tavern to kill Embarl, a traitorous Shadow Thief who has betrayed the organization. You can find Embarl on the 2nd floor of the Sea's Bounty Tavern (pictured above). Once you've found Embarl you have 2 ways of proceeding with the quest, you can either take him out or allow him to flee the city.
If you decide to attack Embarl no one in the Inn will care and you will not lose any reputation for your actions. Upon his defeat Embarl will drop Embarl's Dagger on the ground (the item we need for the quest) and that's all there is to it. If you decide to let Embarl live he'll give you his dagger and then leave the game permanently.
No one in the Shadow Thief guild cares if you let him live and there is no difference in EXP or reward so you can choose whichever option you want to. Once you have Embarl's Dagger in hand return to Mae'Var and speak with him. Completion of the 4th task will finish our fetch quests for Mae'Var and Edwin.
Finishing The Quest
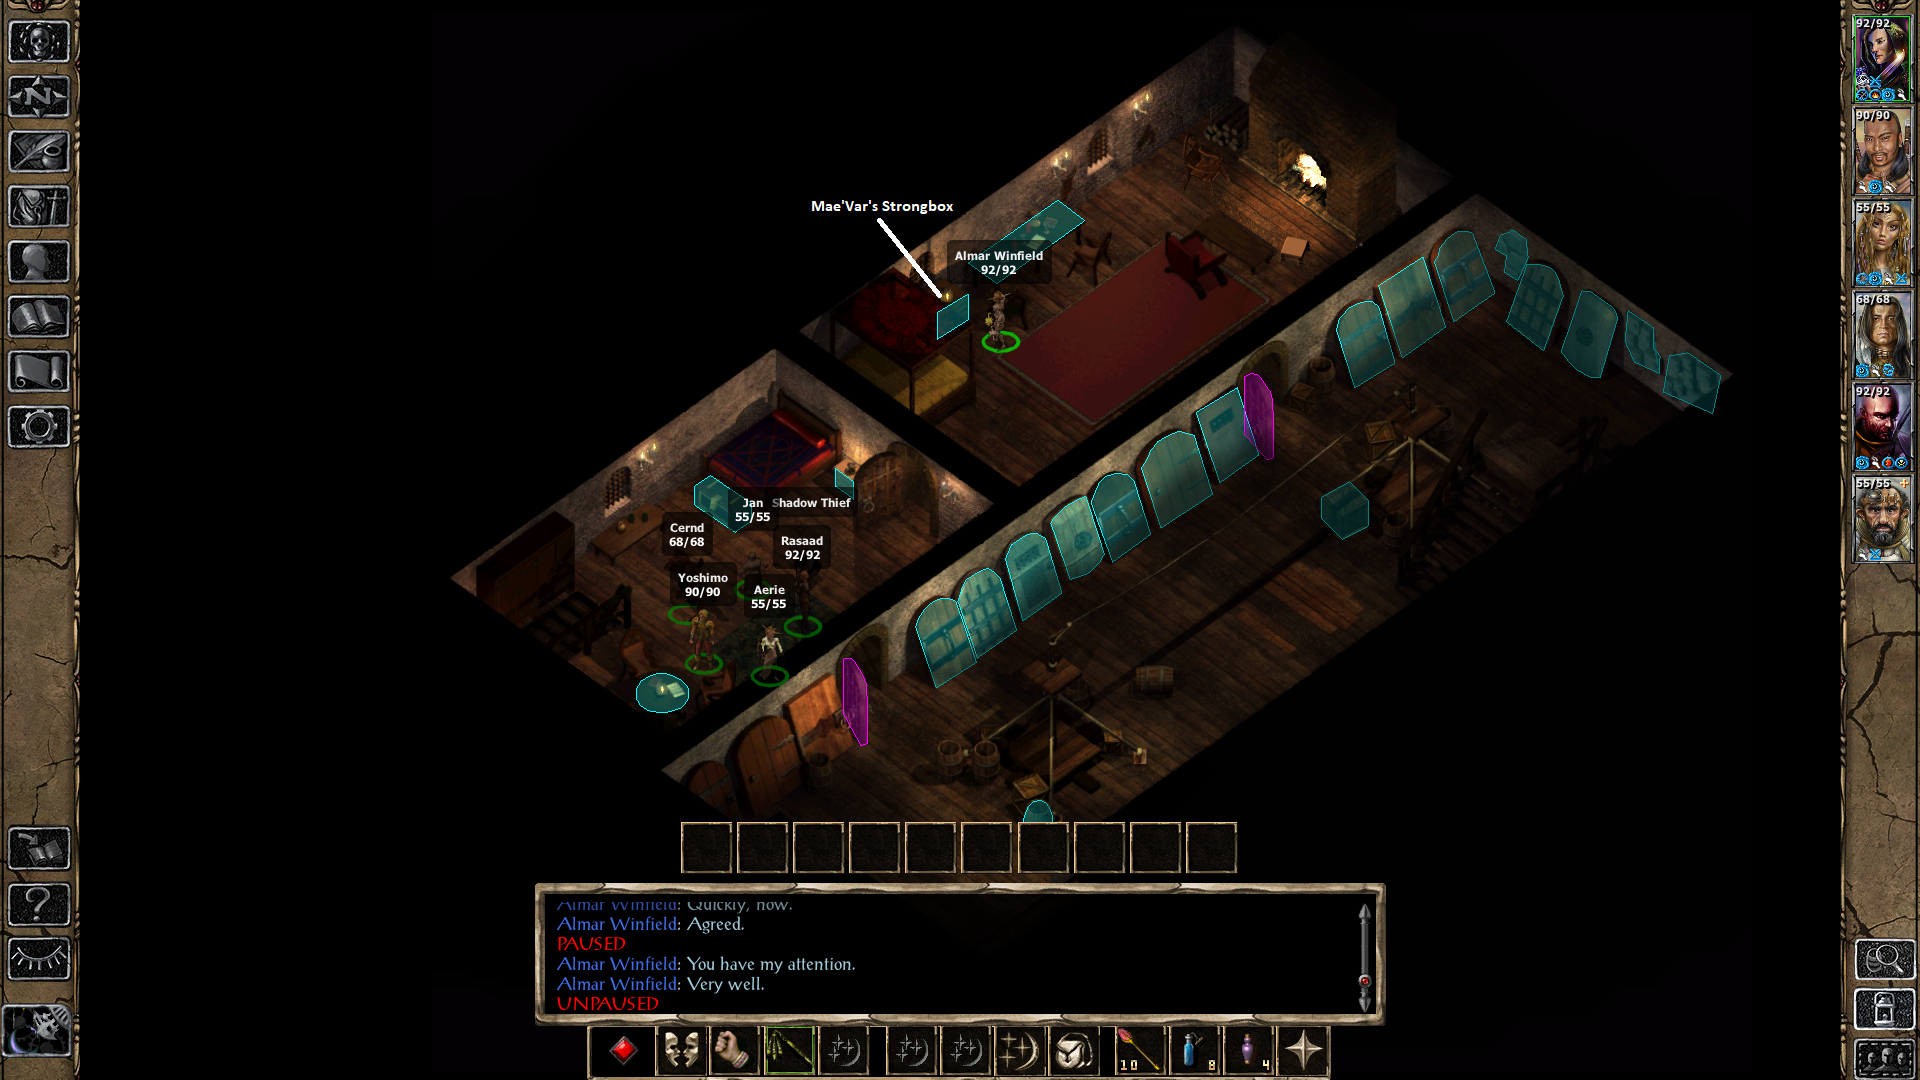
Location of Mae'Var's Strongbox (contains evidence of plot to kill Renal Bloodscalp)
What we have to do now is return to Edwin and speak with him to get Mae'Var's Strongbox Key from him. Choosing the wrong dialogue options during this can result in you failing the quest, Edwin may teleport away and summon some Shadow Thief's to attack you. If he does this you should reload the game so you can complete the quest.
The Mae'Var's Strongbox Key will allow us to open the locked cabinet next to the bed on the floor right below Edwin (pictured above). Inside of this strongbox you will find Mae'Var's Letter which is the evidence you need to bring to Renal Bloodscalp to complete this quest. Return to Renal Bloodscalp with this information and he will ask you to kill Mae'Var along with everyone else inside of the guildhall.
Mae'Var will drop Shadow Armor +3 which is a good piece of equipment for any lower level Thief that you have in your party. Once Mae'Var is defeated return to Renal Bloodscalp and talk to him to complete this quest chain. Your reward will be 10k gold and The Shadow's Blade +3 unless you're a Thief in which case you will be given Mae'Var's Guildhall as your reward.
Important: If you're playing a Thief as your main character then it is strongly recommended that you loot this entire building before finishing this quest chain. Now that Mae'Var is dead you'll be able to claim his old guildhall as your new stronghold. Doing this will cause any items inside to despawn permanently.
Continue to Thief Stronghold Side Quest Guide